DYI Potholders

IMG_1213-Edit-1-2

Last year at the IDOS World Championship Cookoff, something unexpected happened.  Just before the semi-finals began, almost all of the other teams stopped by our cooking area to bring a gift that represented their home town and shared a word of encouragement.  And then again just before the finals, more gifts were shared!  This gift-giving ritual happened in the midst of all of the pre-competition jitters and anxiety and was a complete surprise!  Each delivery made me stop for just a moment, putting aside worry about recipes, spices, and countless other details.  Each brief interuption to the stress of preparing for competition, was a gift.   Each delivery of a gift was a moment to shake a new friend’s hand and remember that friendship is always more important than competition.

All of the gifts were personal and shared something special but one stood out.  I have held on to this special gift over the past year – a homemade blue scrubby with a cute and catchy poem attached.

IMG_1225

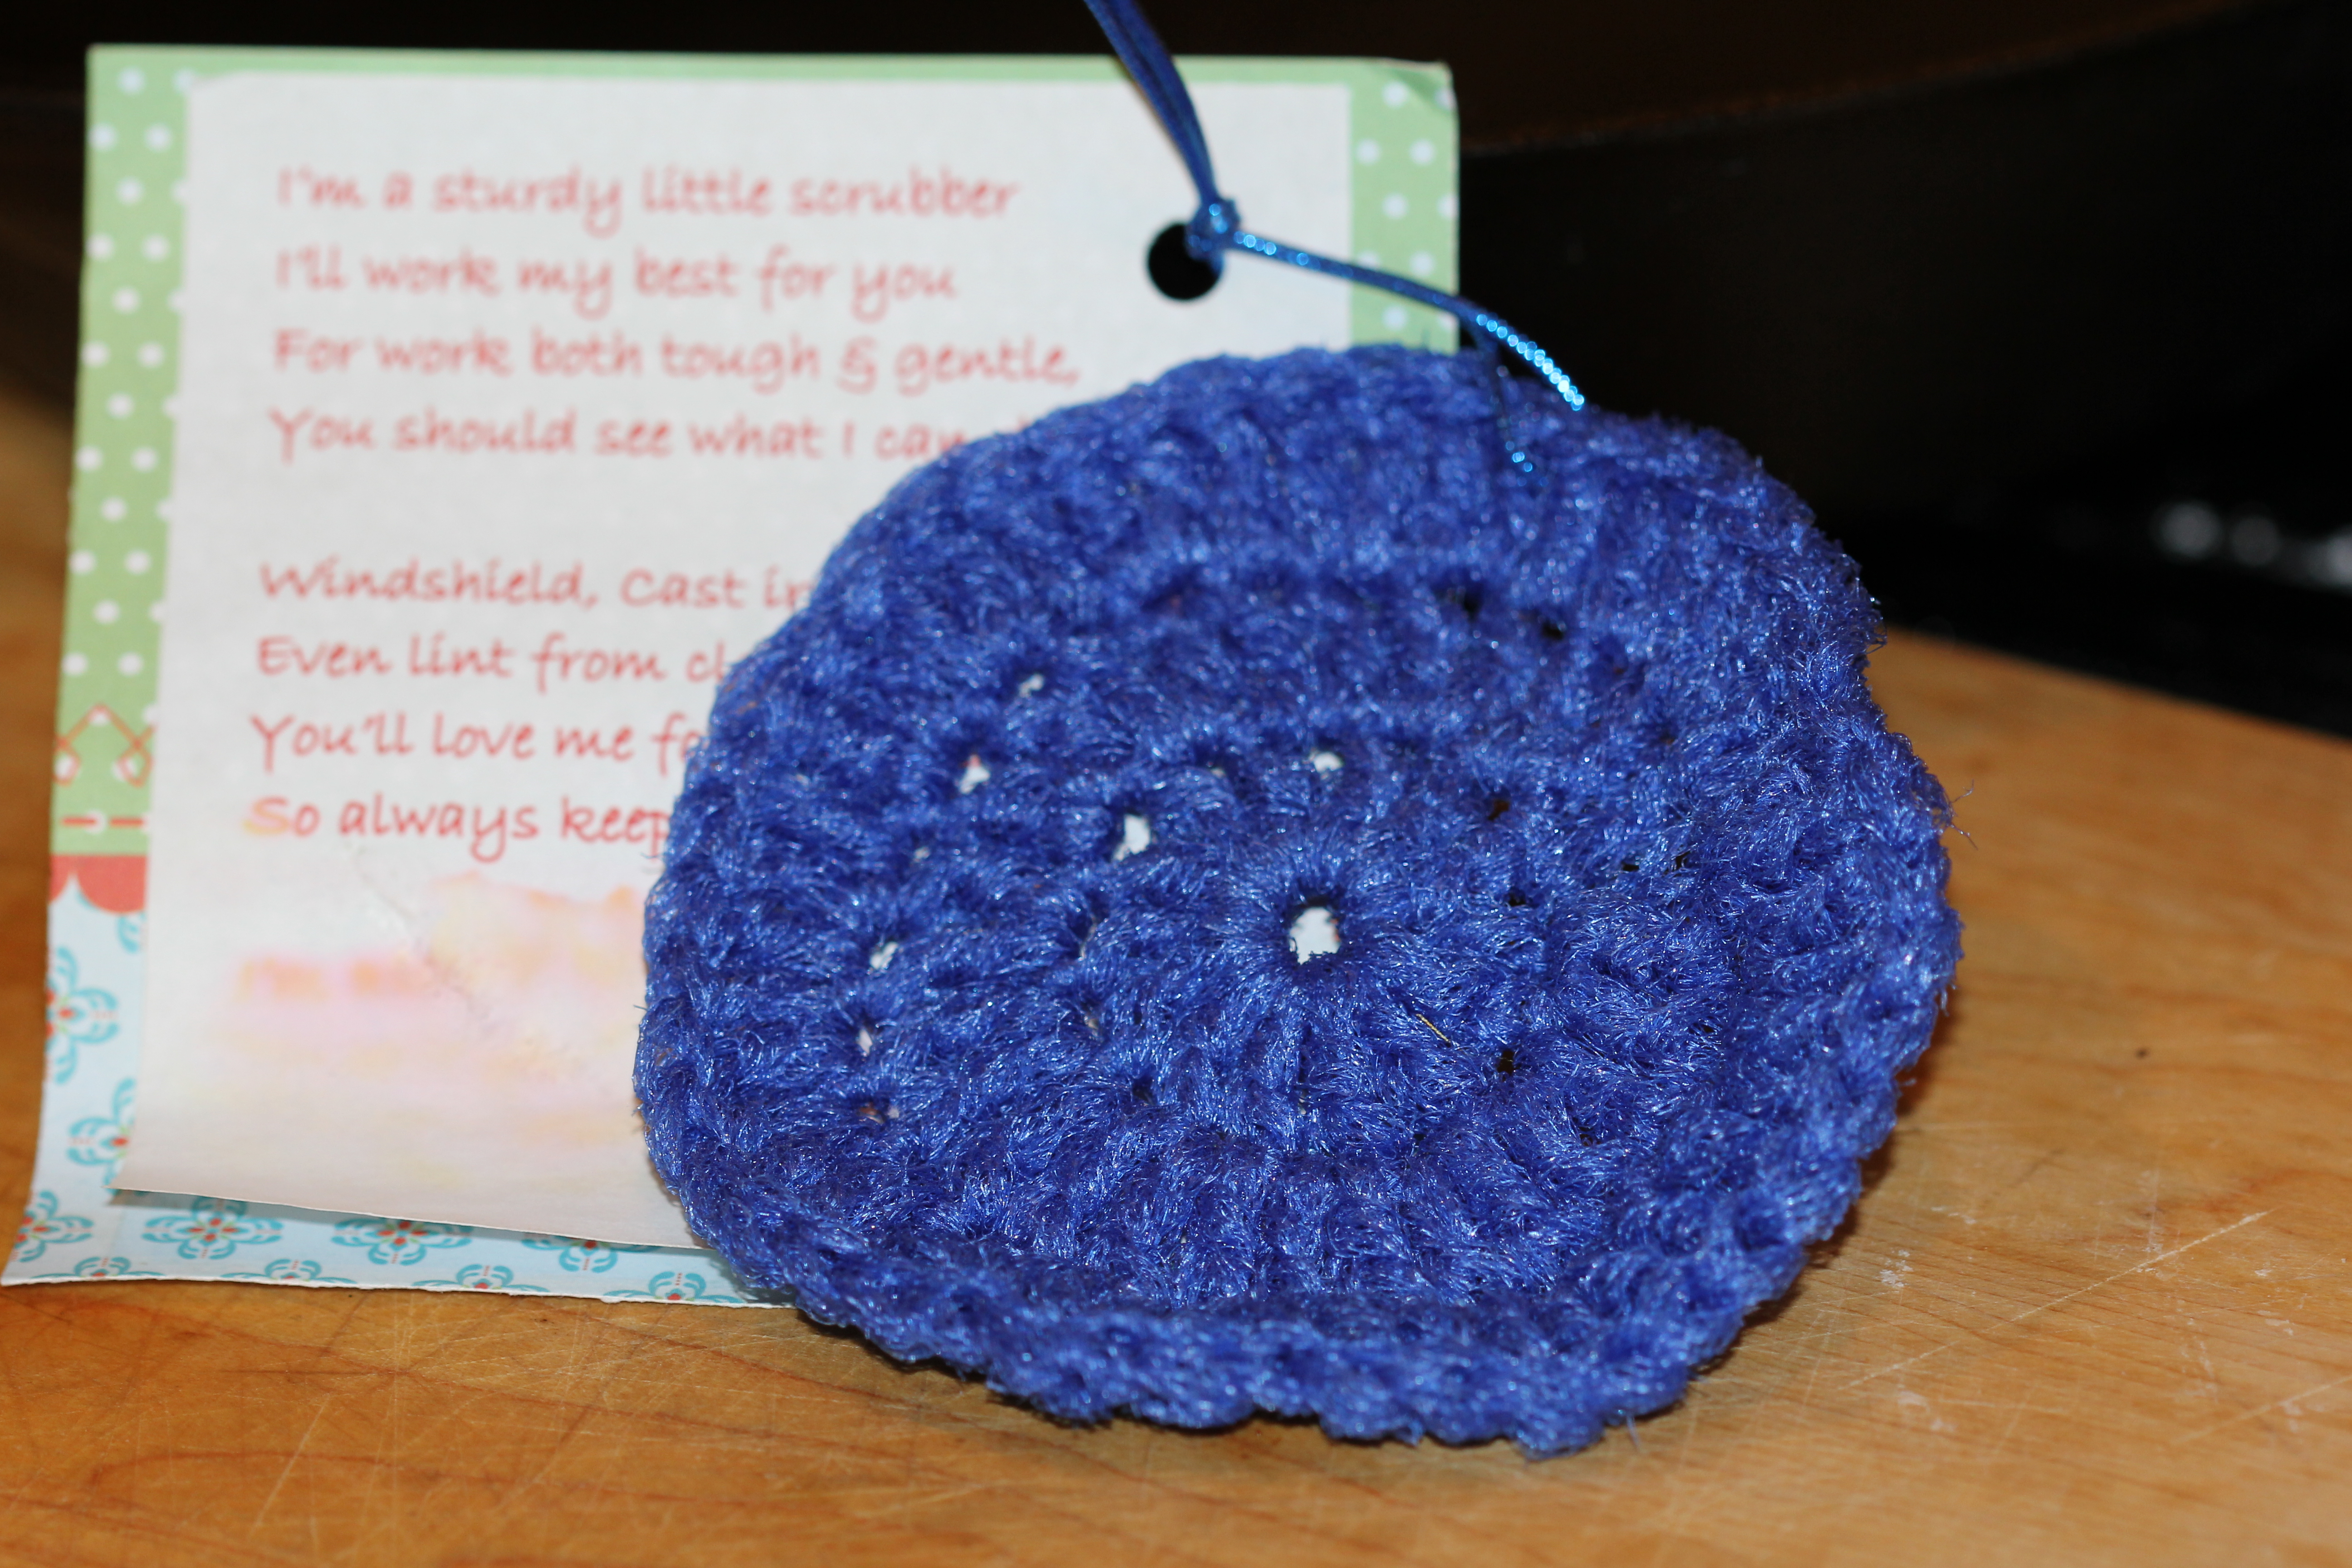
I loved this little gift!  It was handmade, used recycled nylon, served a useful purpose (cleaning out cast iron), and made my heart smile with its fun poem.

We had not heard about this tradition, so we didn’t have a gift to share in return.  I decided then that if we returned to Sandy, Utah, we would bring gifts.

Thus began my search for an appropriate gift.  Over the past year, I’ve kept a look out for gift ideas but never found anything that spoke to my heart. Nothing seemed to be just right. I wanted a  gift that was (1) inexpensive or less than about $5, (2) homemade, (3) celebrated cooking in cast iron. Sounds like a simple task but it was not!  Finally, I read a post on the Cast Iron Facebook page about homemade potholders that instantly caught my attention, and my search for gift ideas ended!

IMG_1219-Edit-1

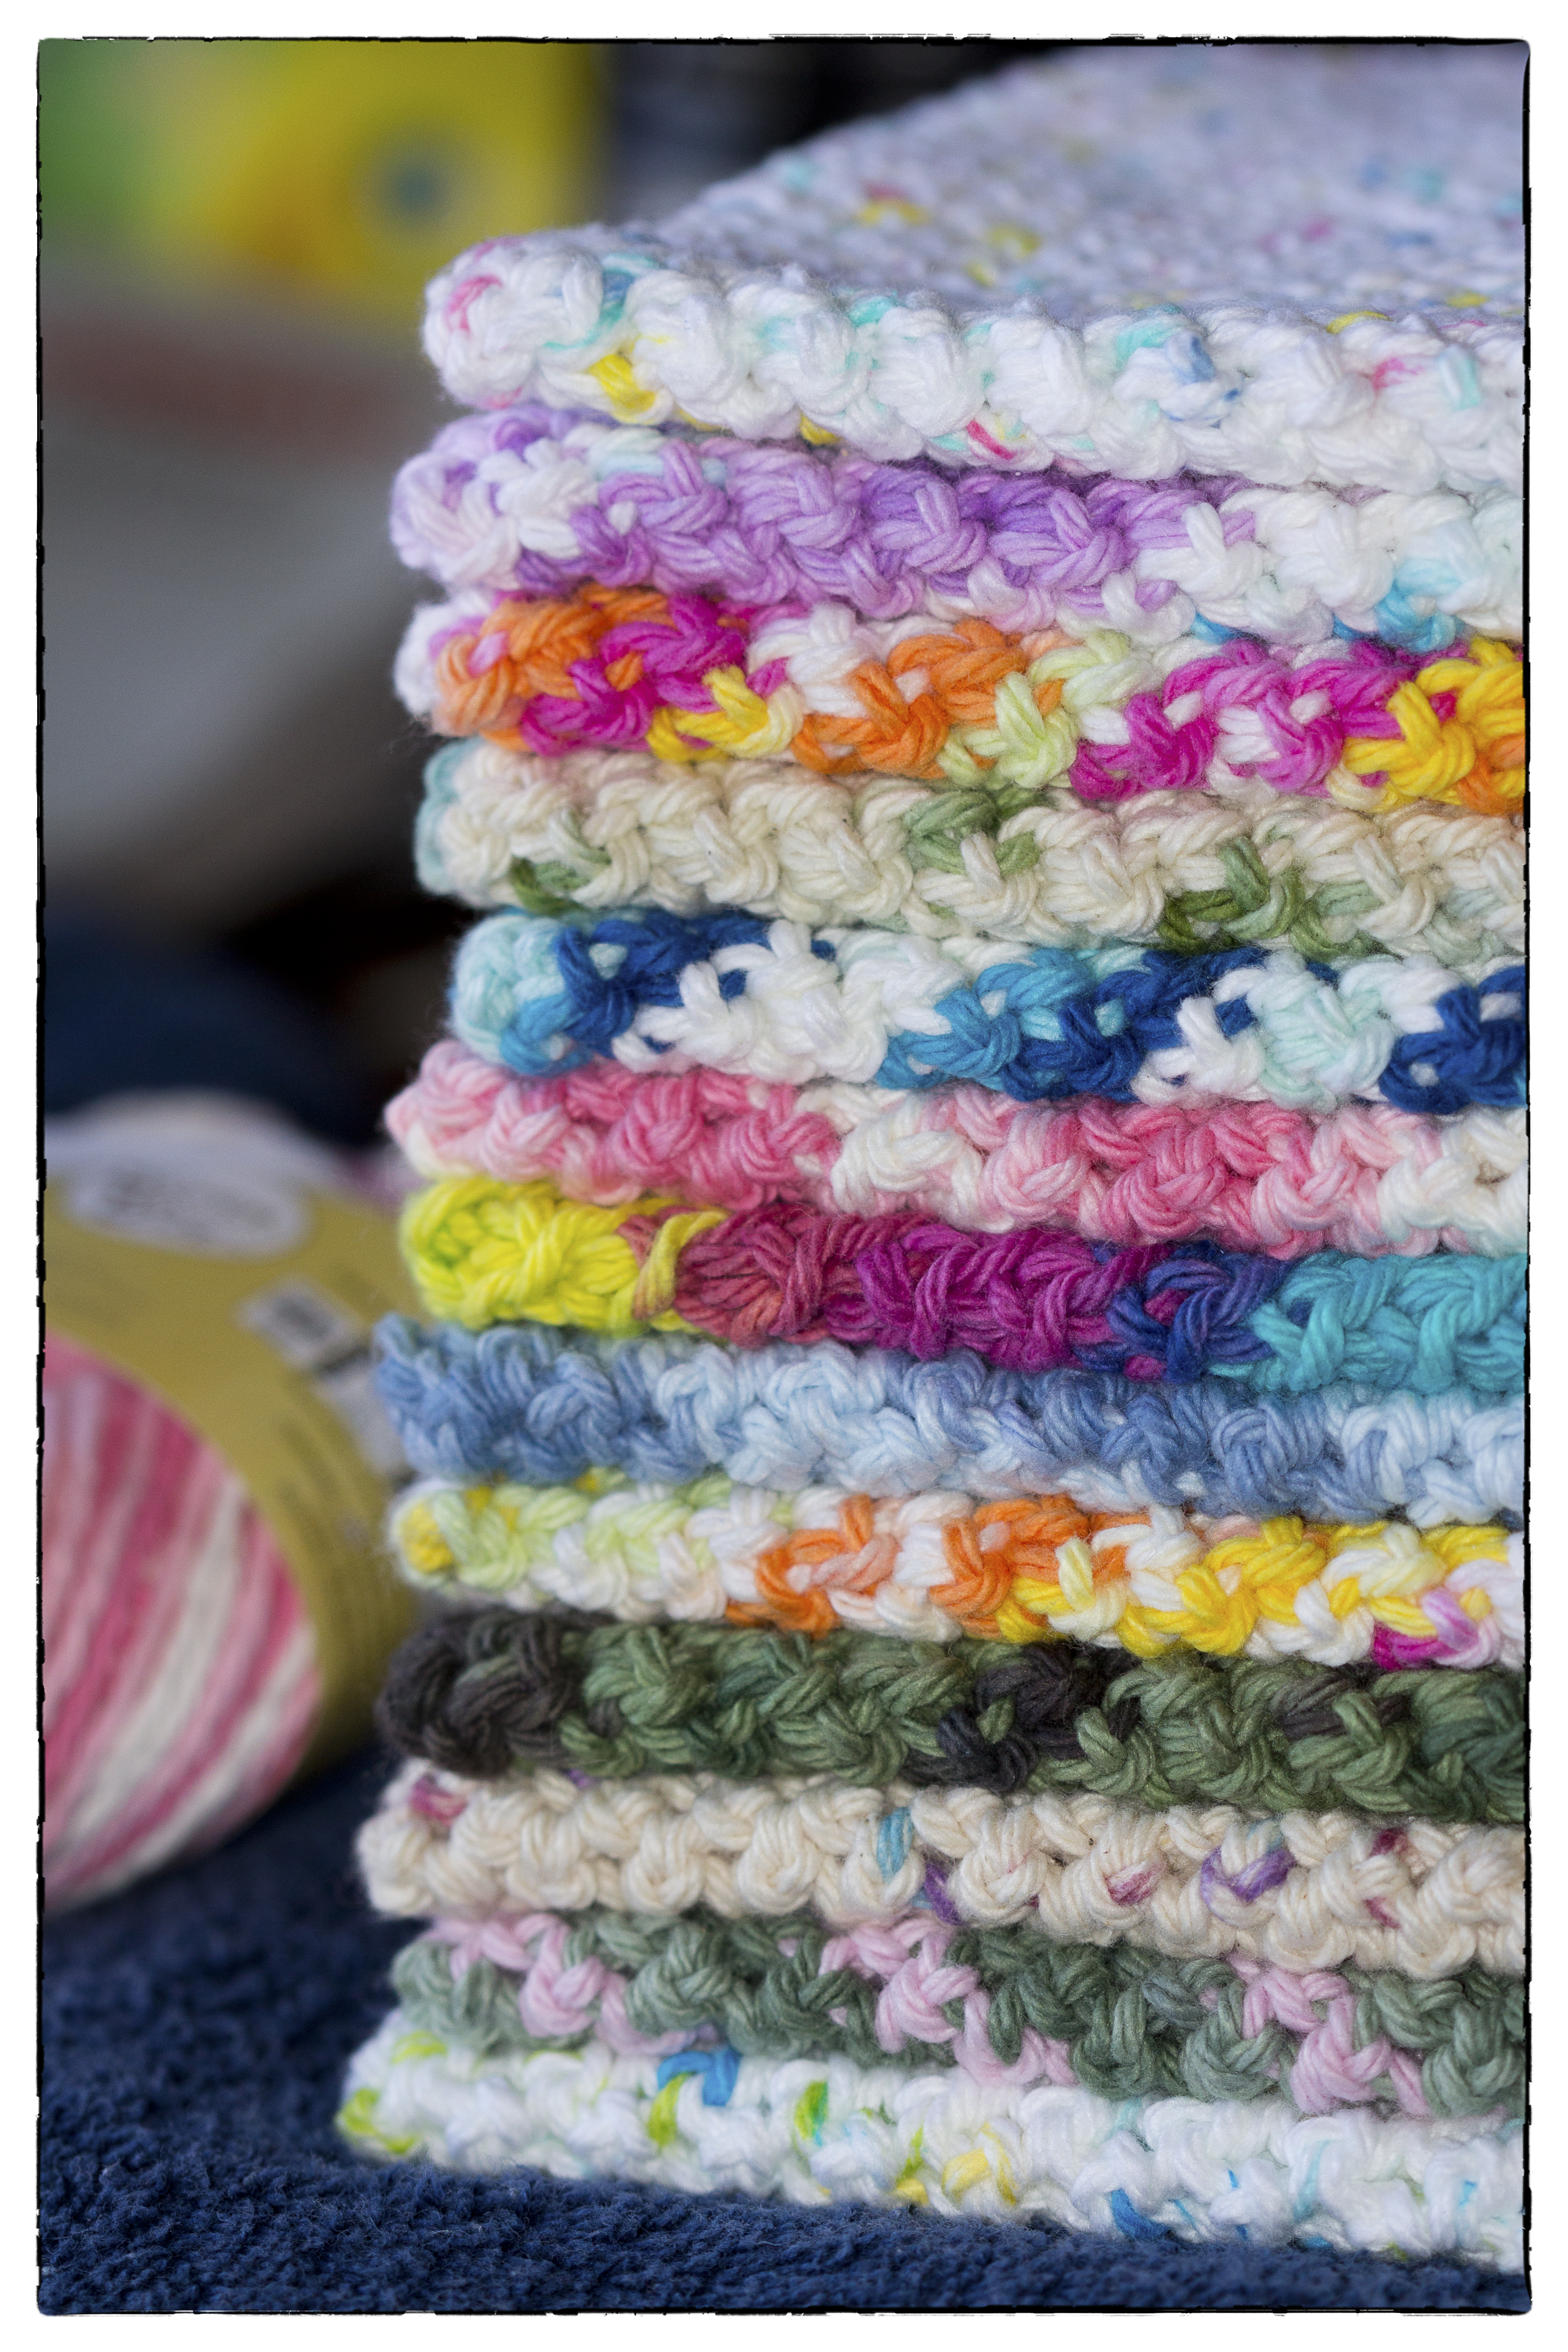
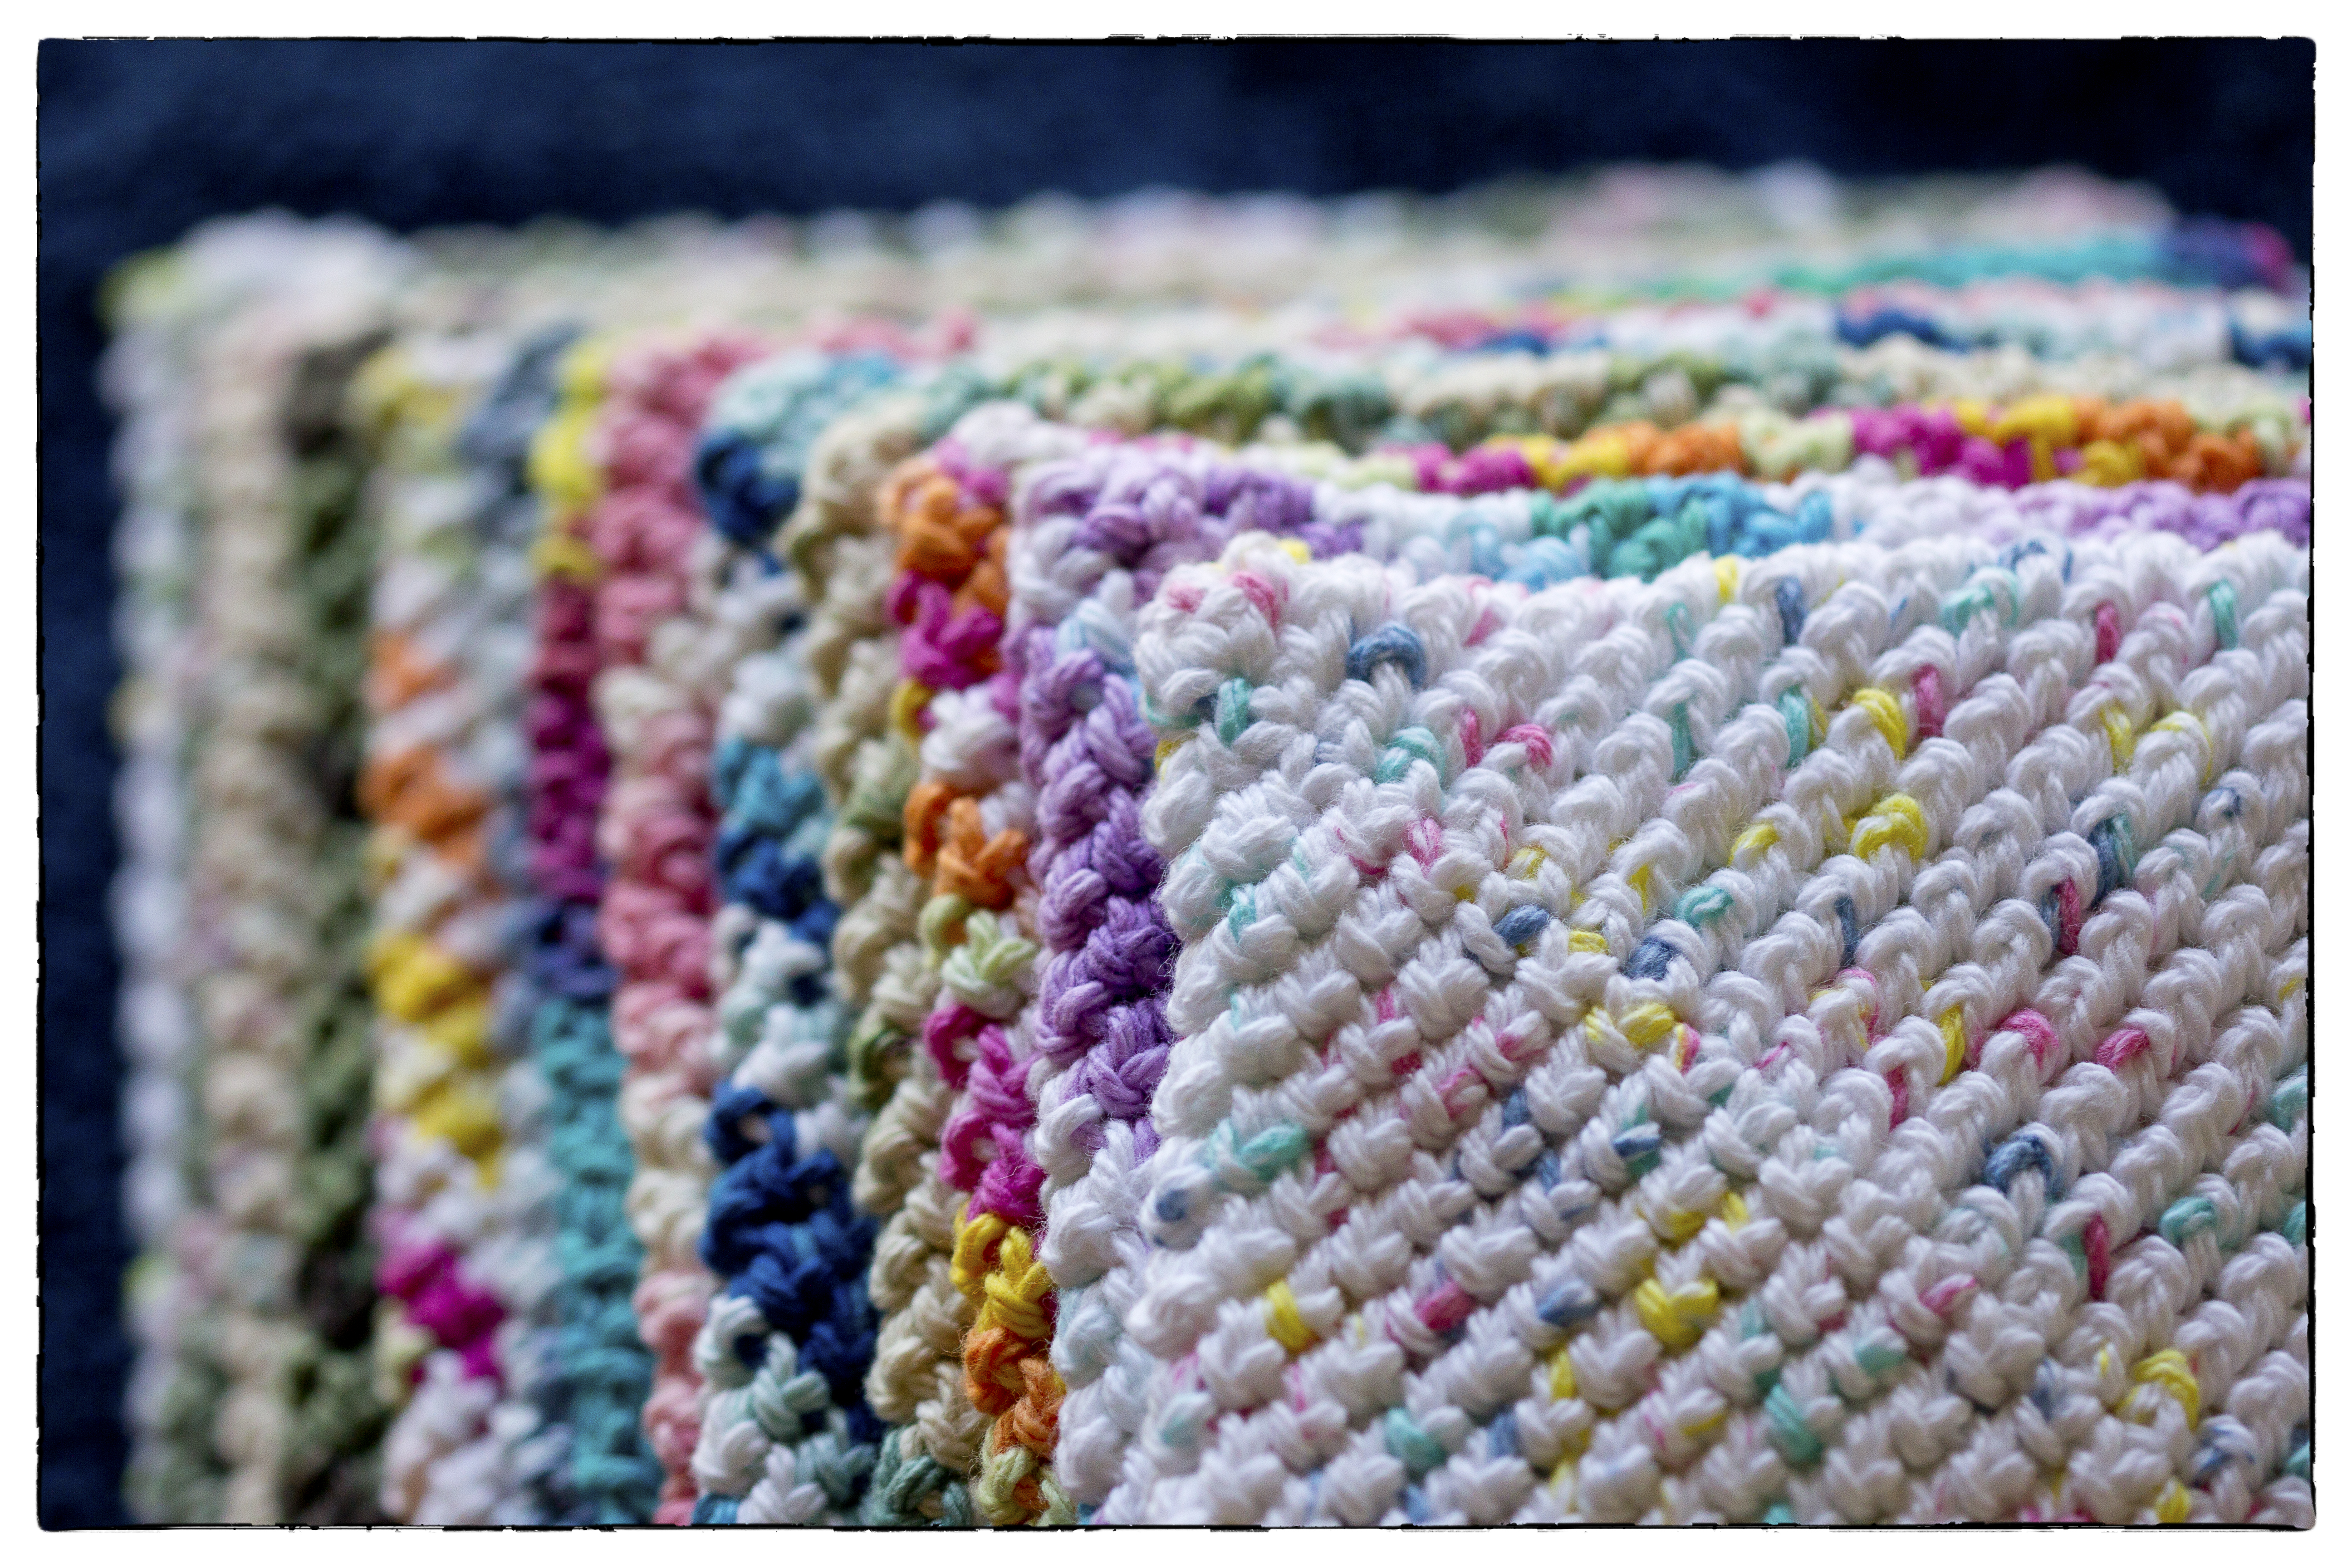
Potholders are essential in any kitchen, indoors or out.  Picking up a hot pot, hot skillet, or hot pan out of the oven, requires protection that fits easily in hand, is flexible, and washable.  I knew immediately that this was the perfect gift for us to take to WCCO.  Made out of colorful, inexpensive, 100% cotton, this would be a perfect gift I could make for each team.

I am almost finished crocheting a beautiful stack of potholders and am ready to pack them up for our trip to Utah in a few weeks!

In the next post, I will show you how to make these easy potholders.  What is your favorite DYI kitchen project?

Posted in Tips and Tools | Tagged , , , , | Leave a comment

Goodbye Canned Biscuits!

I am tired of canned biscuits.  Yes, they are convenient.  Yes, they taste good.  But why can’t I make tasty and easy biscuits from scratch?

Thanks to America’s Test Kitchen, I am ready to bake biscuits from scratch in our camp Dutch oven.  Every recipe I have tried from their cookbooks turn out so well I get excited and am ready to try cream biscuits (page 712, The New Best Recipe).  This recipe grabbed my attention since it looked easy and adaptable.   Let’s try two versions of cream biscuits.  Both have smoked cheddar cheese, but one recipe will have crispy pancetta and the other will have roasted green chile.  I love Southwestern 505 green chile, so let’s start with it!

I pulled out our big 16″ Lodge camp Dutch oven, fired up the charcoal, and am ready to bake up these yummy biscuits!

IMG_0964Here’s the recipe for Easy Cheesy Green Chile Biscuits

  • 2 cups all-purpose flour
  • 1 tablespoon sugar
  • 1/2 teaspoon salt
  • 2 teaspoons baking powder
  • 2 oz shredded cheddar cheese
  • 1/2 cup roasted, chopped green chiles
  • 1 cup heavy cream

In a bowl, whisk together all dry ingredients then add cheese, stirring lightly until all cheese is evenly distributed.  In a separate bowl, mix together cream and green chile, then slowly fold in to dry ingredients until dough begins to form.  Be gentle and avoid over working the dough (or it will be tougher than a hockey puck!).  The dough will be “shaggy” and dry, but don’t worry, it will hold together.  Turn out onto counter top and gently knead three or four times until dough forms into a ball.  Gently press dough into a square, about 6-inches wide and long and a little bit less than an inch deep.  I used my bench scraper to help measure and cut the dough.

IMG_0971

Cut the biscuits into sixteen squares by cutting four columns and then four rows.

IMG_0972Spray 16″ camp Dutch oven with oil and preheat by placing 28 charcoal on top and 18 underneath.  Arrange biscuits about an inch apart and bake for 18 to 20 minutes or until the tops of the biscuits are golden brown.

IMG_0976

These biscuits bake up quickly in this hot oven and may develop a hot spot where a biscuit may burn.

IMG_0983Temperature control is THE most difficult task of outdoor baking.  The design of the Dutch oven and the cast iron makes it a perfect vessel for baking, but like all ovens, it will have hot spots, increasing the chance of burning.  To avoid this, make sure to rotate the lid (don’t lift it!) one direction and then turn the oven in the opposite direction about half way through the baking time (8 minutes).

IMG_0993

Yummy!  Cheesy and kicking with the Hatch green chile!  Best of all, this is easy!!!

Next, let’s see how the pancetta cheese biscuits turn out.

IMG_0953

The recipe for the pancetta biscuits is slightly different but just as easy and tasty.

  • 2 cups all-purpose flour
  • 1 tablespoon sugar
  • 1/2 teaspoon salt
  • 2 teaspoons baking powder
  • 2 oz shredded cheddar cheese
  • 3 oz pancetta, chopped and fried until crispy
  • 1 1/2 cups heavy cream

IMG_0960

Here’s what the “shaggy” dough looks like with crispy pancetta and cheese.

IMG_0997Even though it looks dry, it will shape up nicely into a ball and then into a 6″ x 6″ square that is just shy of 1″ thick.

IMG_1001

Cut it up into 16 squares and put into a 425 degree Fahrenheit degree 16″ Dutch oven and bake about 18 minutes or until biscuits are golden brown.

IMG_1003

Easy.  Adaptable. Delicious.

Are you ready to give up canned biscuits?

Posted in Recipes | Tagged , , , , , , | 3 Comments