In my journey to explore the best of outdoor cooking in camp Dutch Ovens, I am constantly looking for people, websites, and cookbooks that help me learn and grow. Social media has become a big part of my Dutch Oven journey as friends share ideas, recipes, and so much more on the internet. Facebook and Pinterest are my primary ways of connecting online, but I’m exploring other sites like Instagram and Twitter. Today, a friend from the Cast Iron Facebook Group posted a link to Gabrielle Blair’s website Design Mom and the post in August 2013 by Lindsey Johnson, 15 Secrets to Dutch Oven Cooking. So, I clicked the link and immediately loved what I saw. Kudos to Lindsey Johnson for writing this post!
Lindsey’s photographs are beautiful, as every image makes the Dutch oven the hero of the story. In each, the lighting is perfect, the composition is clean and appealing, and eye-popping colors made me drool. Every image makes me want to be in the room when the photographer was at work, to see how each image was shot and set up to insure perfect lighting, delightful composition, and interesting perspecitves. A great example is this image of Dutch Oven Chicken Provencal Stew.
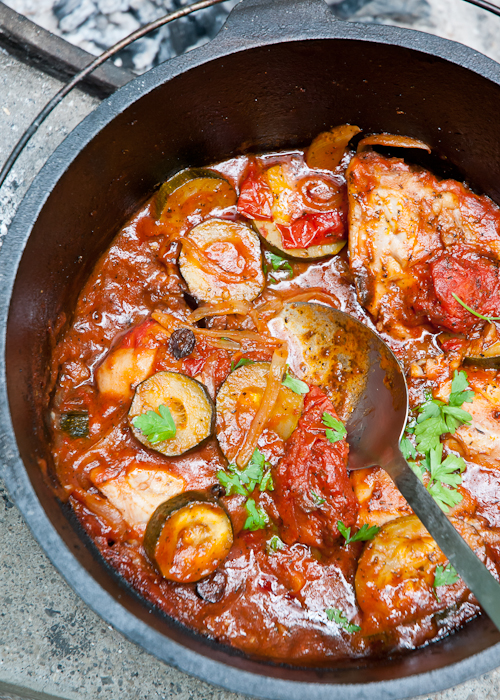
Lindsey’s photographs inspire me to take images of food that show case the ingredients as well as the entire idea of the recipe, in this case the rich and beautiful stew. This is a perfect example of the old saying, “We eat with our eyes.”
I also appreciate this description of what make baking or cooking in camp Dutch ovens so appealing.
Cooking in a Dutch oven is one of life’s pleasures, I think. It’s hard to duplicate the feeling of cooking outdoors in a big, cast-iron pot over hot coals. It’s hard to duplicate that flavor too — a cross between cooking over a fire and using a slow cooker. I love it (if that wasn’t already obvious). 🙂
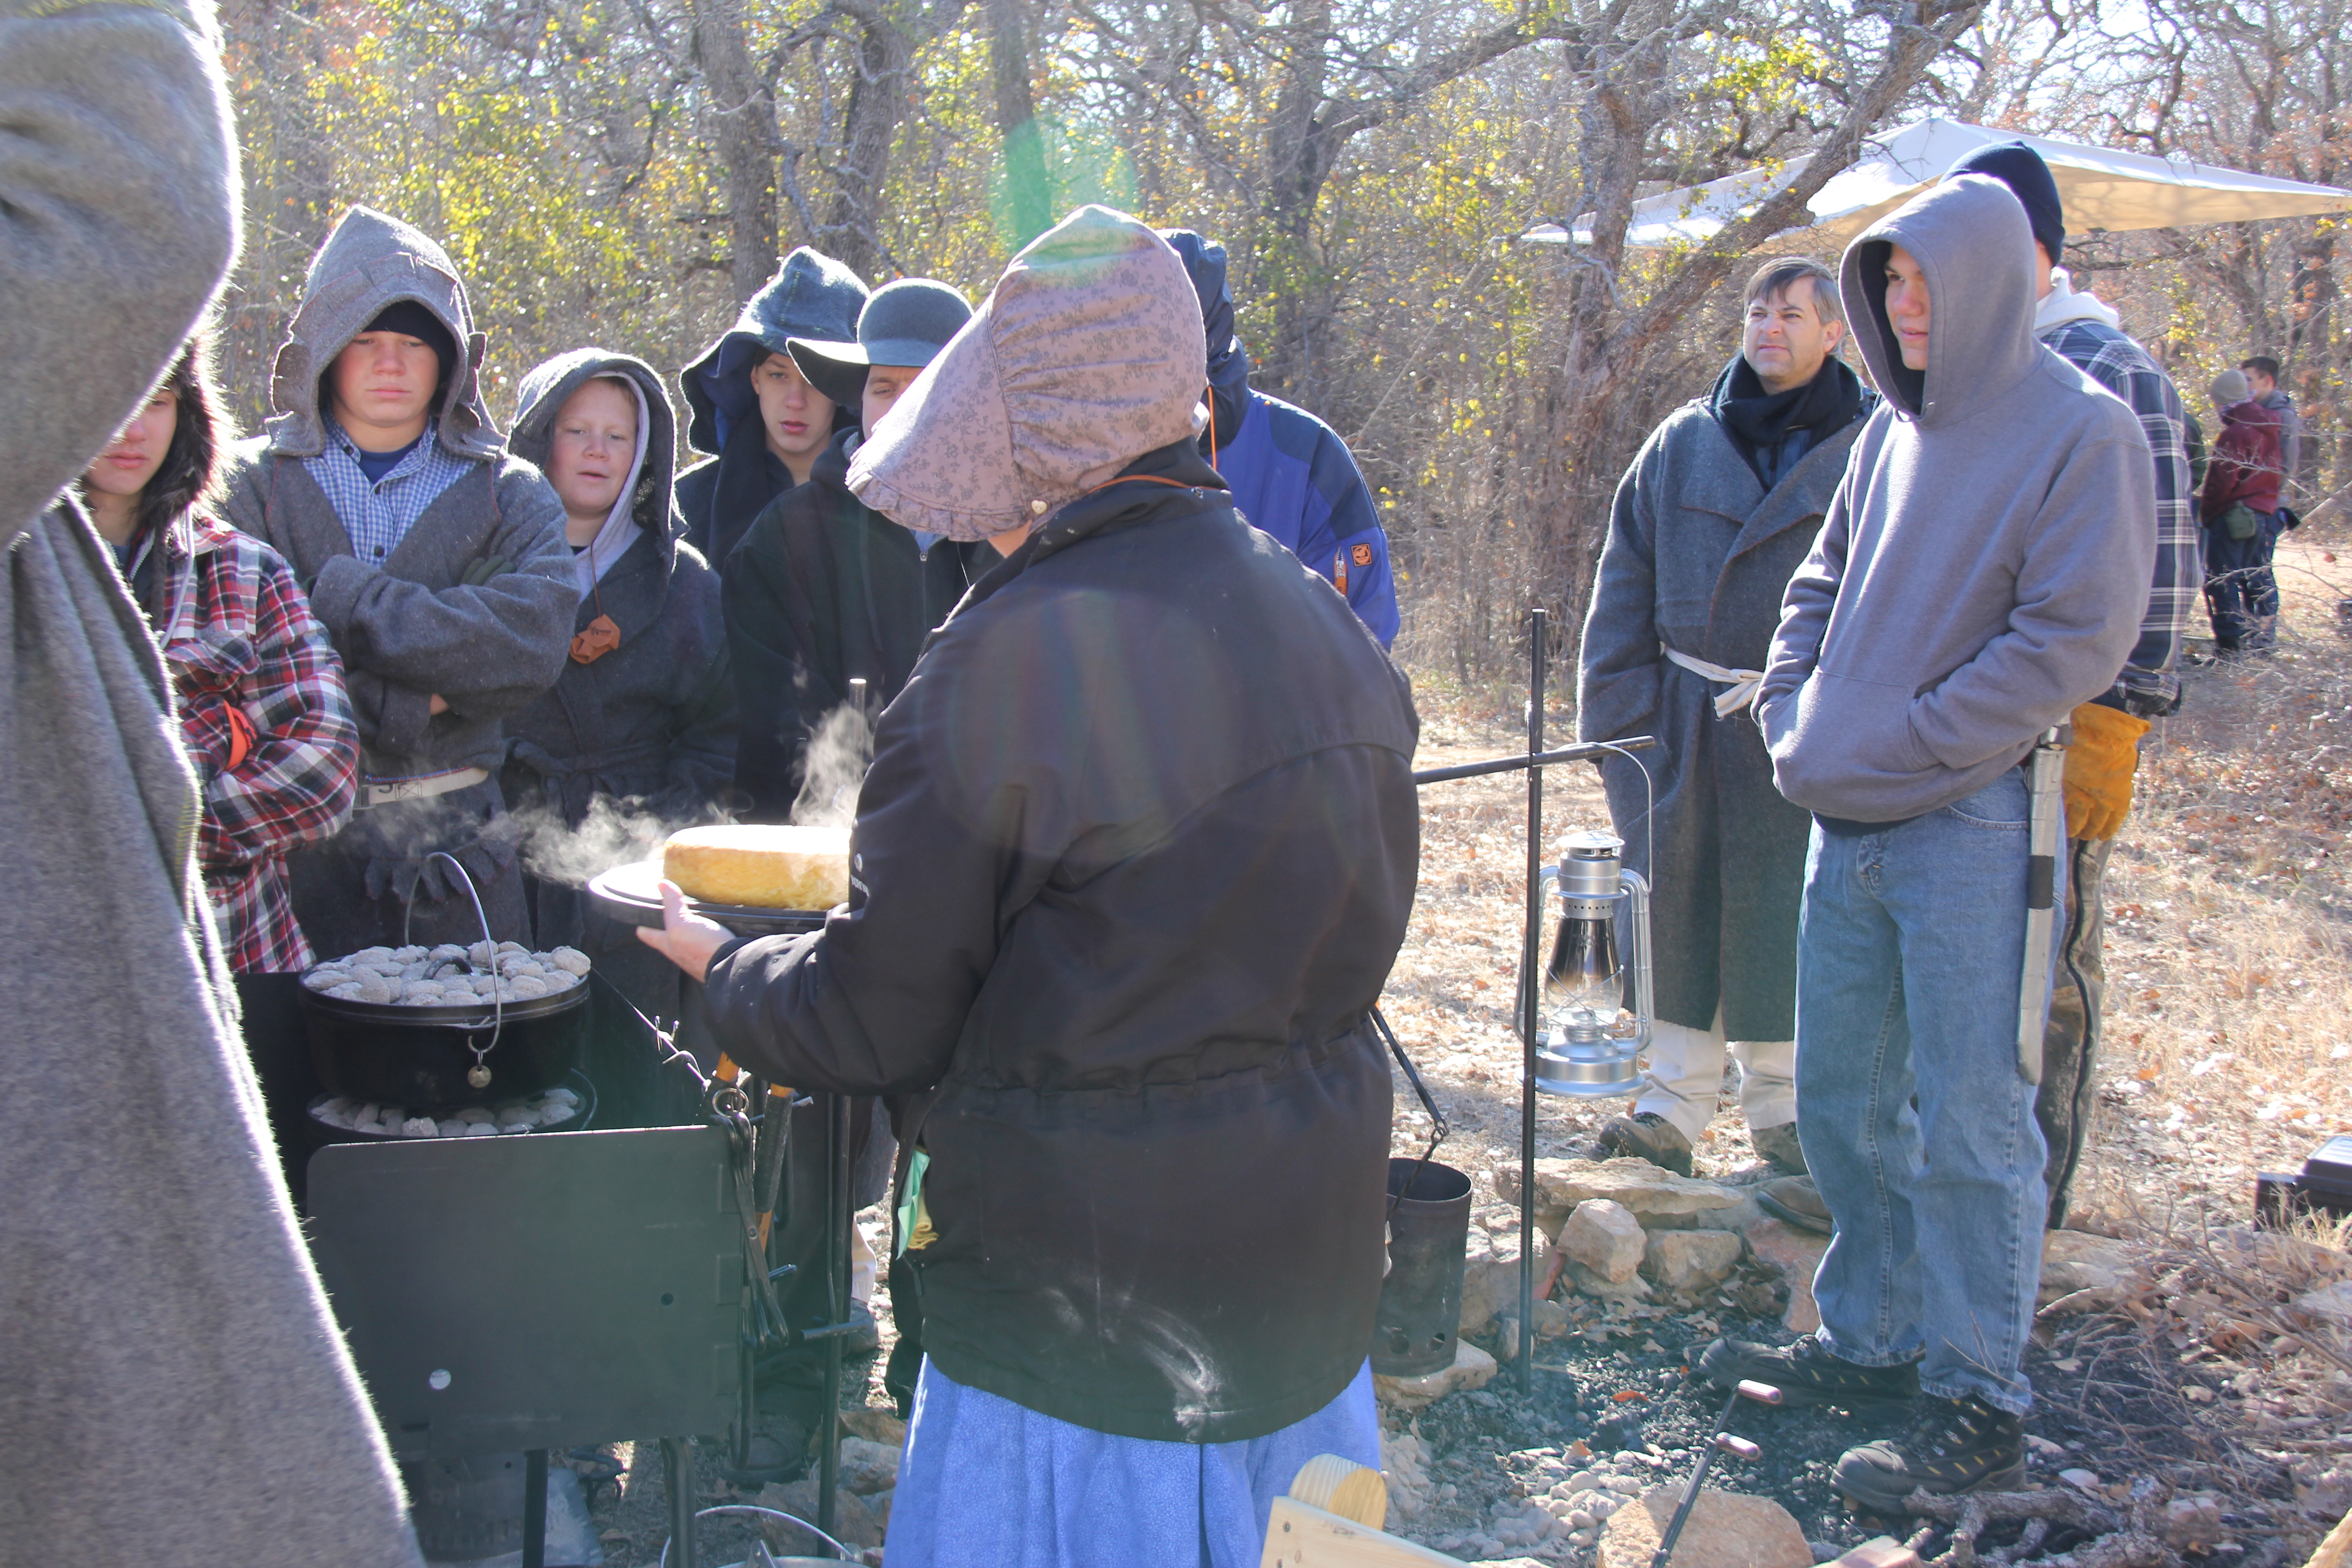
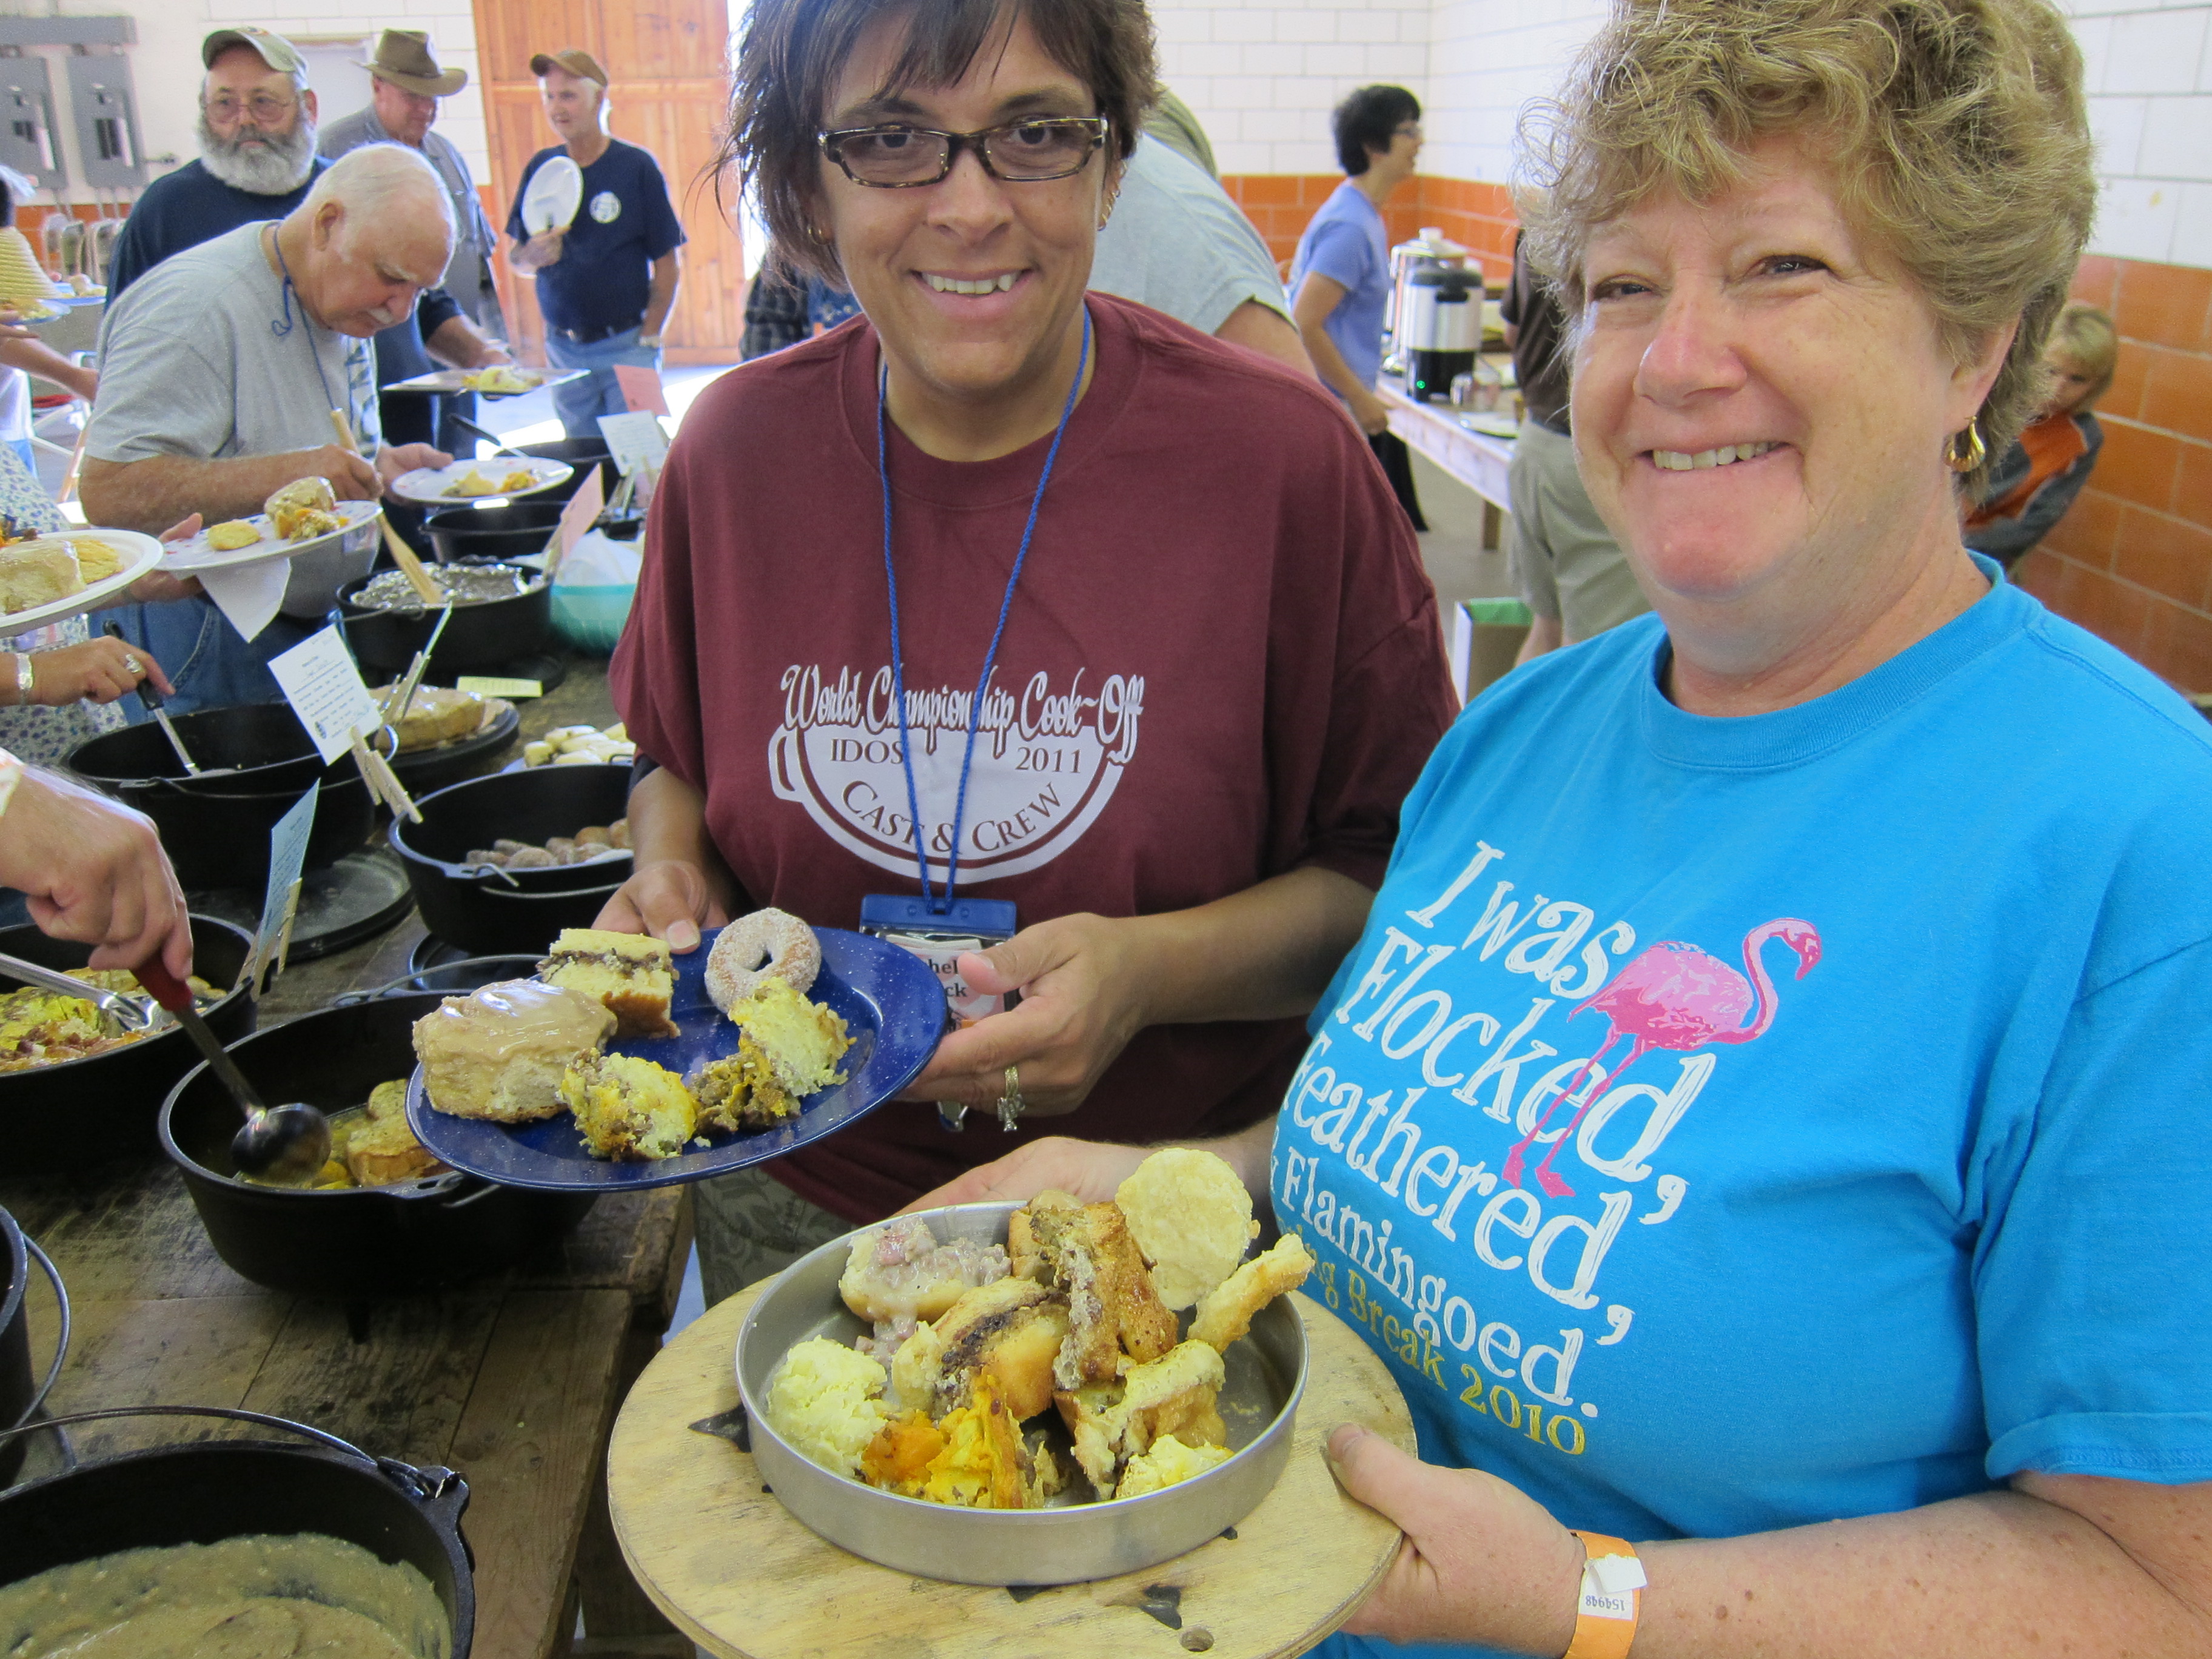
She nailed it for me – cooking in a Dutch oven IS one of life’s pleasures, even if it is a bit of work to set everything up and then put it away. I would add that the pleasure of cooking outdoors is about sharing those delicious flavors with friends and family. When we get together at a DOG, I love to see what friends have prepred in their Dutch oven, watch them prepare and cook their recipe, hear them tell the story of their recipe, and then sit down to eat together. Here’s a picture of my friend Lesley, just after we met in Ohio at the 2010 National Dutch Oven Gathering.
I also appreciate how Lindsey’s recipe for the stew and cobbler are adapted perfectly for a camp Dutch oven by giving the number of charoal on top and bottom and adaptation for different size of ovens. Both recipes are easy and very forgiving, making them a great place for new outdoor cooks to start. But just because they are easy does not mean they are blah or boring or prepackaged. Not at all. These recipes enjoy lots of complex flavors, fresh vegetables, and no processed or packaged food (such as items found in “dump cobbler” such as cake mix or canned pie filling). I look forward to making her Chicken Provencal Stew at our February DOG!
But, after seeing so much that inspired me, I had to disagree with a few of the 15 secrets, beginning with #2 and how to start charcoal:
Put charcoal in charcoal burner, drizzle with a little lighter fluid (optional, but helps to get it going quickly), the carefully add a lighted match.
No, no, NO! Do not drizzle lighter fluid on your charcoal! Instead, use a fire starter. They are very easy to make, they get the charcoal started quickly, and they burn for a long time. Lighter fluid will quickly fumigate the area with a wicked petroleum odor that ruins your sense of taste and smell and gets into the food you are cooking.
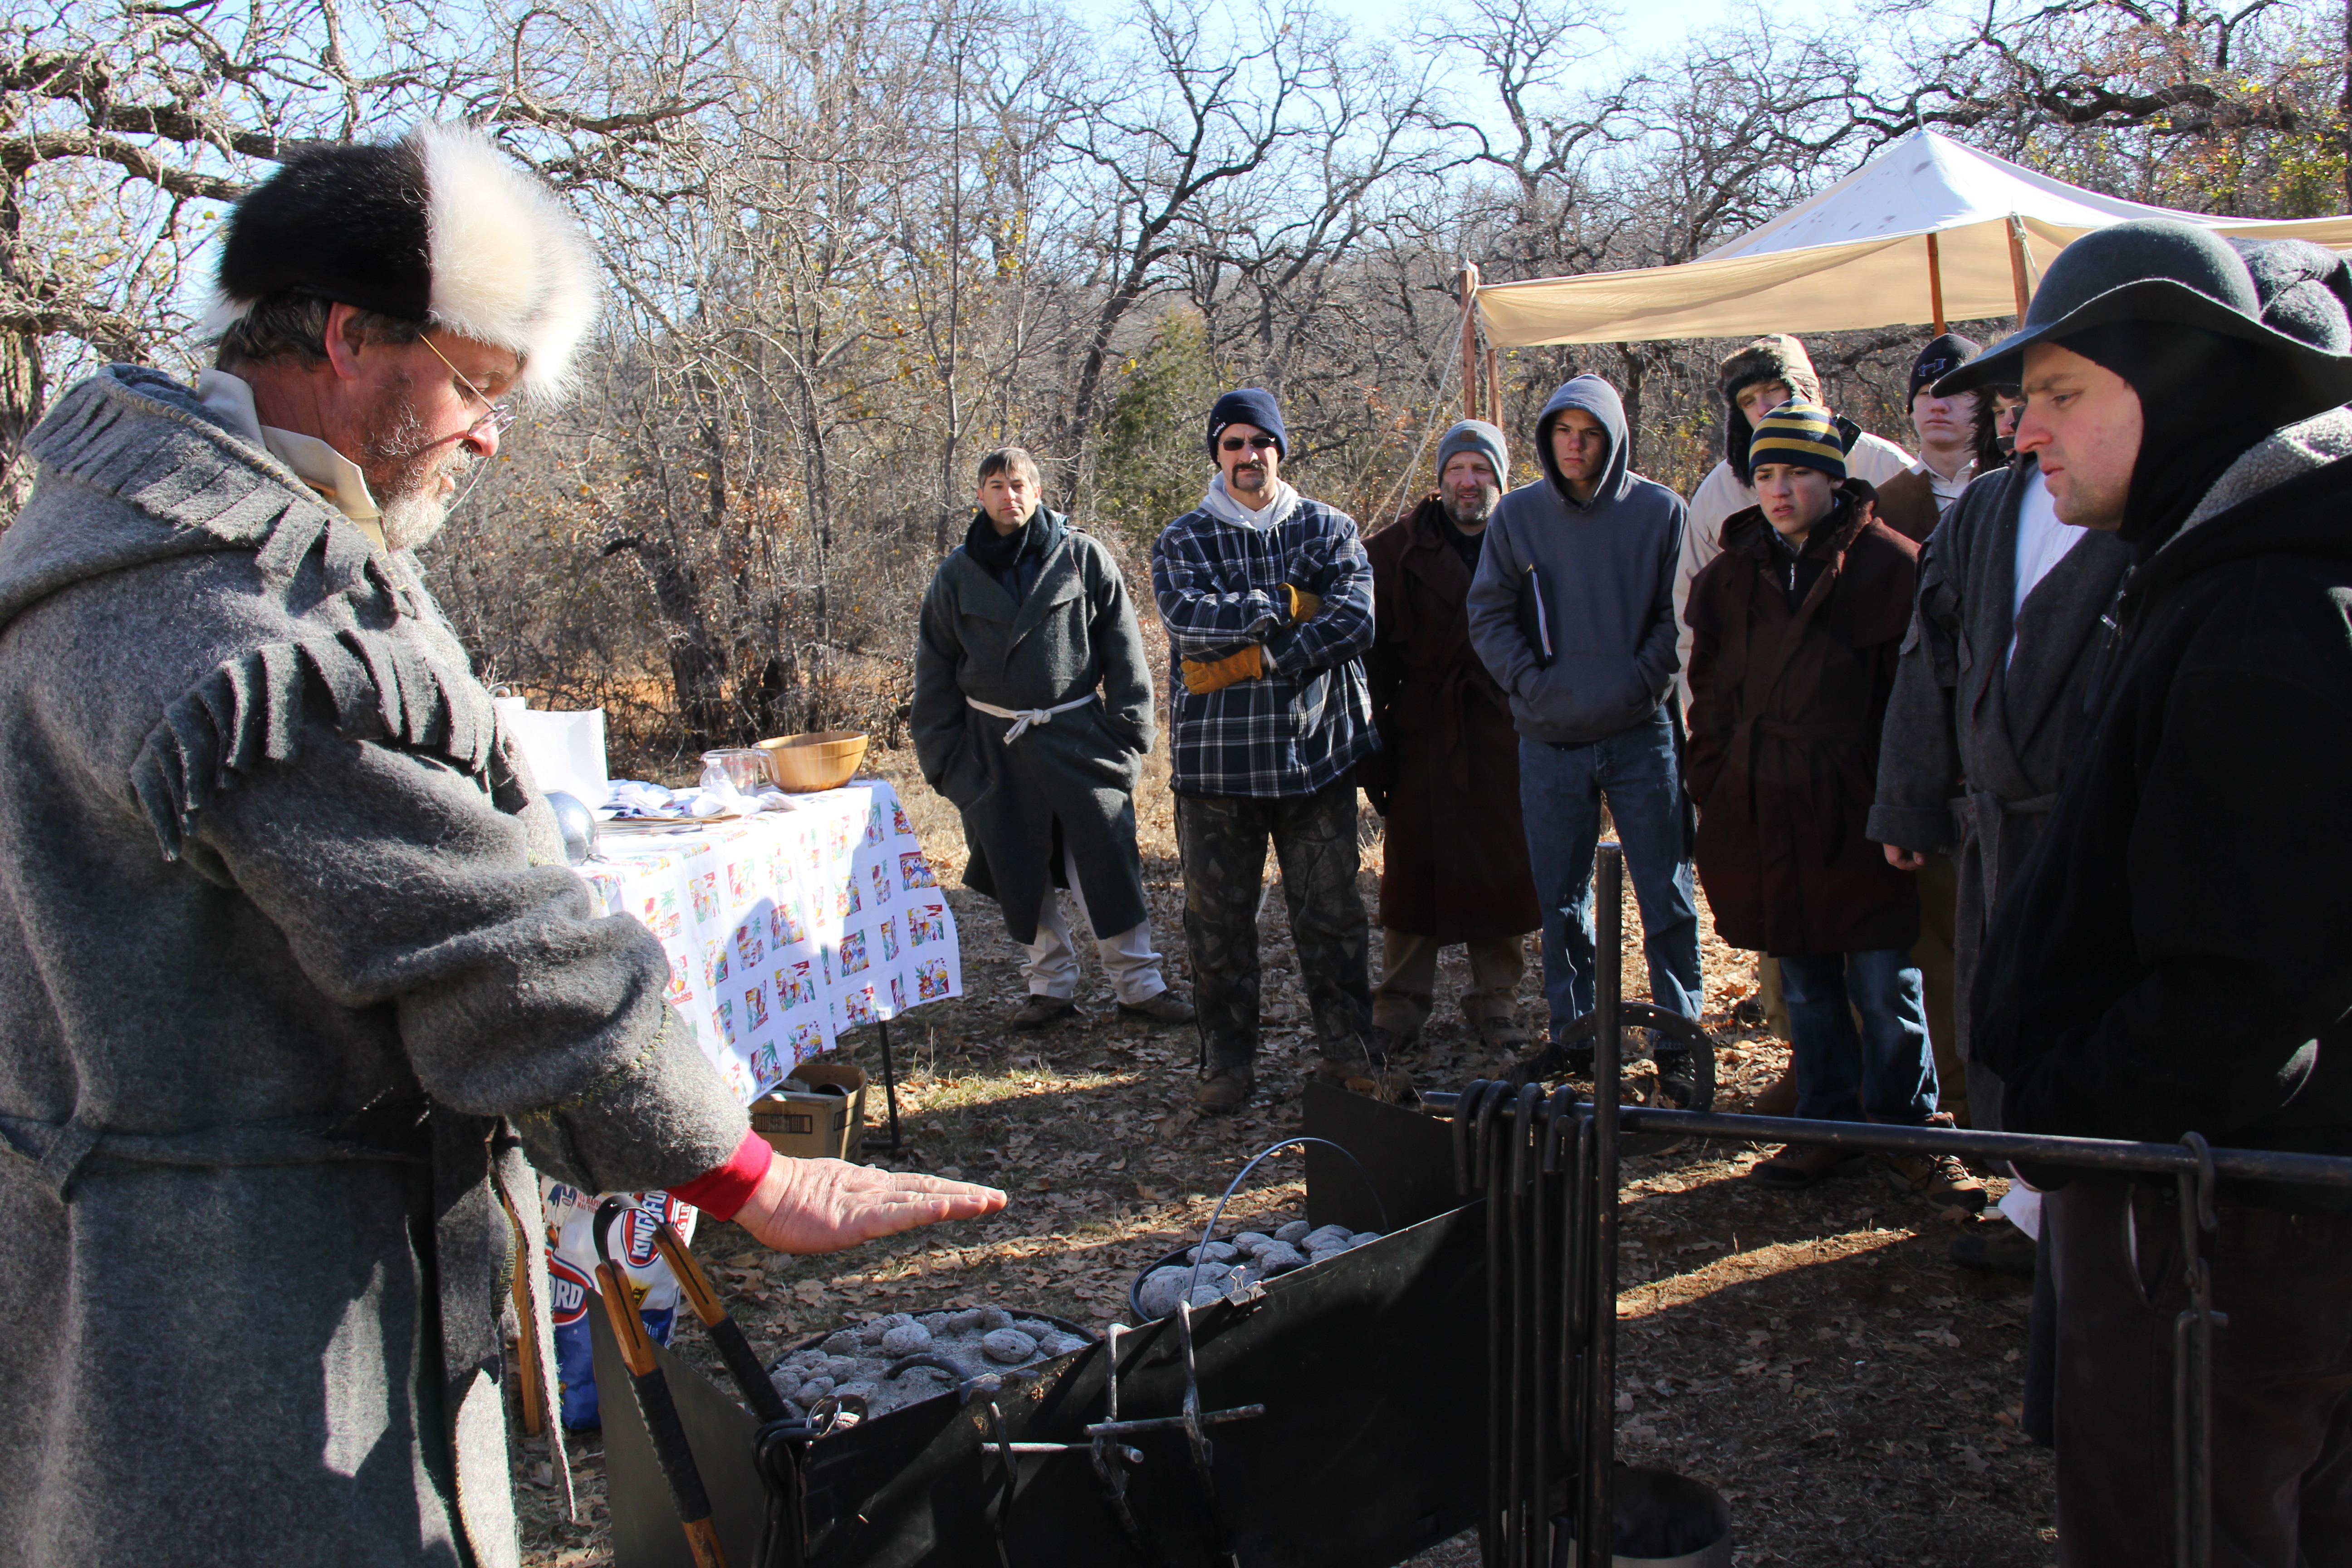
I also disagree with secret #4 (although not as strongly as I do with #2) which addresses the most important challenge of outdoor cooking: temperature control. In this secret’s photo, we see real charcoal being displayed, which is fine, but unrealistic. Lindsey does list charcoal briquettes on her list of items needed for outdoor cooking in camp Dutch ovens, but her photos show real charcoal, not briquettes.
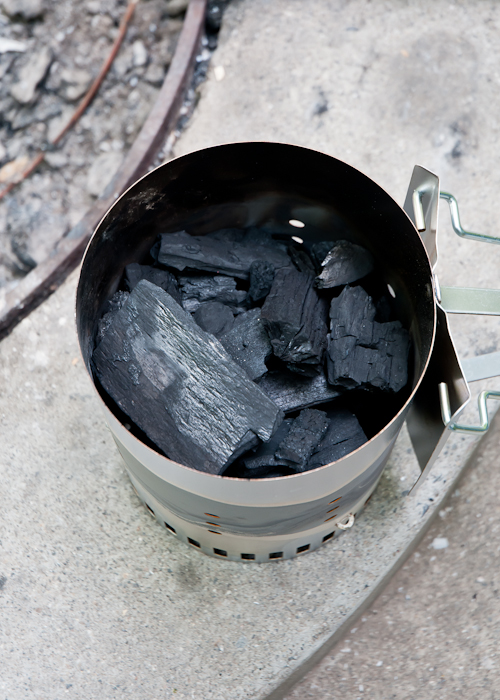
Cooking with real charcoal is tricky as the temperature of the buring charcoal vaires depending on the type of wood. For example, mesquite is a very hard and dense wood found in west Texas that burns very hot. Learning how to cook over mesquite coals takes a lot of trial and error (that means burning a lot of biscuits before you figure it out). Cooking with “store bought” charcoal insures a uniform and consistent temperature and takes the variability of wood out of the difficult equation of temperature control.
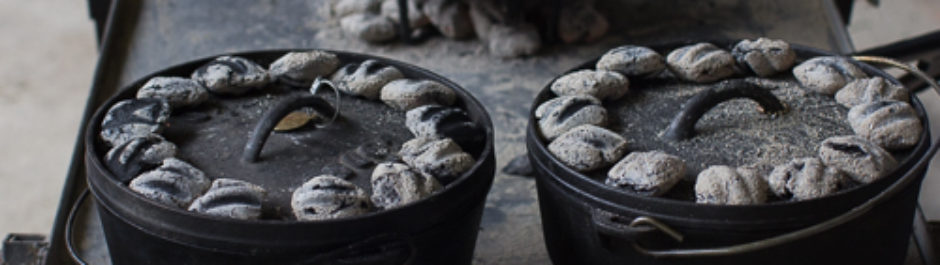
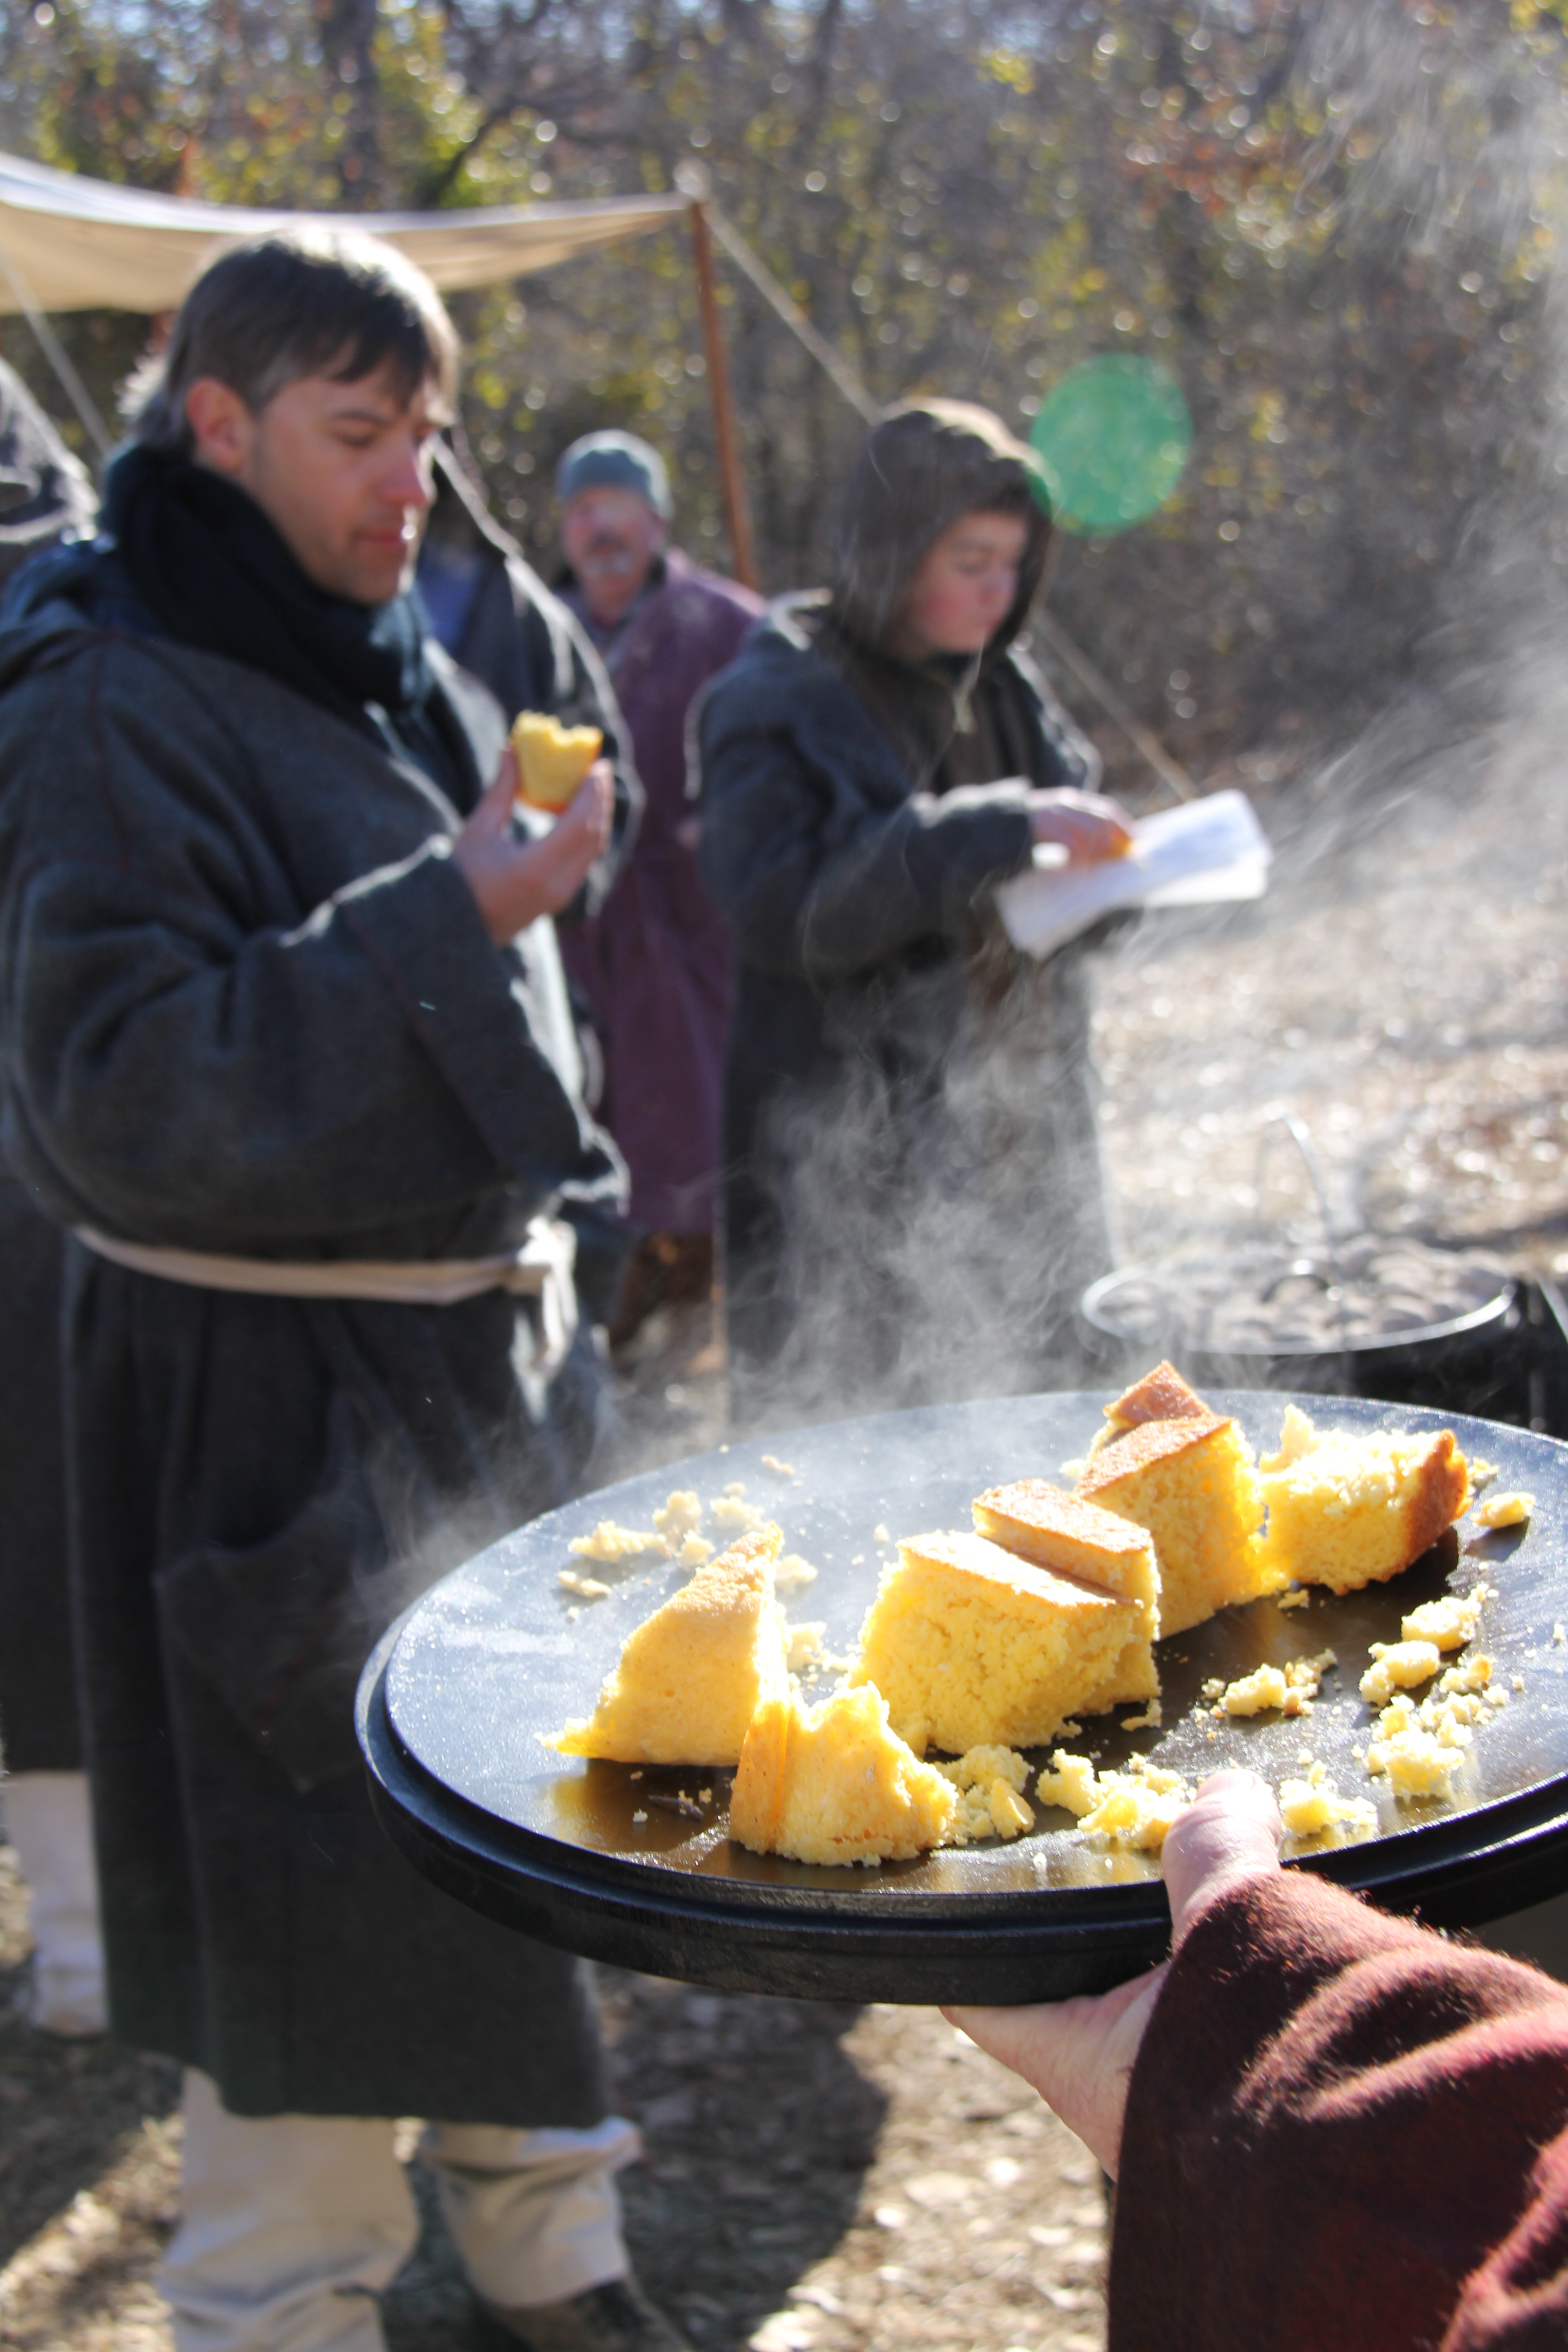
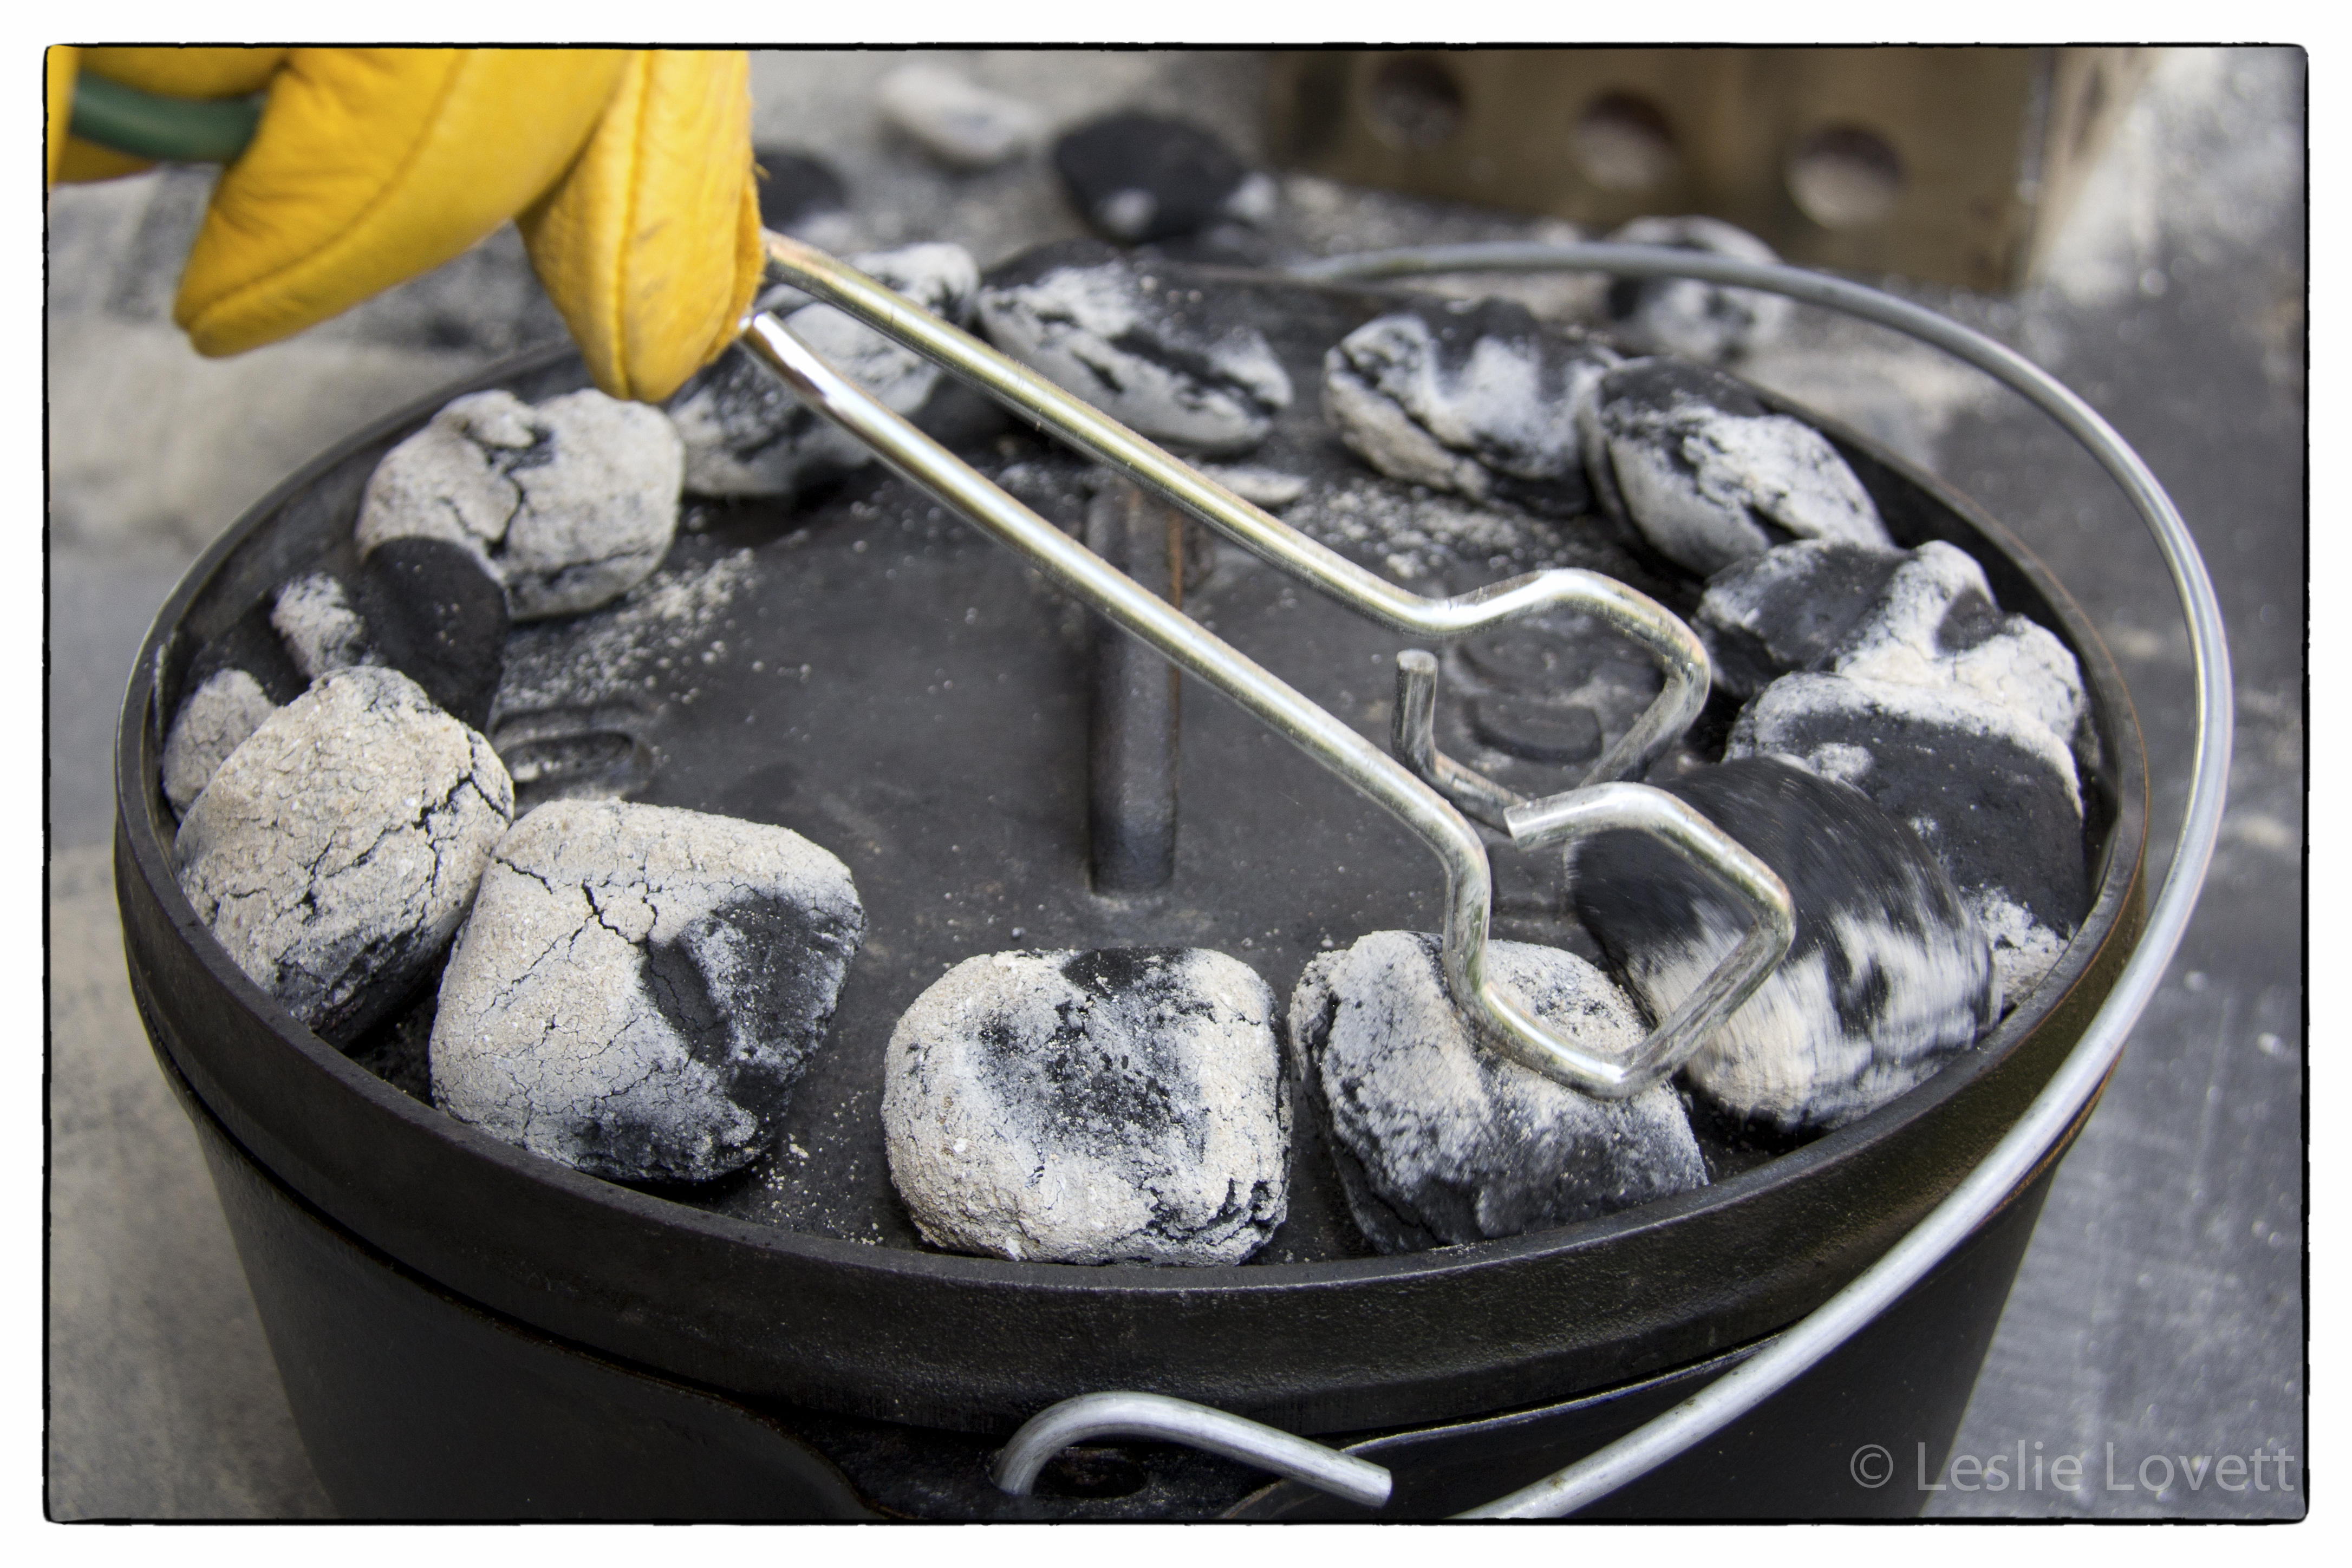 We follow the “ring” method of placing the charcoal around the outside of the top and bottom of the Dutch oven helps to avoid hot spots and burning. Temperature control for stews and cobbler isn’t as demanding, but when you want to bake a beautiful golden brown bread or cornbread, temperature control is essential. So, we avoid real hard wood charcoal.
 Overall, I appreciated reading 15 Secrets to Dutch Oven Cooking and thinking about what makes a really interesting and enjoyable blog post!