 Unlike the easy cream biscuits I shared previously, these scones are more challenging, especially when baking in a camp Dutch oven. But don’t let that stop you from trying this recipe!! In this blog post I will point out the critical steps to successfully baking scones in a camp Dutch oven and share some ideas for this recipe so that you can wow your family with these delicious breakfast goodies!
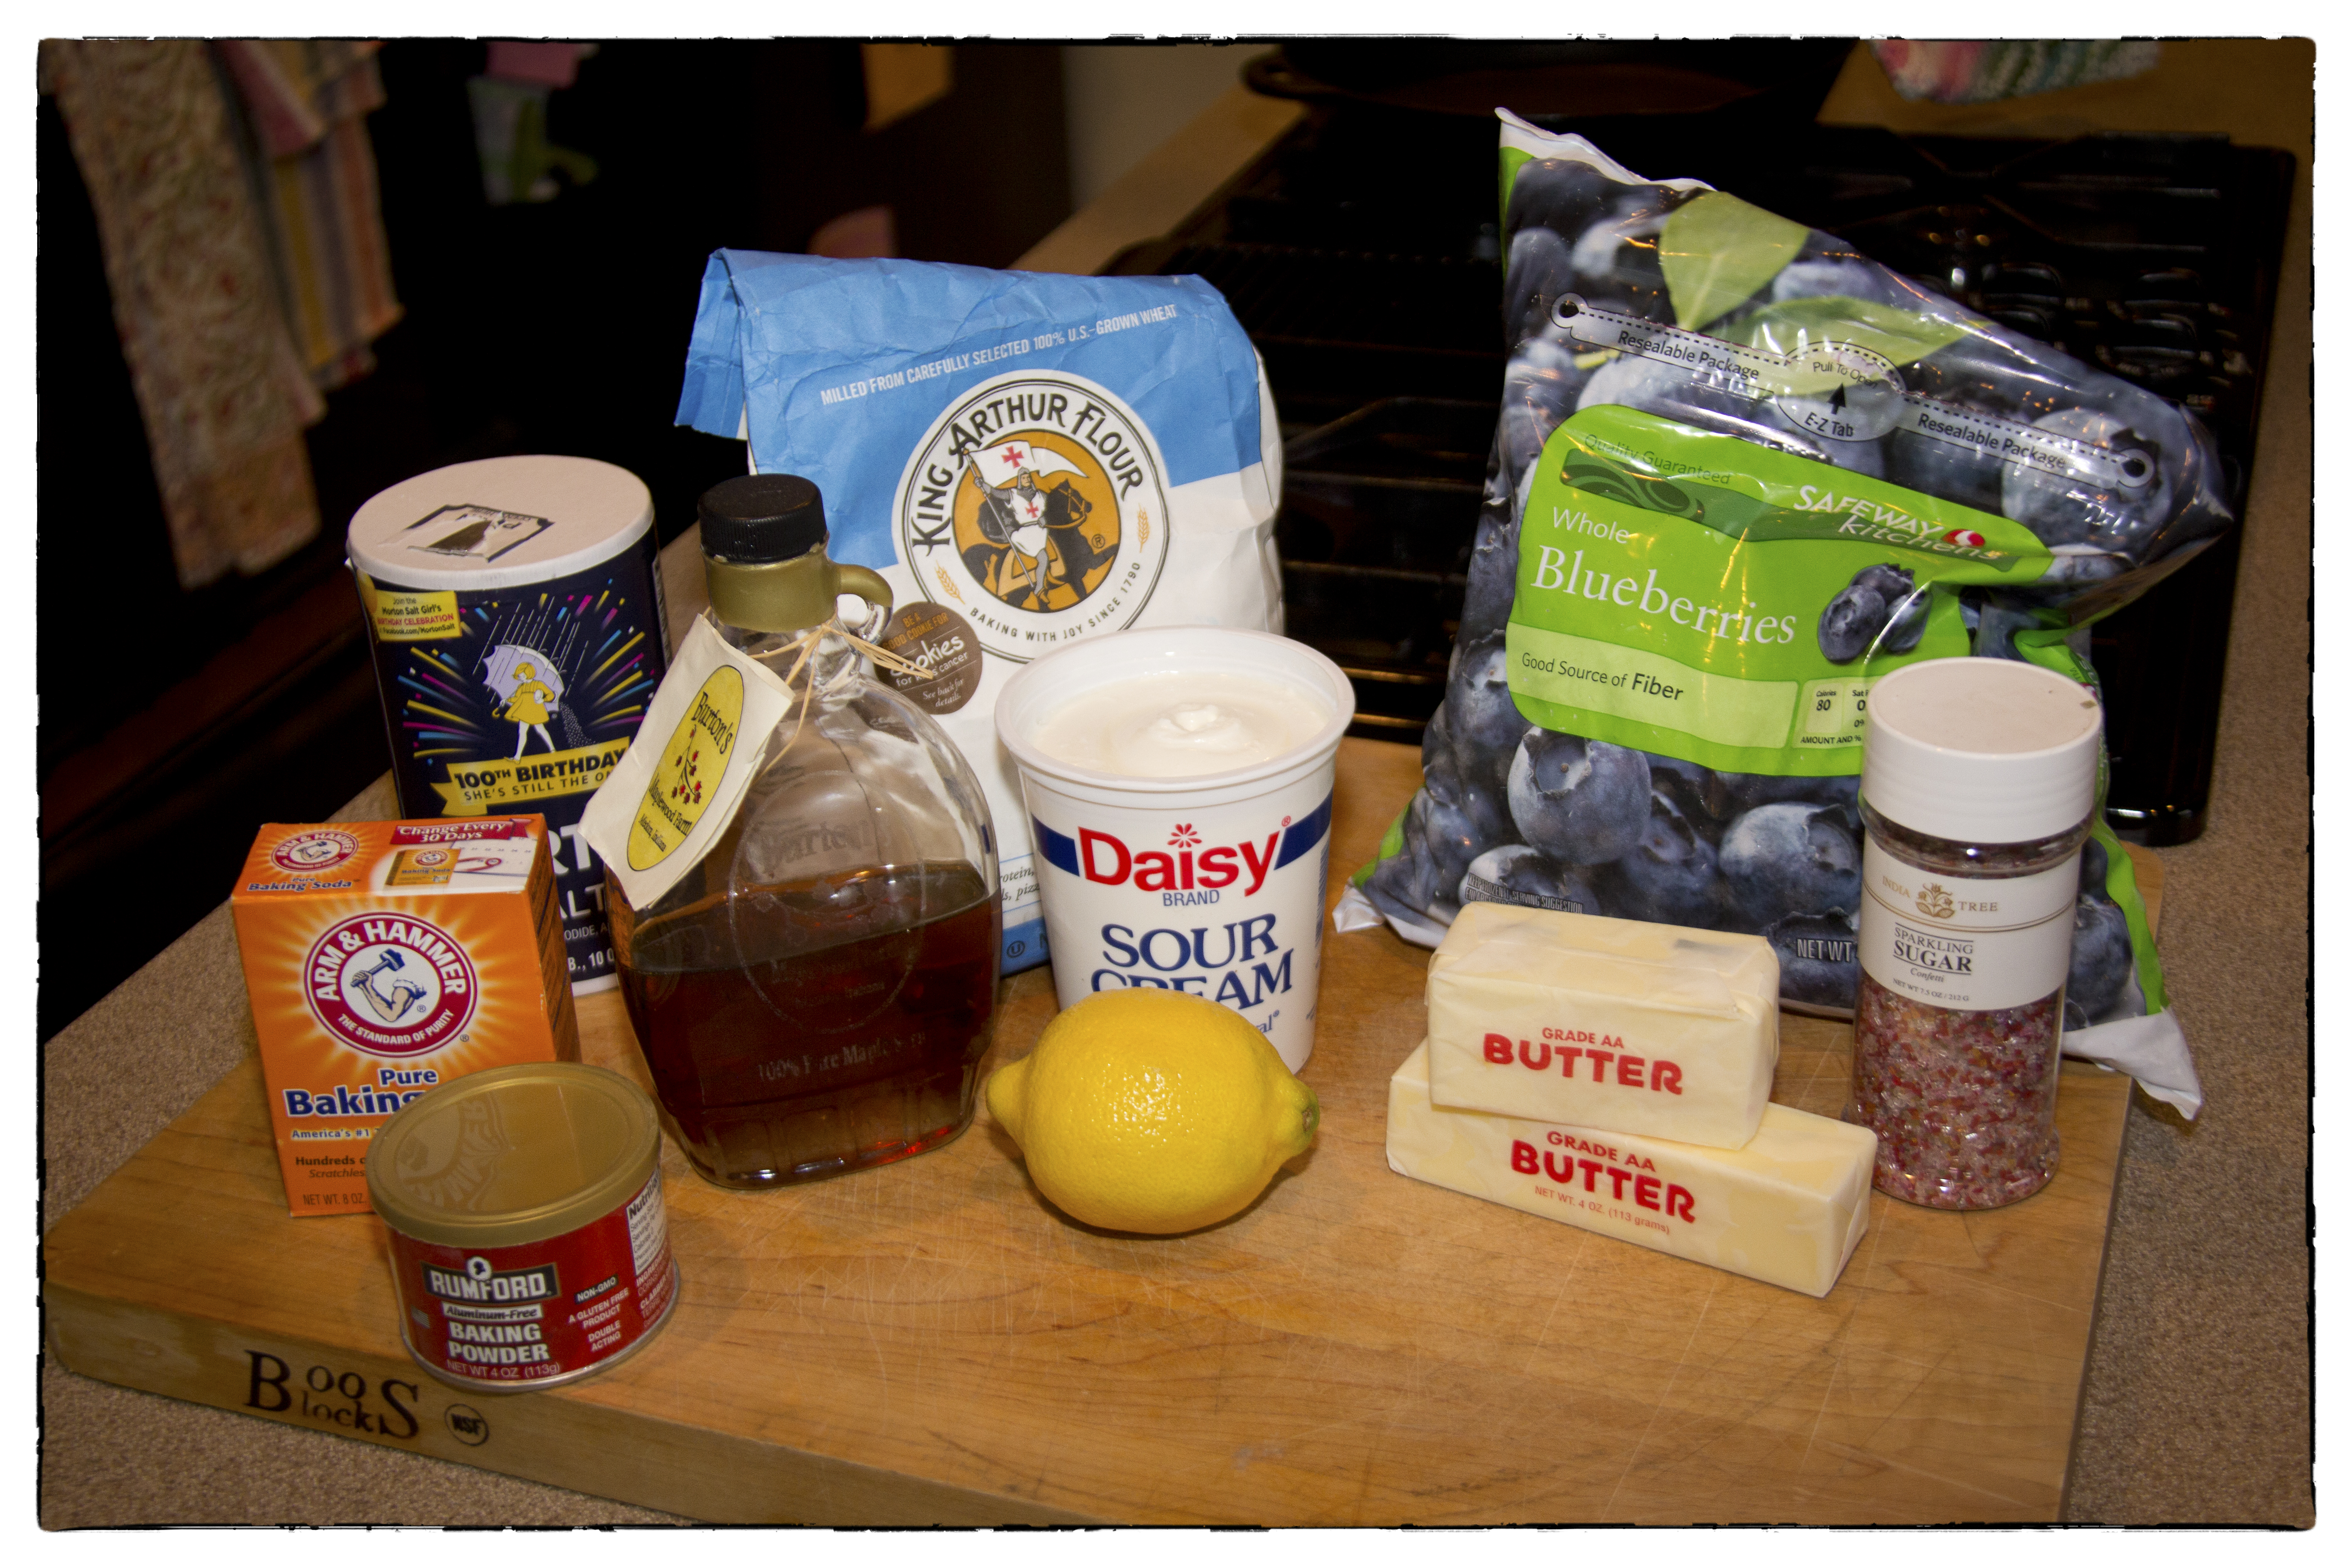 Gather up the following ingredients:
- 2 sticks of butter (16 tablespoons) FROZEN
- 1 1/2 cups frozen blueberries
- 1/2 cup whole milk
- 1/2 cup sour cream
- 2 cups flour
- 1/2 cup maple syrup
- 1 tablespoon sugar
- 2 teaspoons baking powder
- 1/4 teaspoon baking soda
- 1/2 teaspoon salt
- zest of one lemon
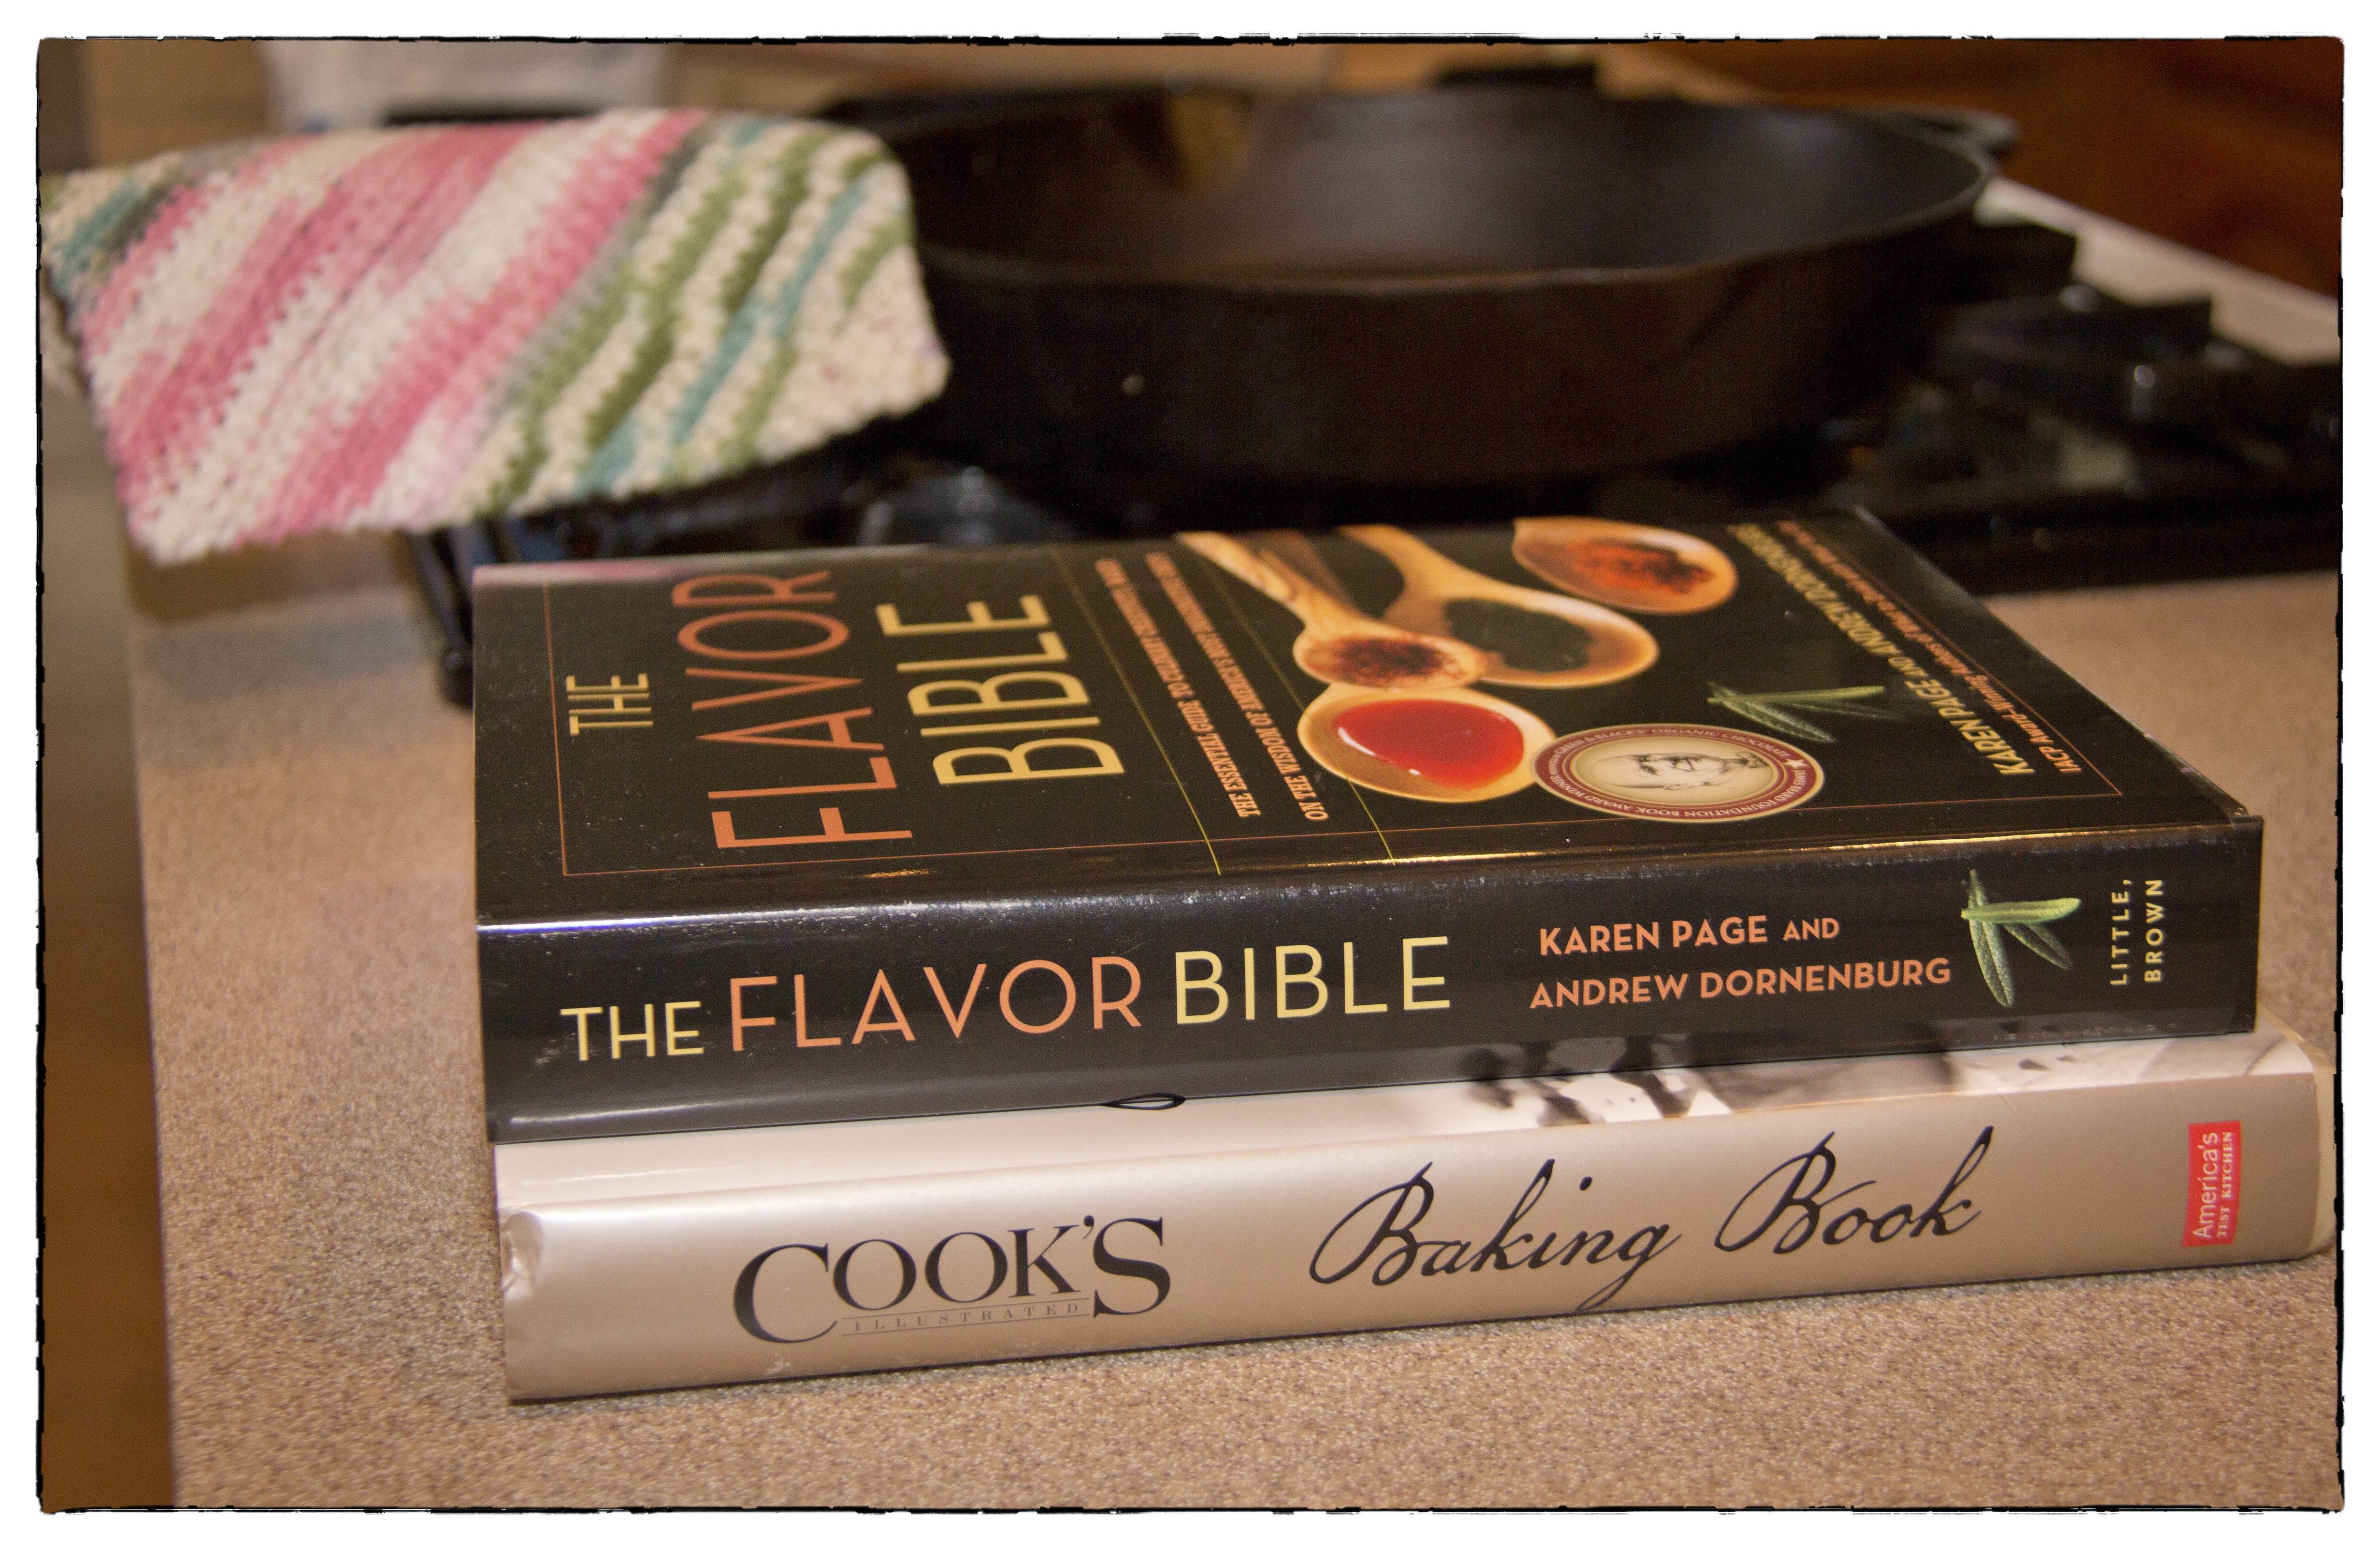
This recipe is adapted from Cook’s Illustrated Baking Book, with help from Karen Page and Andrew Dornenburg’s The Flavor Bible: The Essential Guide to Culinary Creativity, Based on the Wisdom of America’s Most Imaginative Chefs.
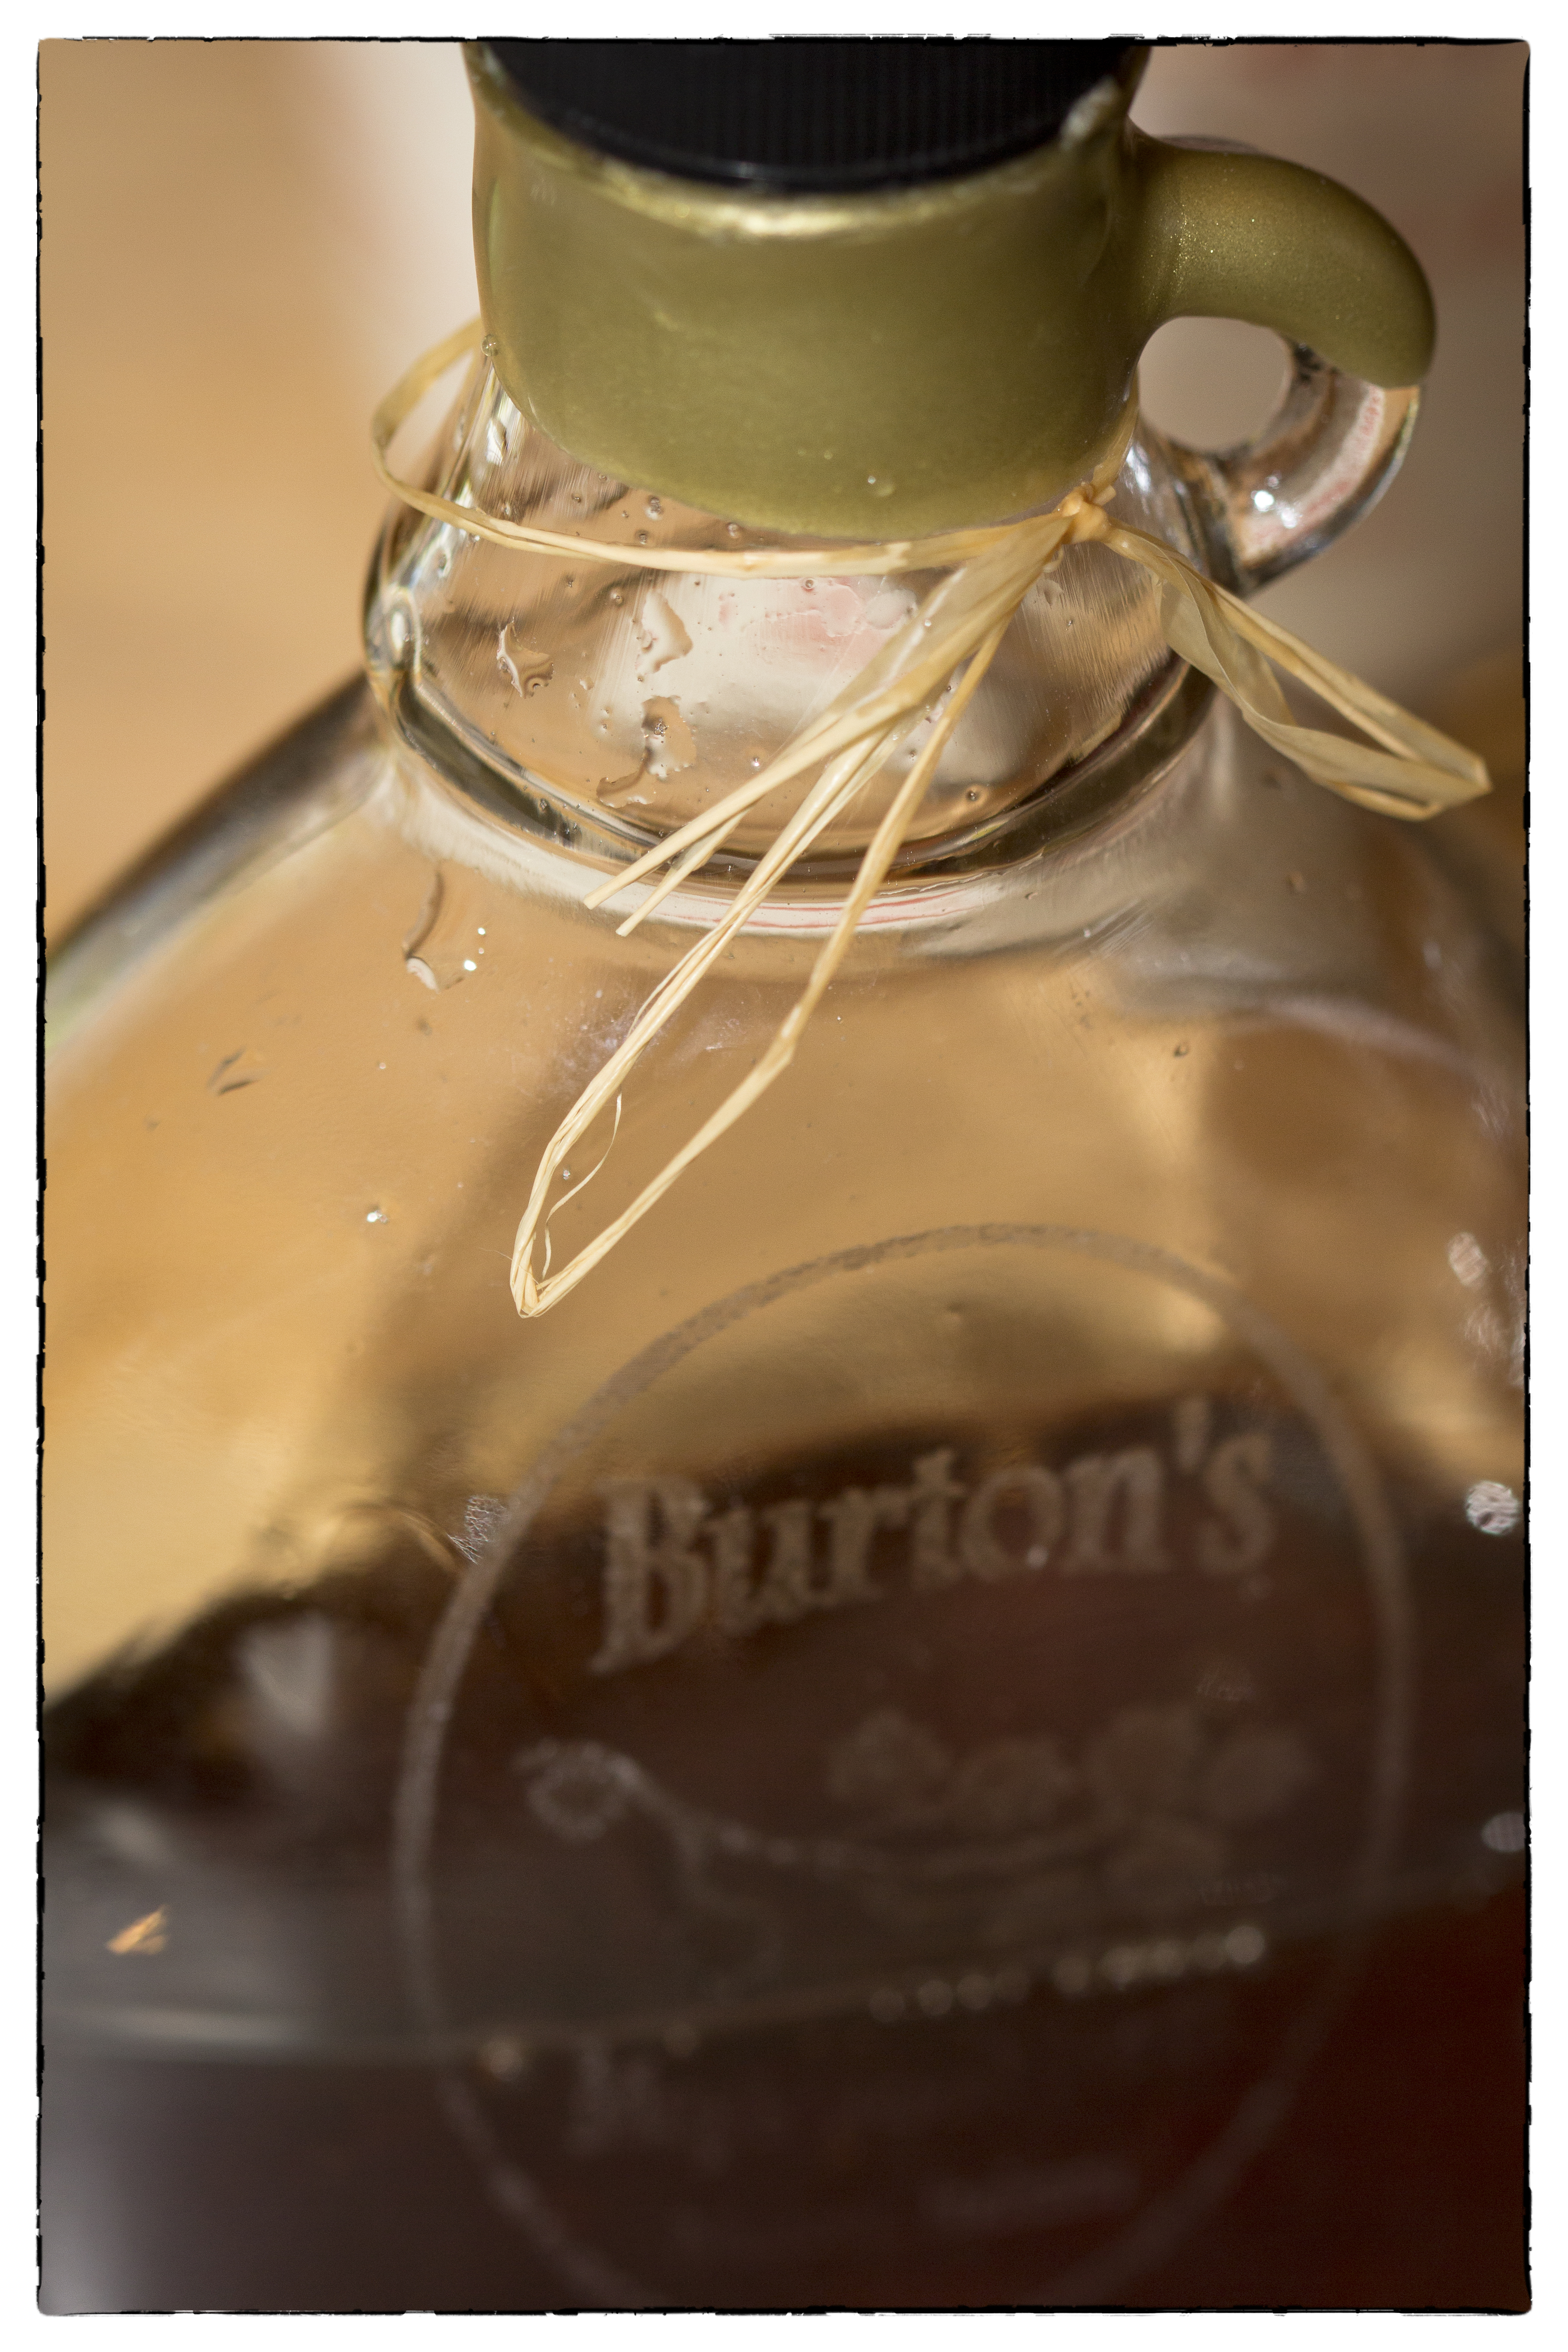
 The idea of substituting maple syrup for sugar came from the Flavor Bible’s section on blueberries. I liked the results a lot, but you can skip this by using equal measure of regular sugar instead of maple syrup. This special bottle of Burton’s Maplewood Farm syrup is a gift from the Dutch Oven Diva, Lesley Tennessen.
 OK! Time to get started!
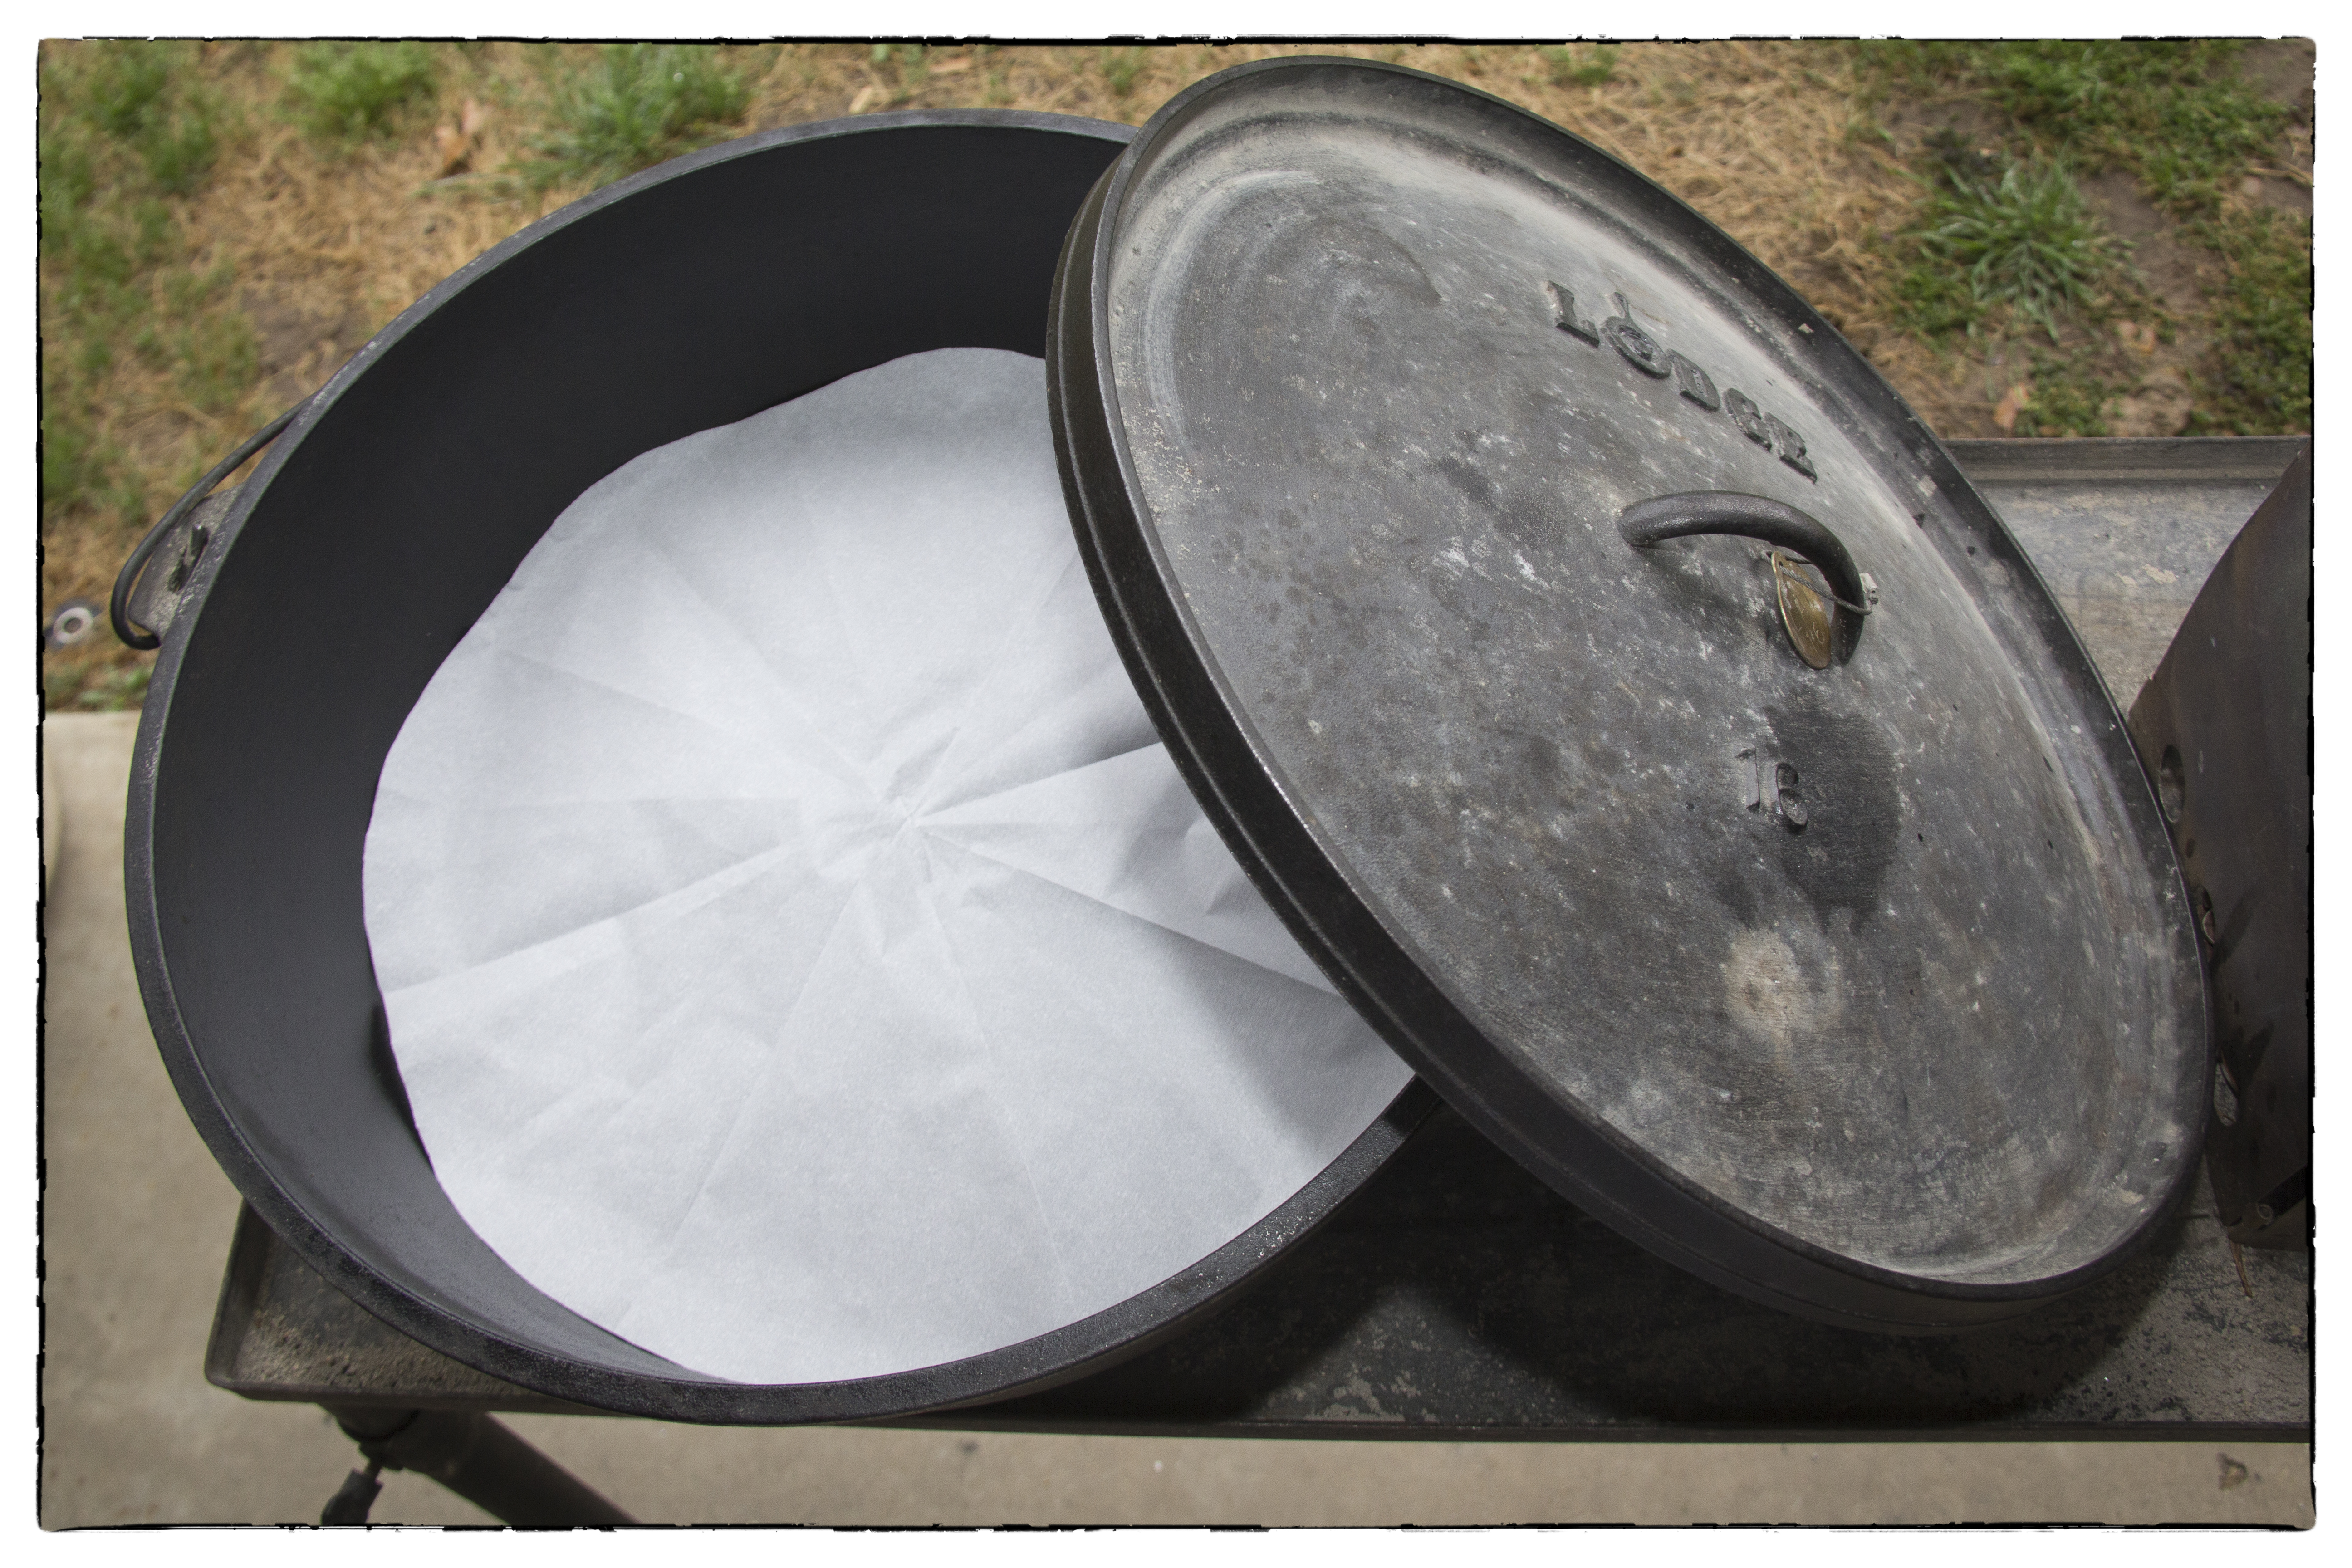
1. Prepare a 16″ camp Dutch oven by lining the bottom with parchment paper. This step can be skipped but it will make clean up easier and will reduce the possibility of burning the bottom of the scones.
2. In a small bowl, whisk together sour cream, milk, and maple syrup. (If you are not using syrup, add the sugar to flour mixture in the next step.) Store in refrigerator until needed.
3. In a large mixing bowl, whisk together flour, baking powder, baking soda, salt, and lemon zest.
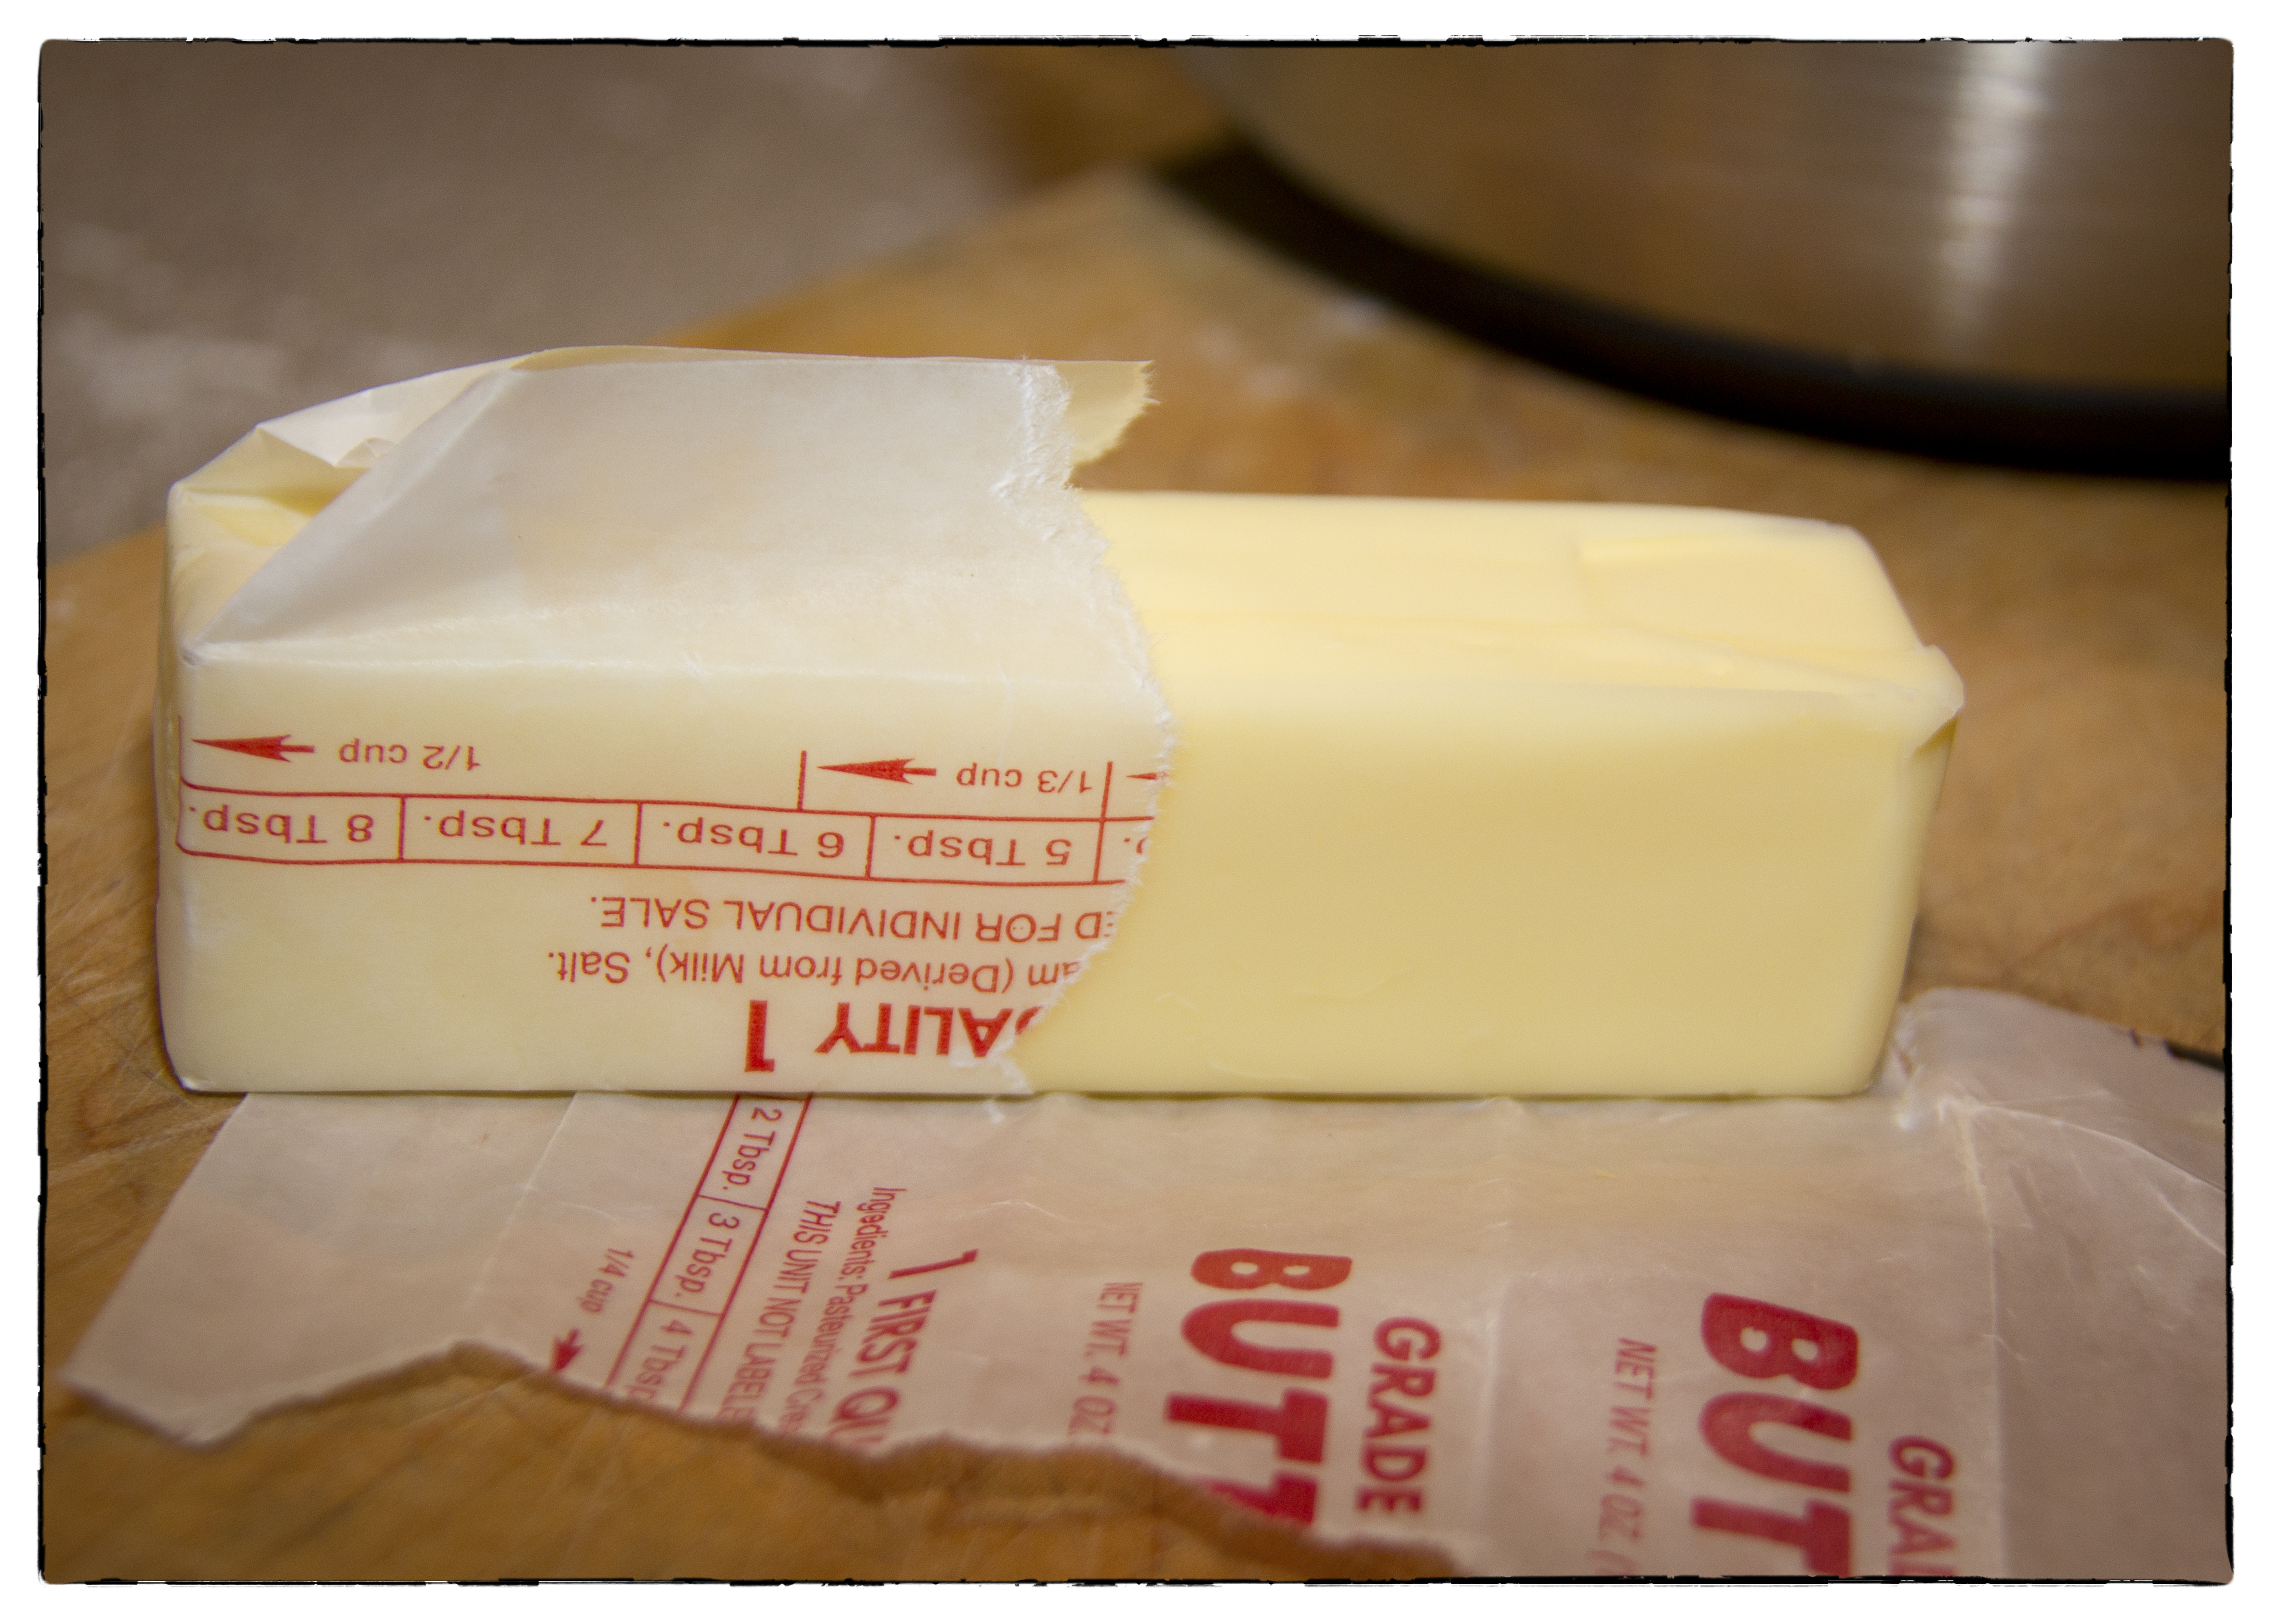
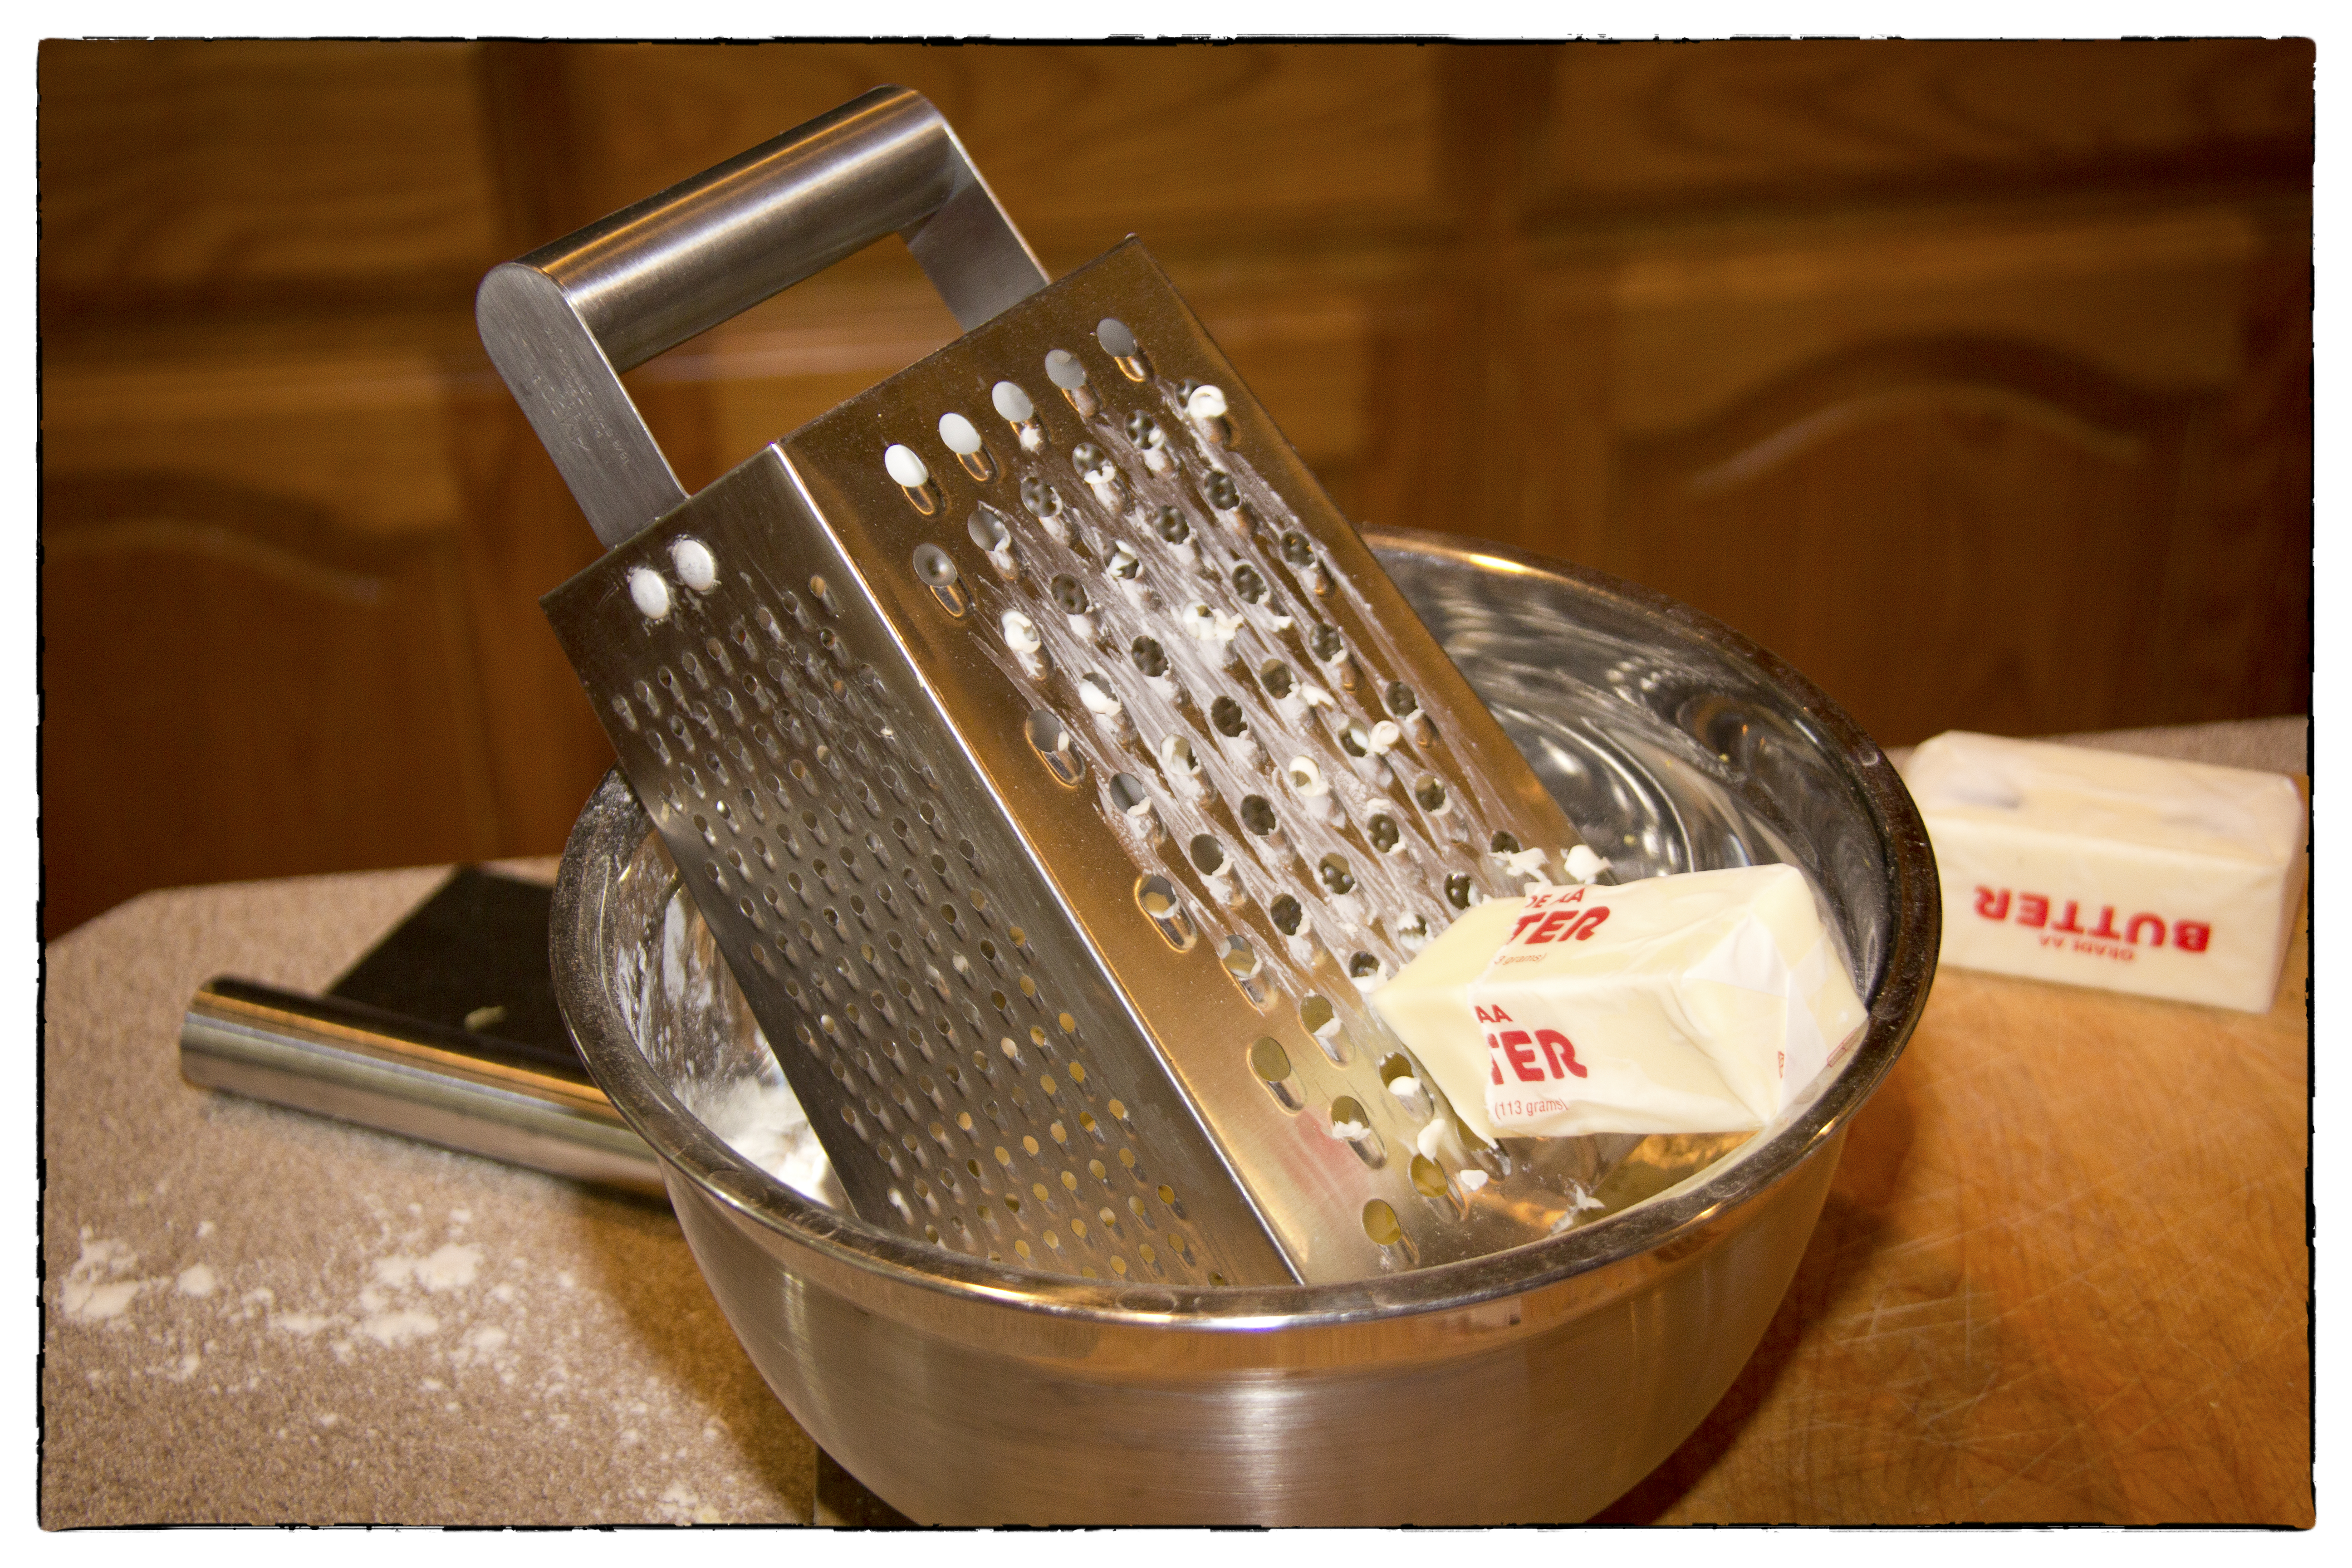
4. THIS IS A CRITICAL STEP: Tear off half of the paper on a stick of frozen butter to use as a handle for grating the butter.
Then grate half of each stick of butter into the flour mixture for a total of 8 tablespoons.
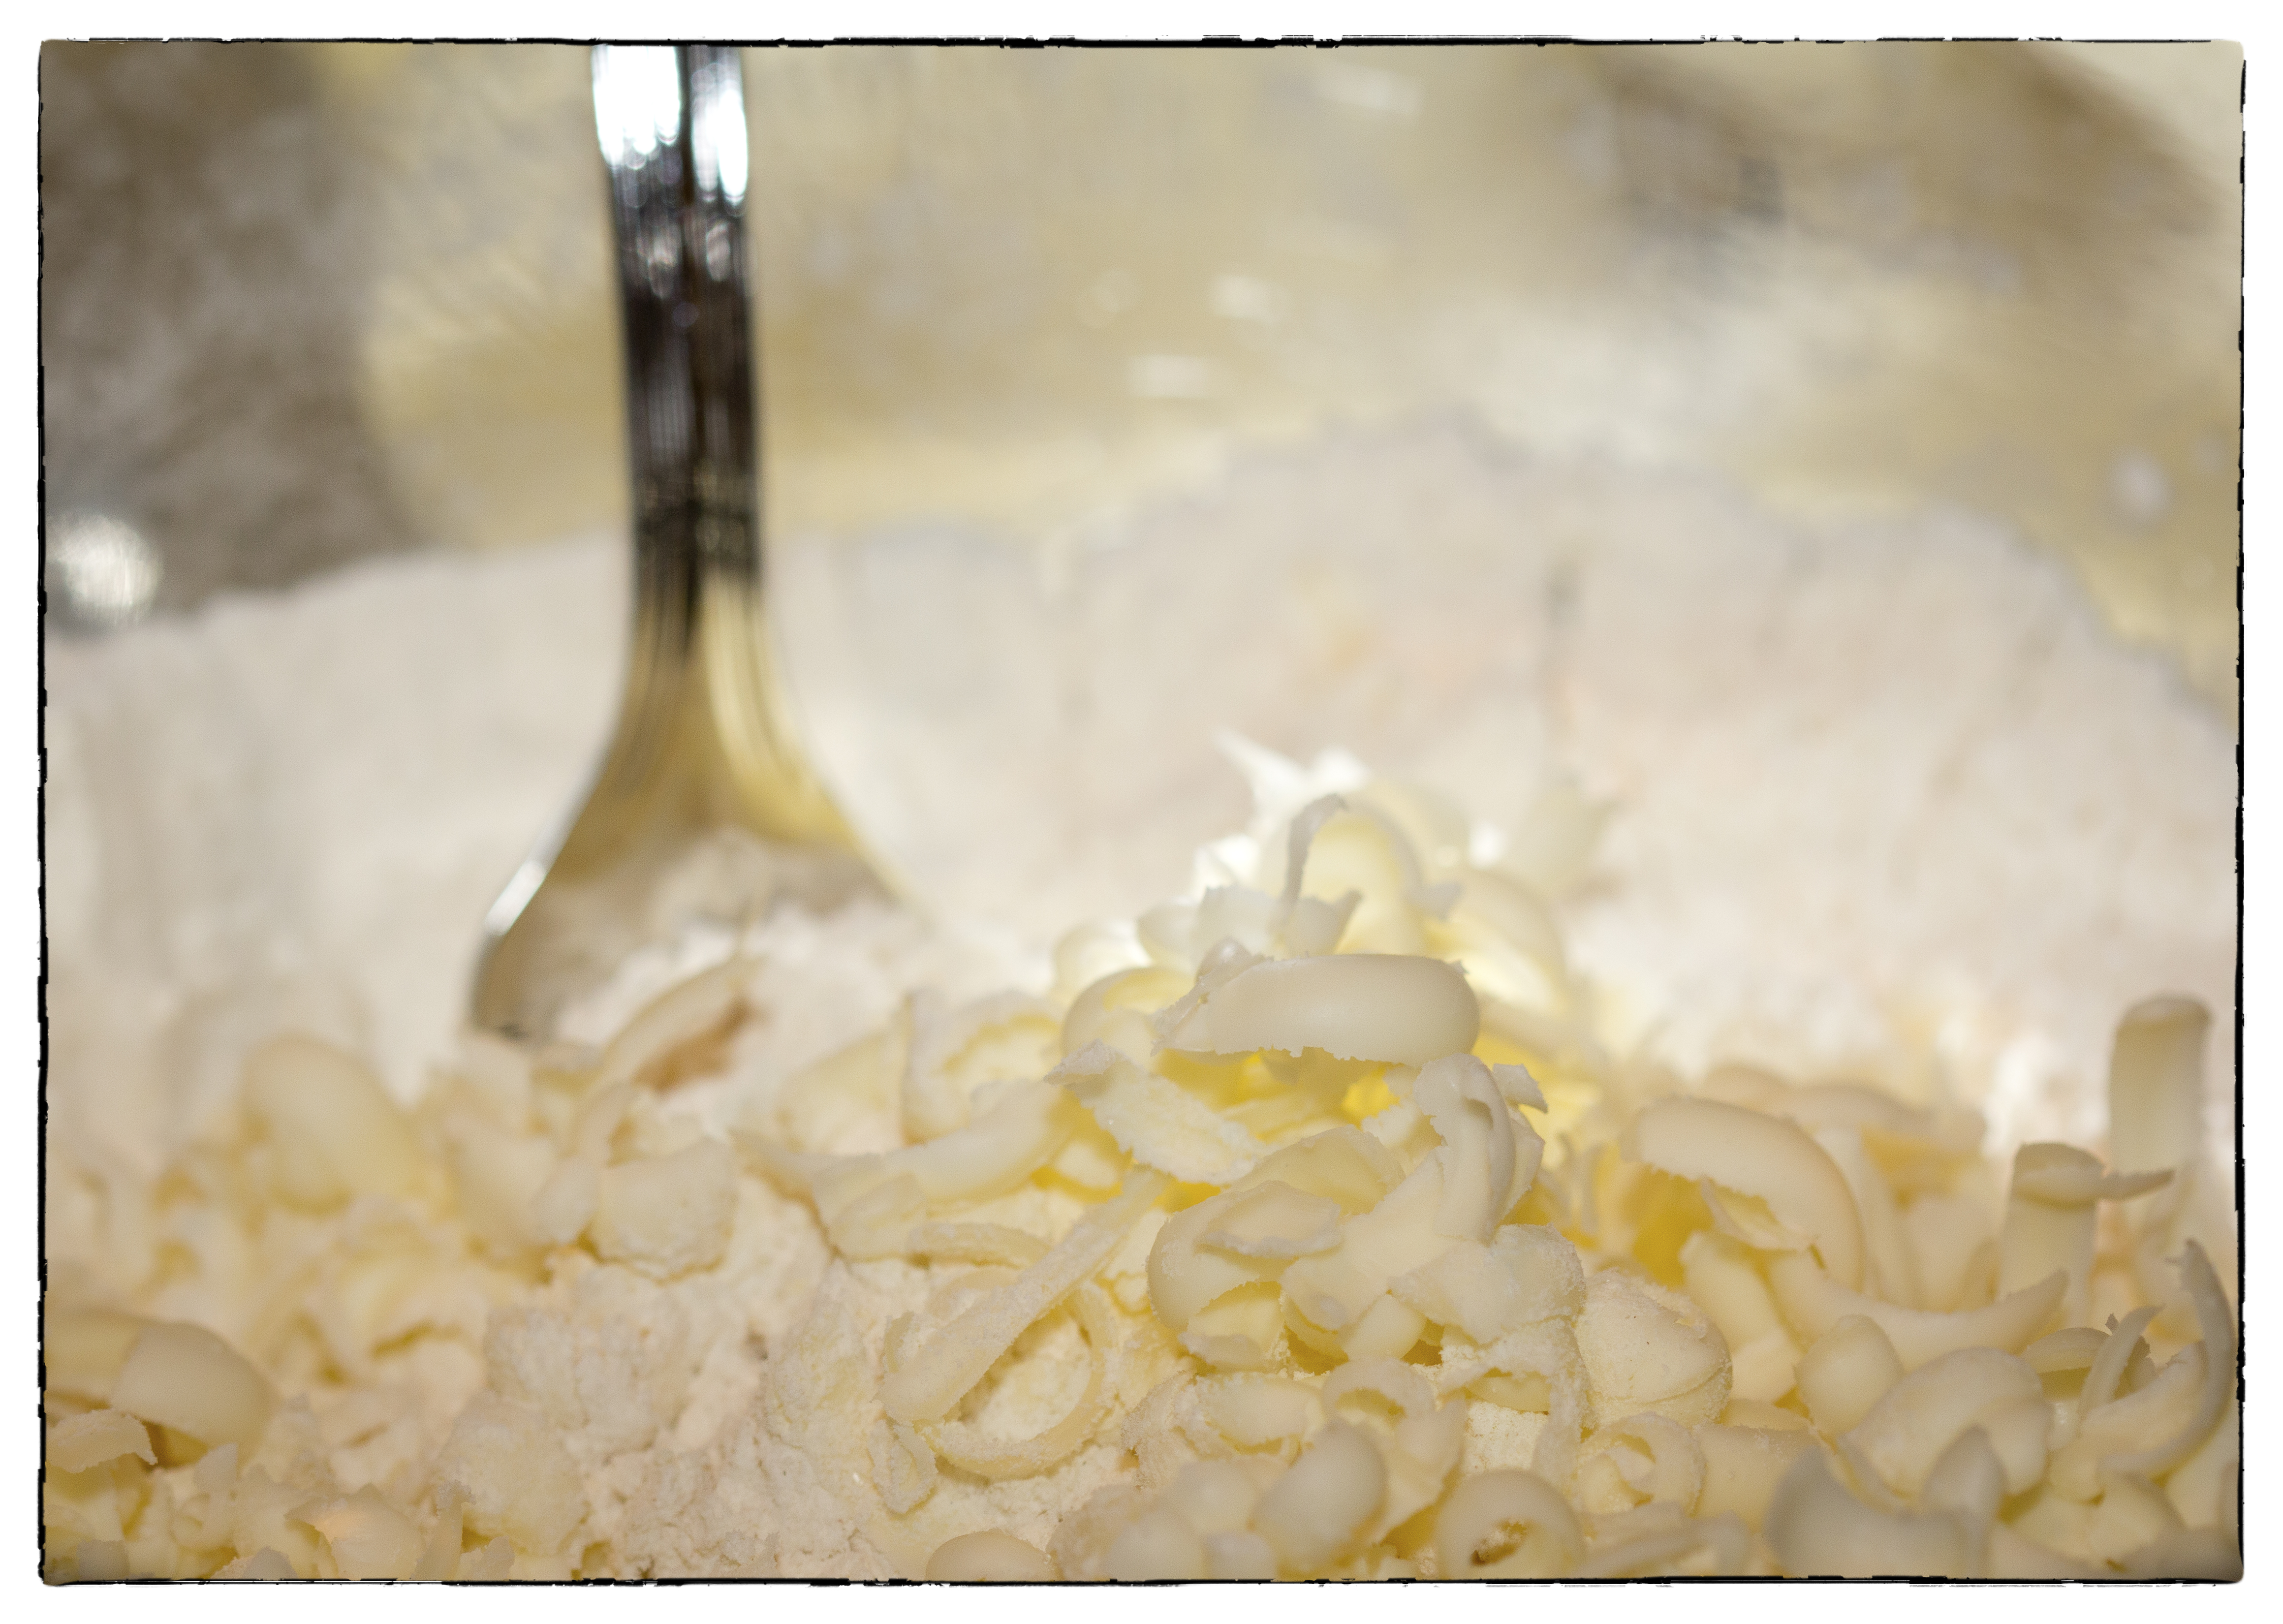
 The goal is to keep the little pieces of butter from melting, so use a big fork to toss the butter into the flour mixture.
 Here’s why this is a critical step. The Baking Book says
A good light pastry depends on distinct pieces of butter distributed throughout the dough that melt during the baking and leave behind pockets of air. For this to happen, the butter needs to be as cold and solid as possible until baking.
5. Add milk mixture to the flour mixture and fold with a rubber spatula until just combined. You will fold the milk mixture in with just a few turns. The milk and flour will be barely combined. Liberally flour the working surface and turn out the shaggy dough. 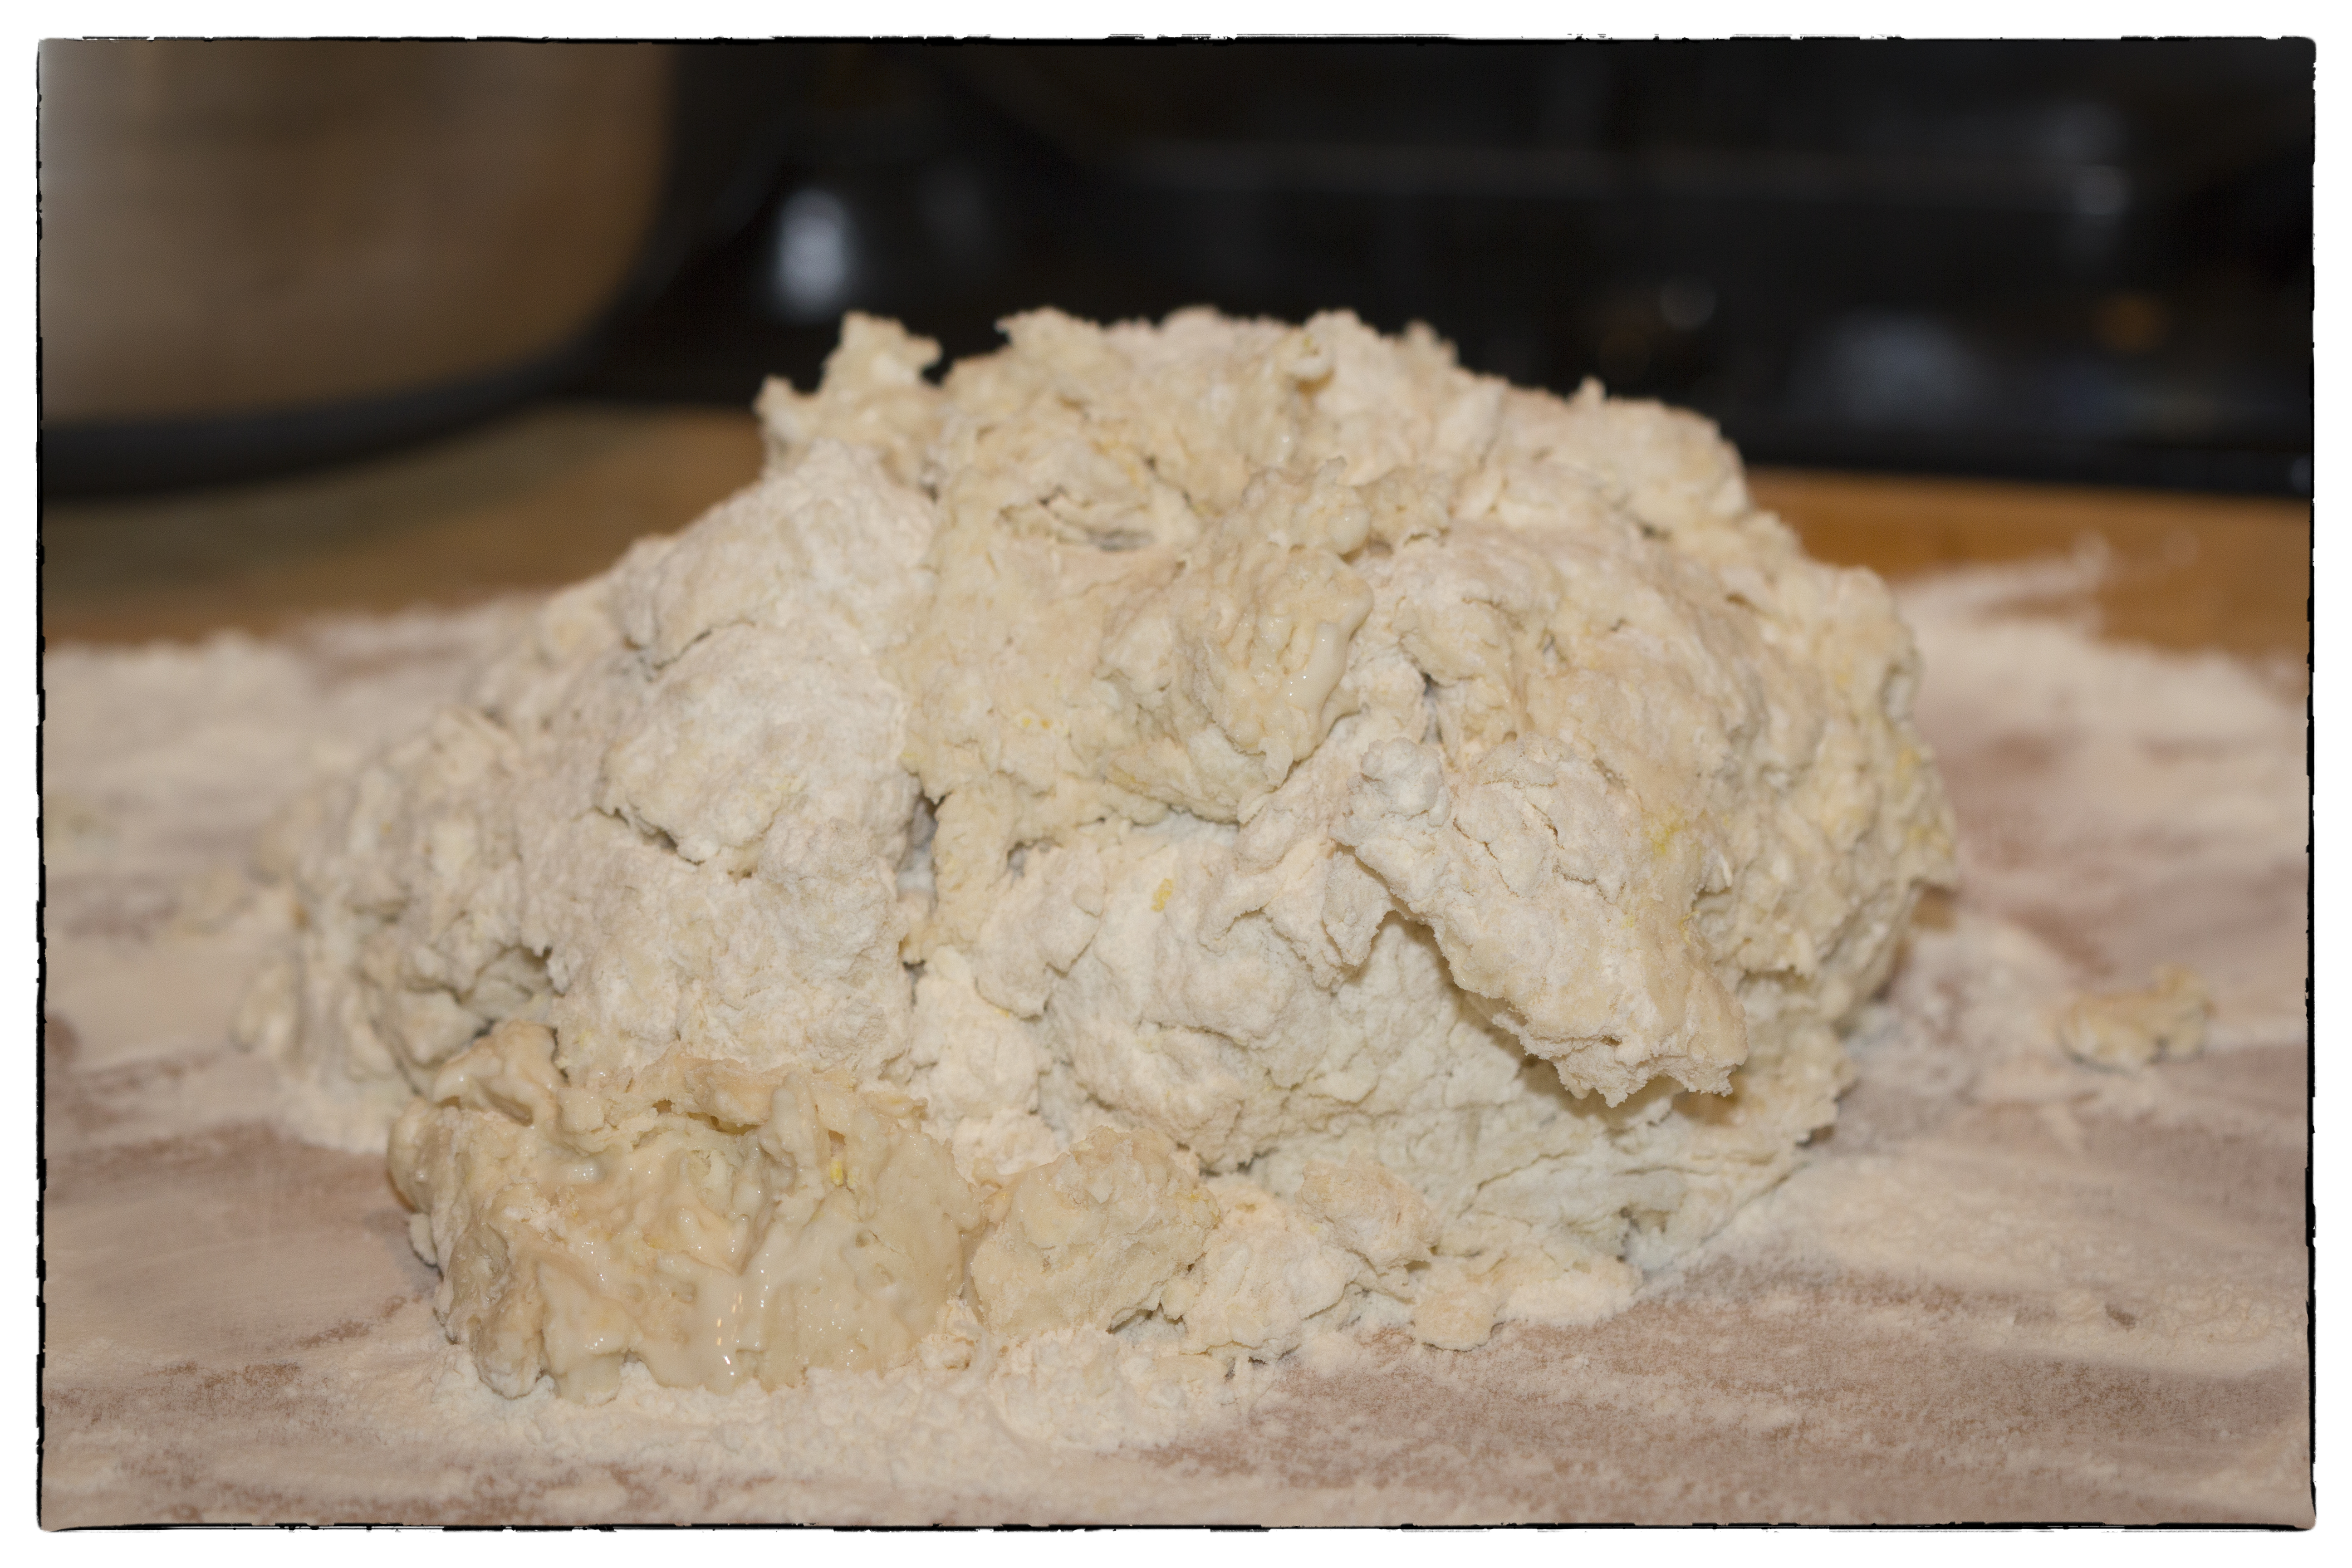
Flour your hands and knead dough 6 to 8 times until it holds together. Don’t over work the dough or the gluten will tighten up and make your scones tough like hockey pucks!
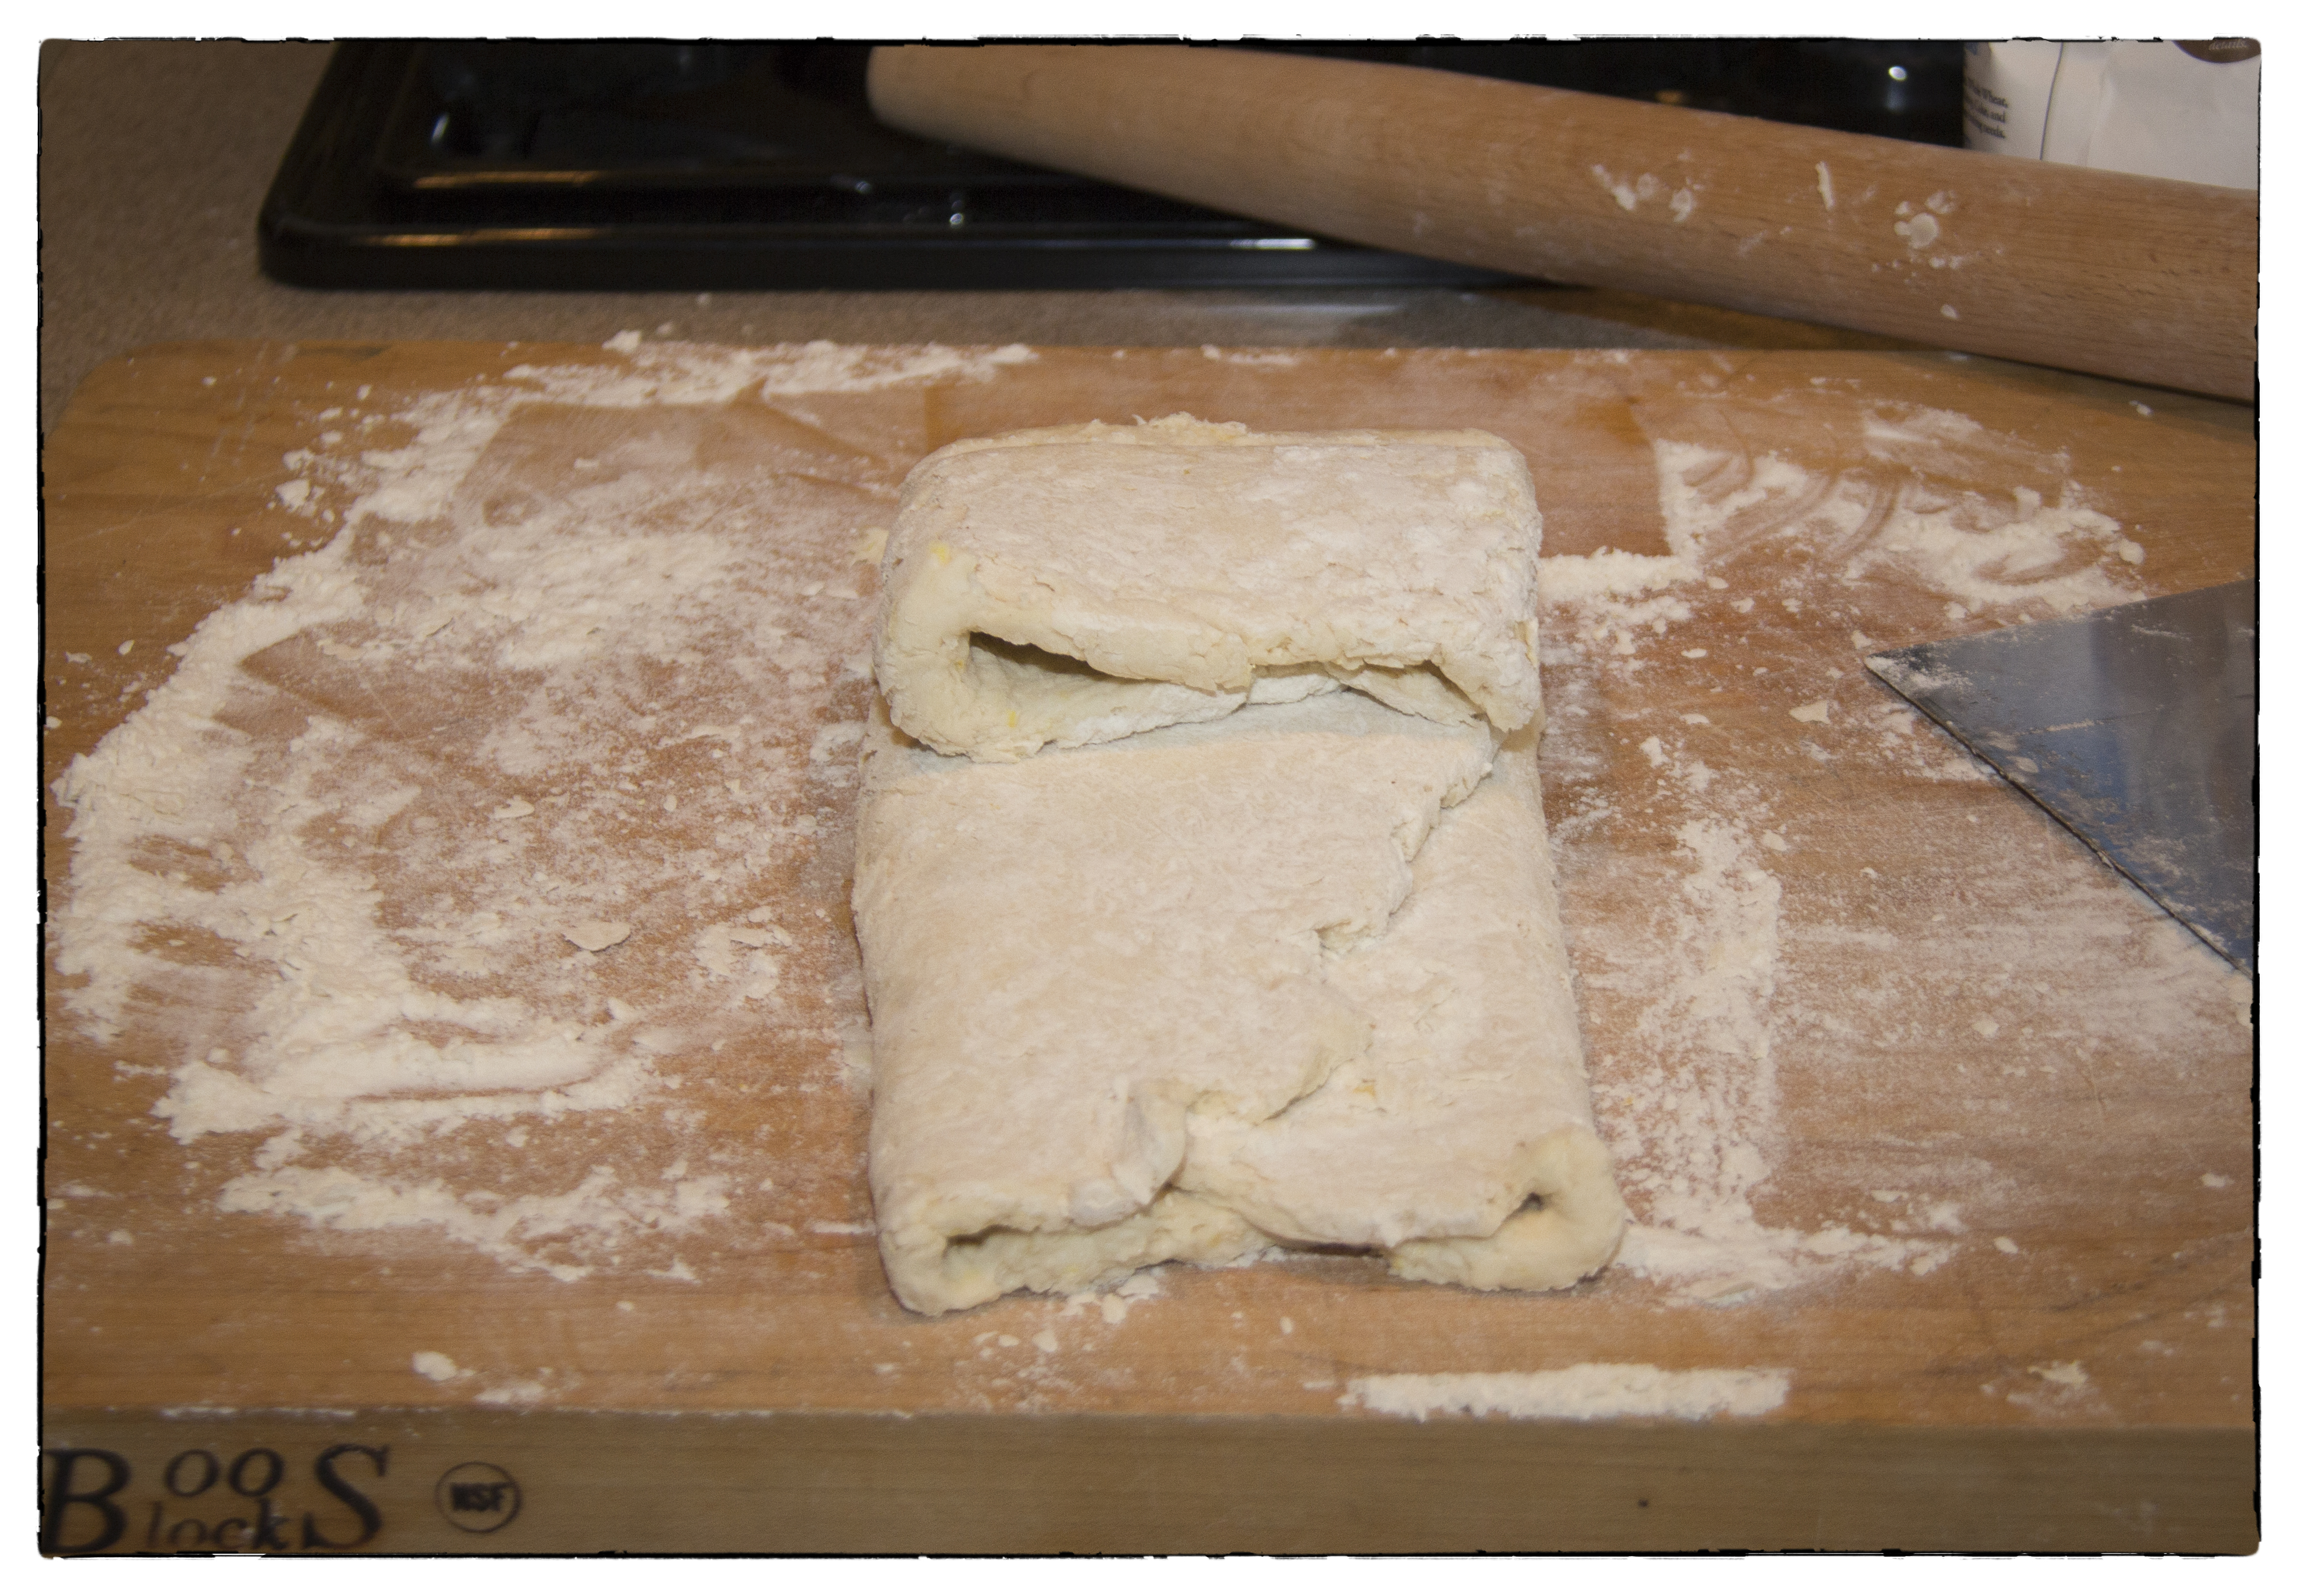
6. Flour a rolling-pin and gently roll the dough into a 12-inch square. Then, using a bench scraper, fold the dough into thirds, like a business letter. THIS IS A CRITICAL STEP!
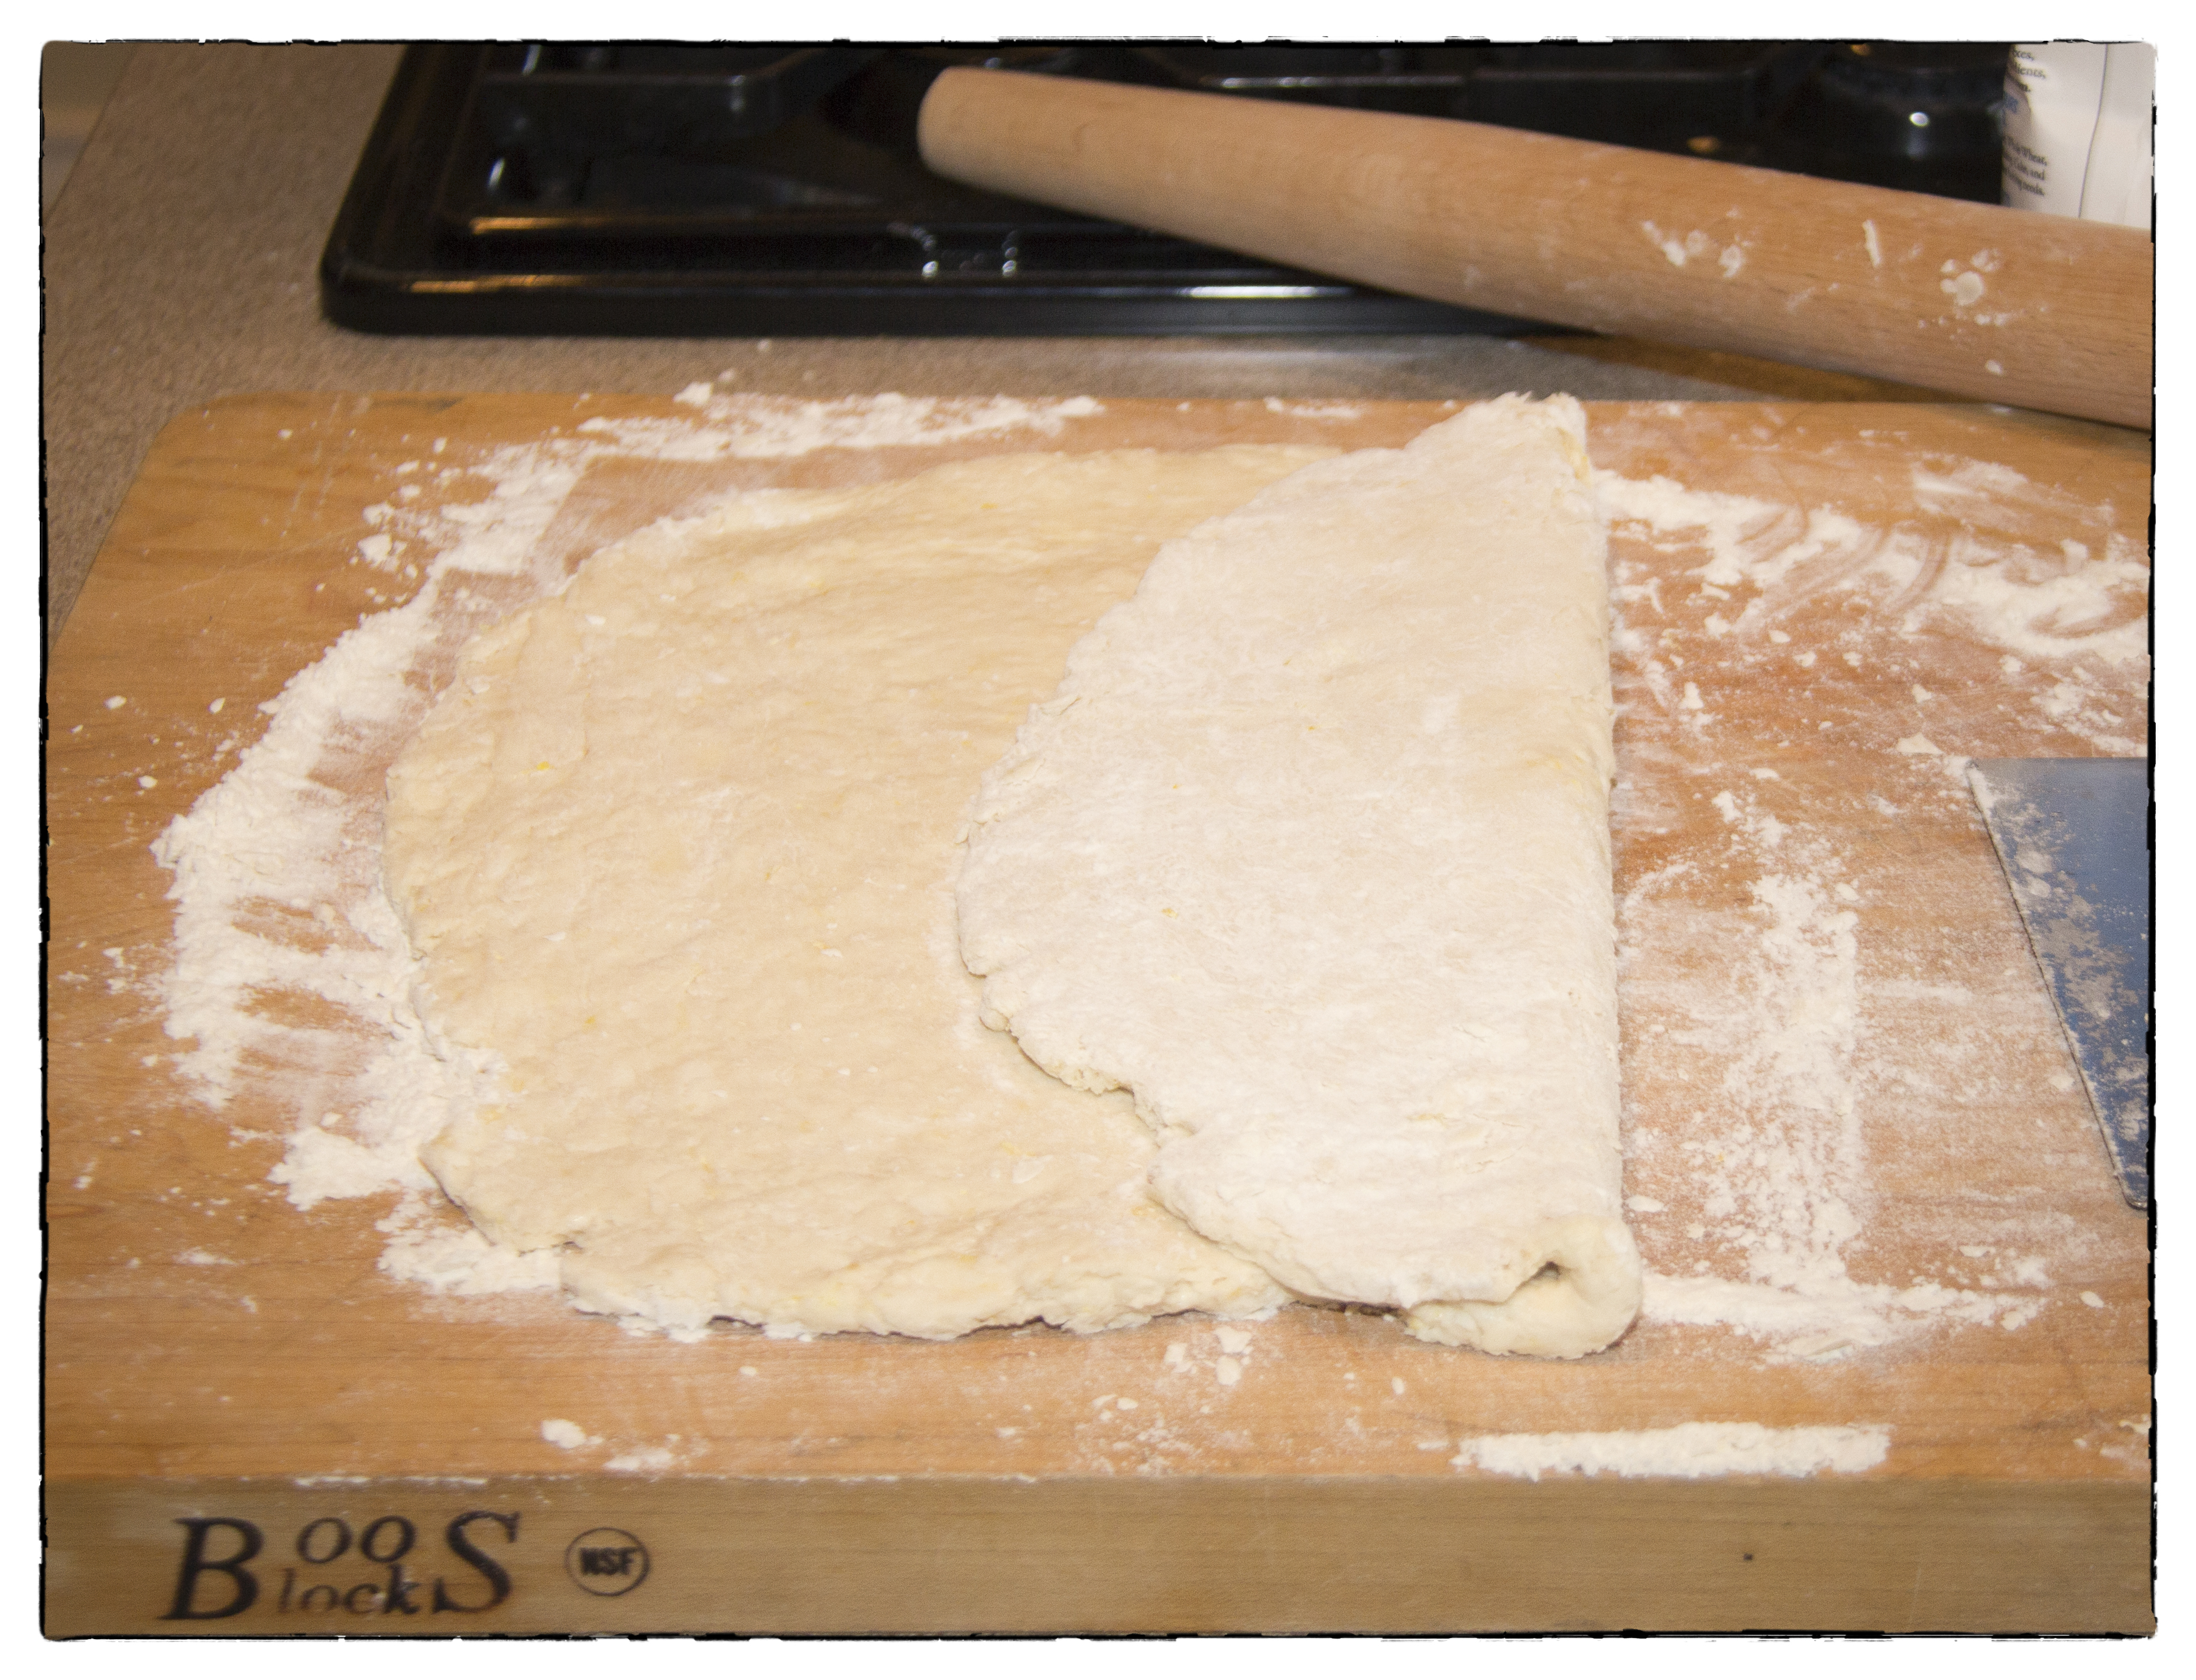
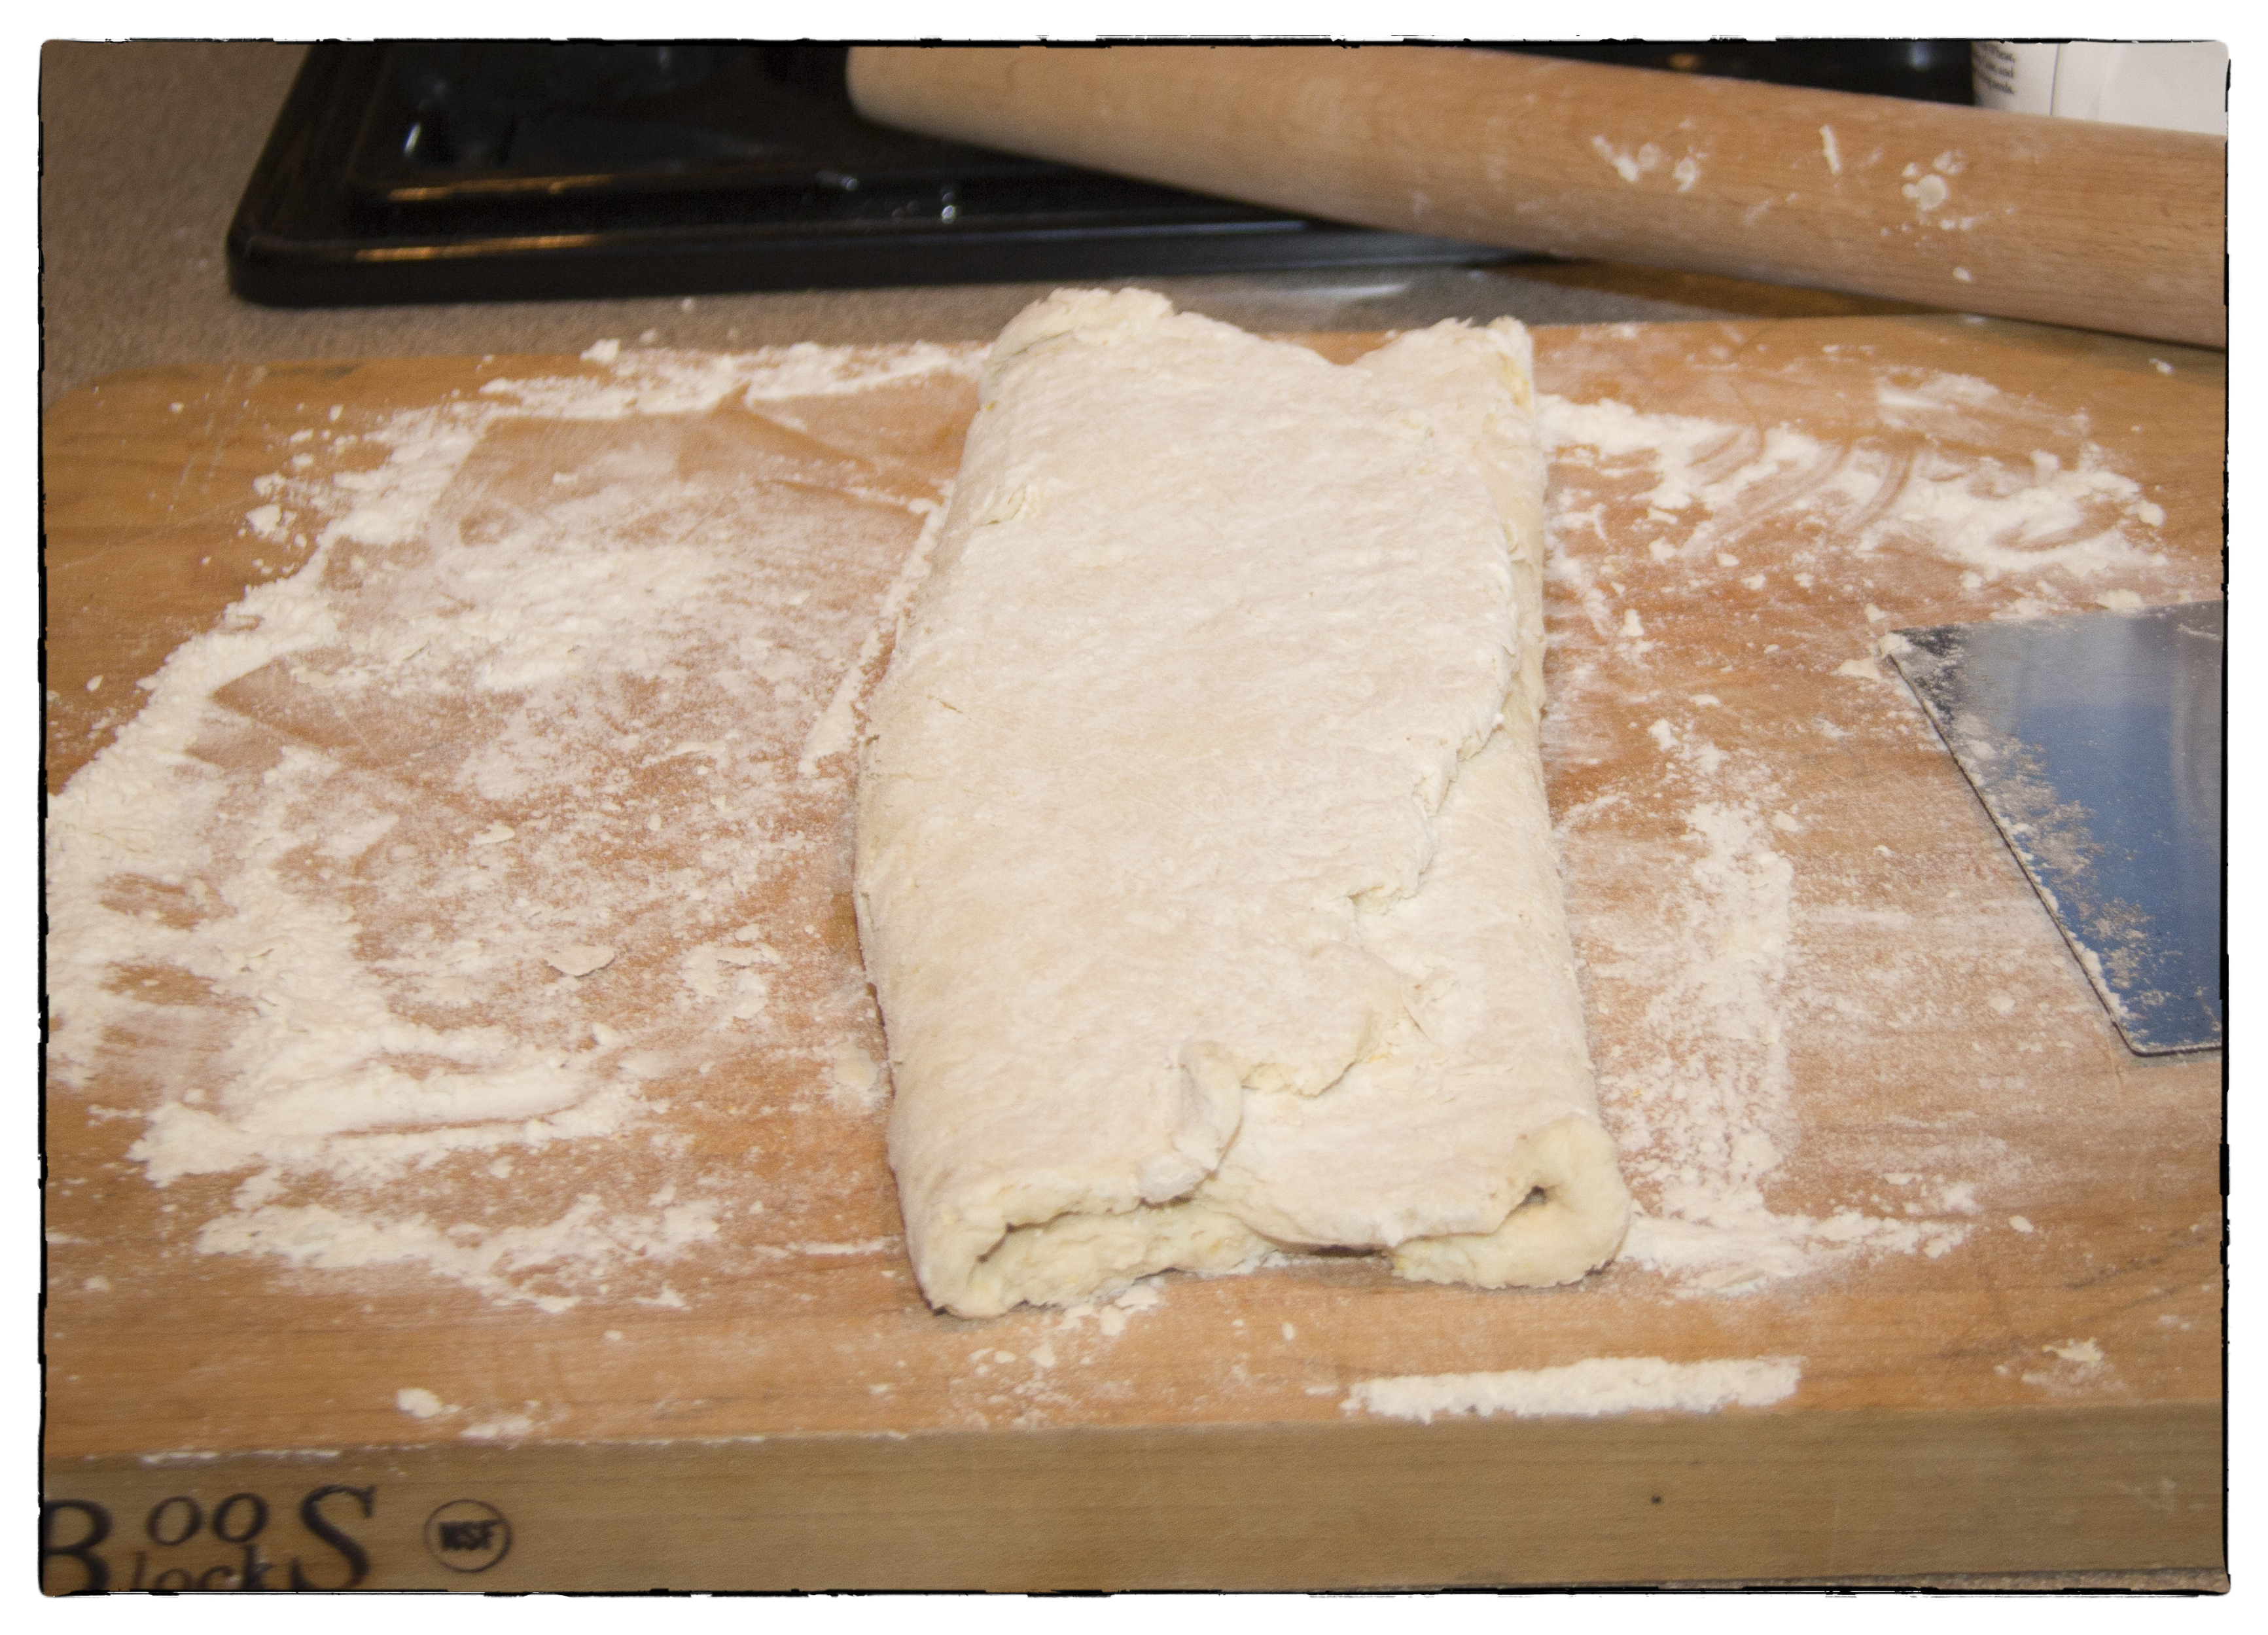
…. and then again into thirds to end up with a 4-inch square. This critical step is creating multiple layers of butter yumminess! If you look closely, you will see the tiny pieces of butter along with lemon zest spreading out. The results are amazing!
Gently place the folded dough on a floured plate and let rest in the freezer for at least 5 minutes.
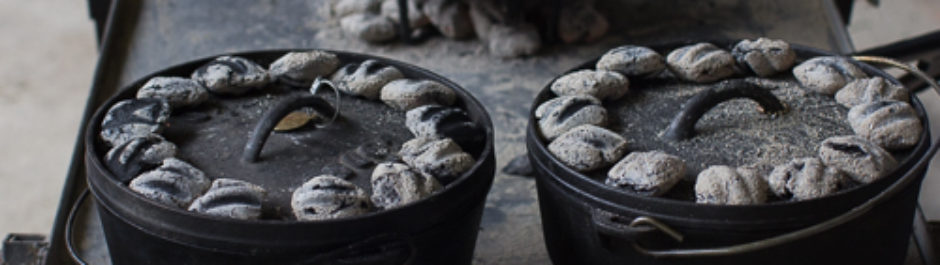
7. Fire up a chimney of charcoal. When the charcoal is ready, add about 26 briquettes to the lid of the Dutch oven to preheat to 425 degrees. Be prepared to add more charcoal to the chimney if you are baking in a cold or windy situation.
8. Remove dough from freezer and roll out into a 12″ square. 
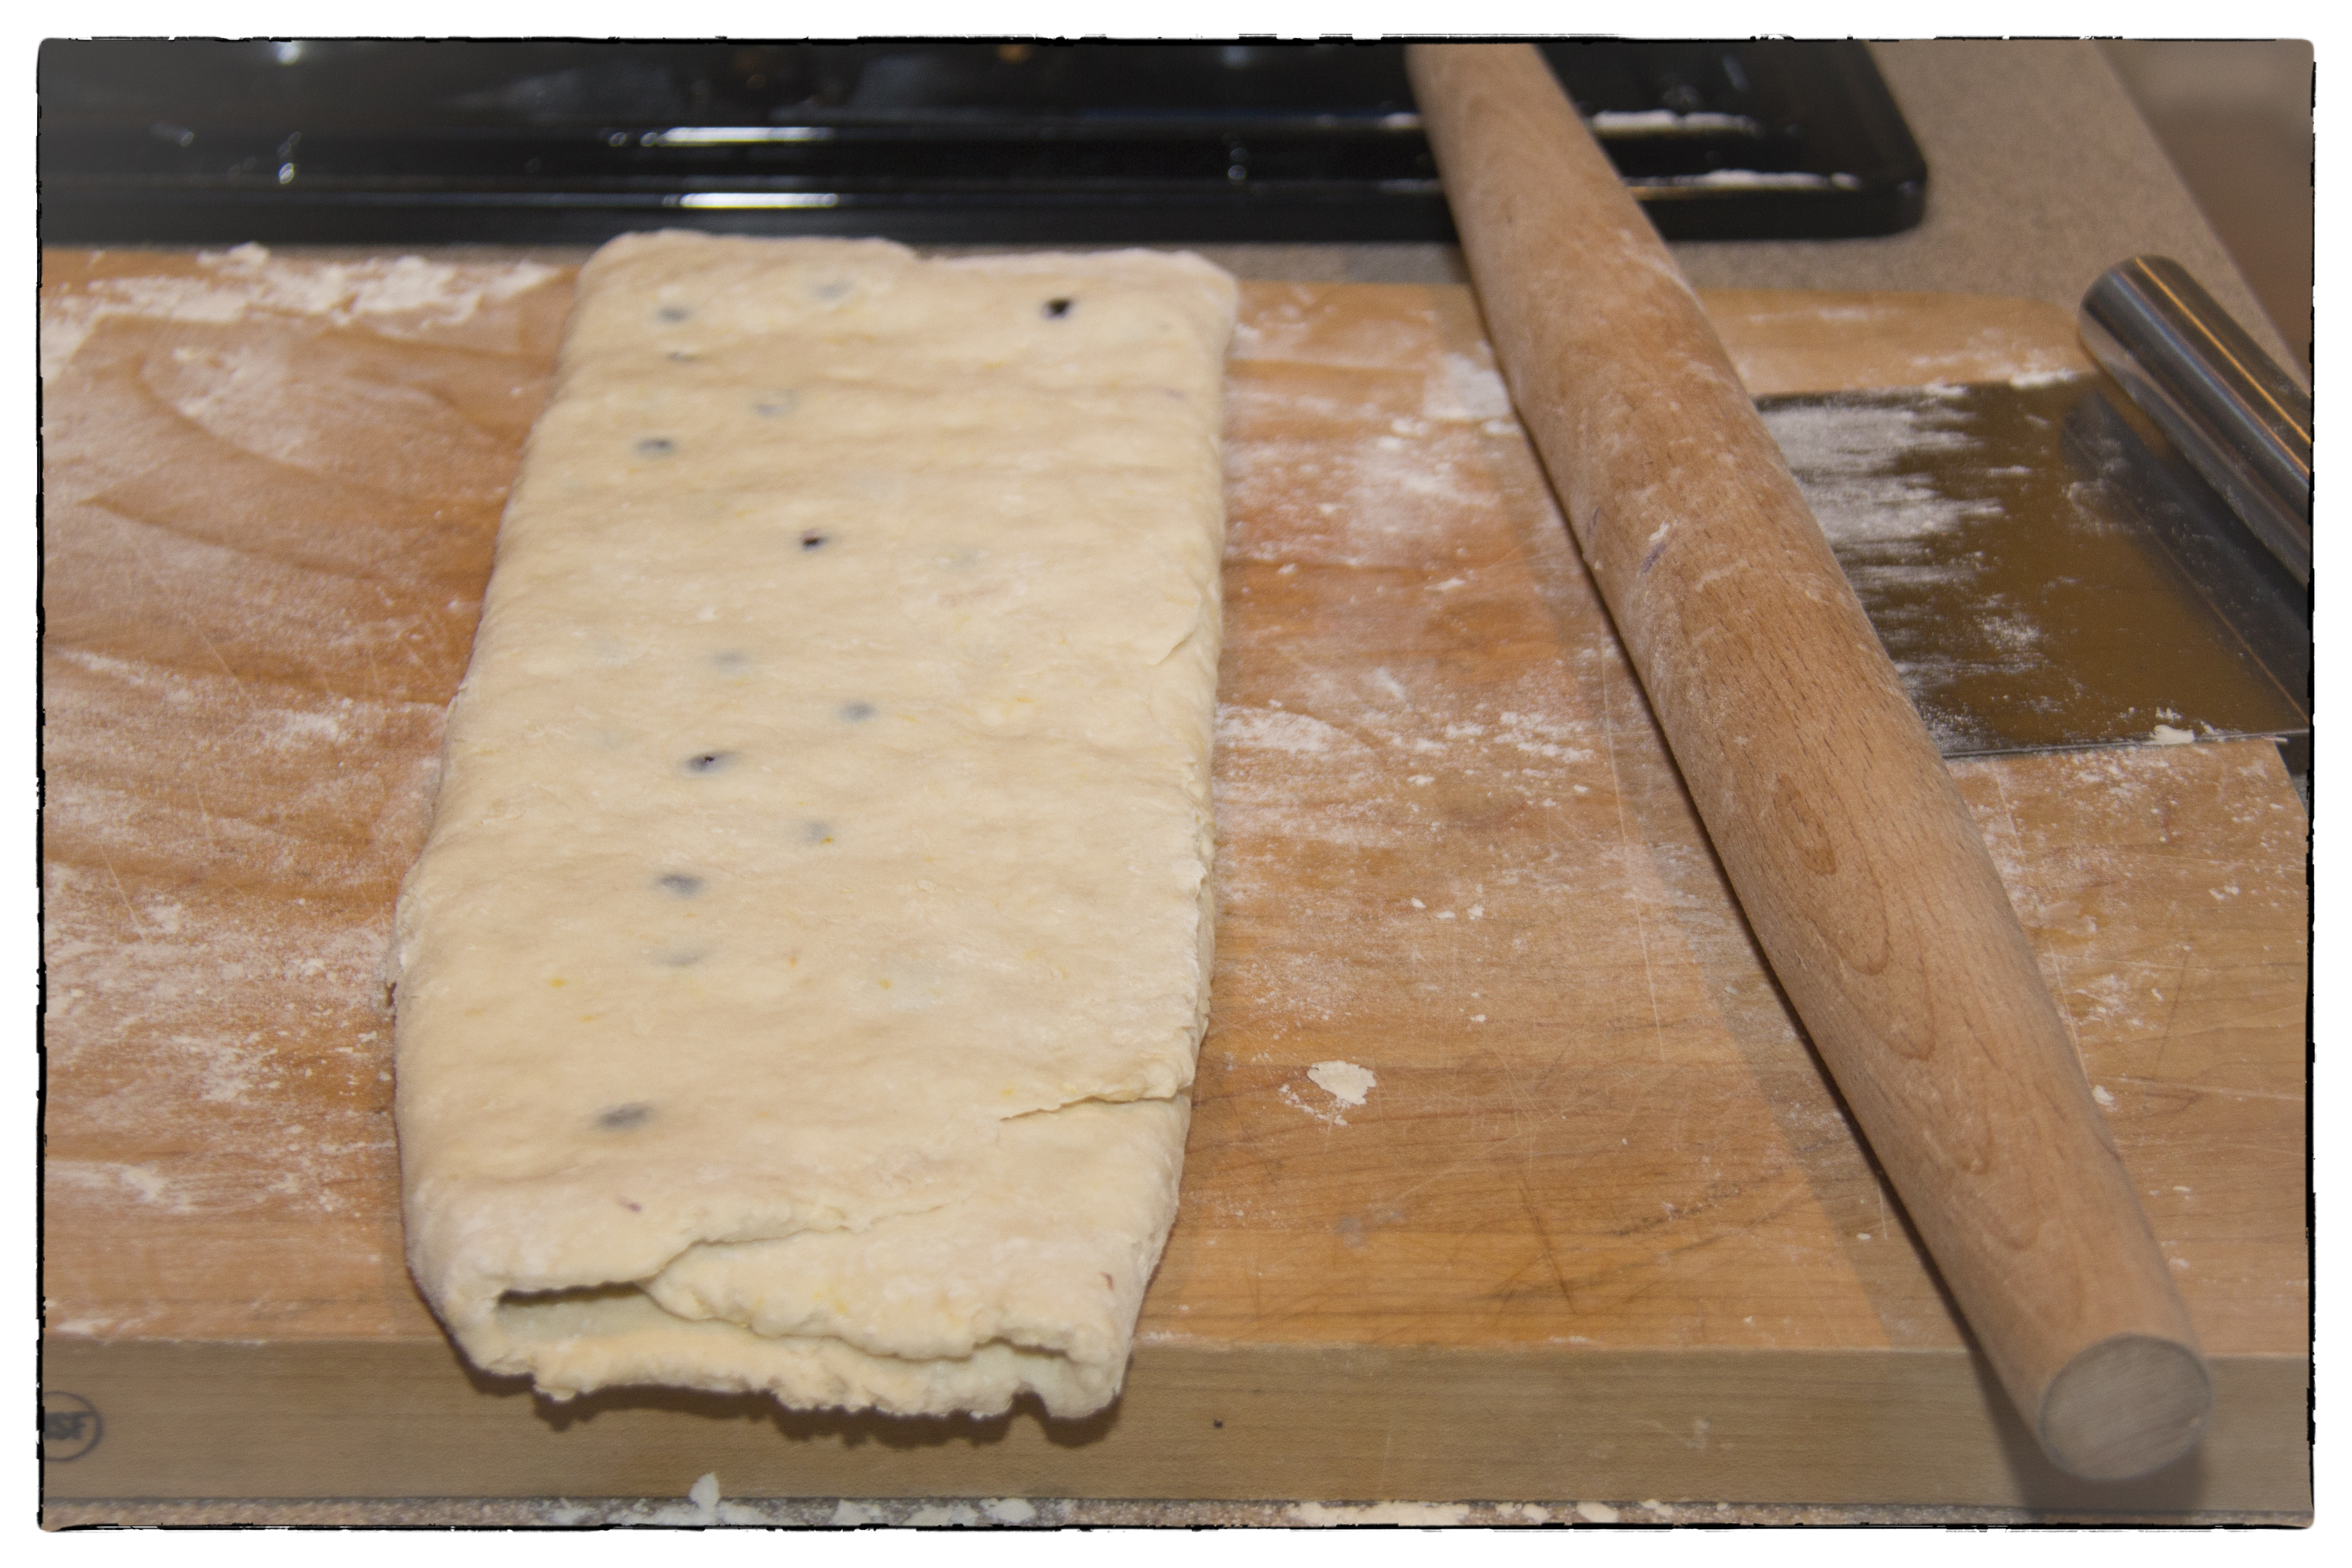
Sprinkle frozen blueberries evenly across the dough. Gently press them into the dough. Roll the dough into a log, carefully keeping the blueberries from falling out.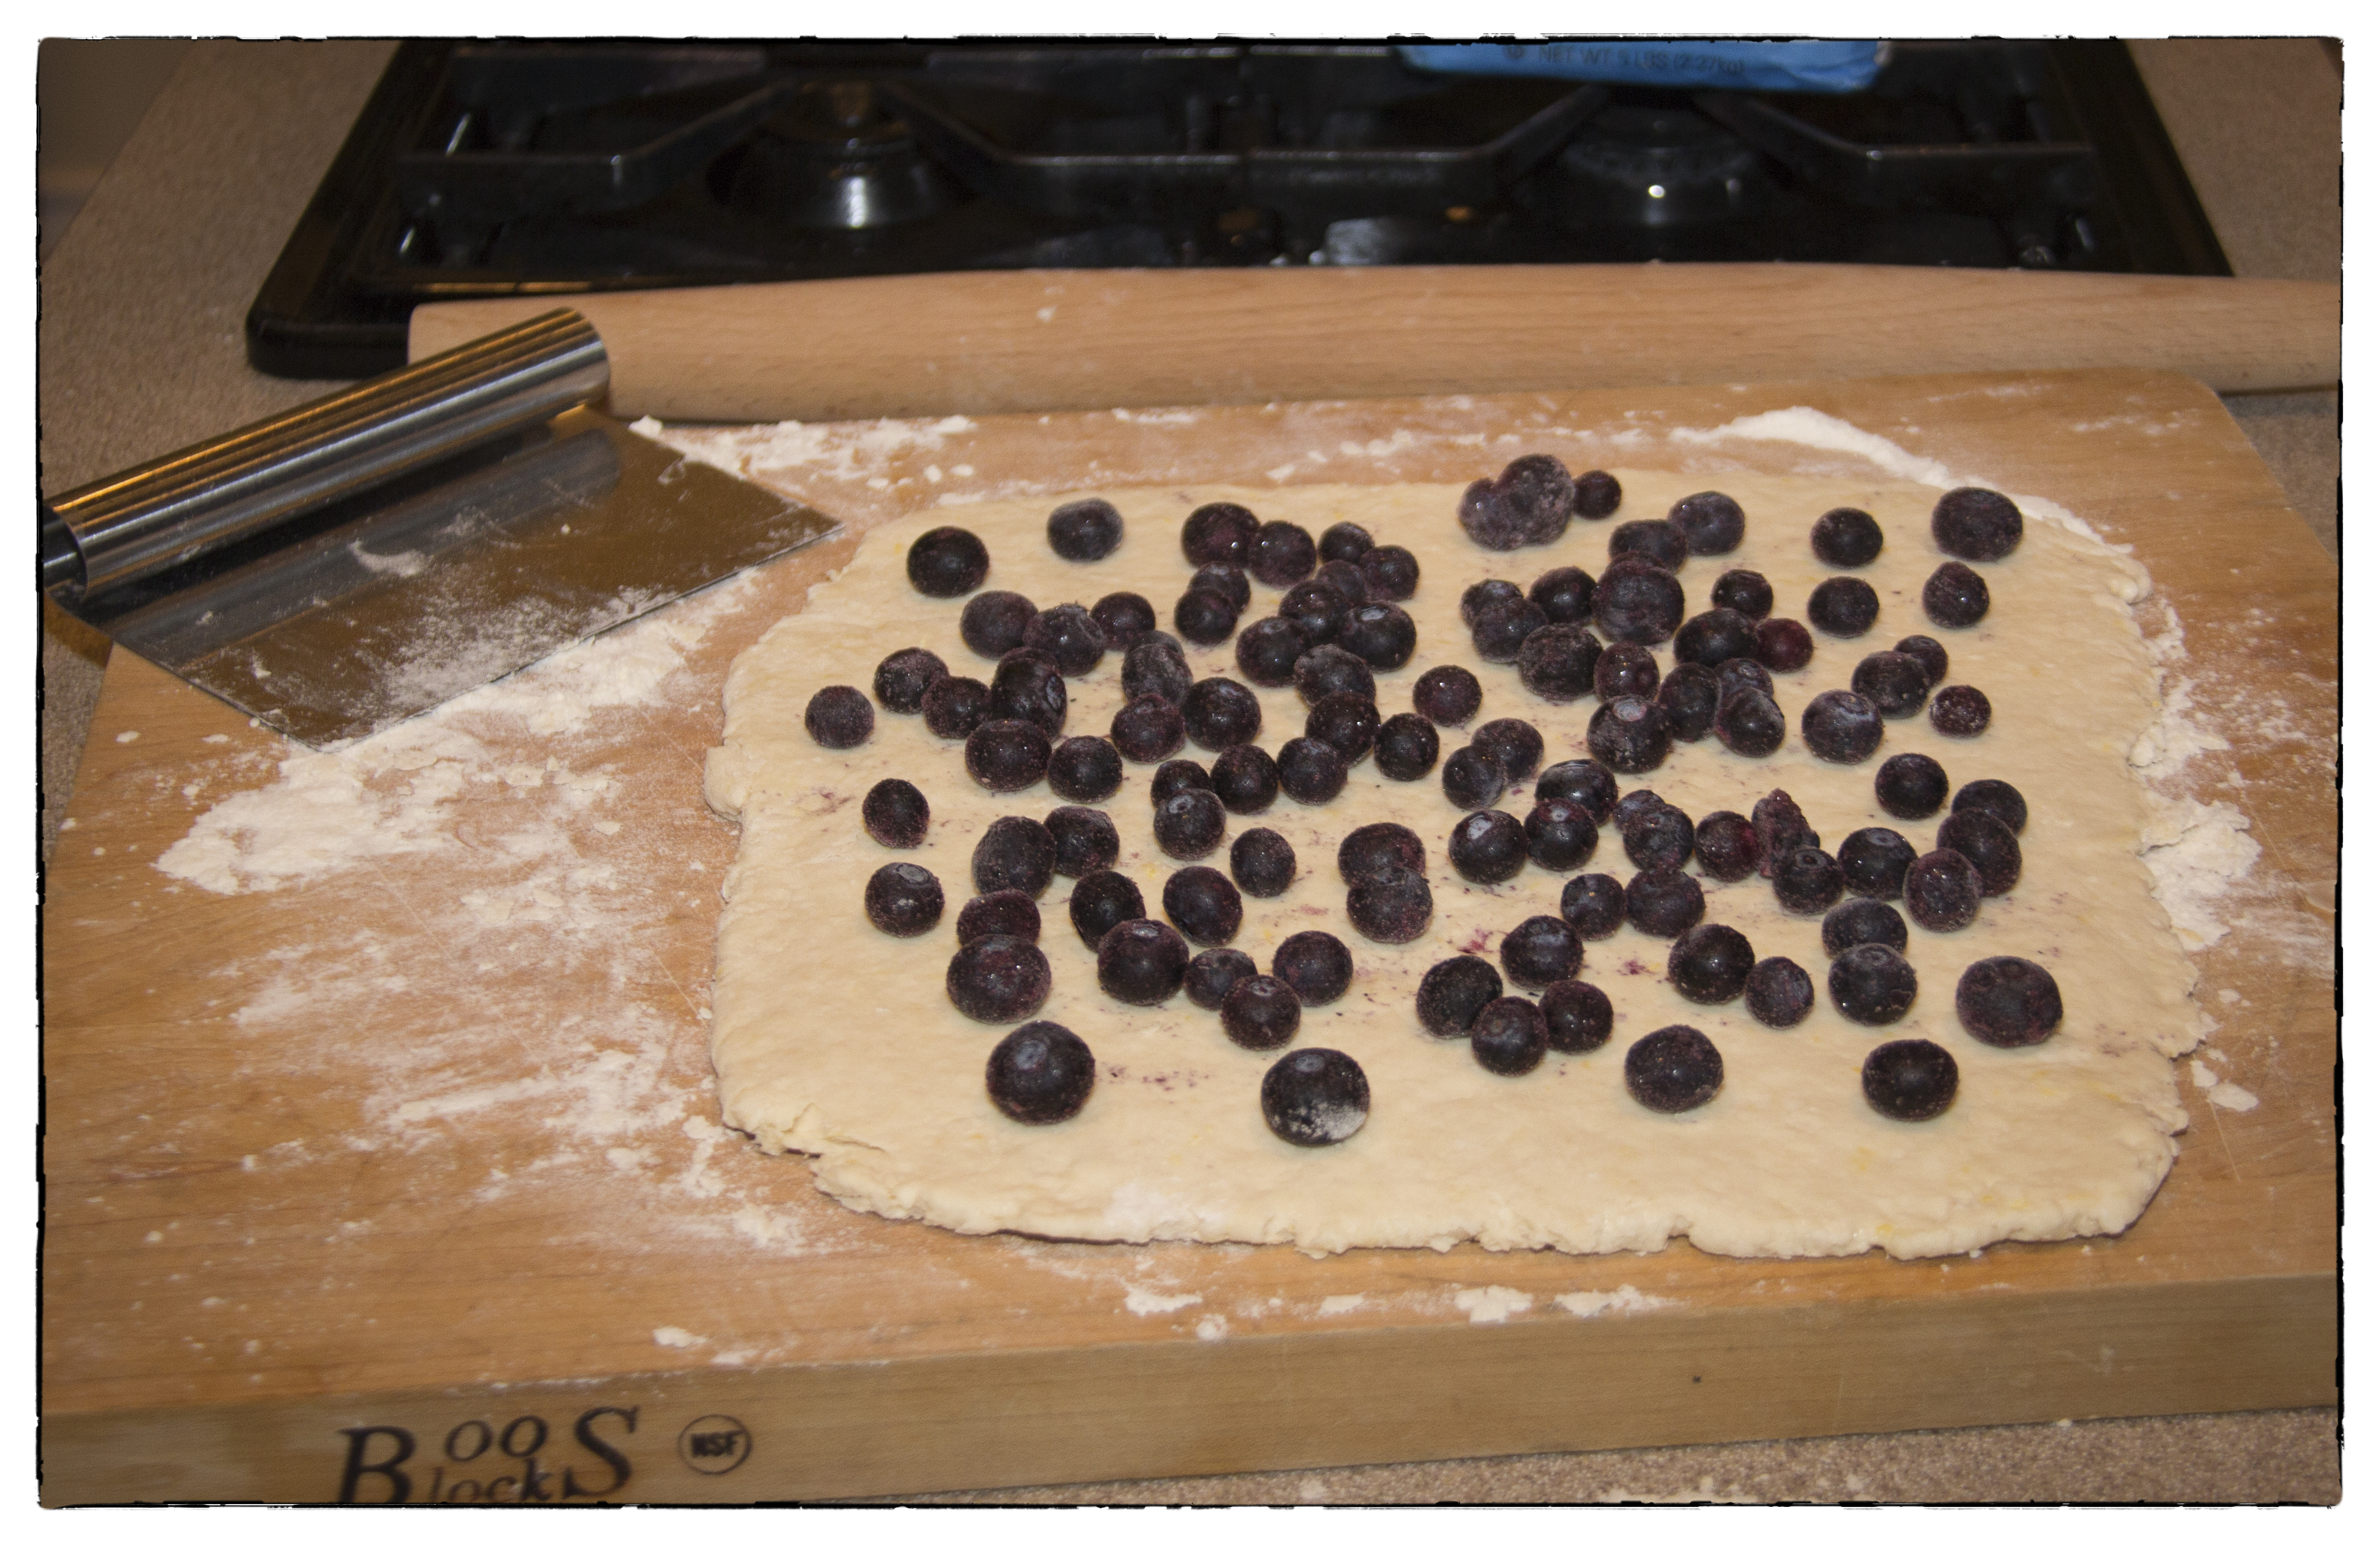
9. Roll the log out into a 12-inch by 4-inch rectangle.
Cut dough into triangles. I like to make 24 small, bite size scones, but you can also cut them much larger. Spread melted butter on top and sprinkle with sugar. 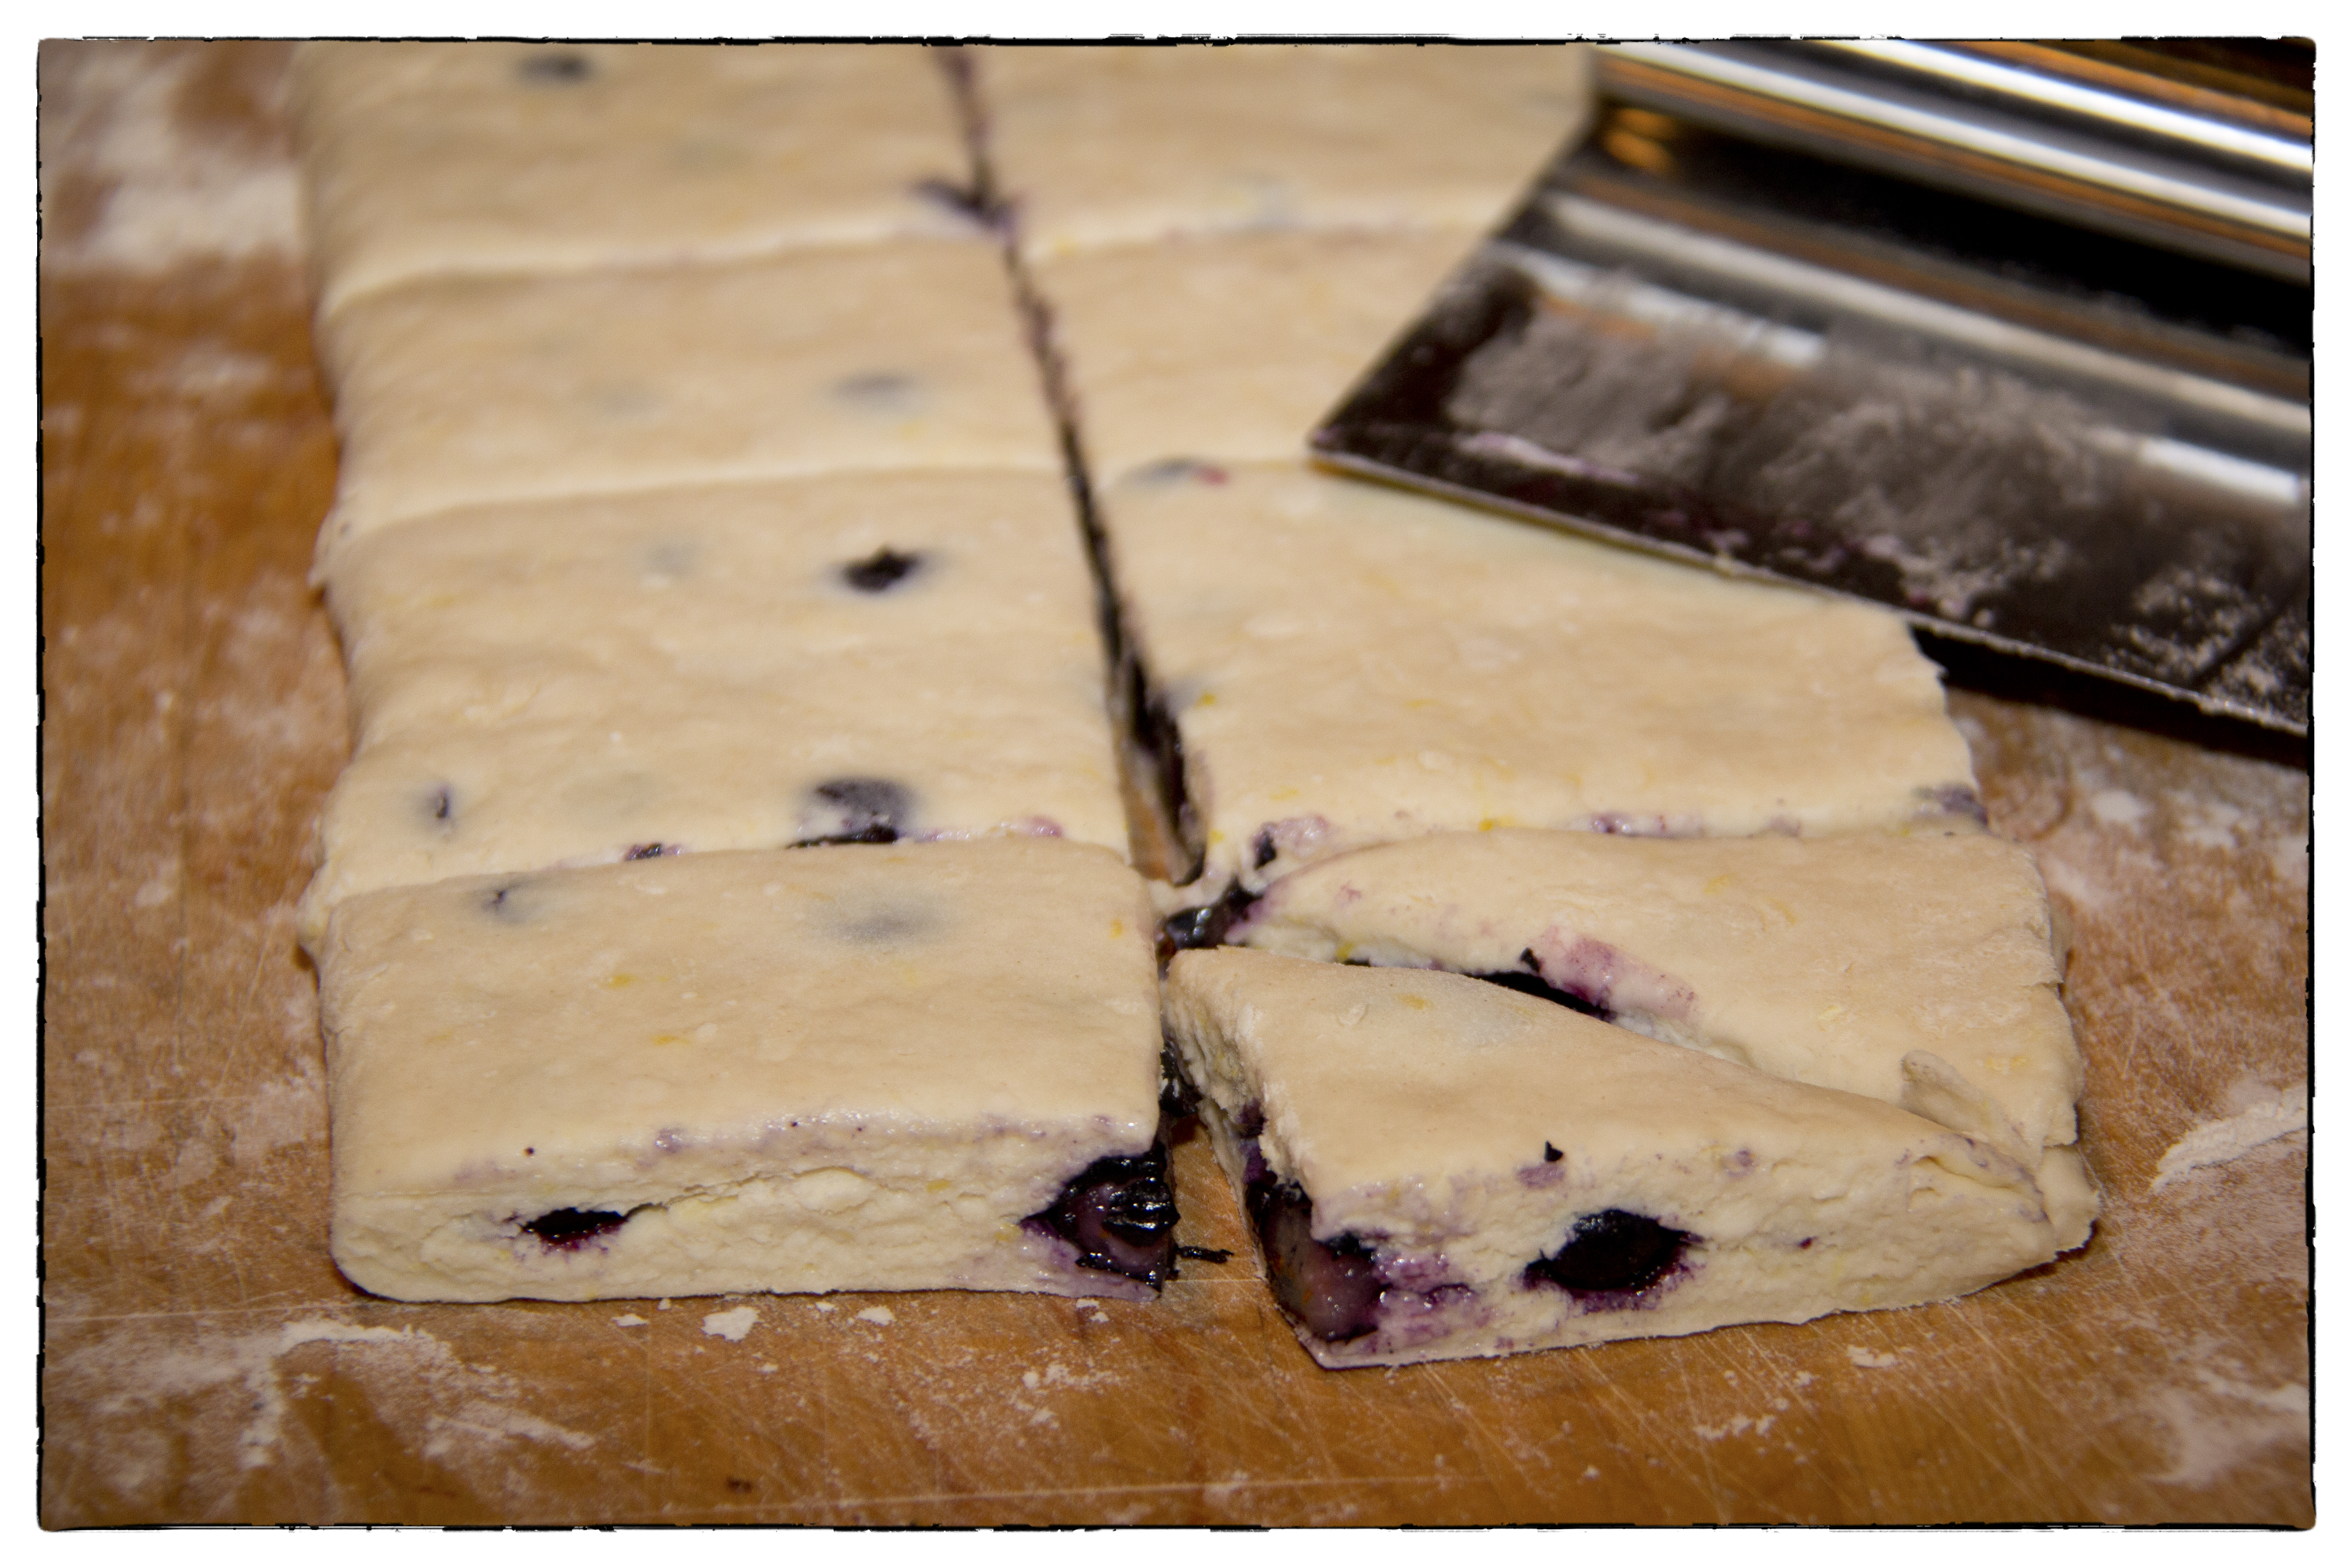
10. Quickly remove the lid of the hot Dutch, place the scones into the bottom, leaving at least 1/2 an inch between each scone, and replace lid. Bake for 18 to 25 minutes at 425 degrees until scones are golden brown.
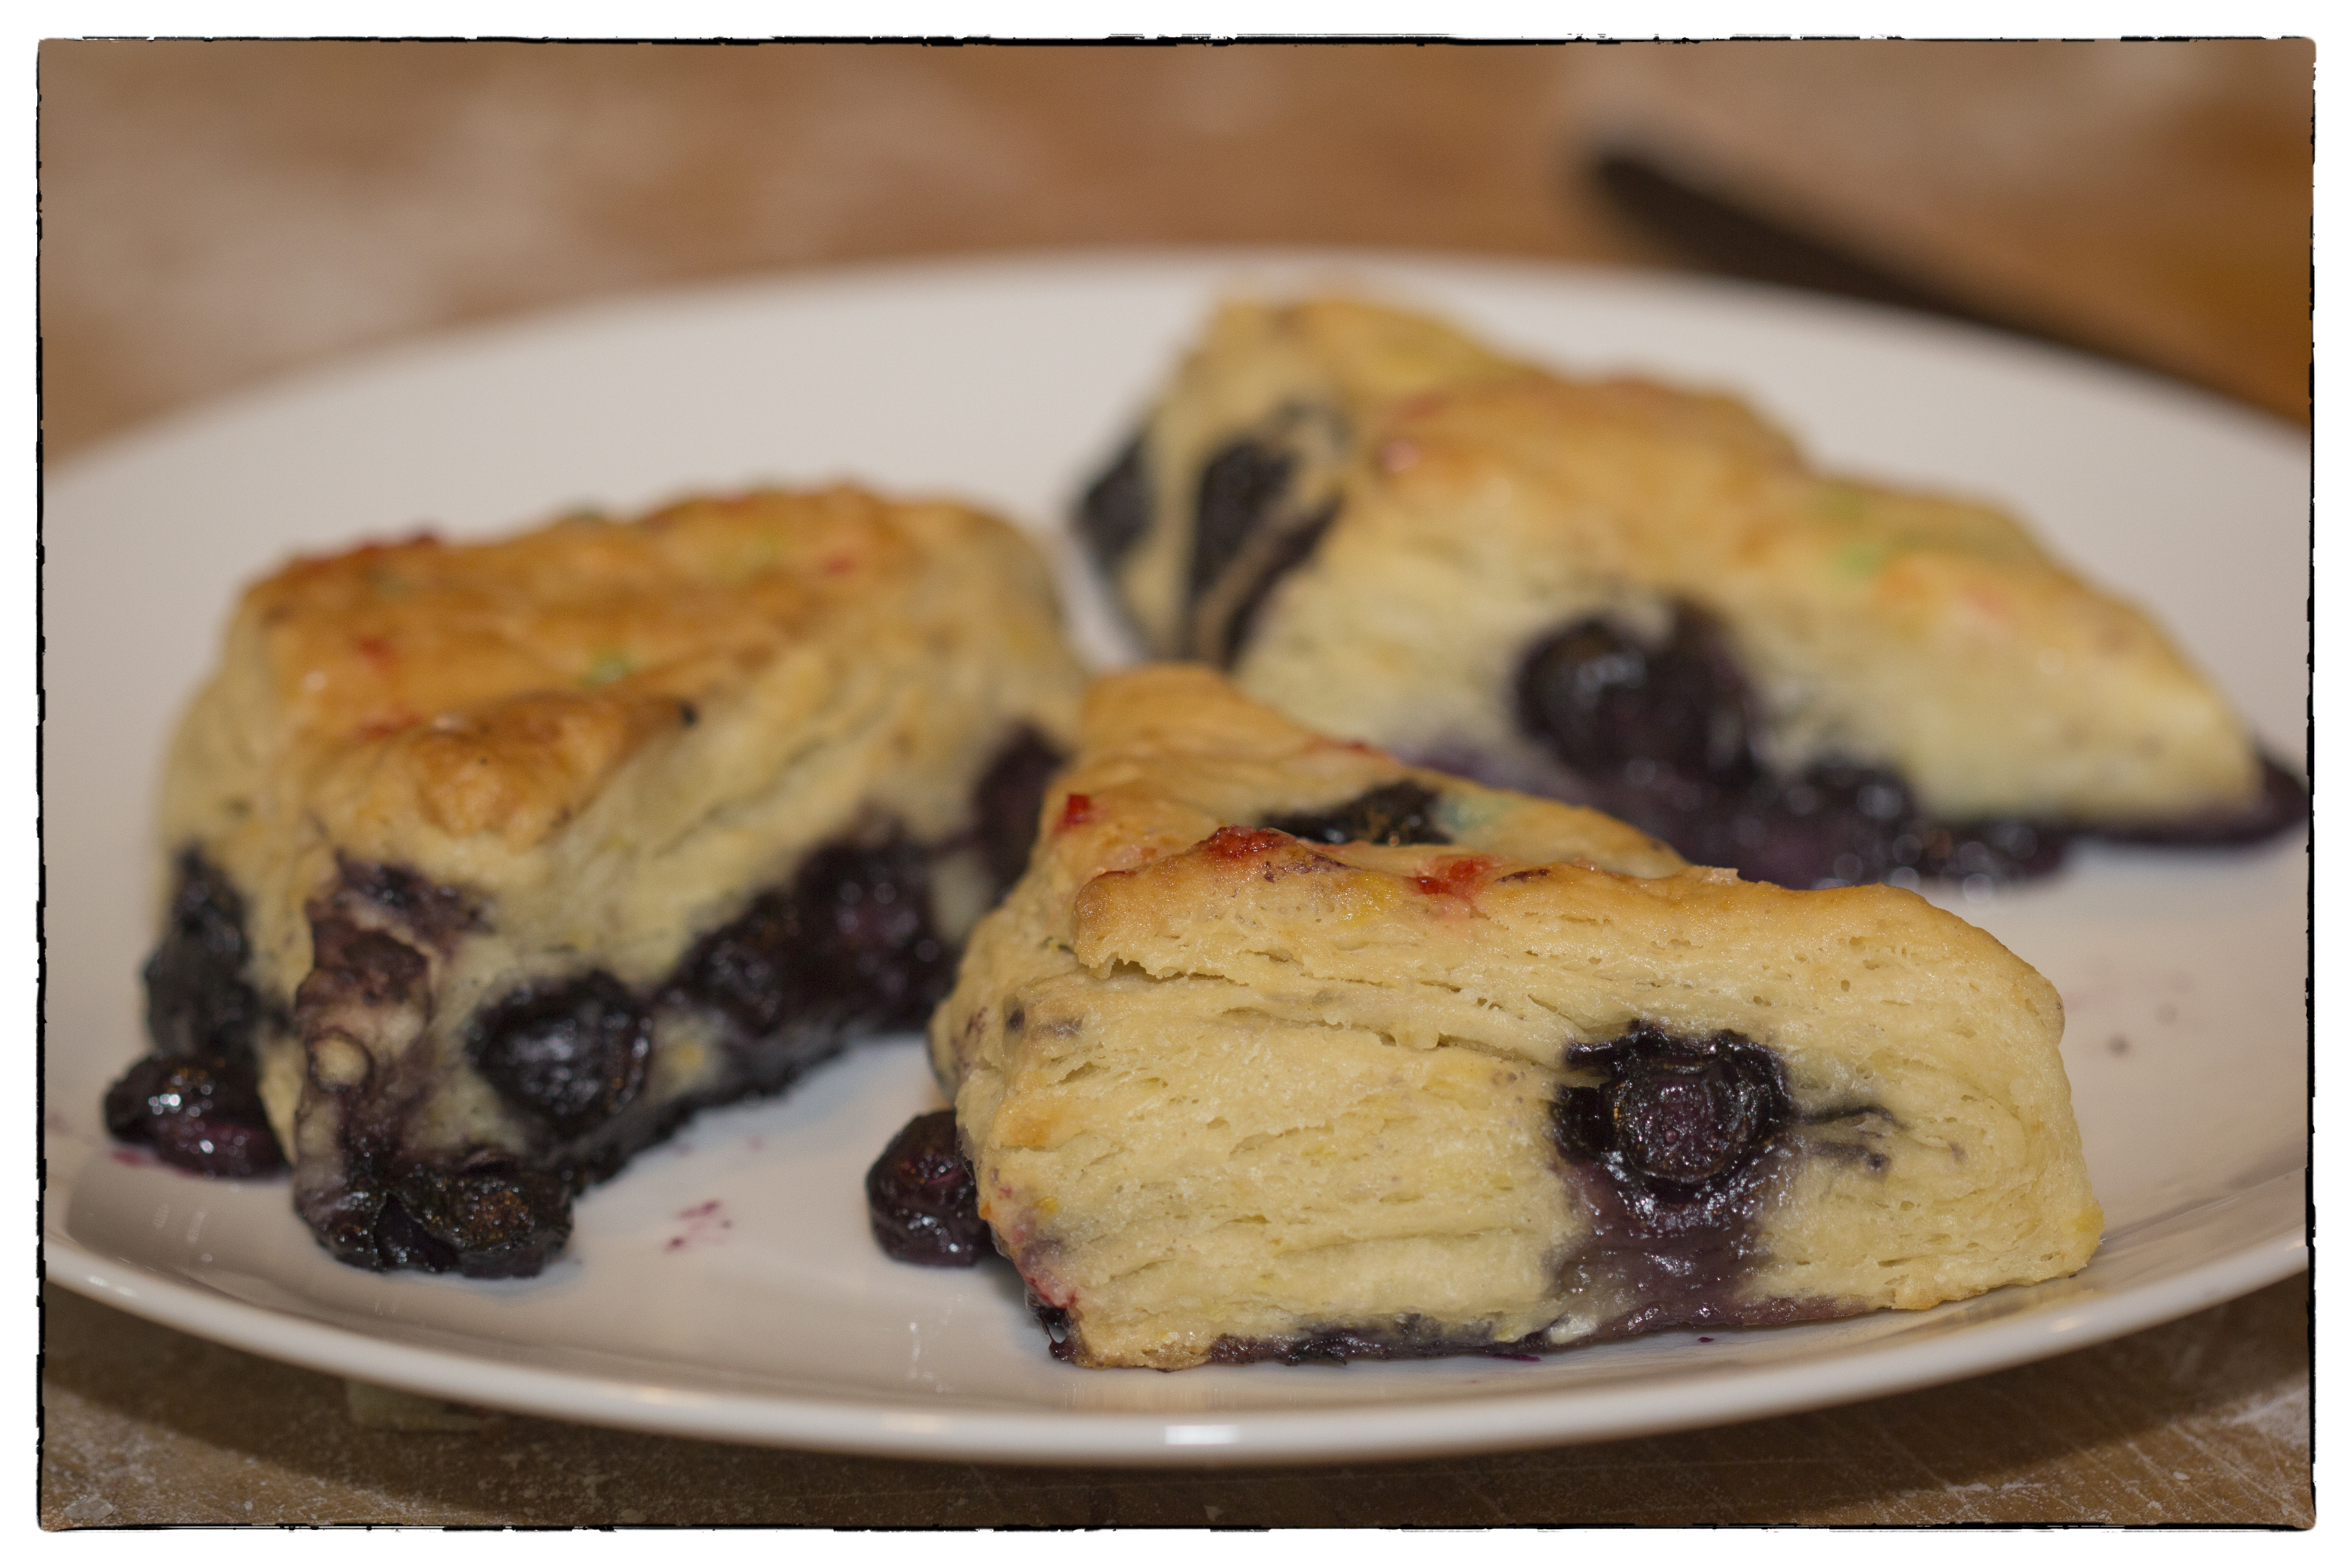
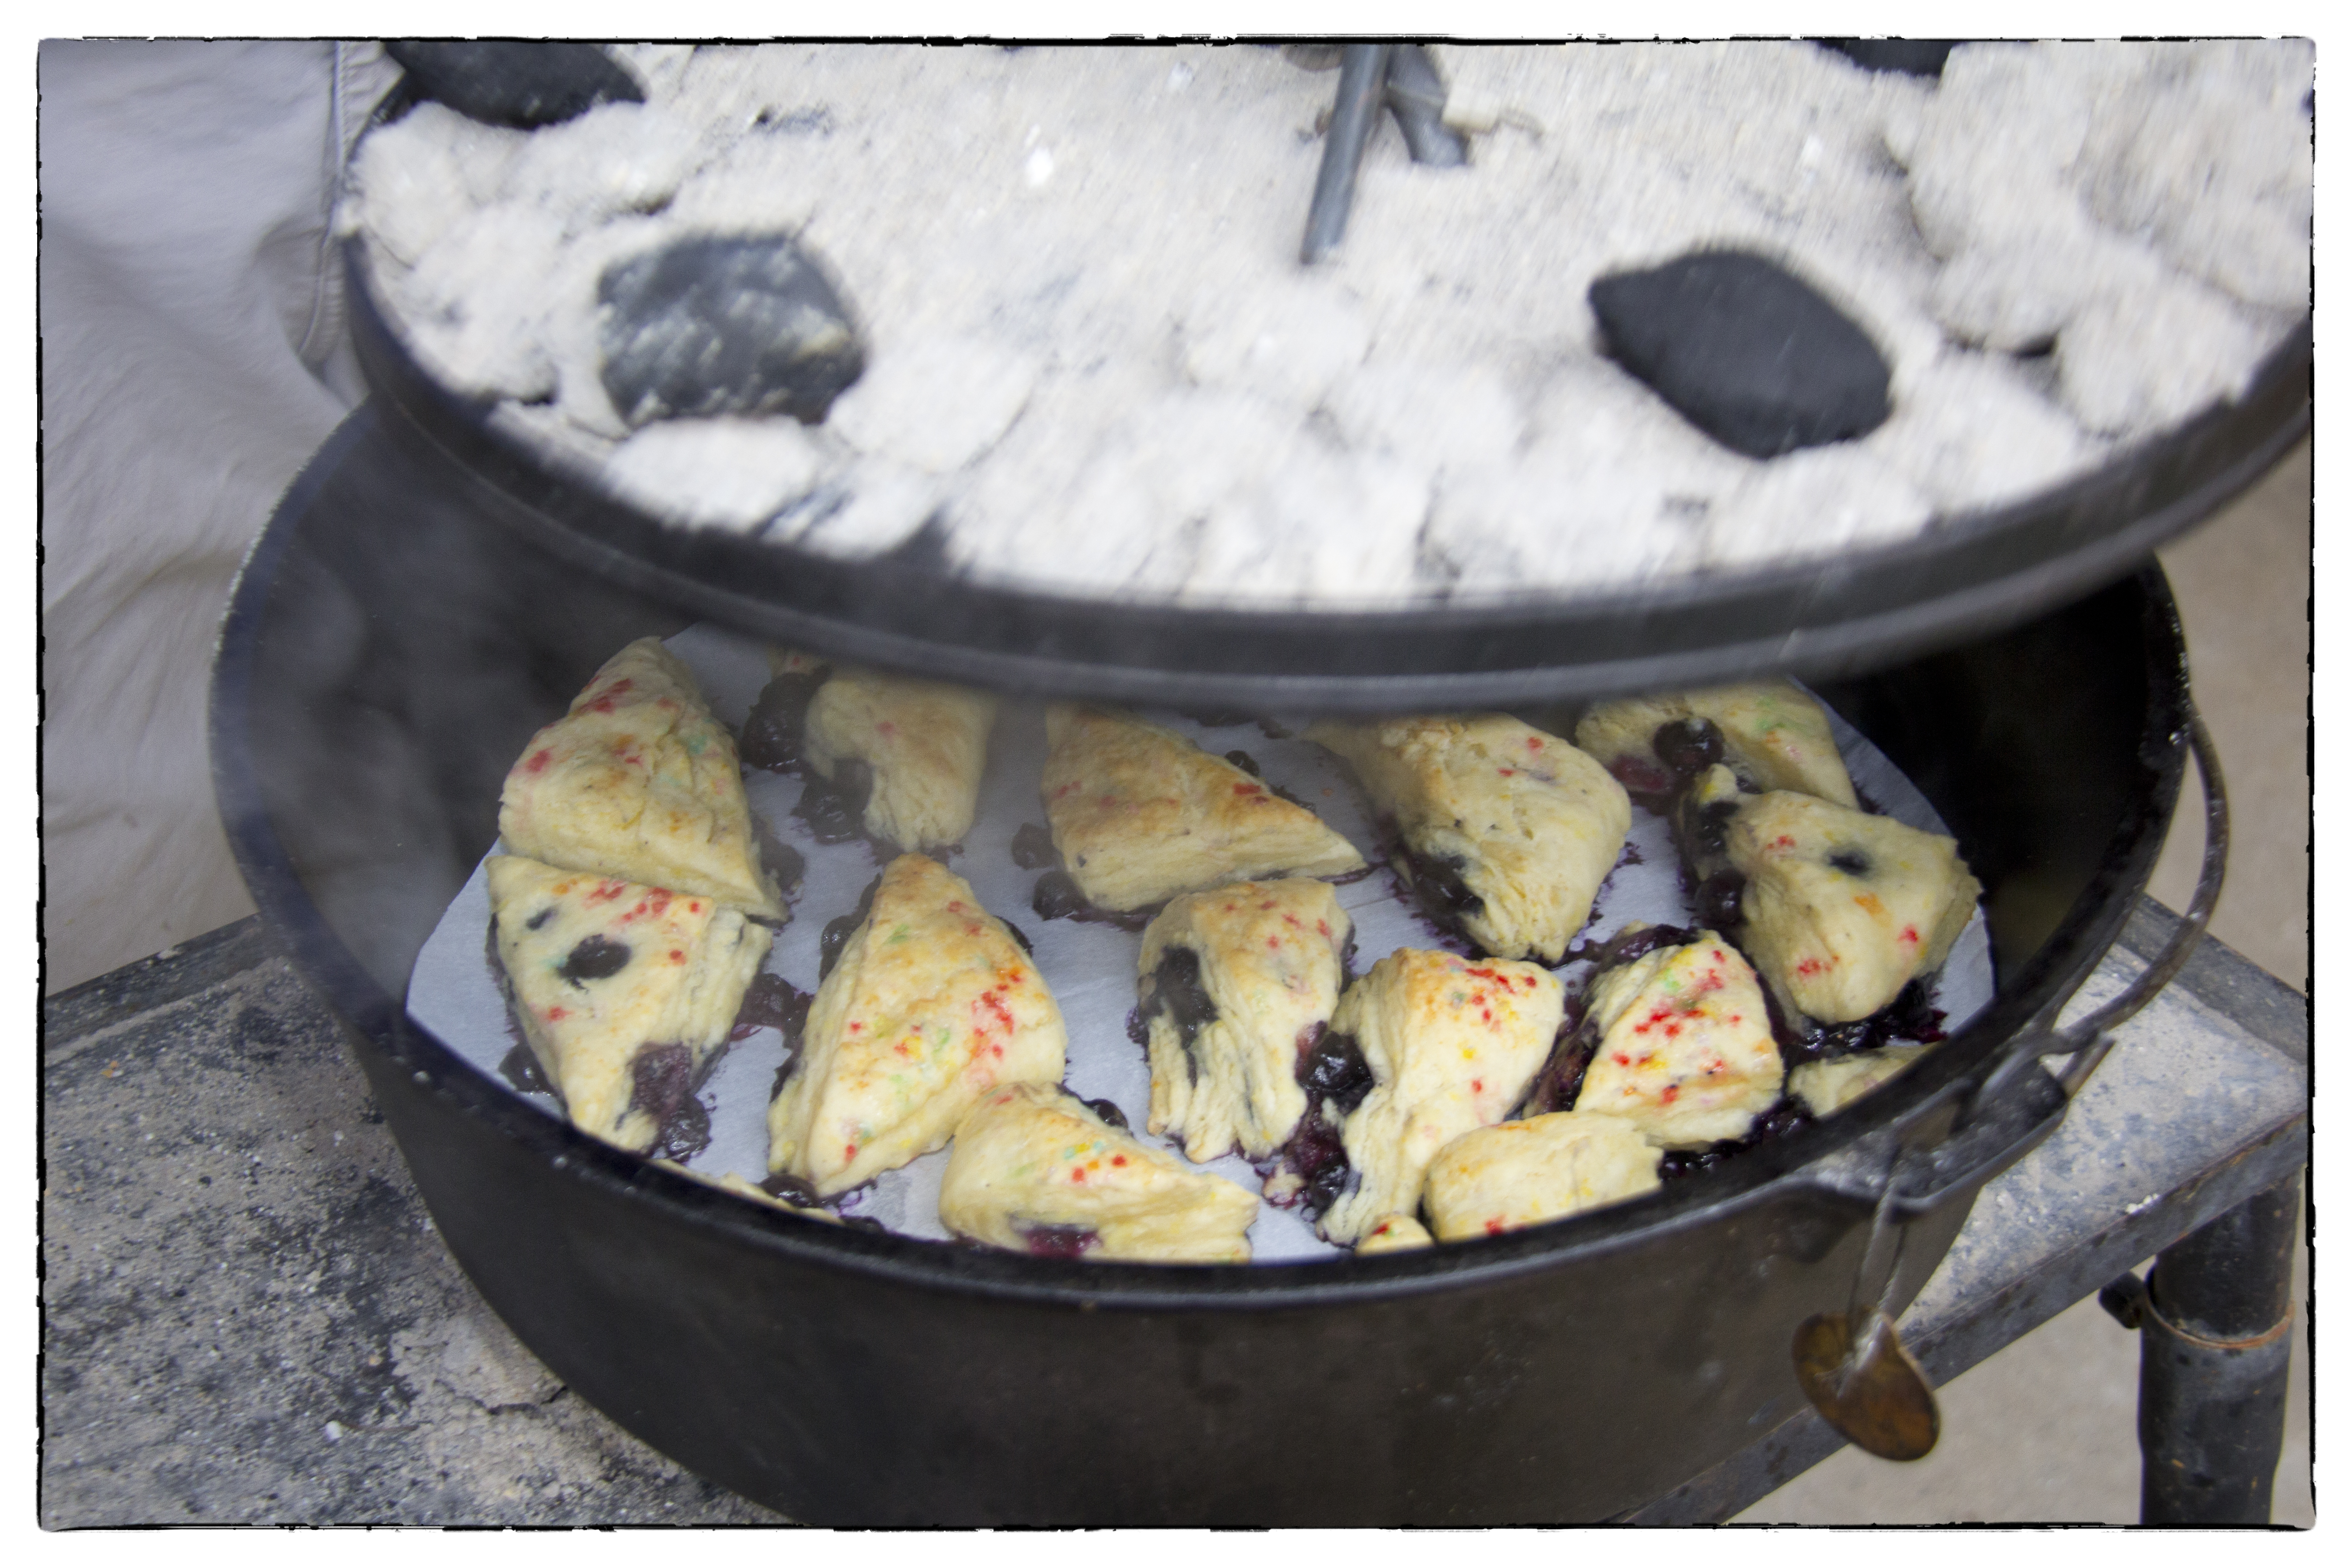 Look at how the scones jumped up! They will almost double the height, evidence of the bits of steaming butter, helped by the baking powder. Check out the flaky layers in the scones!
Here are a few thoughts about temperature control when baking scones with charcoal.
- It is difficult and essential to get the big Dutch oven hot and keep it hot. Preheating it helps create an environment for the butter in the dough to burst with steam. This requires careful attention to temperature control. If you are baking in windy or cold conditions, you will have to wrap the Dutch oven with protective cover and you may have to change your charcoal for fresh, hot coals.
- The number of charcoals needed will depend on the environment and conditions you are baking in, but I have found that the charcoal is never hot enough, so add extra coals and watch carefully. Baking this recipe in a kitchen oven suggests baking for 18 to 25 minutes. I suggest to use extra charcoal, turn the lid clockwise and bottom counter-clockwise every 8-9 minutes, and use the “sniff test.” When you can smell the scones, they are almost done!
The maple flavor is divine in these scones and the flaky, buttery, crunchy texture is amazing! Yes, this is a bit more work and requires attention to details, but the results are well worth the effort!
Can you imagine the look on your family’s faces when they bite into these little packages of love??
Enjoy!