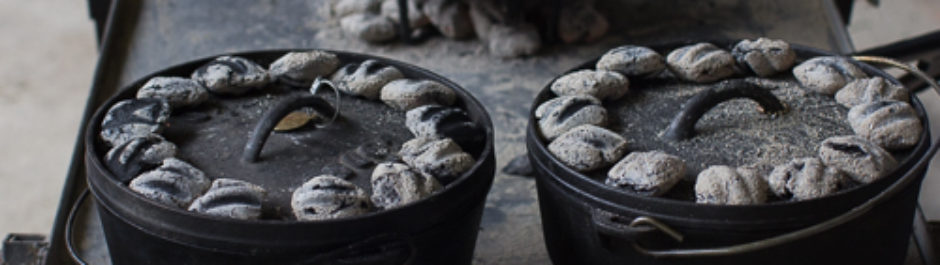
Baking pie, cake, or bread in a camp Dutch oven over charcoal is tricky for many different reasons, especially temperature control. Nothing is more discouraging than burning food! Another challenge is to remove our baked goods from the Dutch oven without it falling apart. In this post, I will describe how we prepared our 12″ camp Dutch and how we cool it down so that we can successfully remove a pie or cake to serve it to our friends and family.
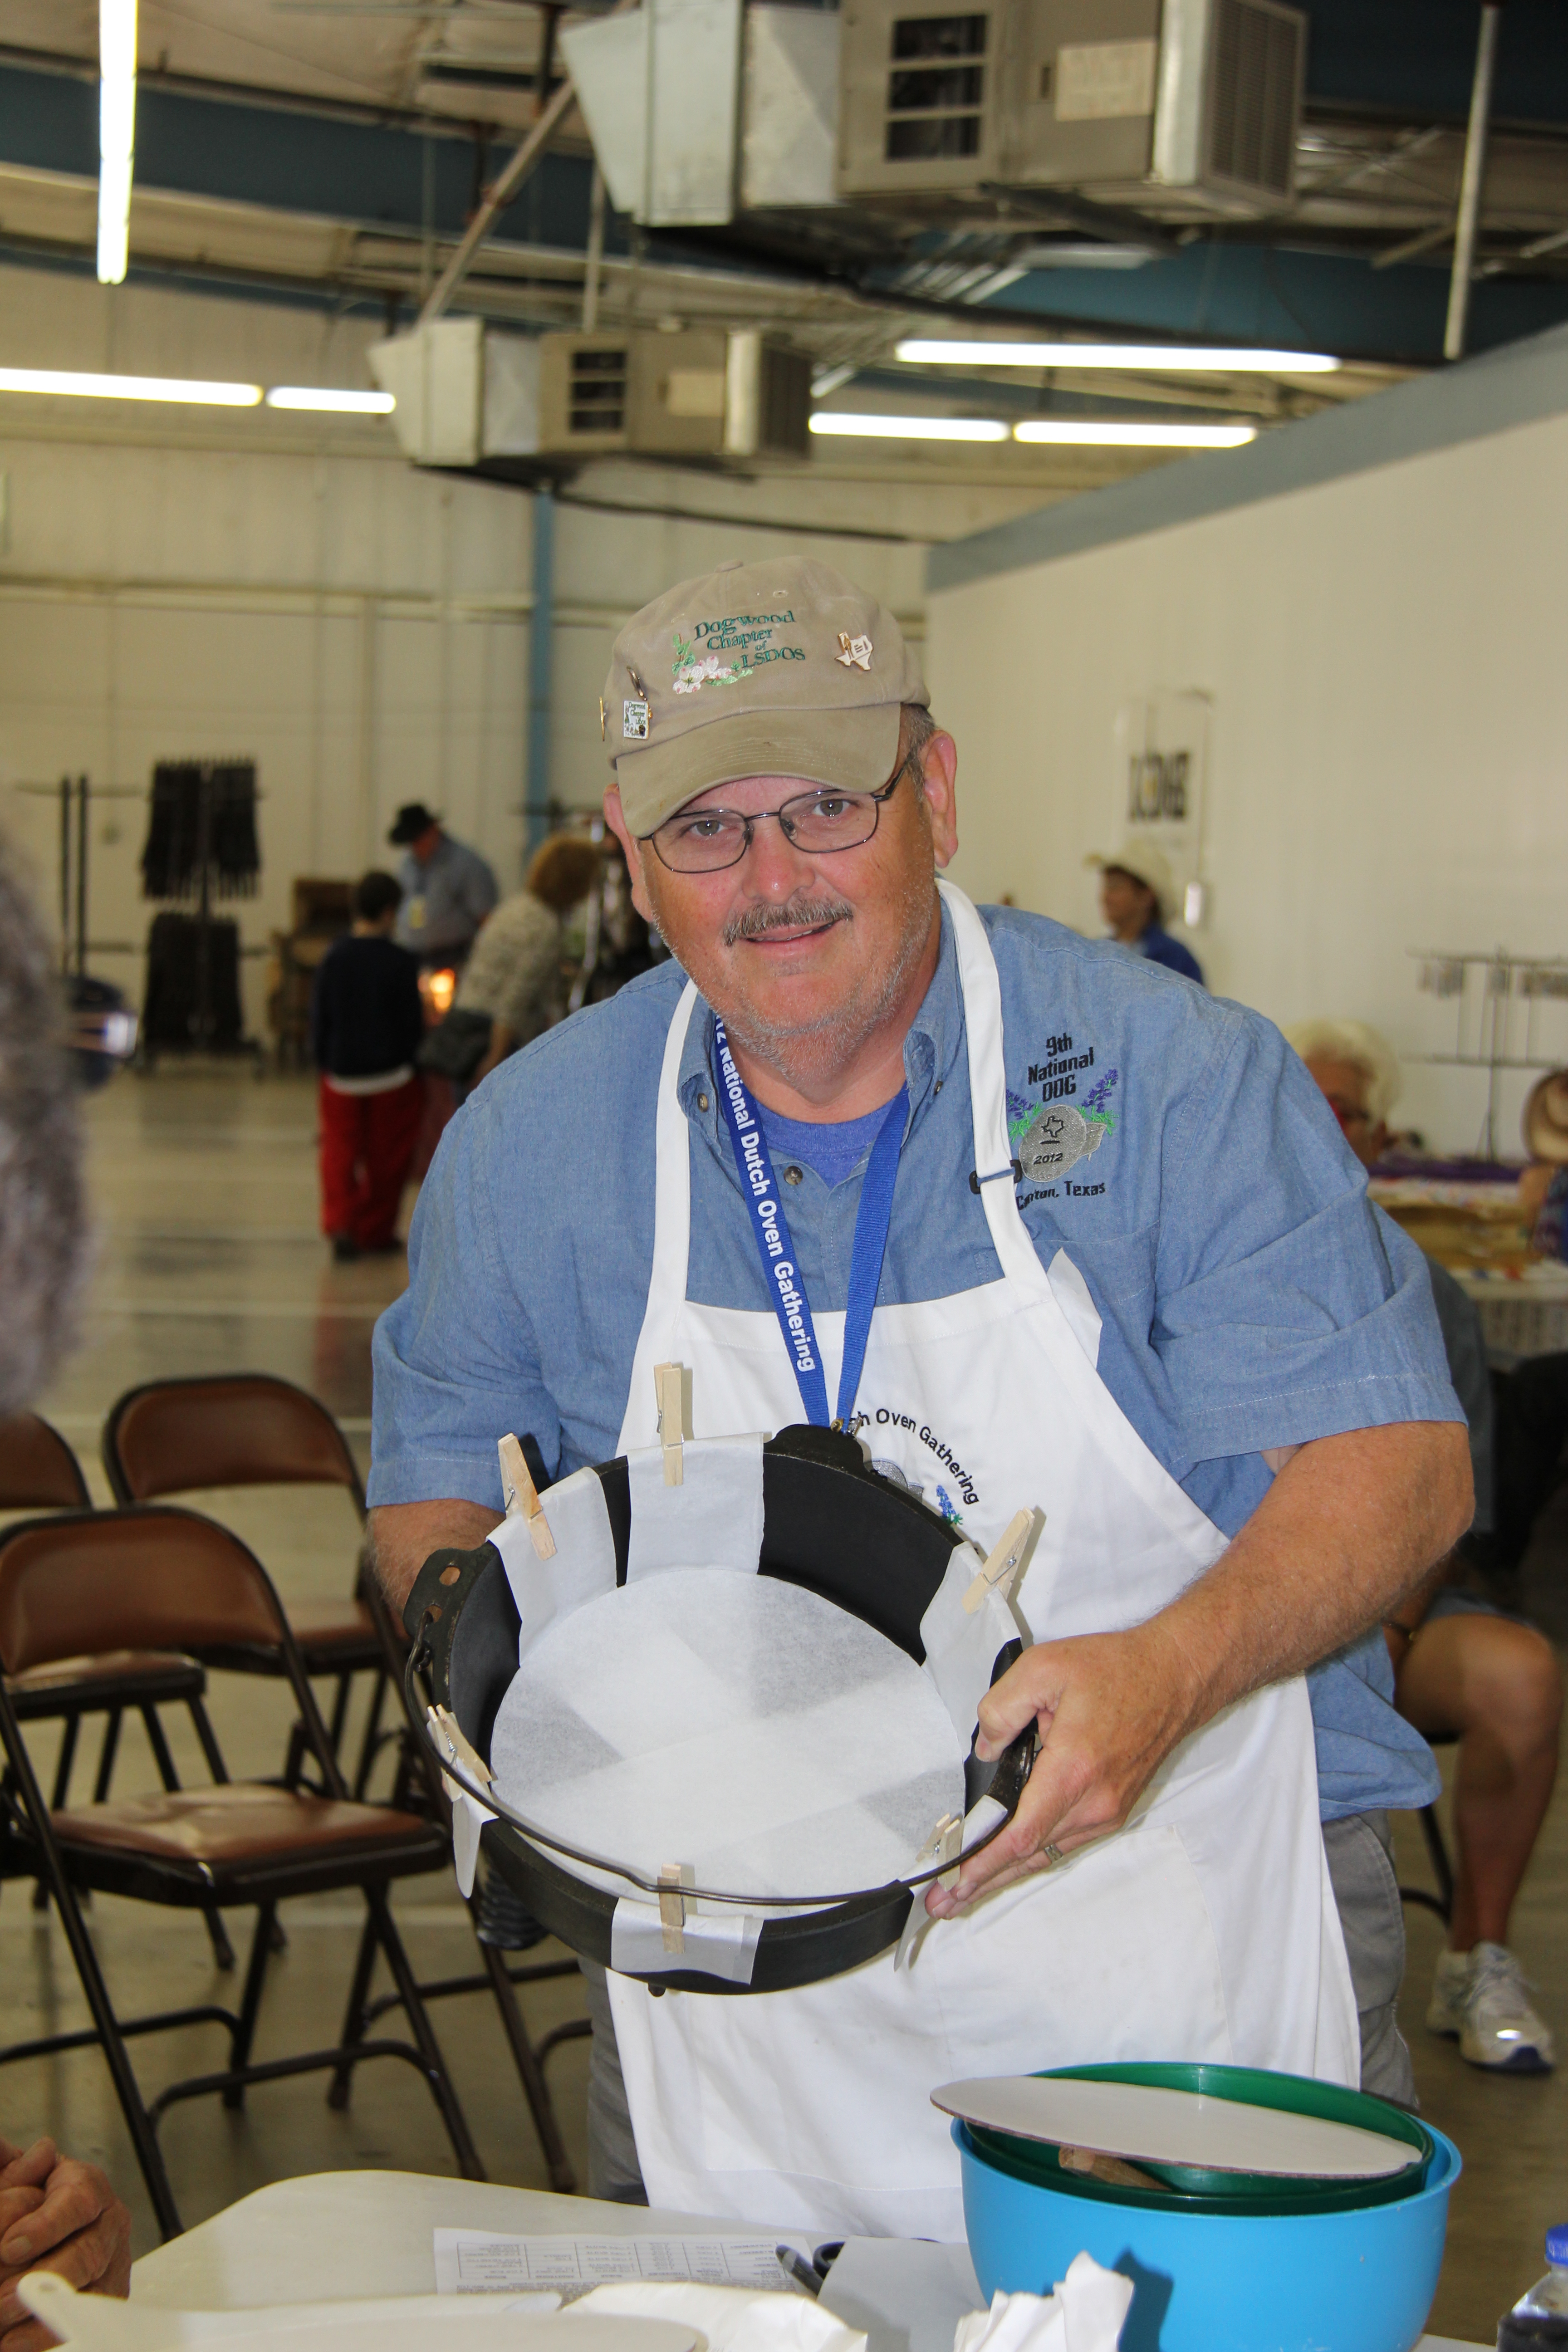
I first learned the technique of baking a pie in a camp Dutch oven from Gaye Ann and Dawn at the 2012 National Dutch Oven Gathering (NDOG). Check out these YouTube videos of the class Pie Part One and Pie Part Two. Twenty lucky bakers had the opportunity to participate in the hands-on class, including my friend Joe who is showing us how he prepared his 12″ camp Dutch oven with parchment paper.
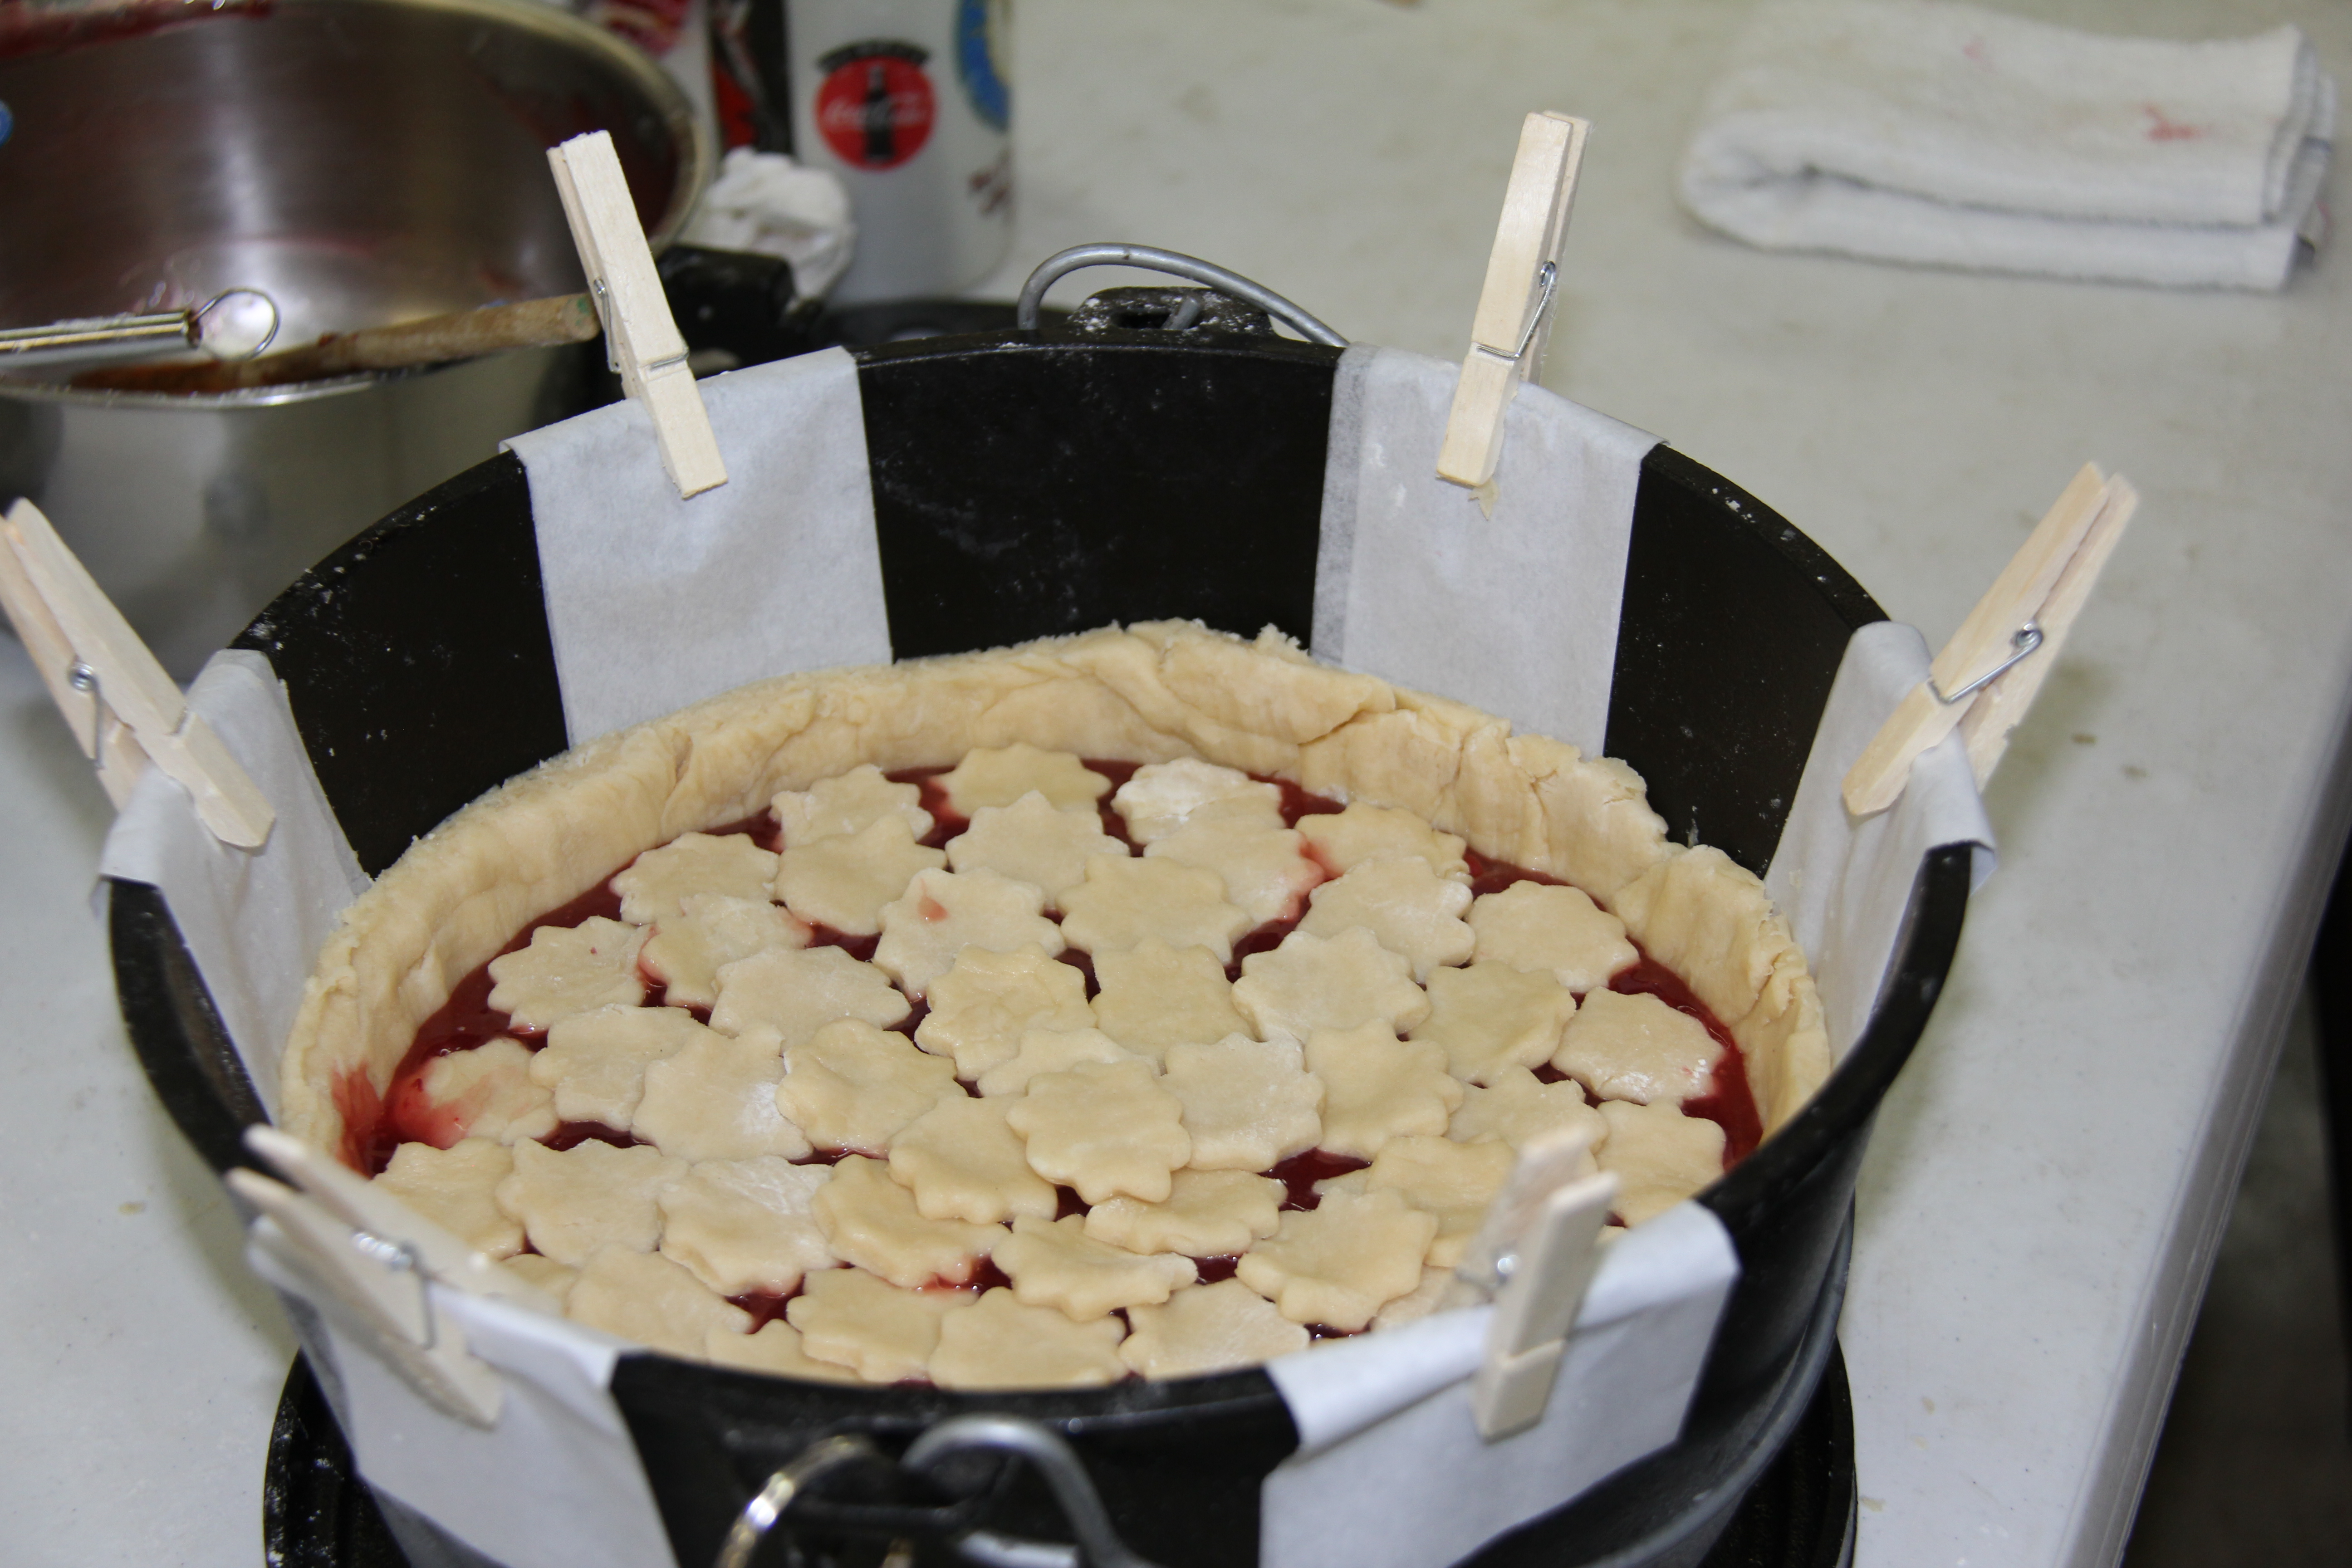
This is the key to successfully removing a pie after it cools off. For the lifters, tear off a 18″ piece of parchment paper, then divide it into thirds length-wise. Fold each piece in half and lay inside the Dutch oven to form a six-sided cross. Then cut a circle of parchment paper the diameter of the bottom of the Dutch oven. Finally, lay the round parchment on top of the lifters. Since we are baking a pie, we didn’t use Pam, but if we were baking a cake, we would need spray with Pam before and after placing the parchment paper inside the Dutch oven.
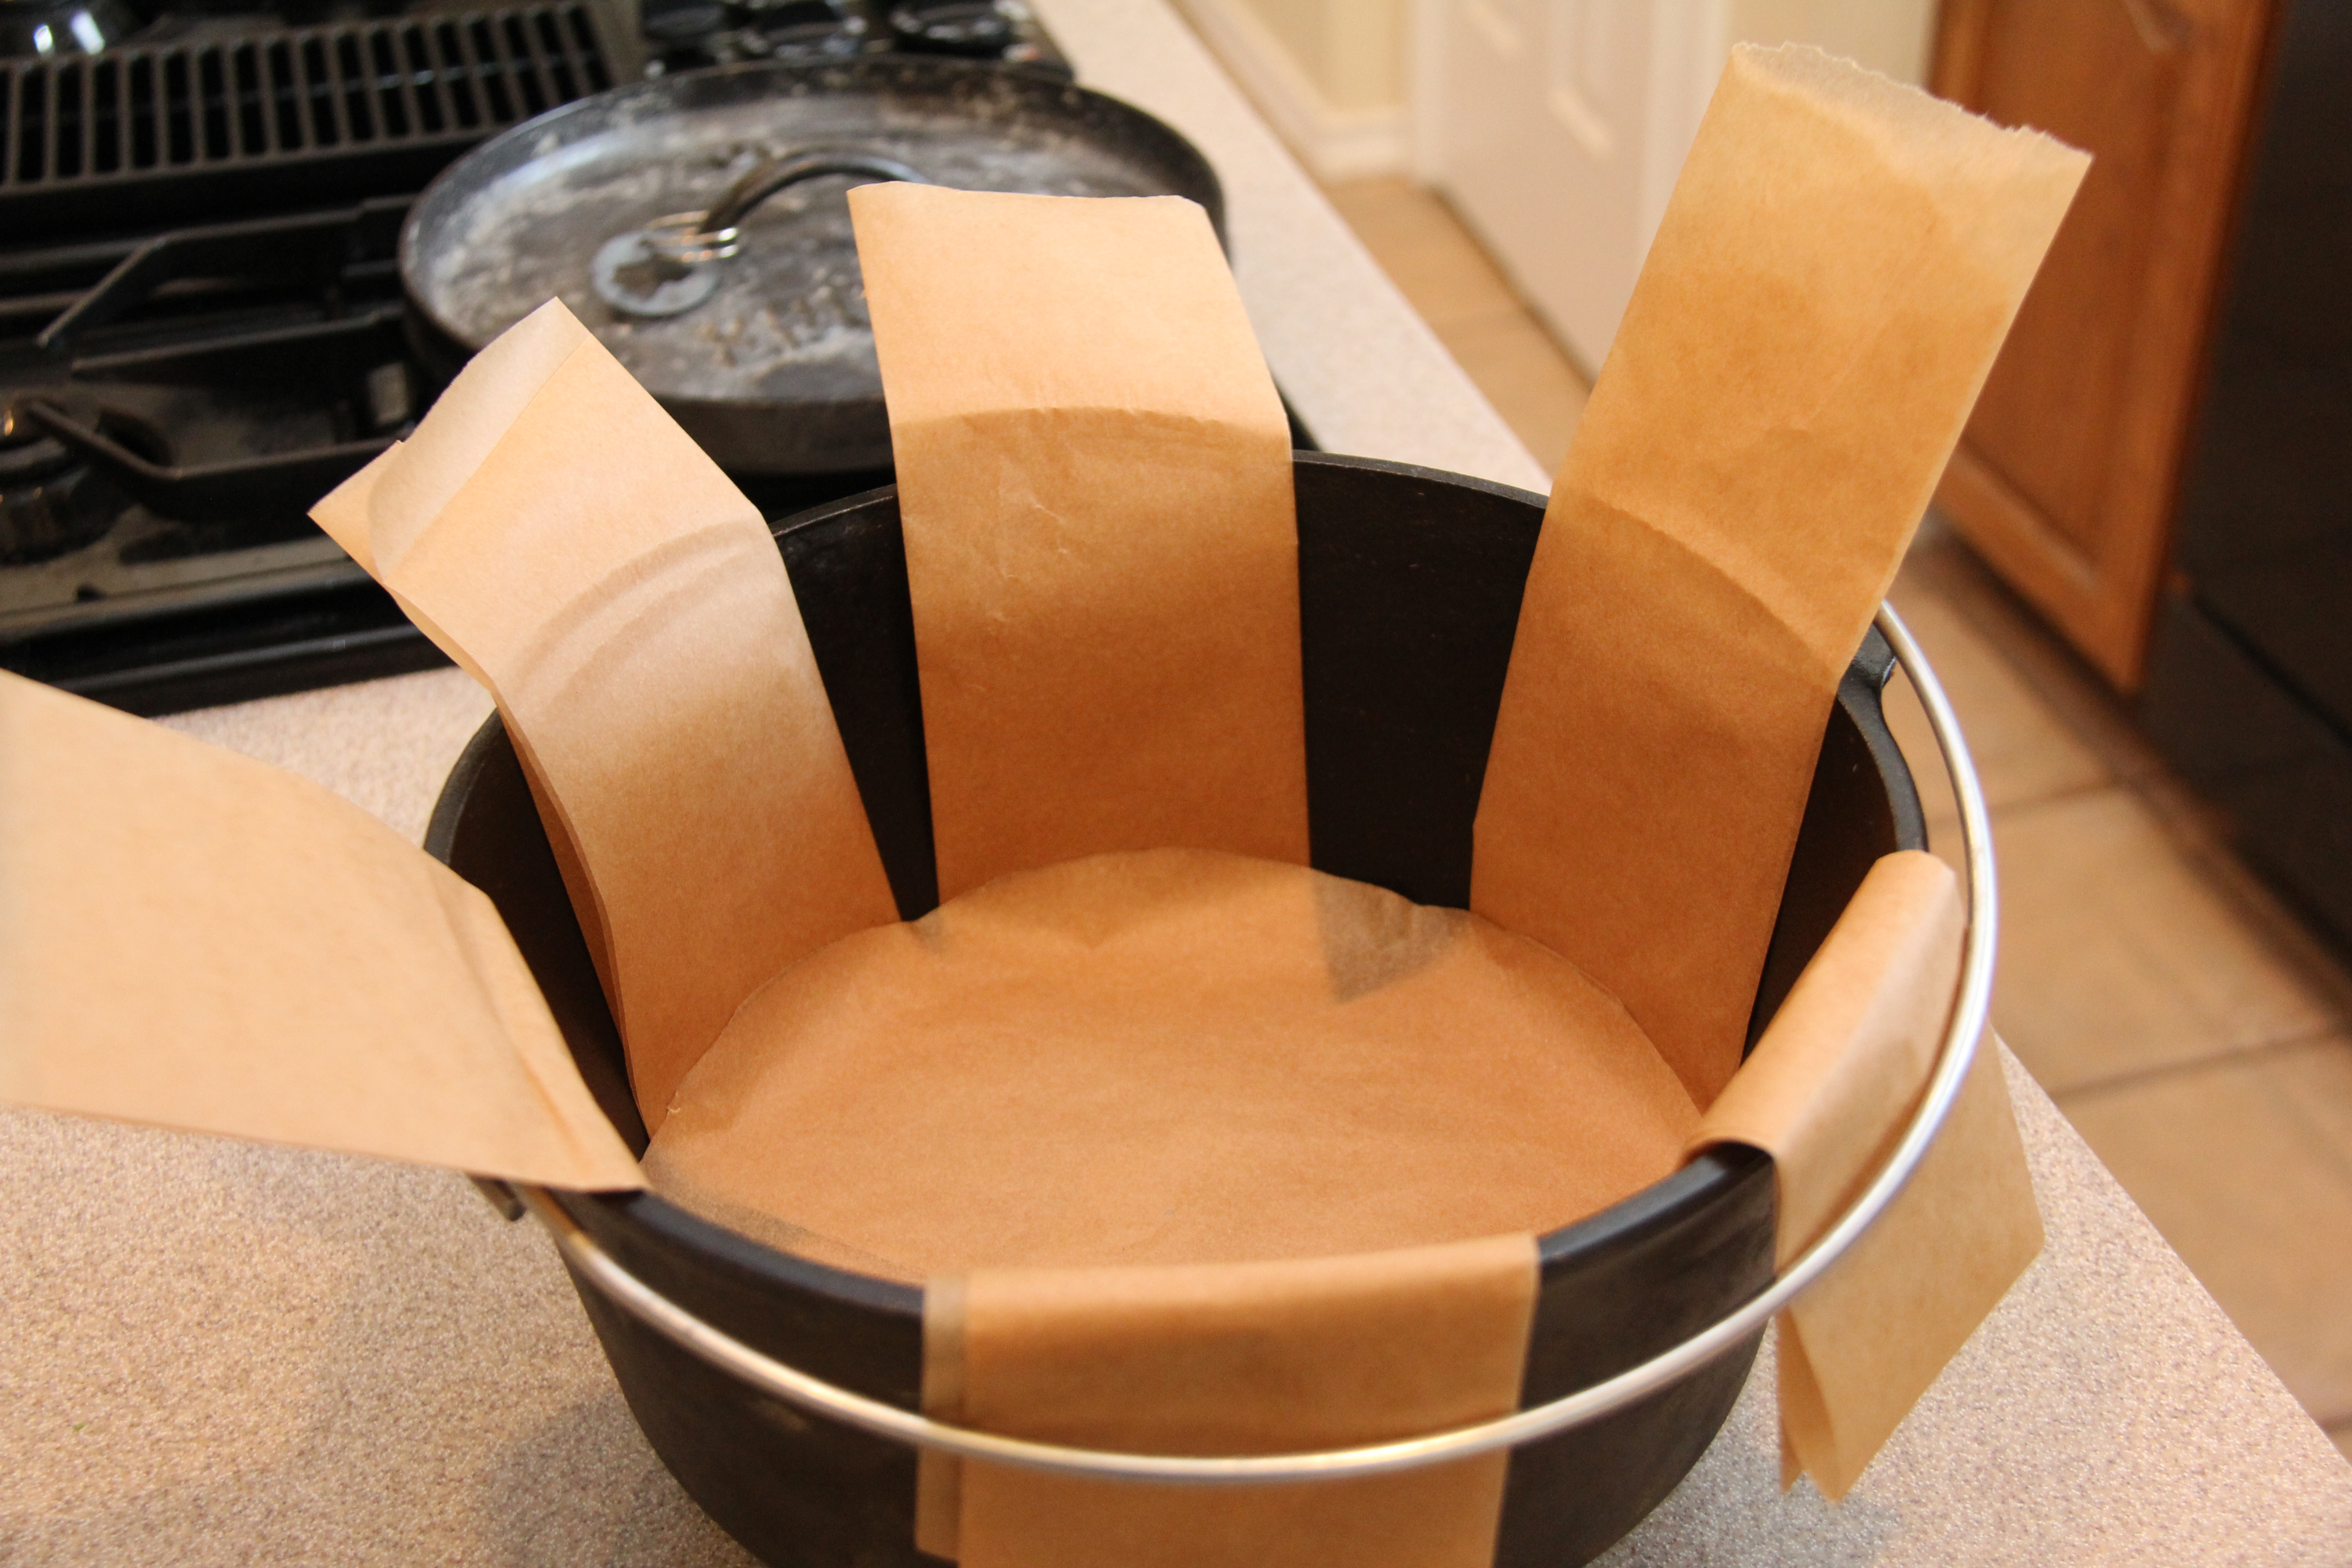
Here’s what it looks like without clothes pins. Not as neat but it works!
Next, carefully insert the pie crust and add pie filling. This is not easy but Gaye Ann shows you how with a super trick so go watch to see her do it! Then trim the side and add the top crust. I really like to use a small cookie cutter to make shapes and layer them across the top of the pie. Finish with an egg white wash and sprinkle with sugar. Trim the parchment paper leaving at least an inch above the pie crust.
Check out all of the pies that were baked at the 2012 National DOG – all at the same time! Beautiful!
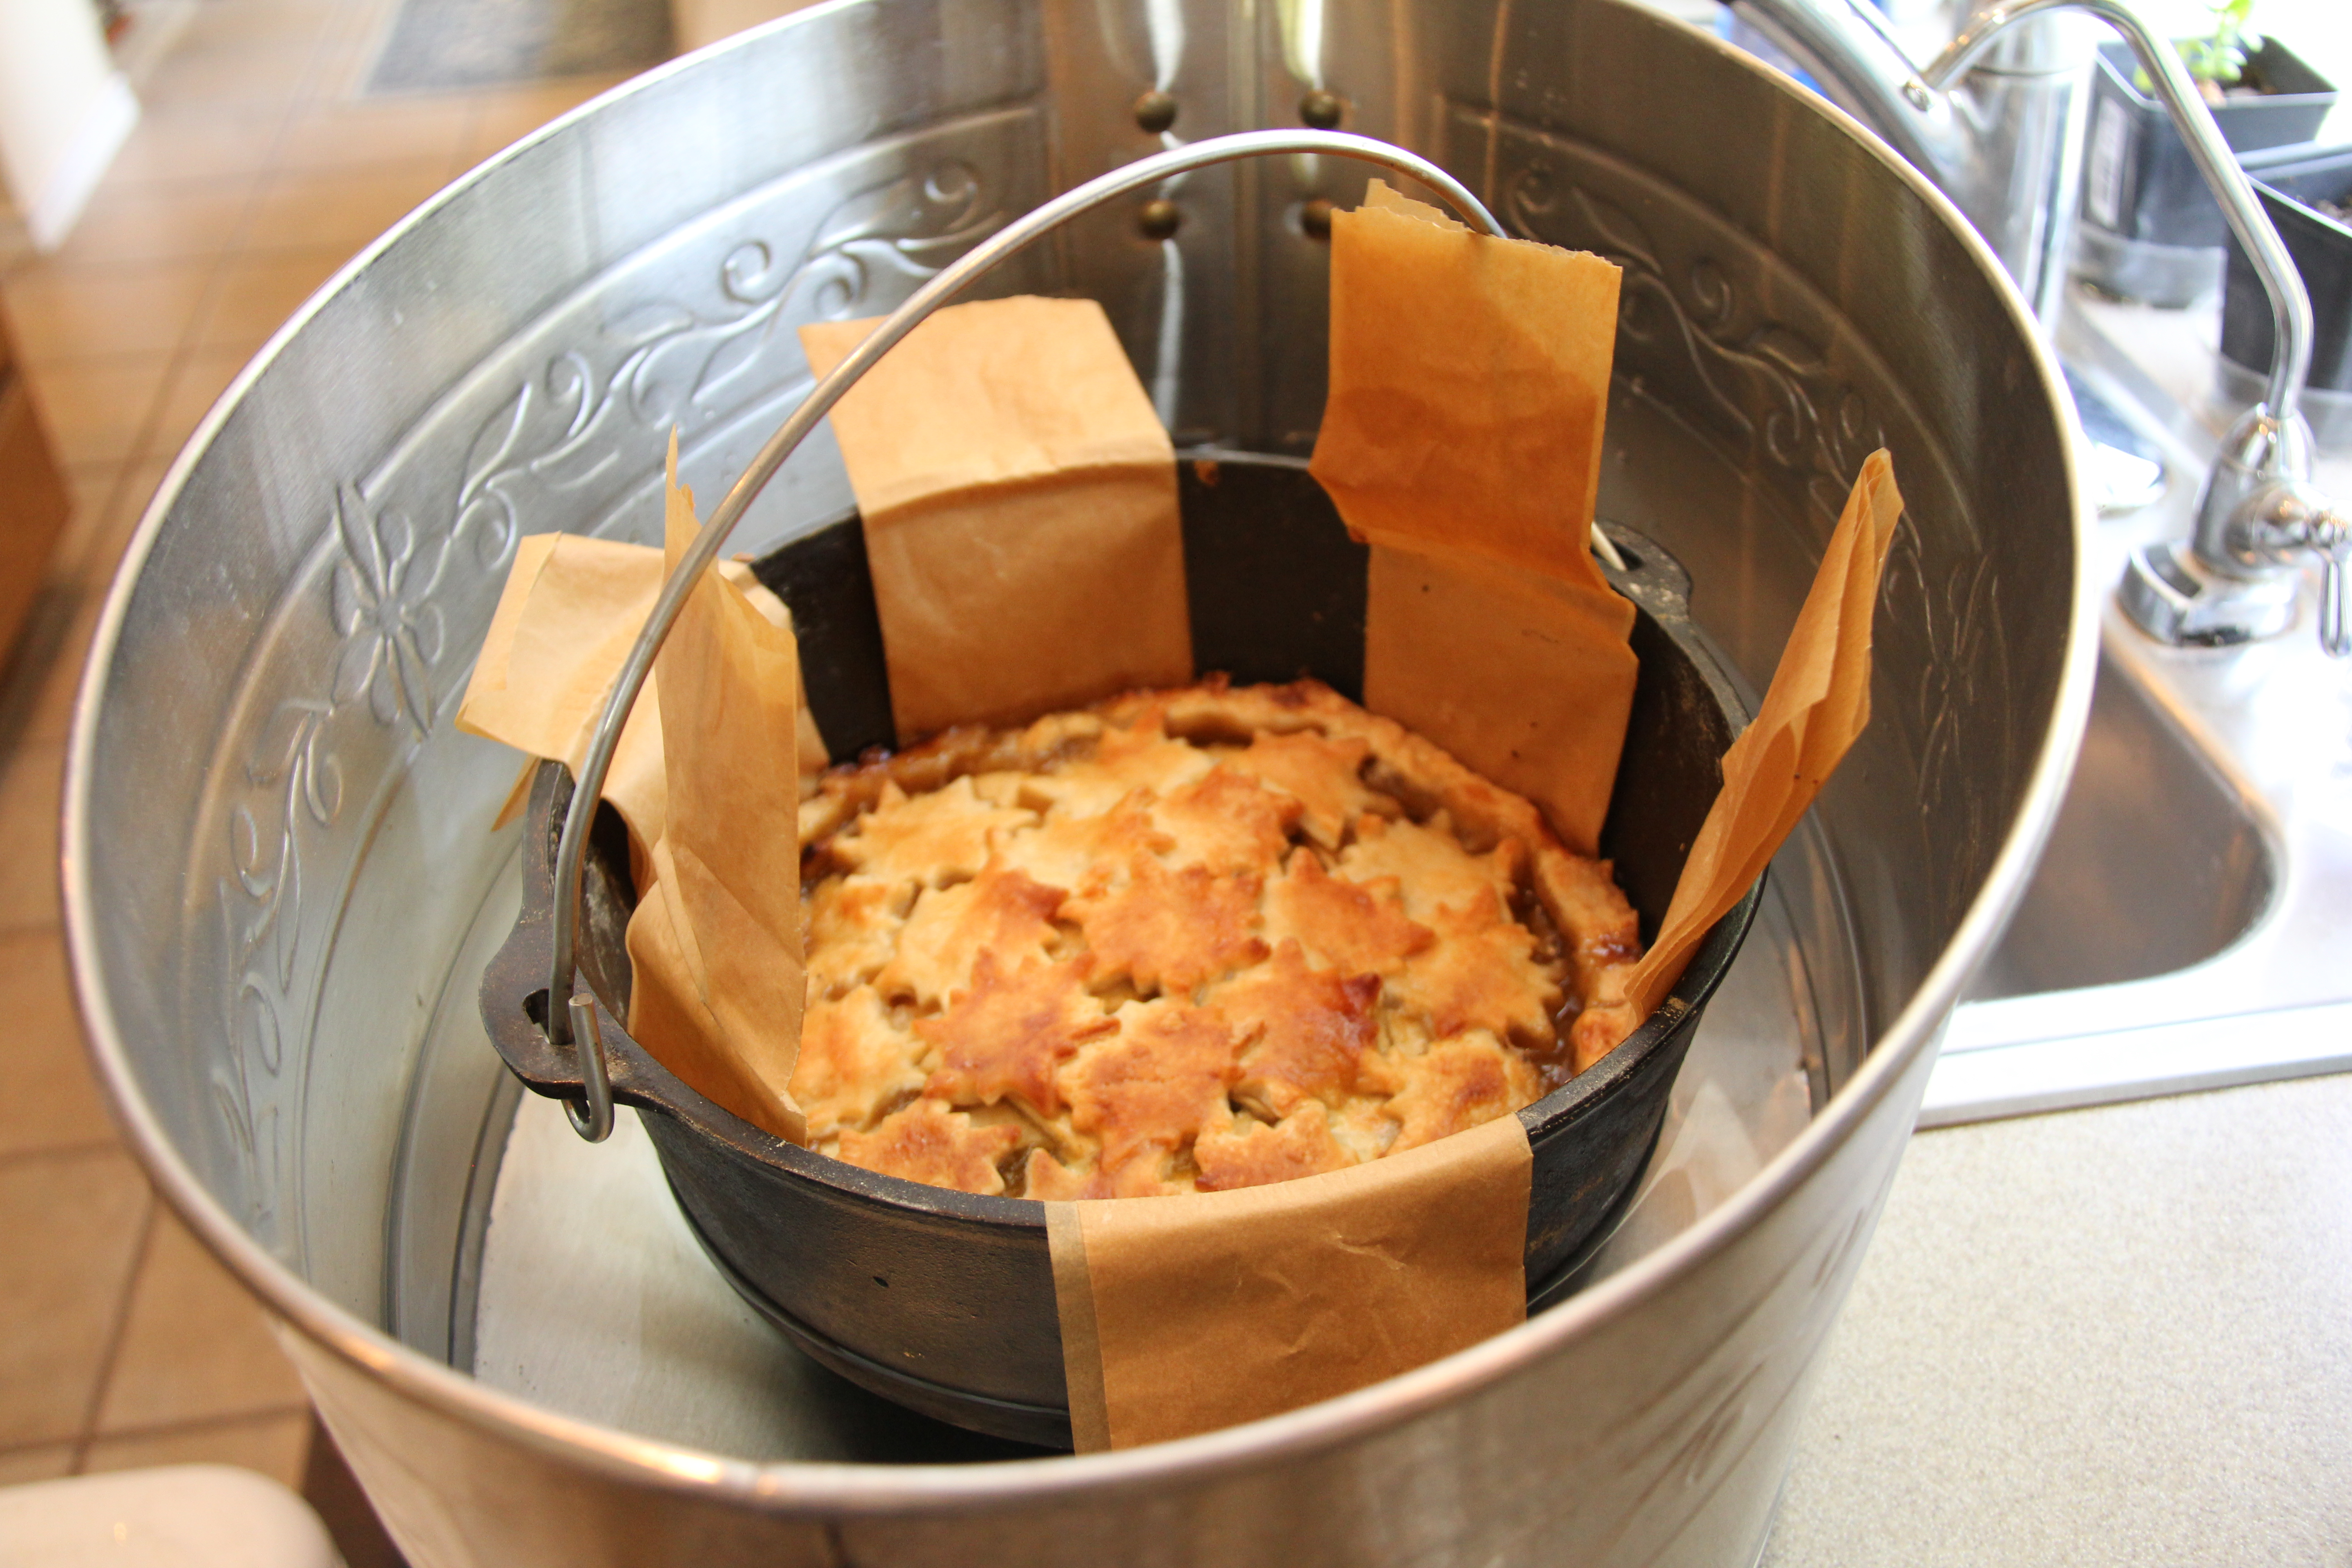
 My second tip is to make sure the Dutch oven cools off and then chills thoroughly before removing the pie. Since cast iron conducts heat efficiently, is also cools off quickly. To speed up the process, we set the hot Dutch oven out at room temperature for five minutes after removing the charcoal. Next, we place it in a metal tub and slowly add water that is room temperature for another five minutes. You want the water level to come up the side of the Dutch oven to the level of the pie. The water will help dissipate the heat of the pie and oven.
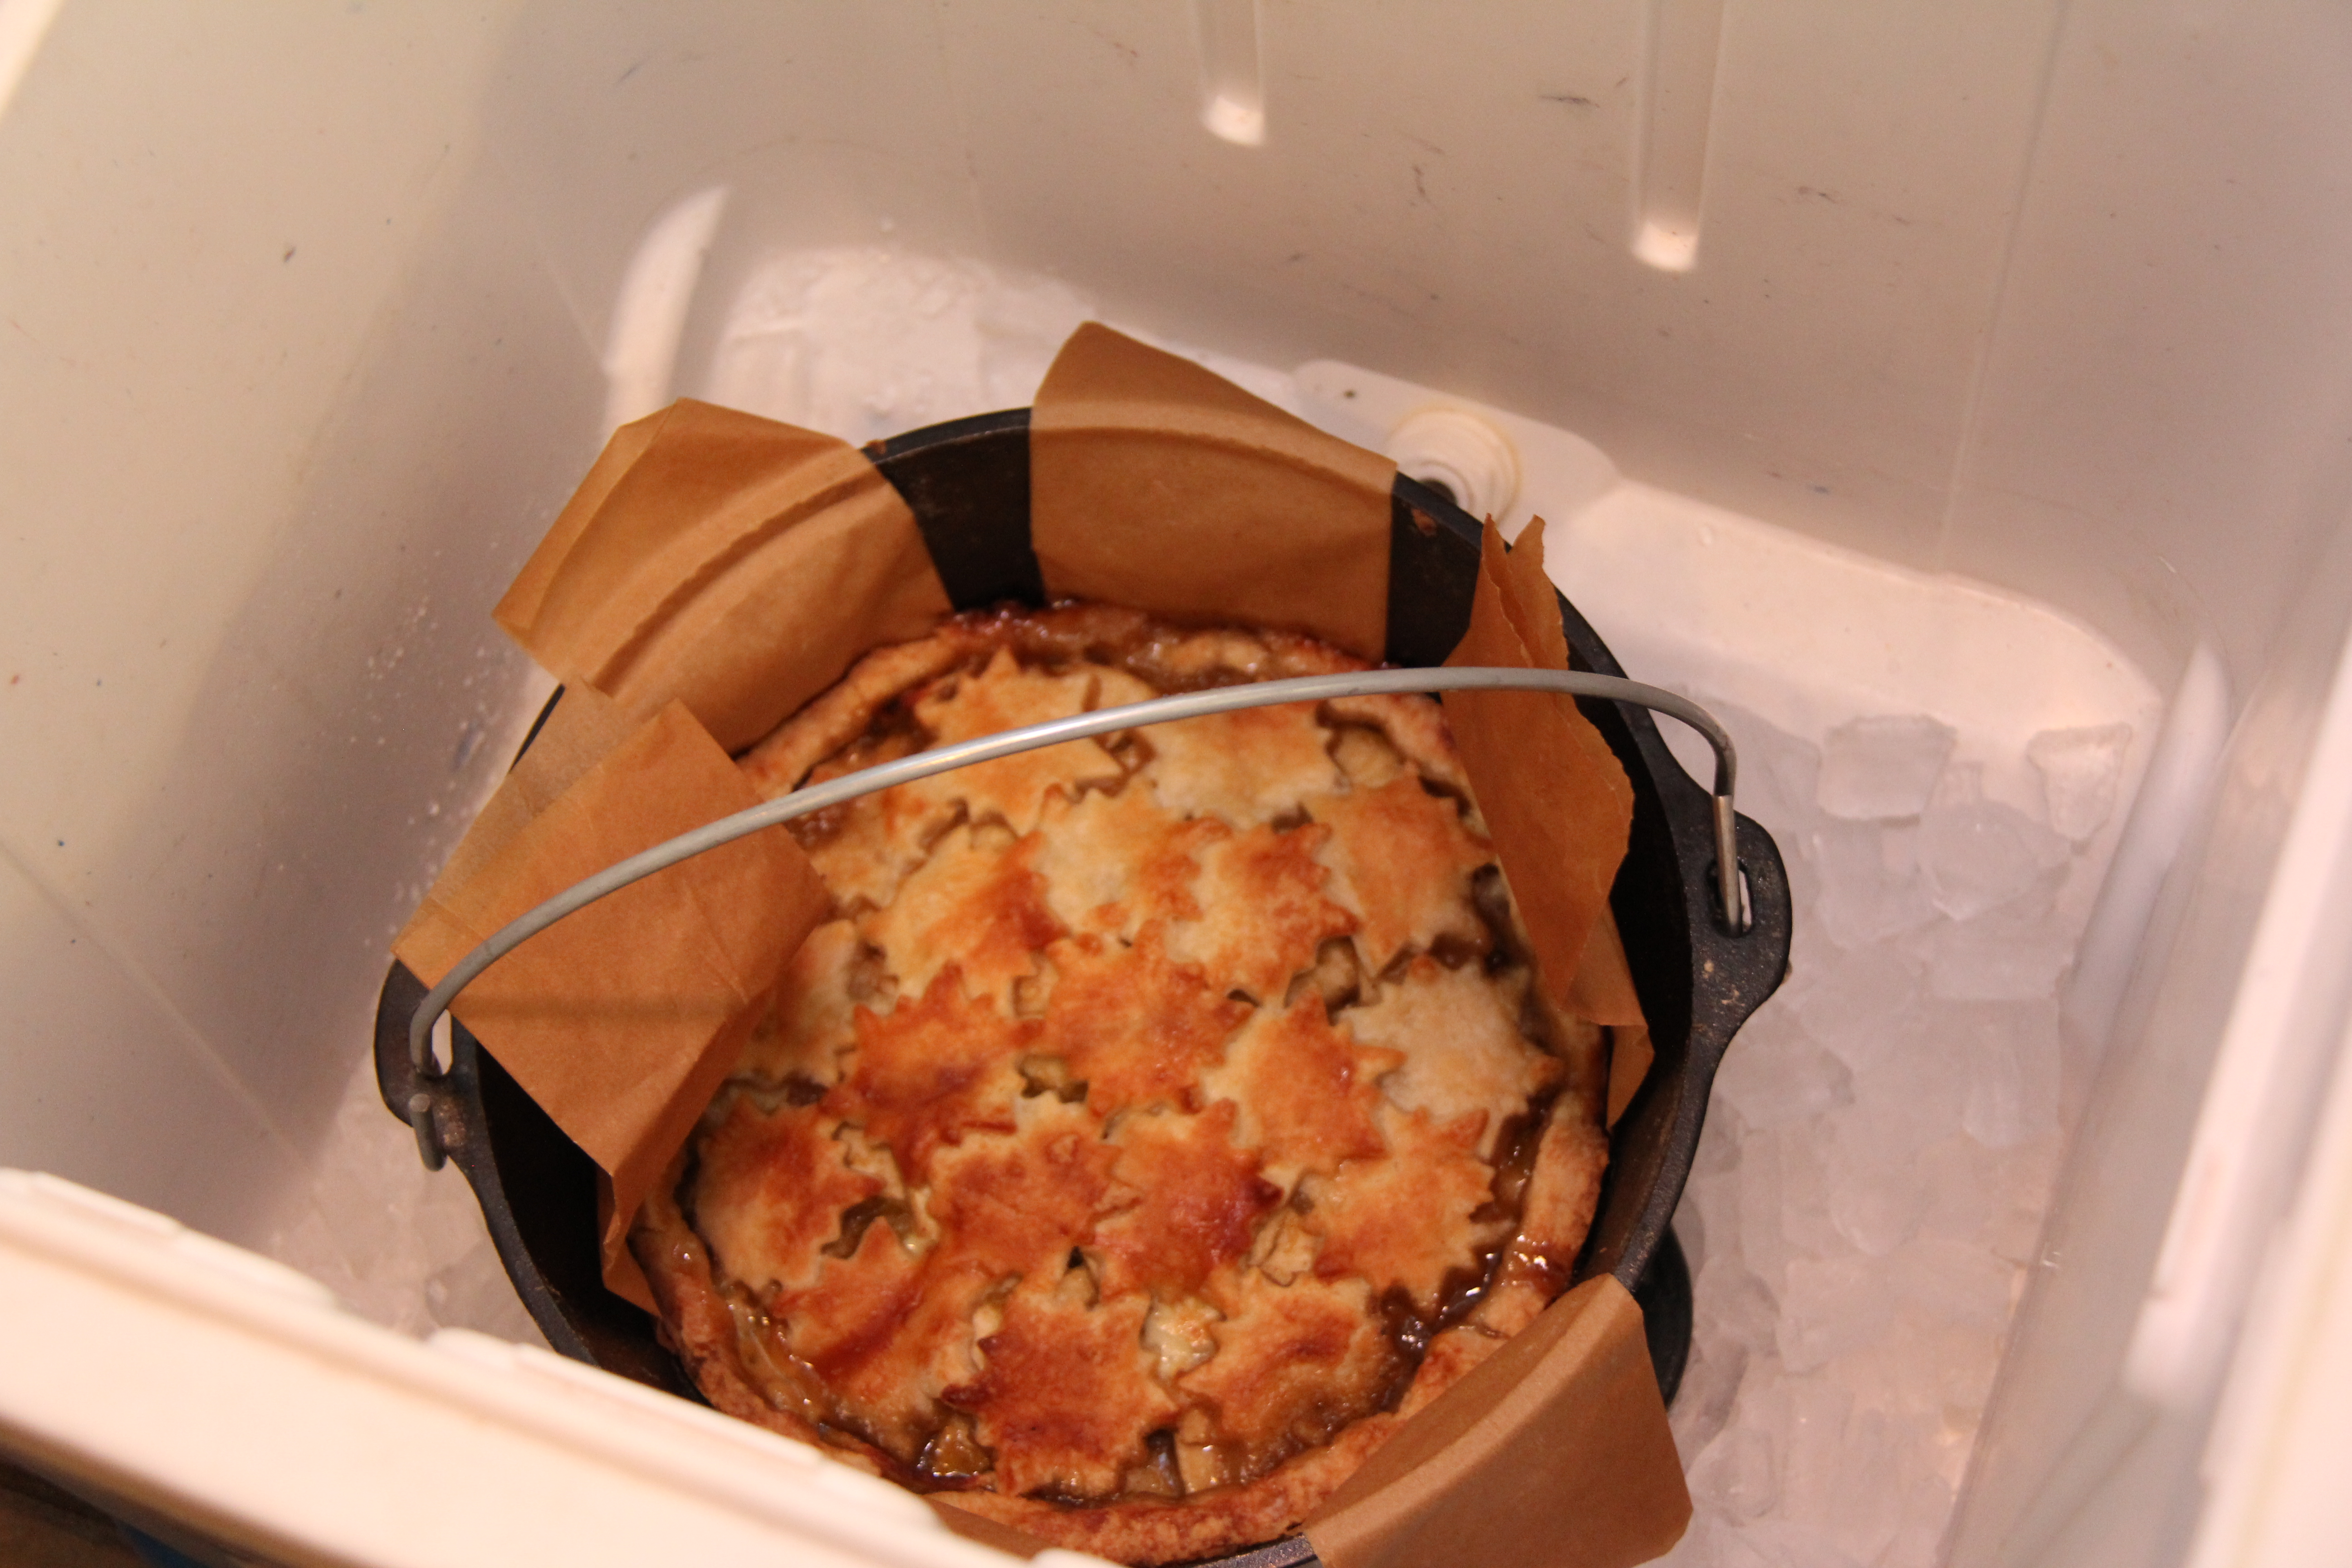
Finally, we move the Dutch oven to an ice chest. We add ice until it is half way up the side of the Dutch oven. We leave it in as long as possible or at least 30 minutes. The longer is sits in the ice, the better.
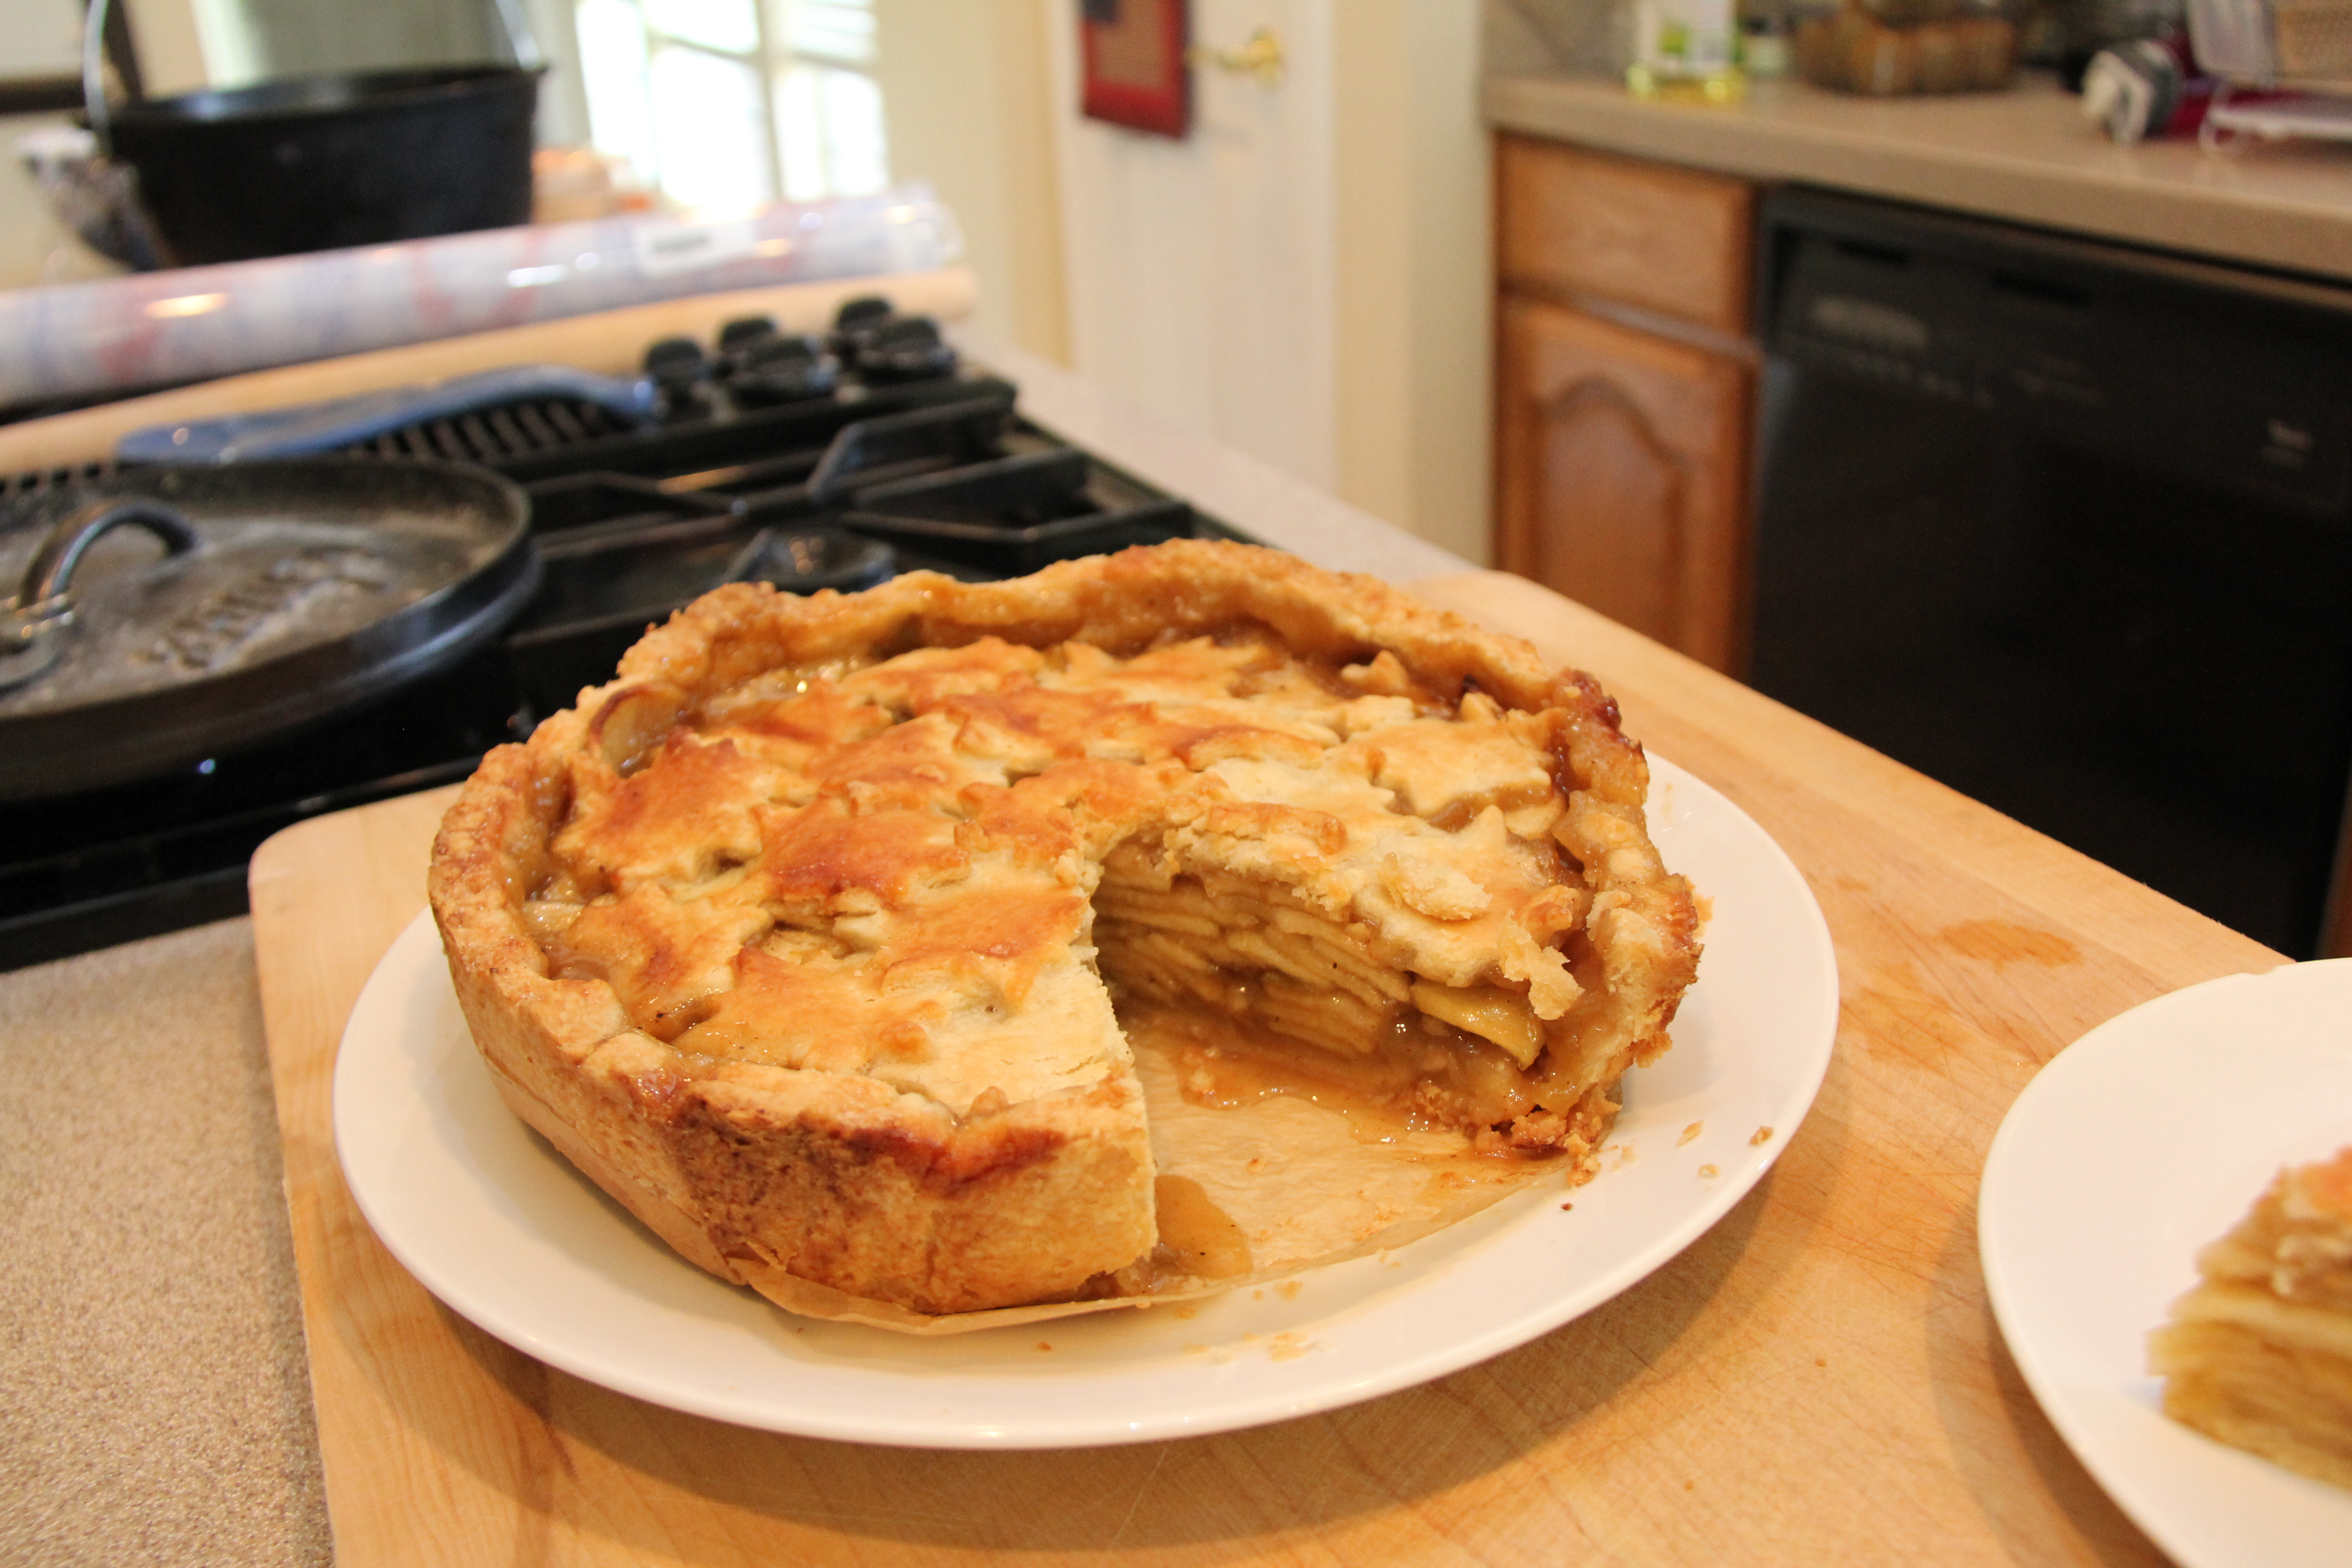
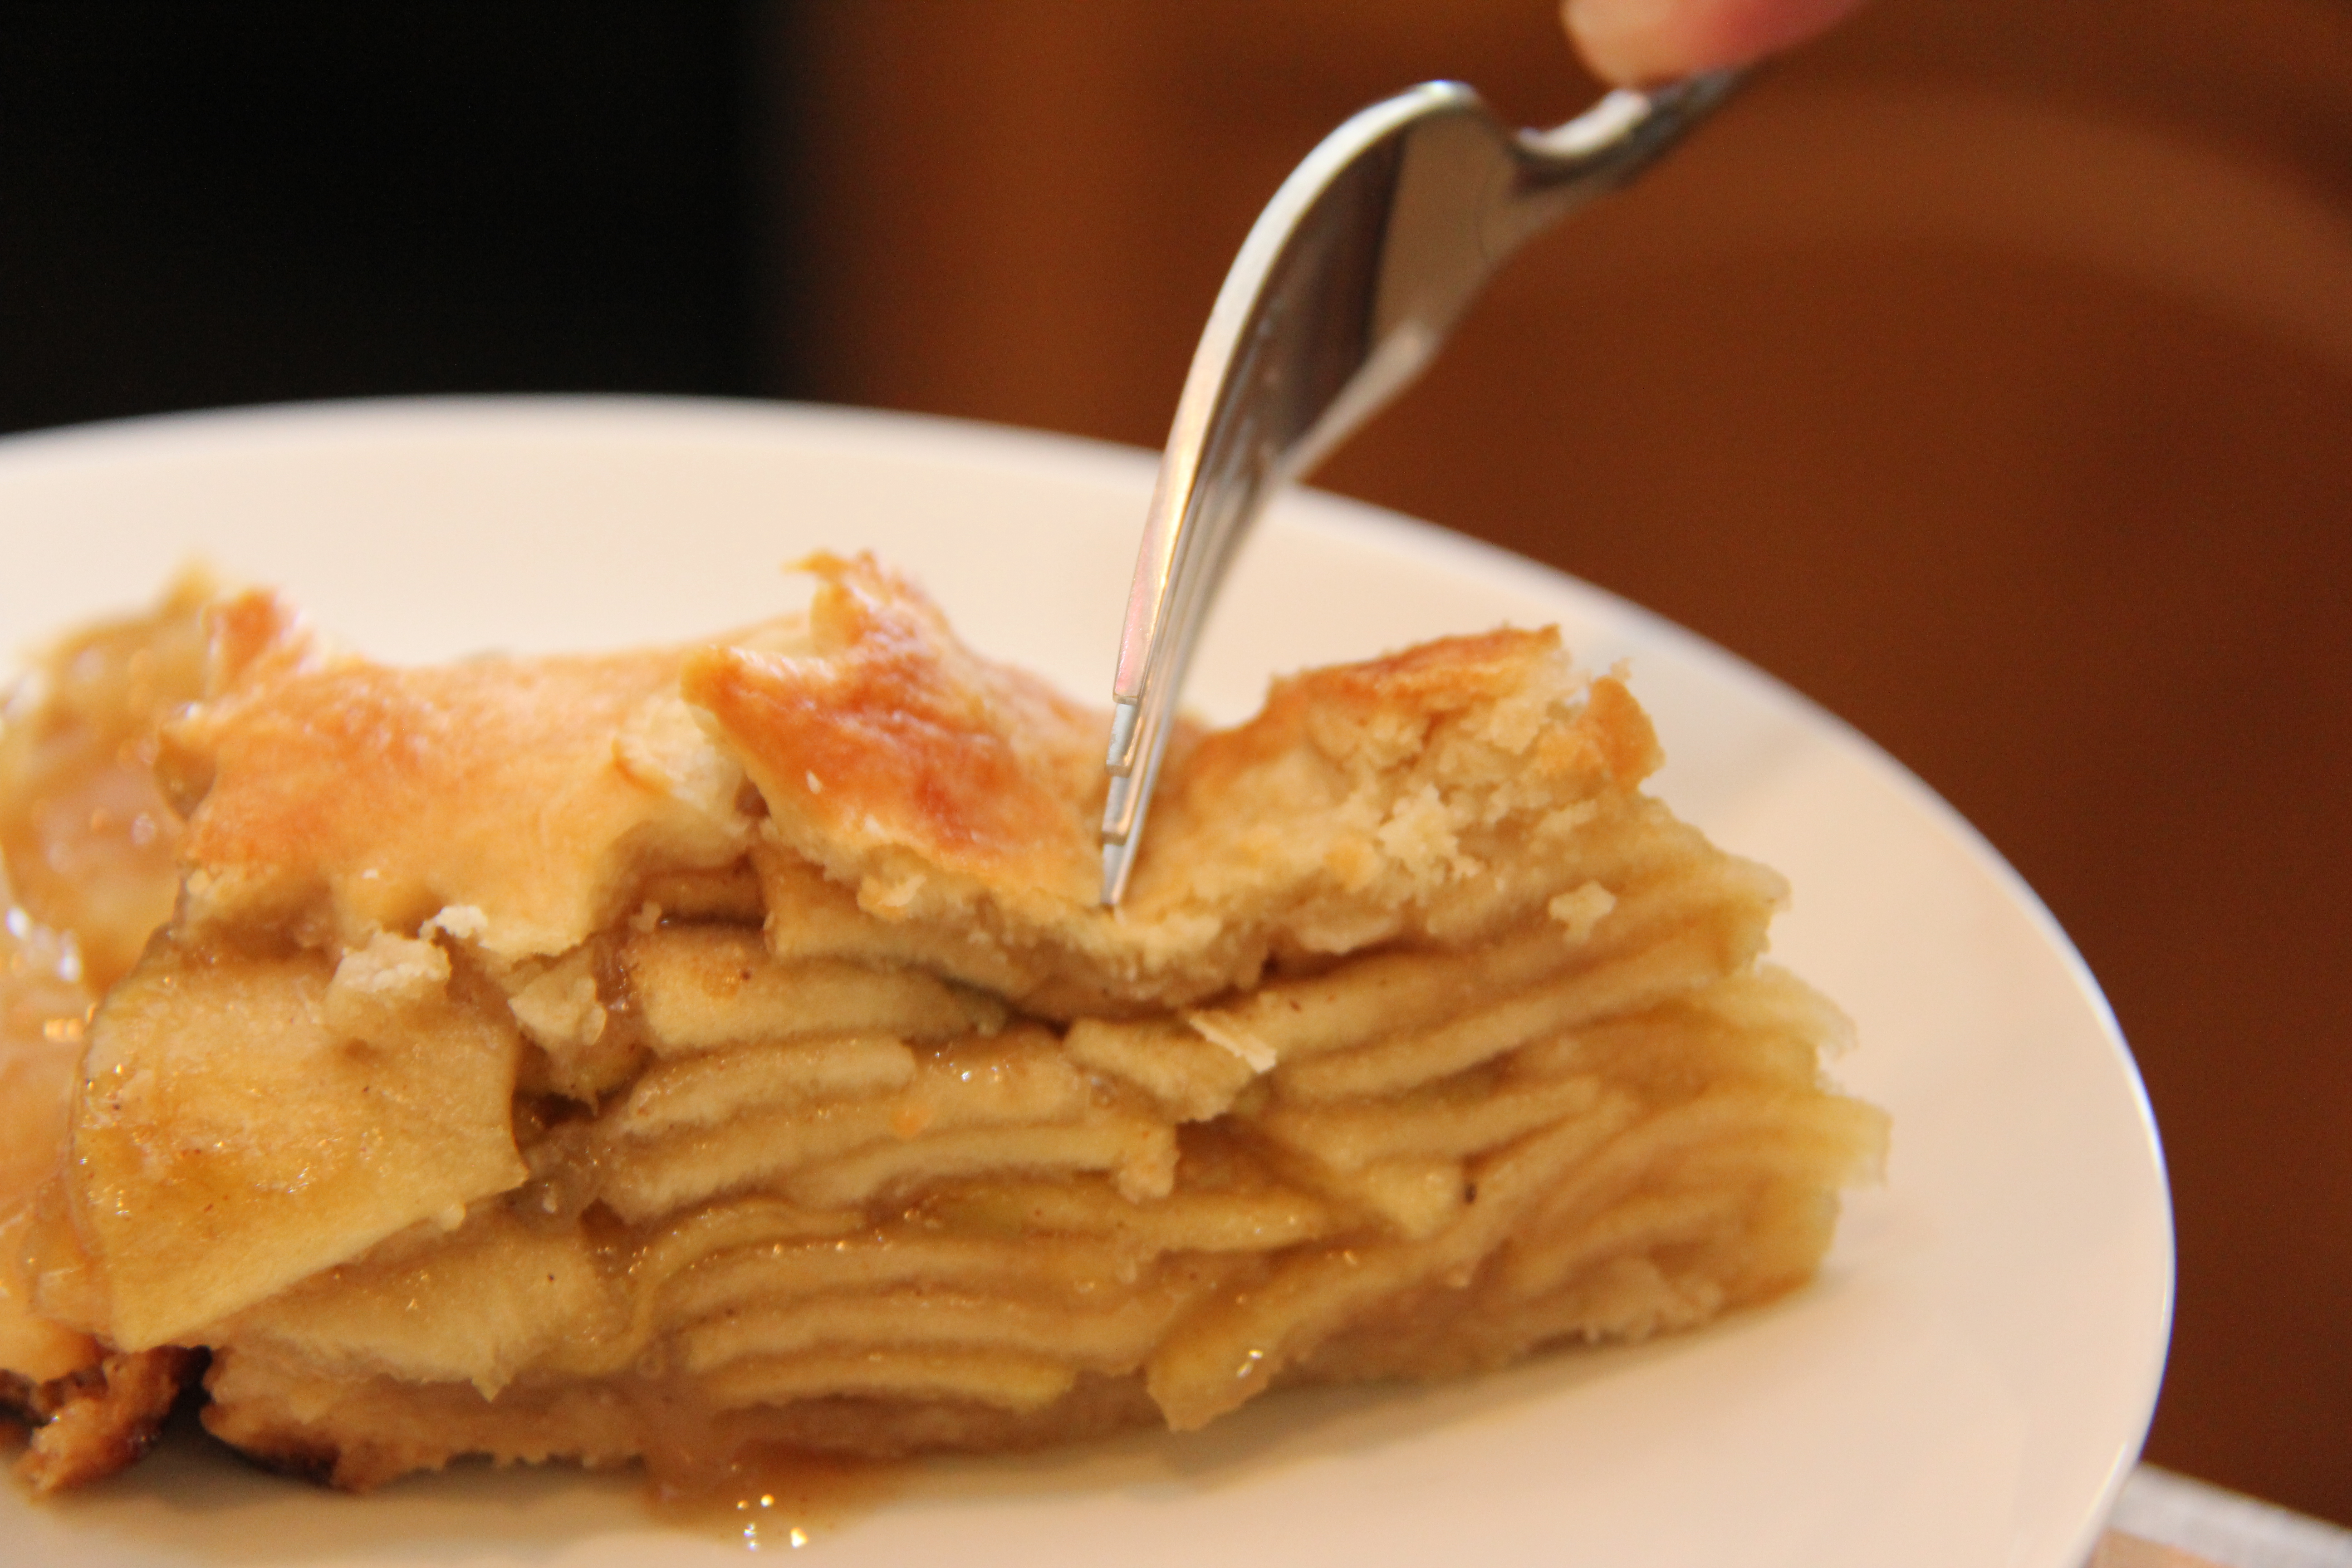
 Here’s why we want to chill the pie before removing it. Harold McGee explains the science of cooking in his wonderful book On Food And Cooking: The Science and Lore of The Kitchen. Cooling is essential for the fruit filling to set up in the pie. This occurs after the fruit is heated and the amylose and amylopectin (starches) molecules congeal. Apples have a lot of these starches, but other fruits don’t so bakers add ingredients (tapioca, flour, or pectin) to help the pie filling set up properly.
The technique of lining the Dutch oven with parchment paper and cooling/chilling works the same for cakes. The main difference is we apply Pam to the Dutch oven and then again on top of the parchment paper to make sure the cake does not stick. If your Dutch oven is properly seasoned, you may not have to use Pam, but if you want to be reassured, go ahead and spray it!
So there are two important tips to successfully baking a pie in your 12″ Dutch oven! Now you can bake a pie at the next DOG and impress your friends and family! Enjoy!

Pingback: Successful Baking In A Dutch Oven |
Pingback: Camping Cooking – Keep it Simple | Moms Hearth
Pingback: Lemon Curd Cake with White Chocolate Buttercream Frosting | Texas Iron Chef