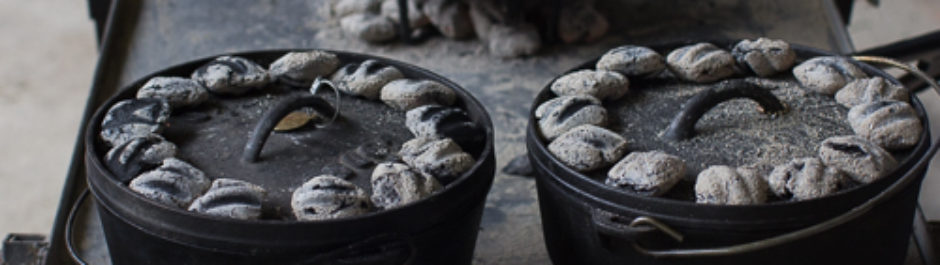
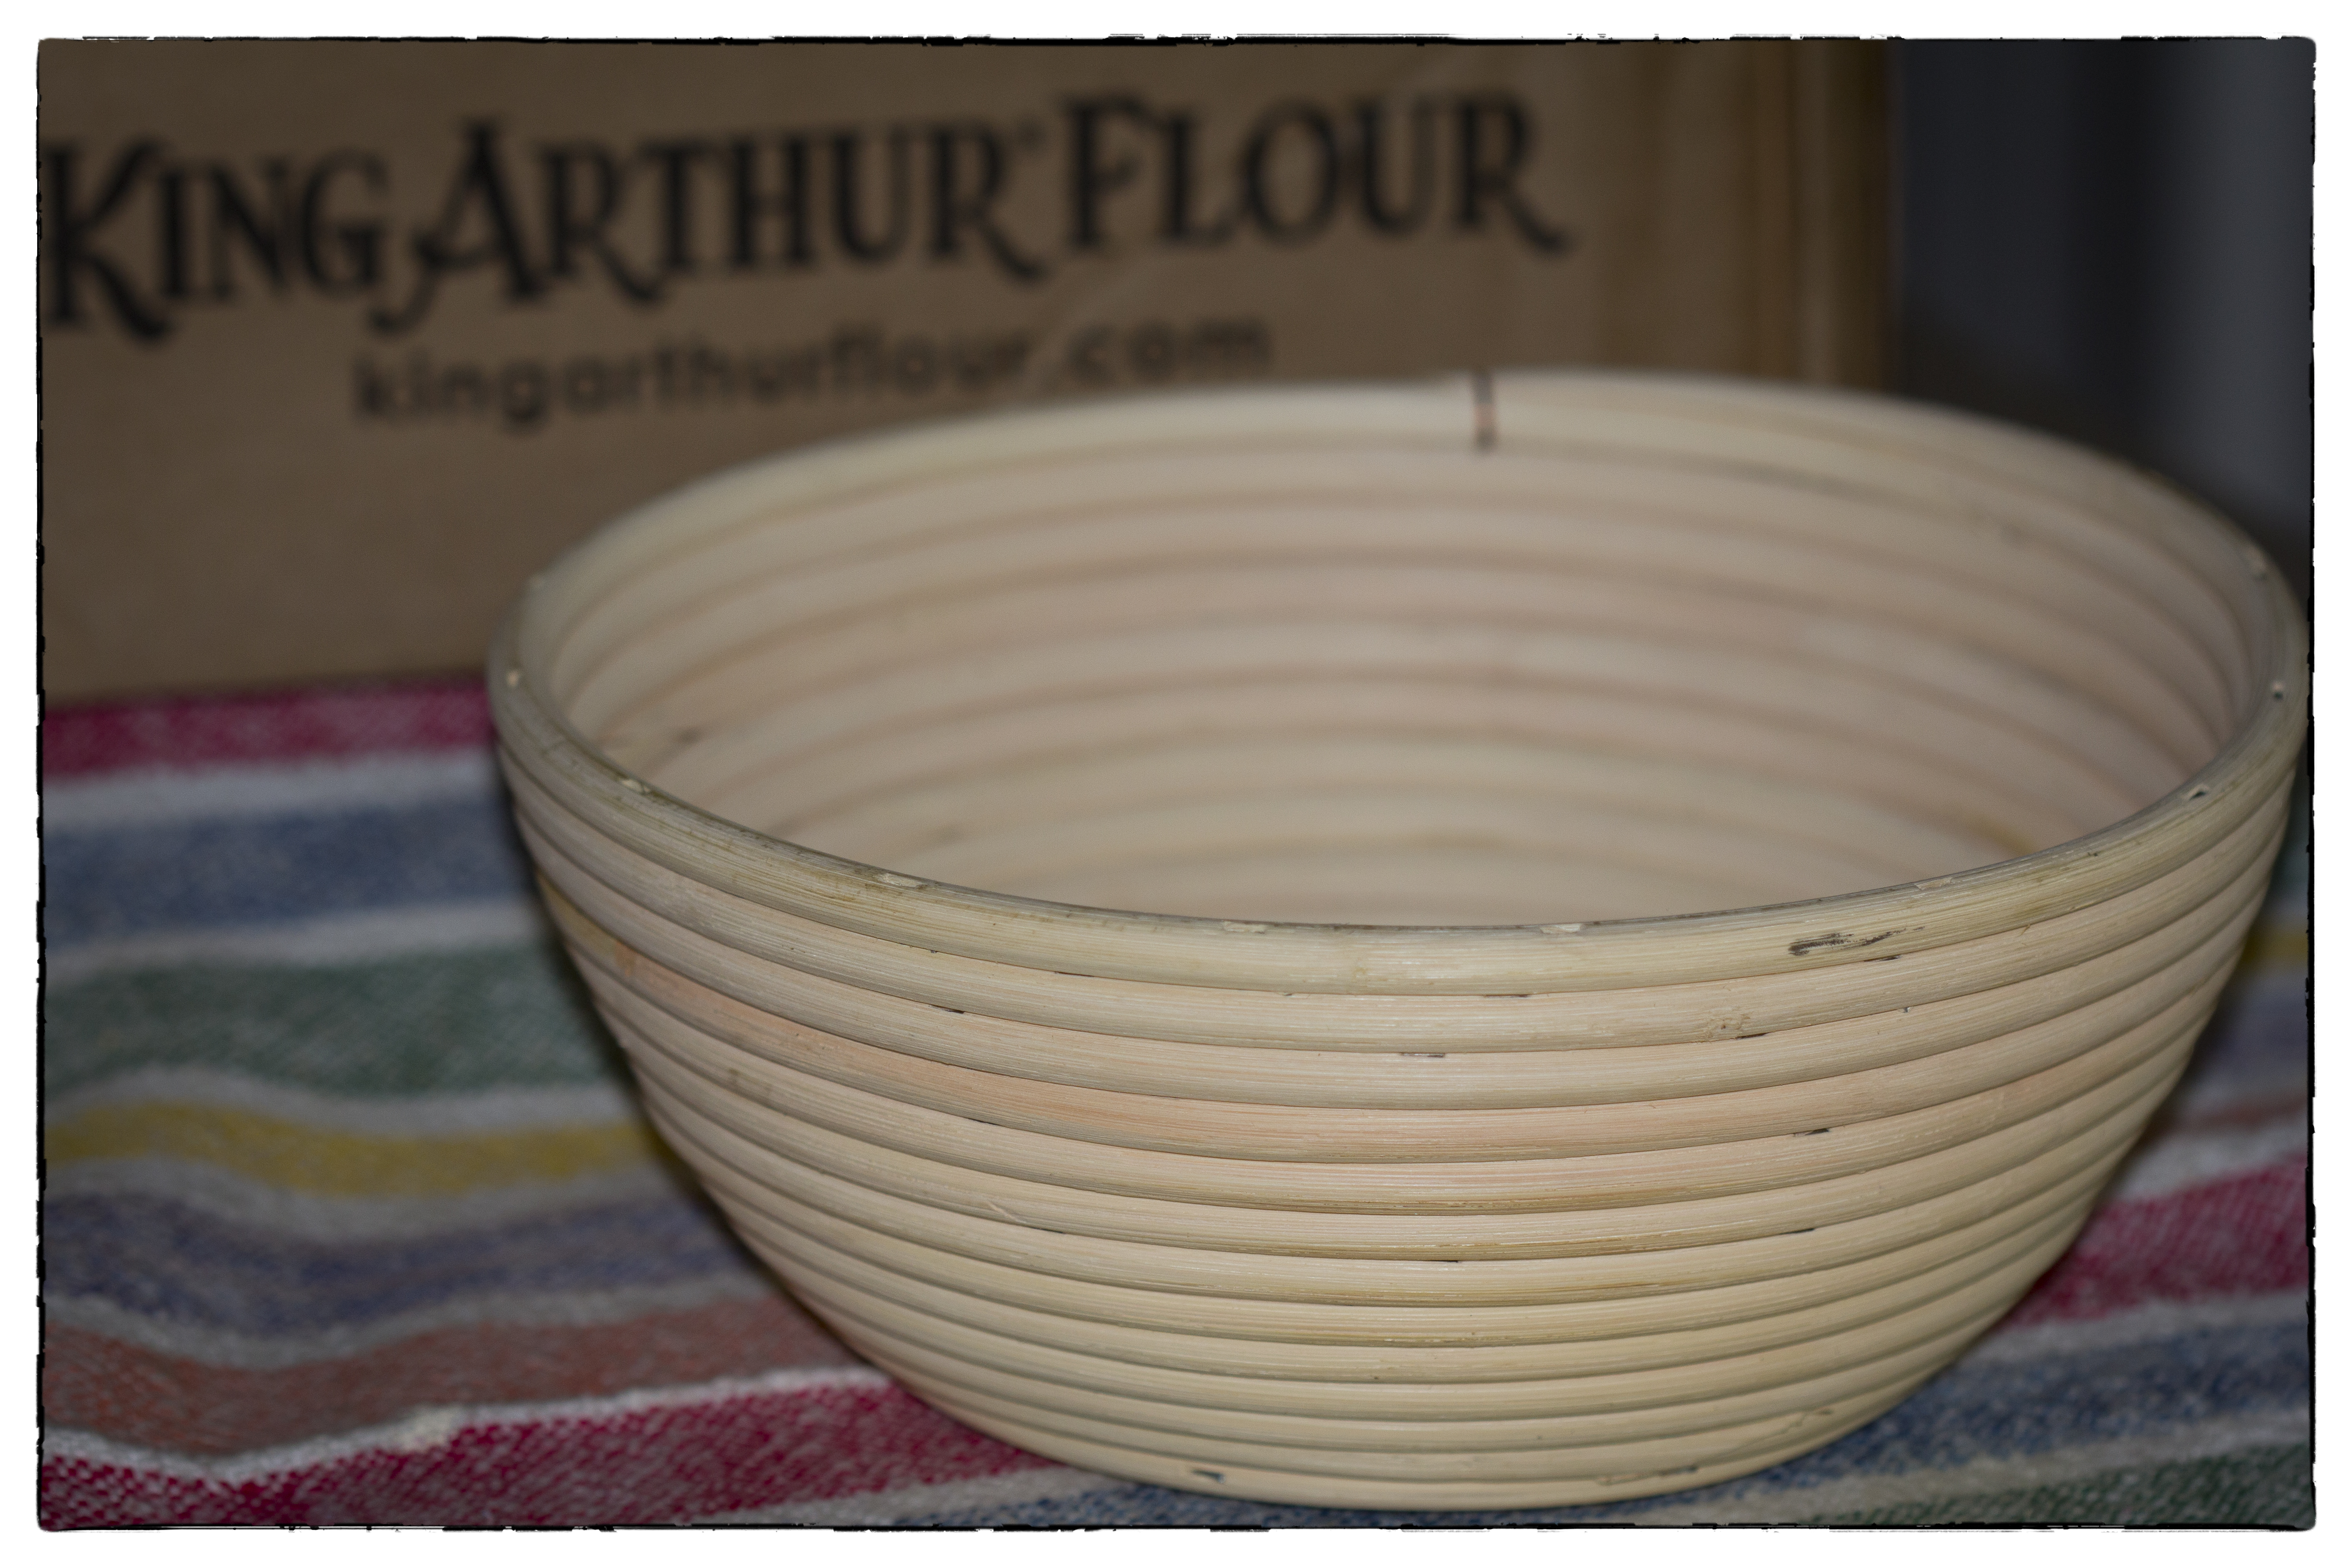
 I’ve been learning about shaping bread with a brotform and was so excited to order one from King Arthur Flour last week. Today, I will test it out for the first time and try a new recipe, Cottage Cheese Herb Bread, baking it in our 14″ deep Dutch oven.
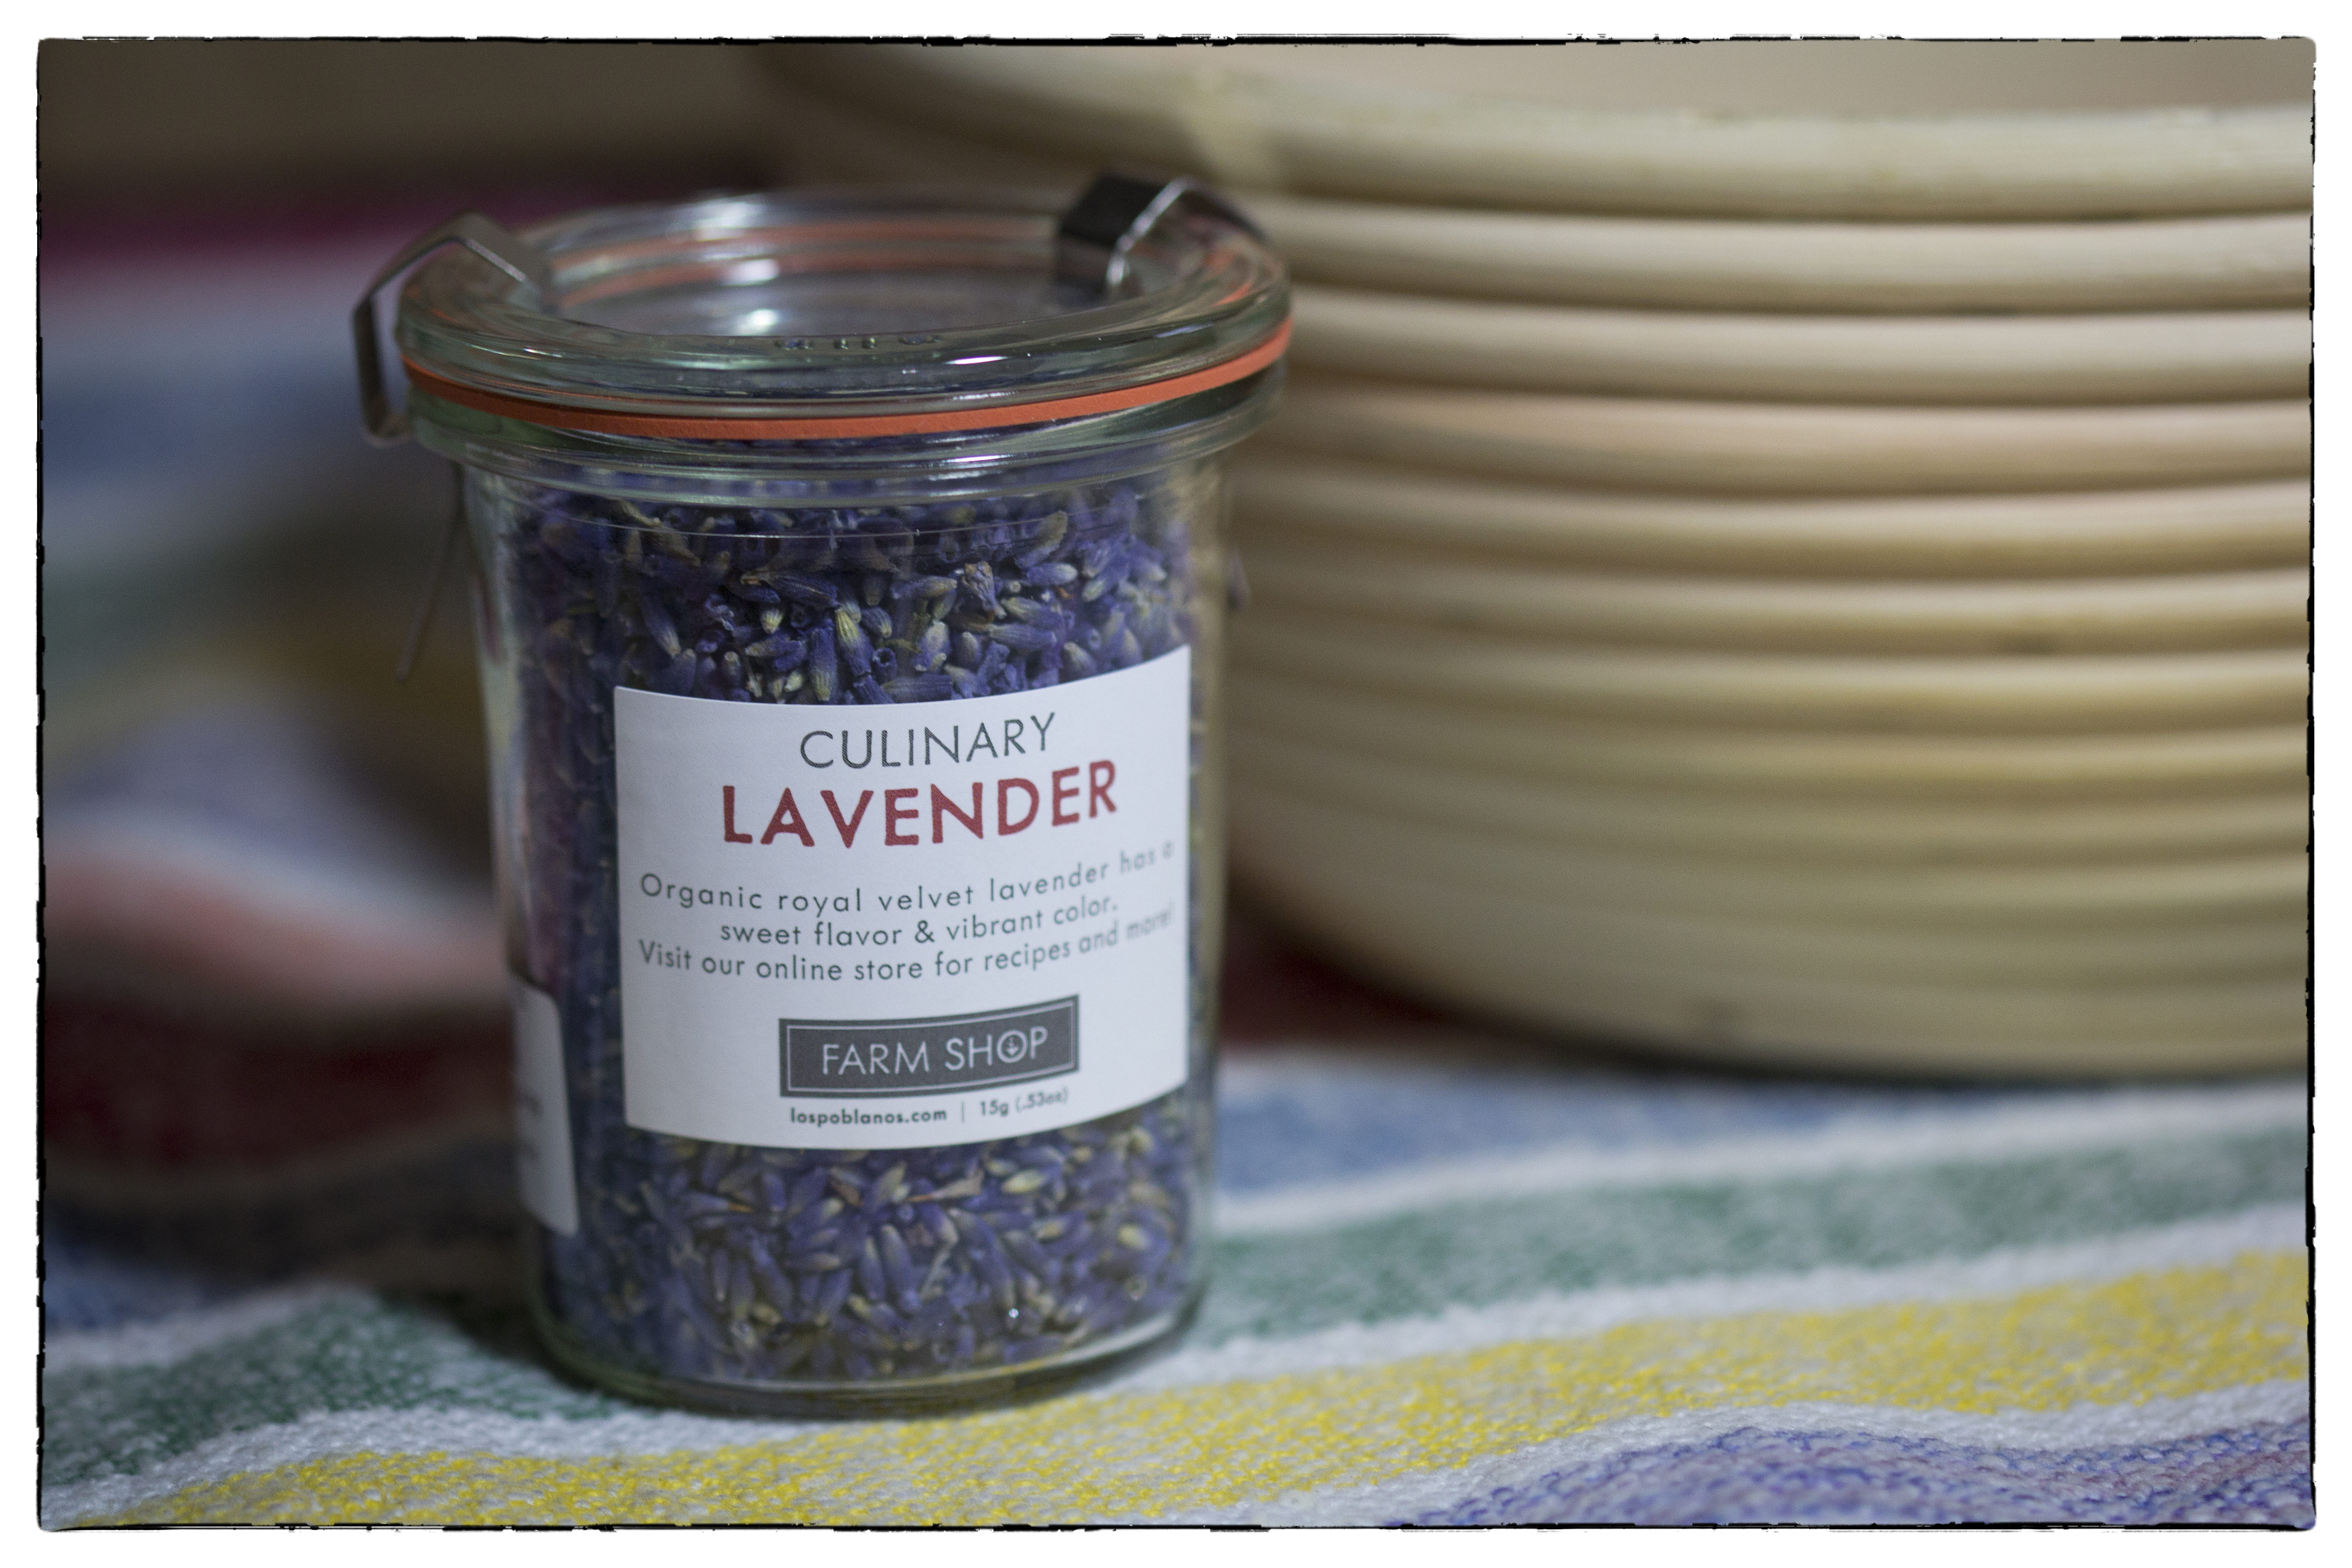 The recipe caught my attention because it features lavender. I picked up this beautiful jar of lavender in Albuquerque, New Mexico, and was intrigued by the idea of baking or cooking with this lovely herb.
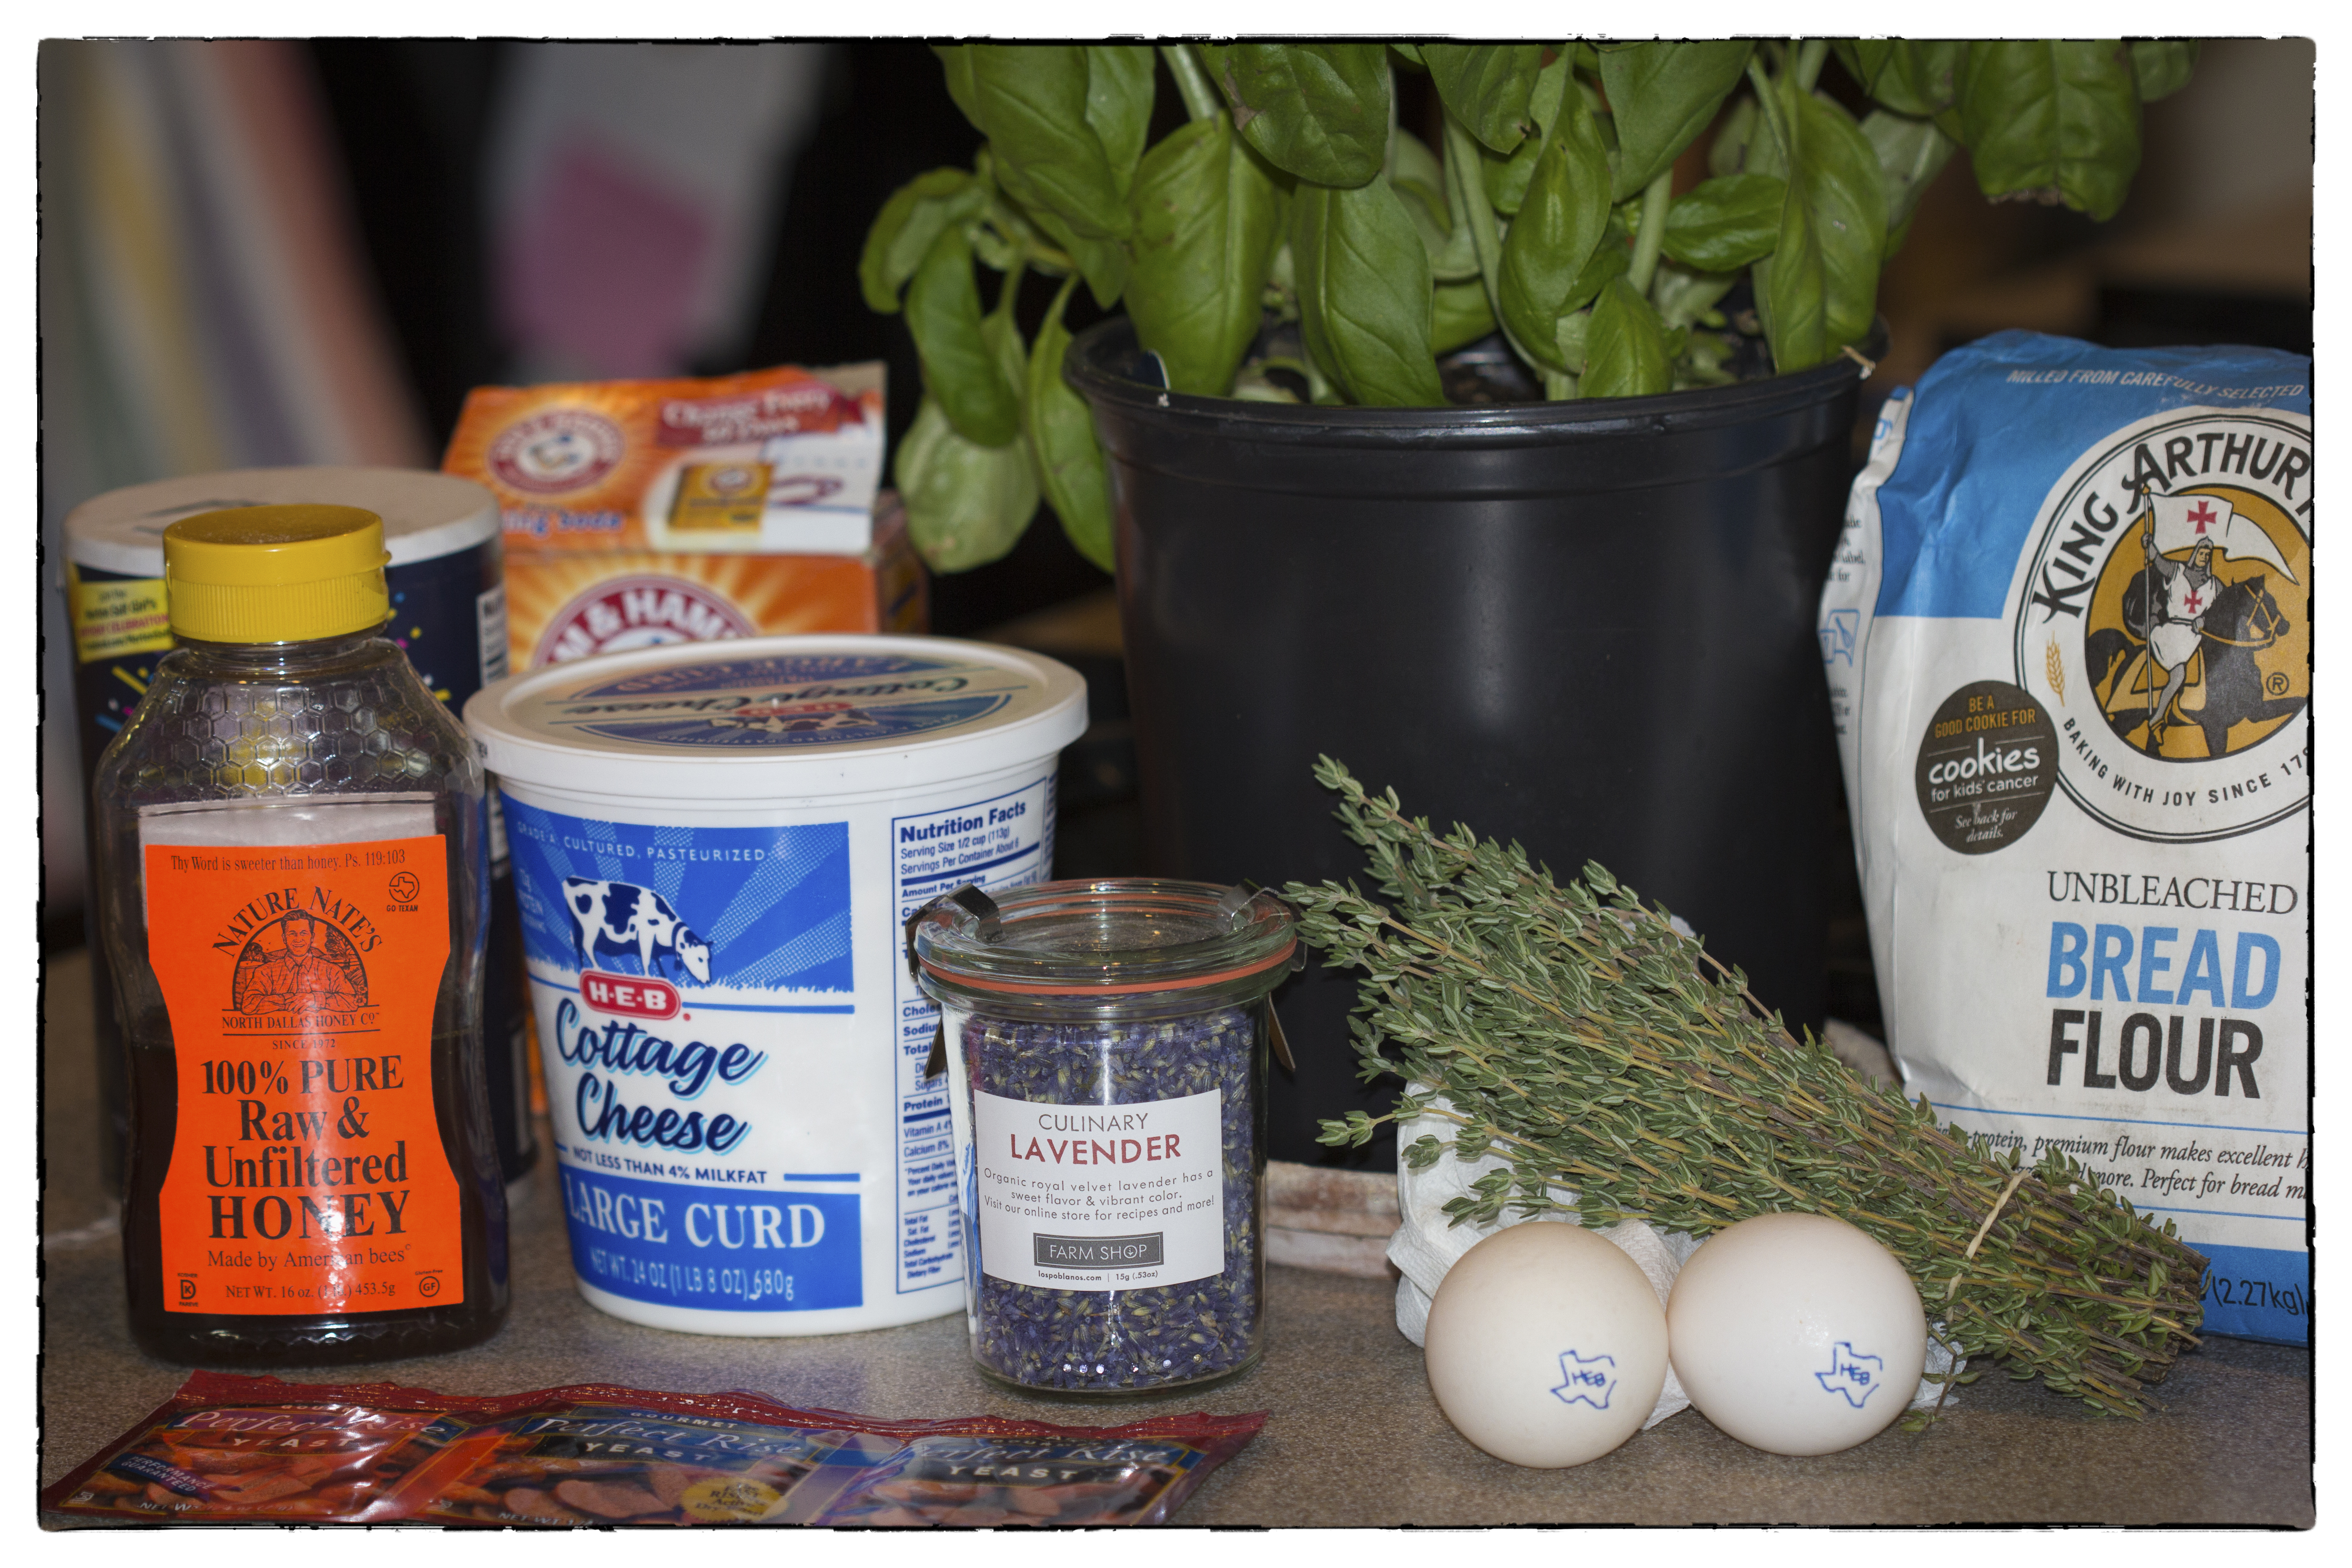
Ingredients
- 3 cups plus 3 tablespoons bread flour
- 3 teaspoons active dry yeast
- 1 teaspoon finely chopped fresh or dried lavender
- 1 tablespoon finely chopped fresh thyme leaves
- 1/2 tablespoon finely chopped fresh basil leaves
- 1/4 teaspoon baking soda
- 1/4 cup warm water (110 degrees Farenheit)
- 1/4 cup honey
- 1 cup cottage cheese
- 2 eggs, room temperature
- 2 tablespoons olive oil
- 1/4 teaspoon salt
In a large mixing bowl, whisk together flour, yeast, herbs, and baking soda. Add eggs, honey, water, and olive oil. Mix together until a unified ball forms, then turn out onto a floured surface and knead for about 15 minutes. Drizzle olive oil into a large bowl or bucket, spread it around, then place bread dough in and turn so that the top is covered with oil. Cover with plastic wrap or lid. Place in a warm area and let dough rise until doubled.
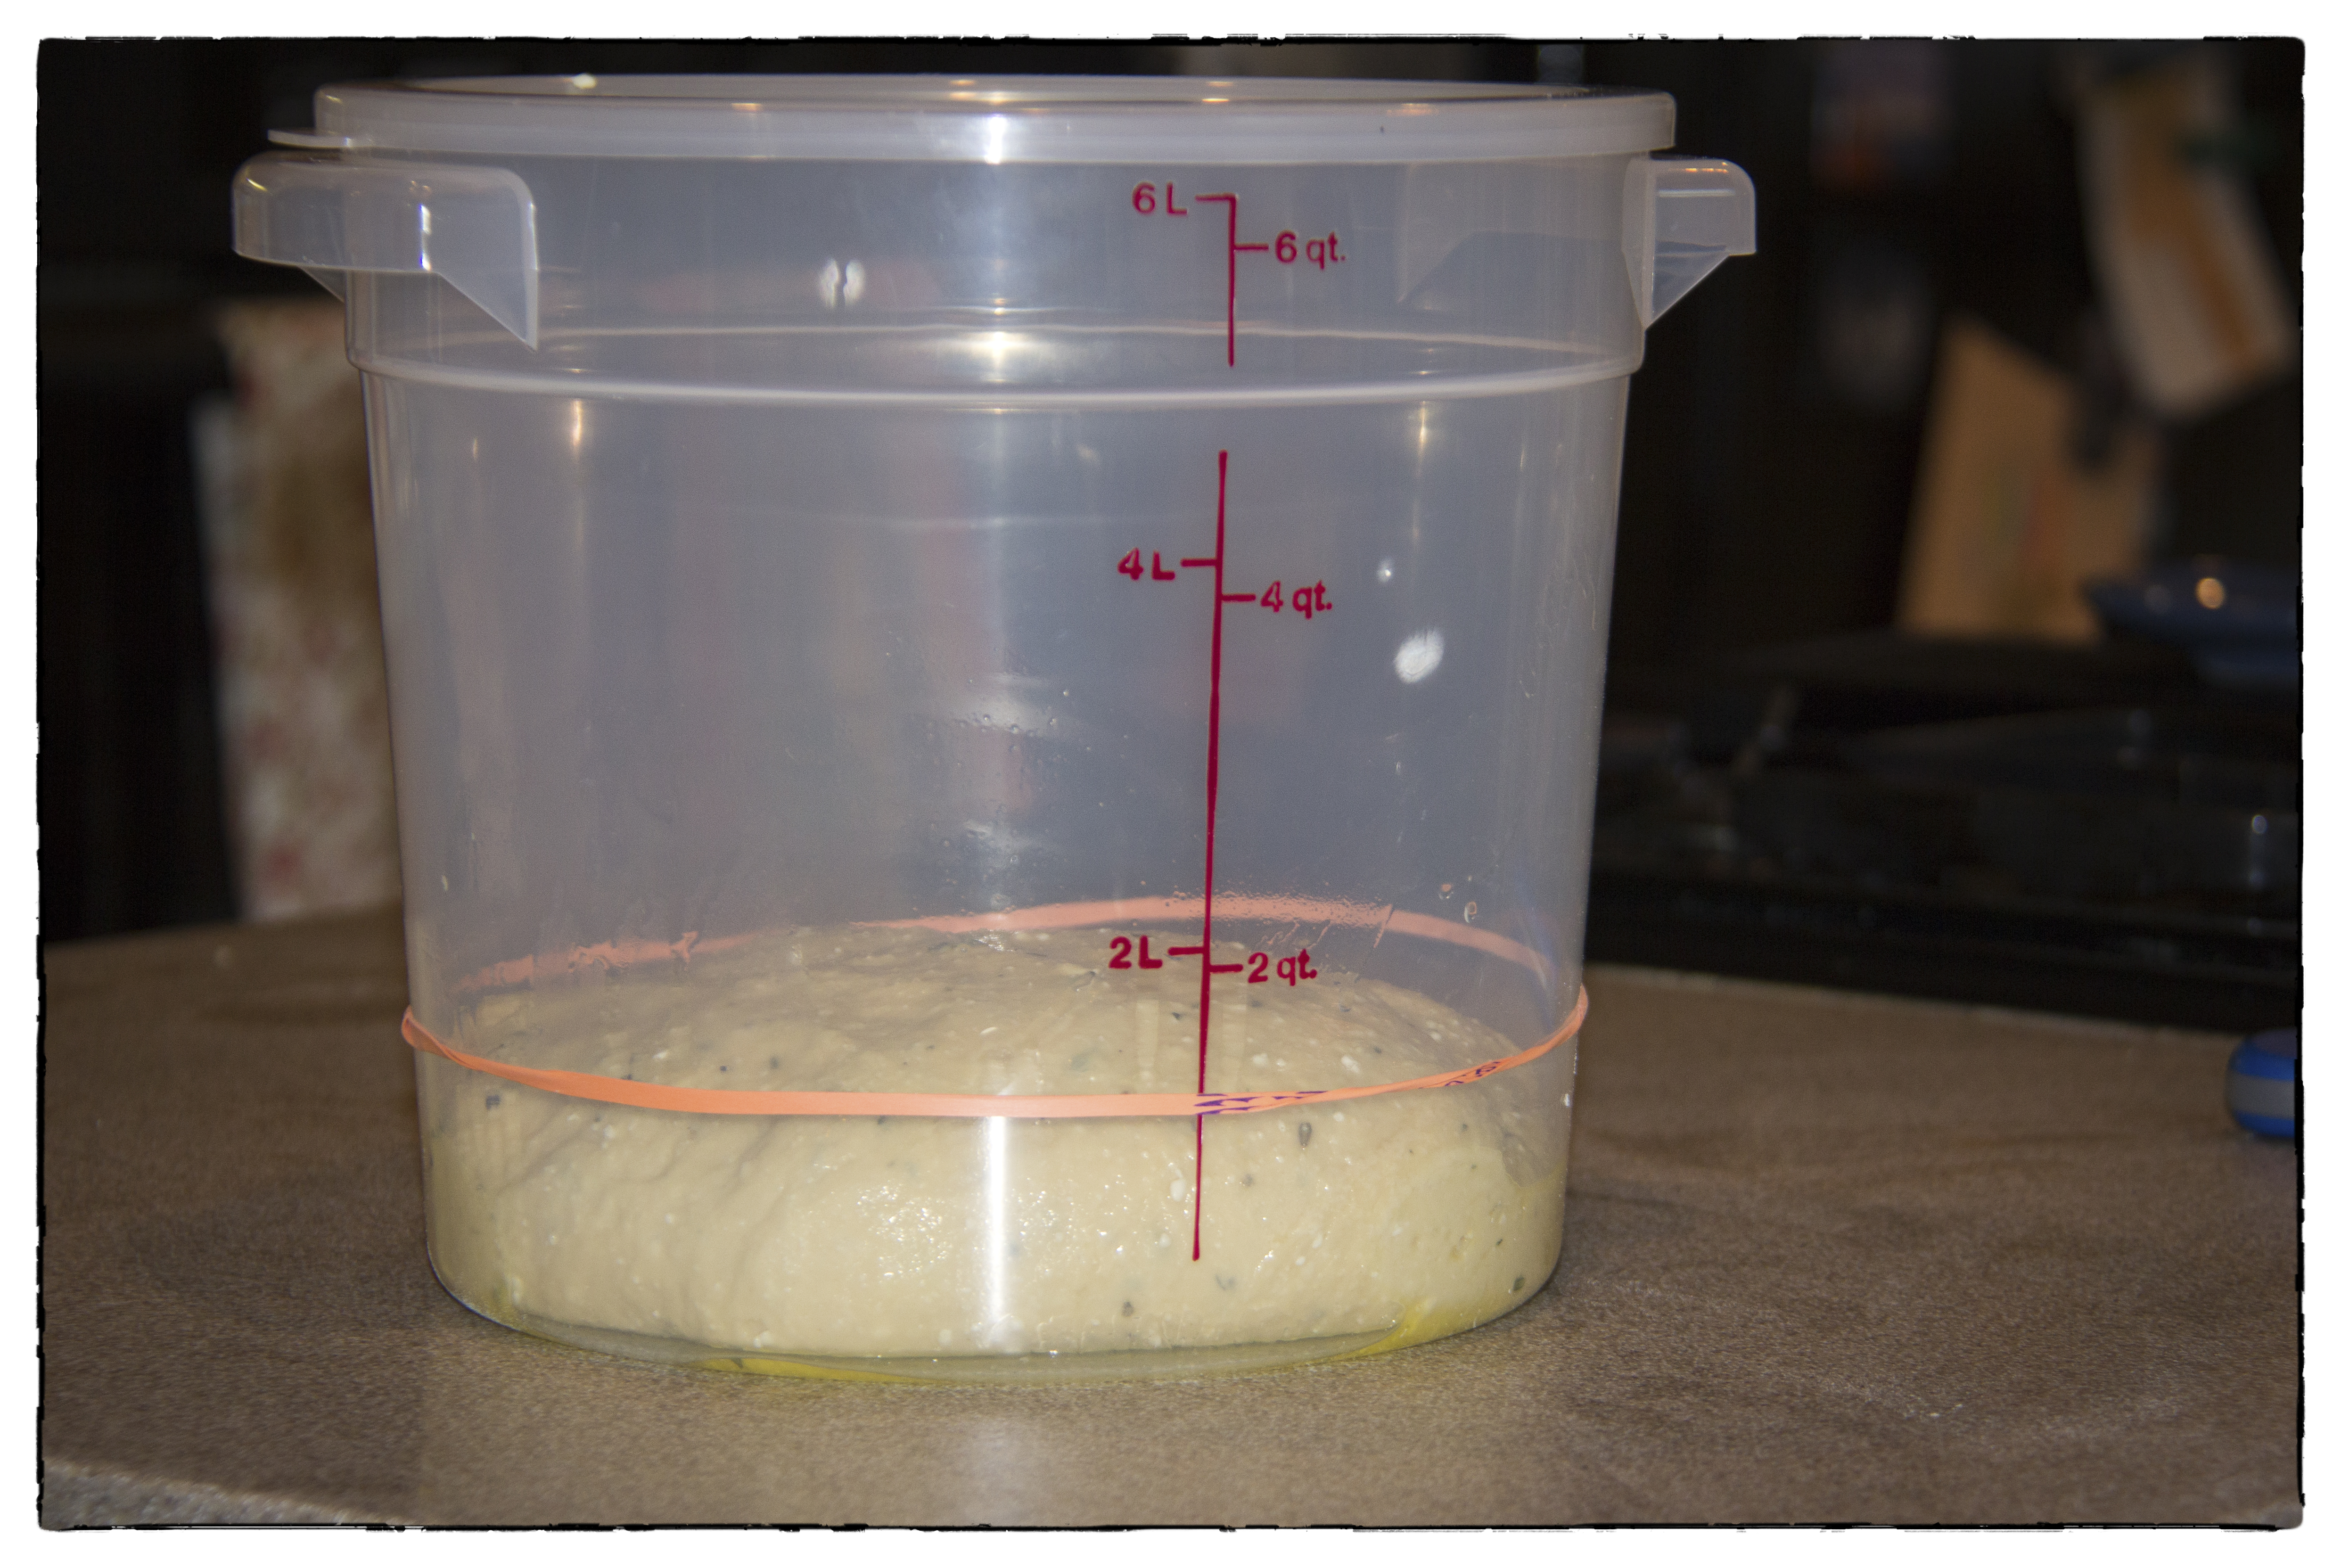
Check out the dough in my new dough bucket from King Arthur Flour!
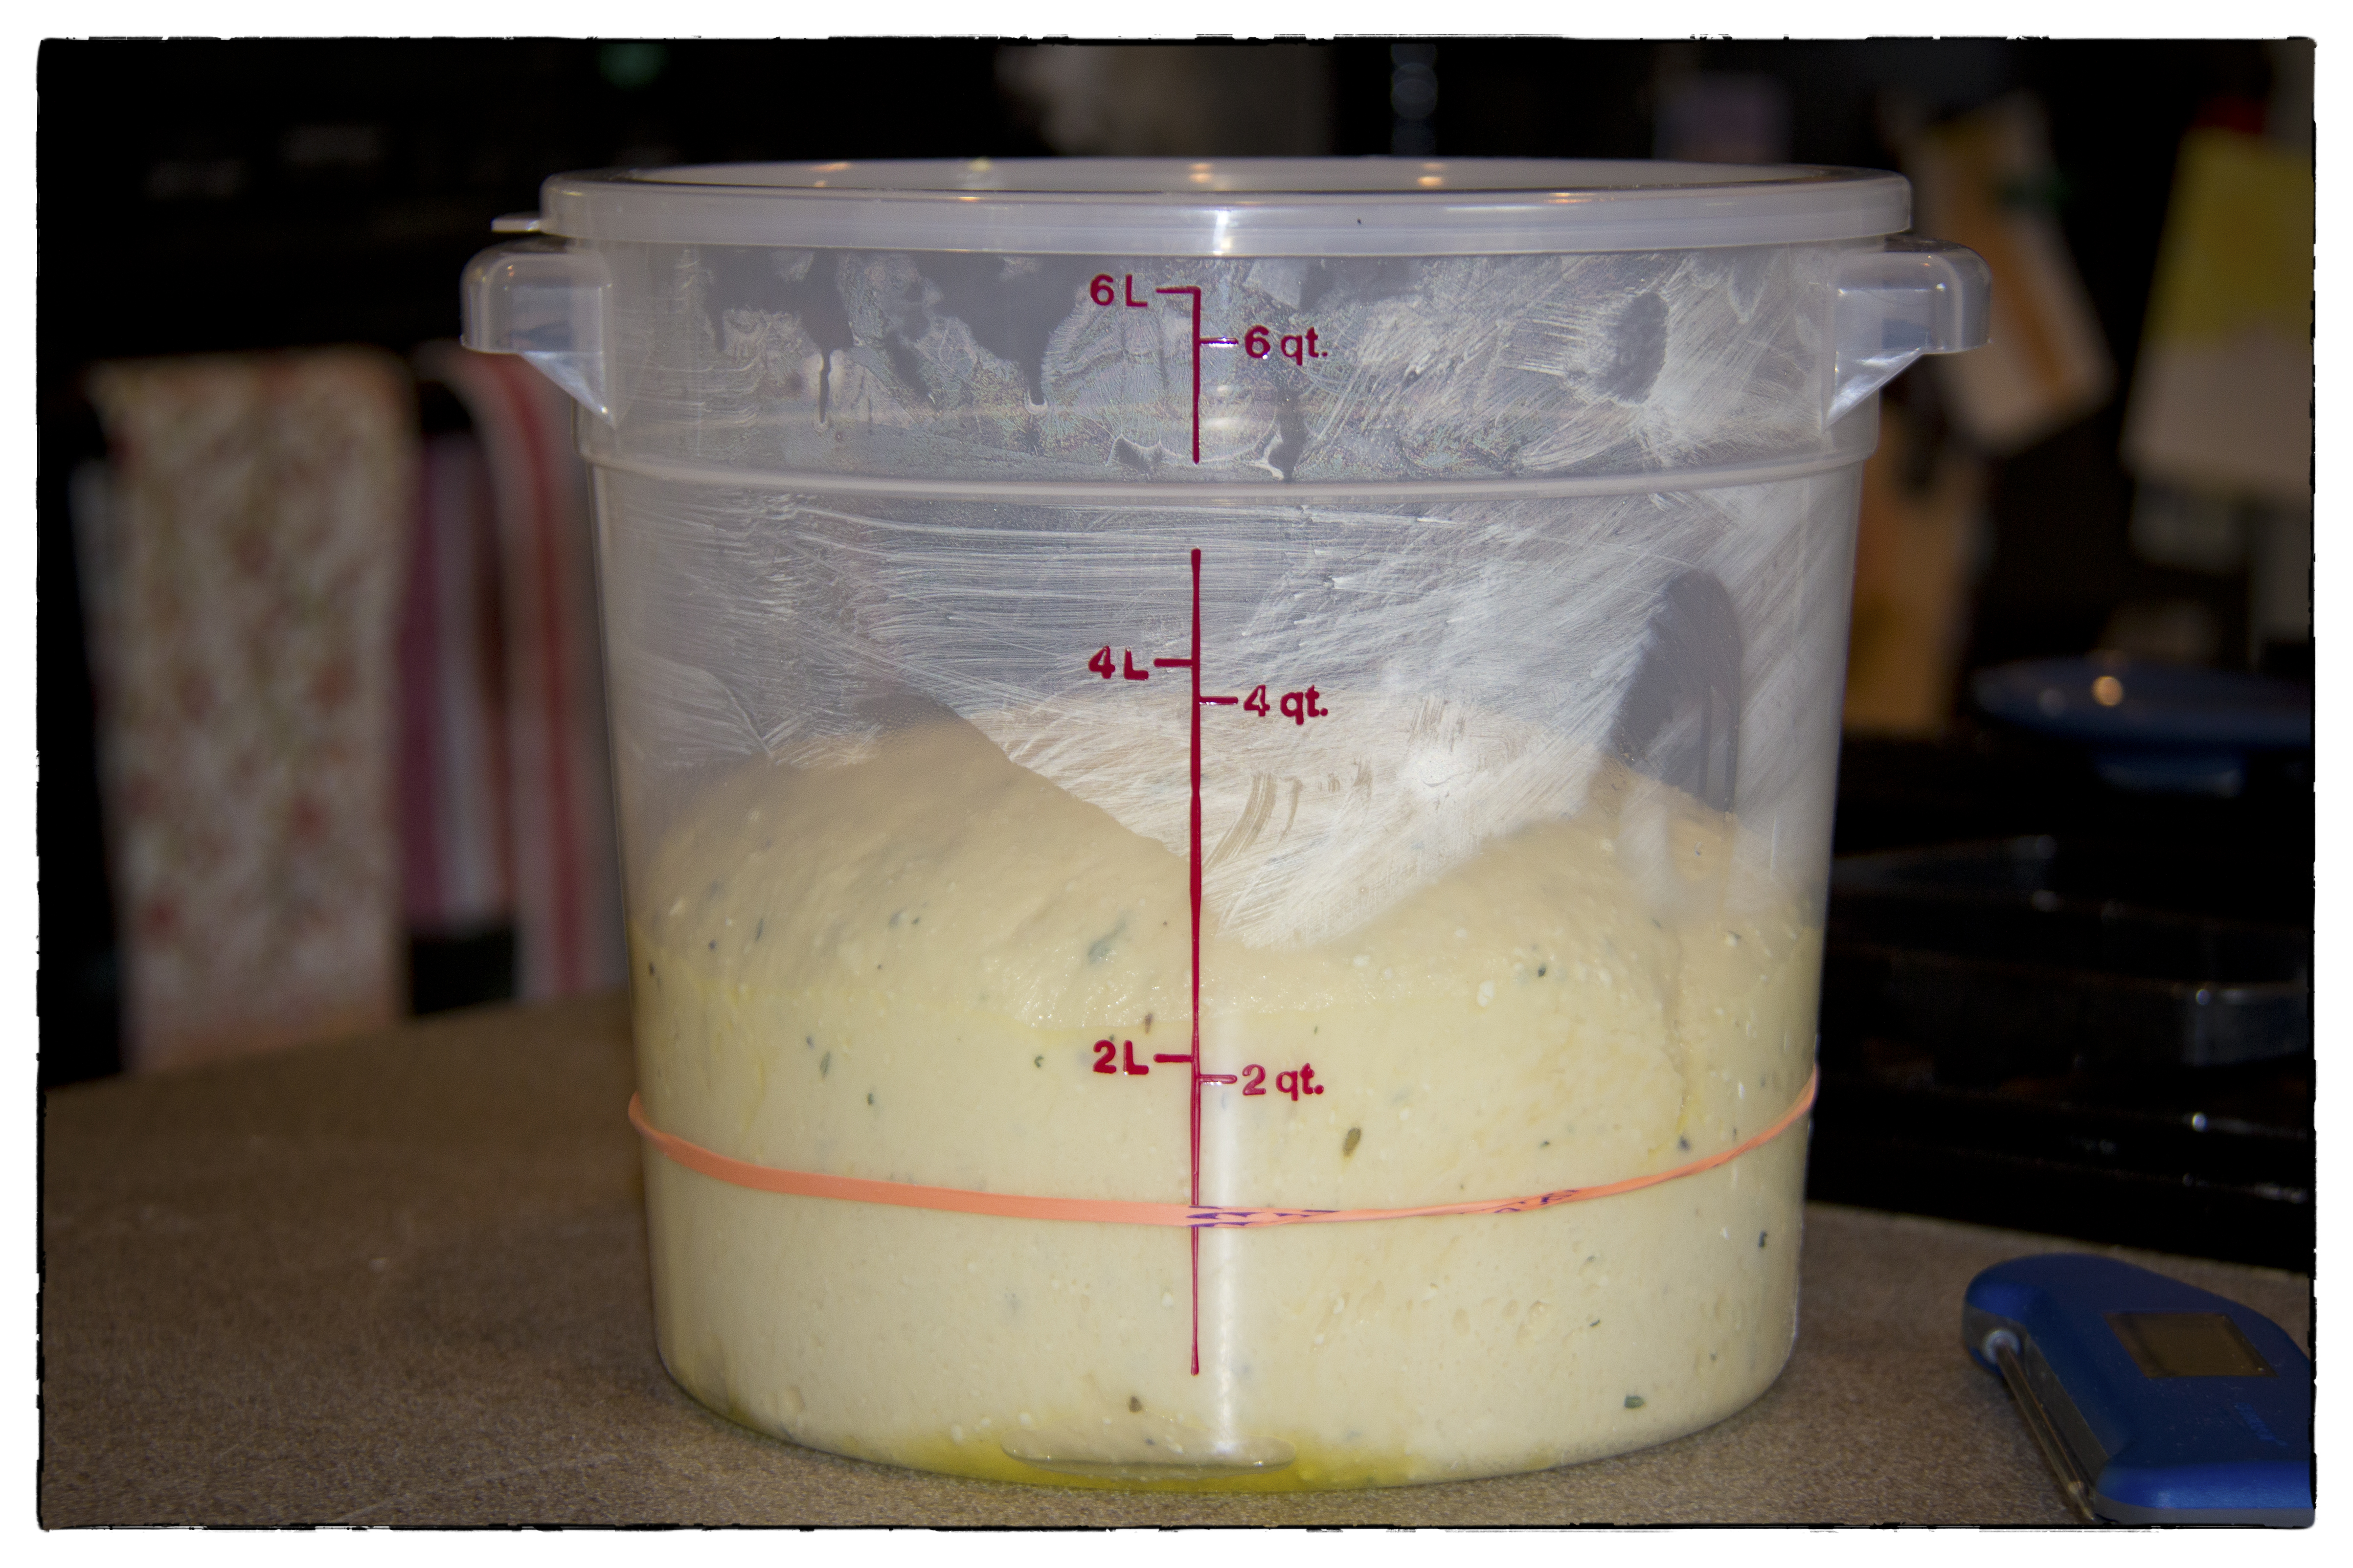
Here it is after about an hour, clearly doubled in bulk. The rubber band is a great tool for keeping track of the process.
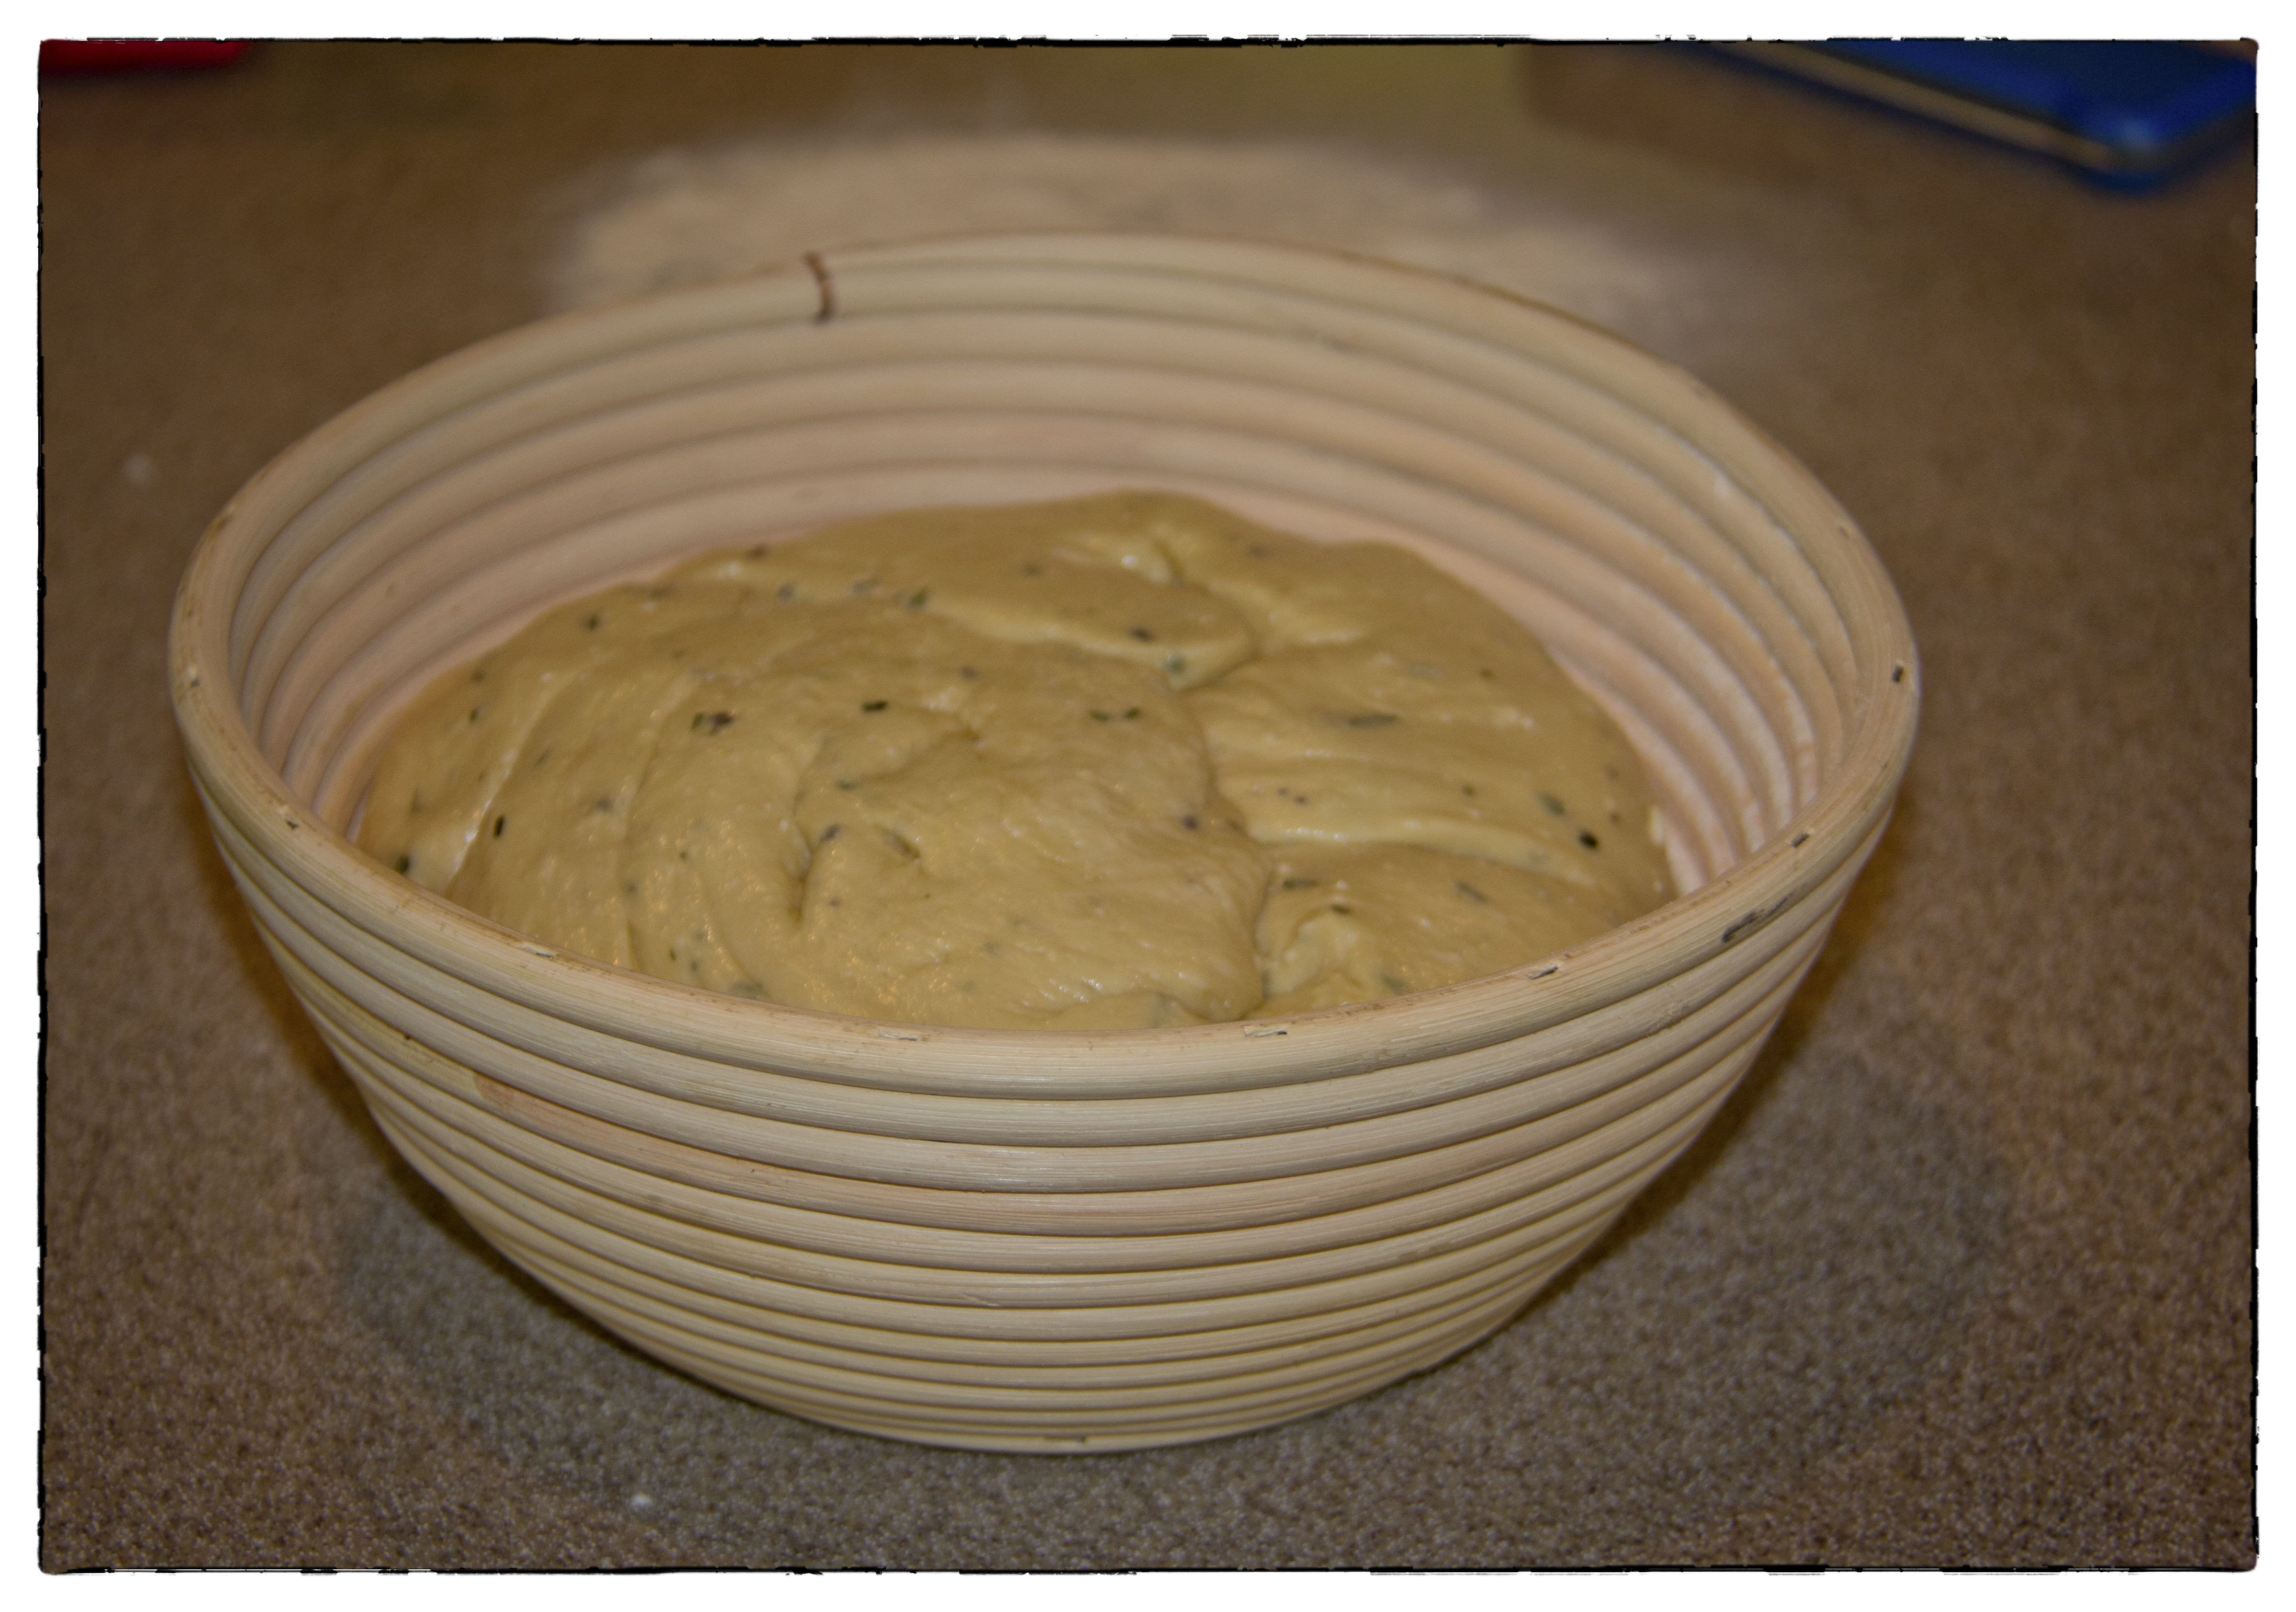
 Next, gently deflate the dough by pressing it down and then folding the sides under, creating a round ball. Place the dough into a well floured brotform, with the “pretty” side down, and let rise again for about 30 minutes.
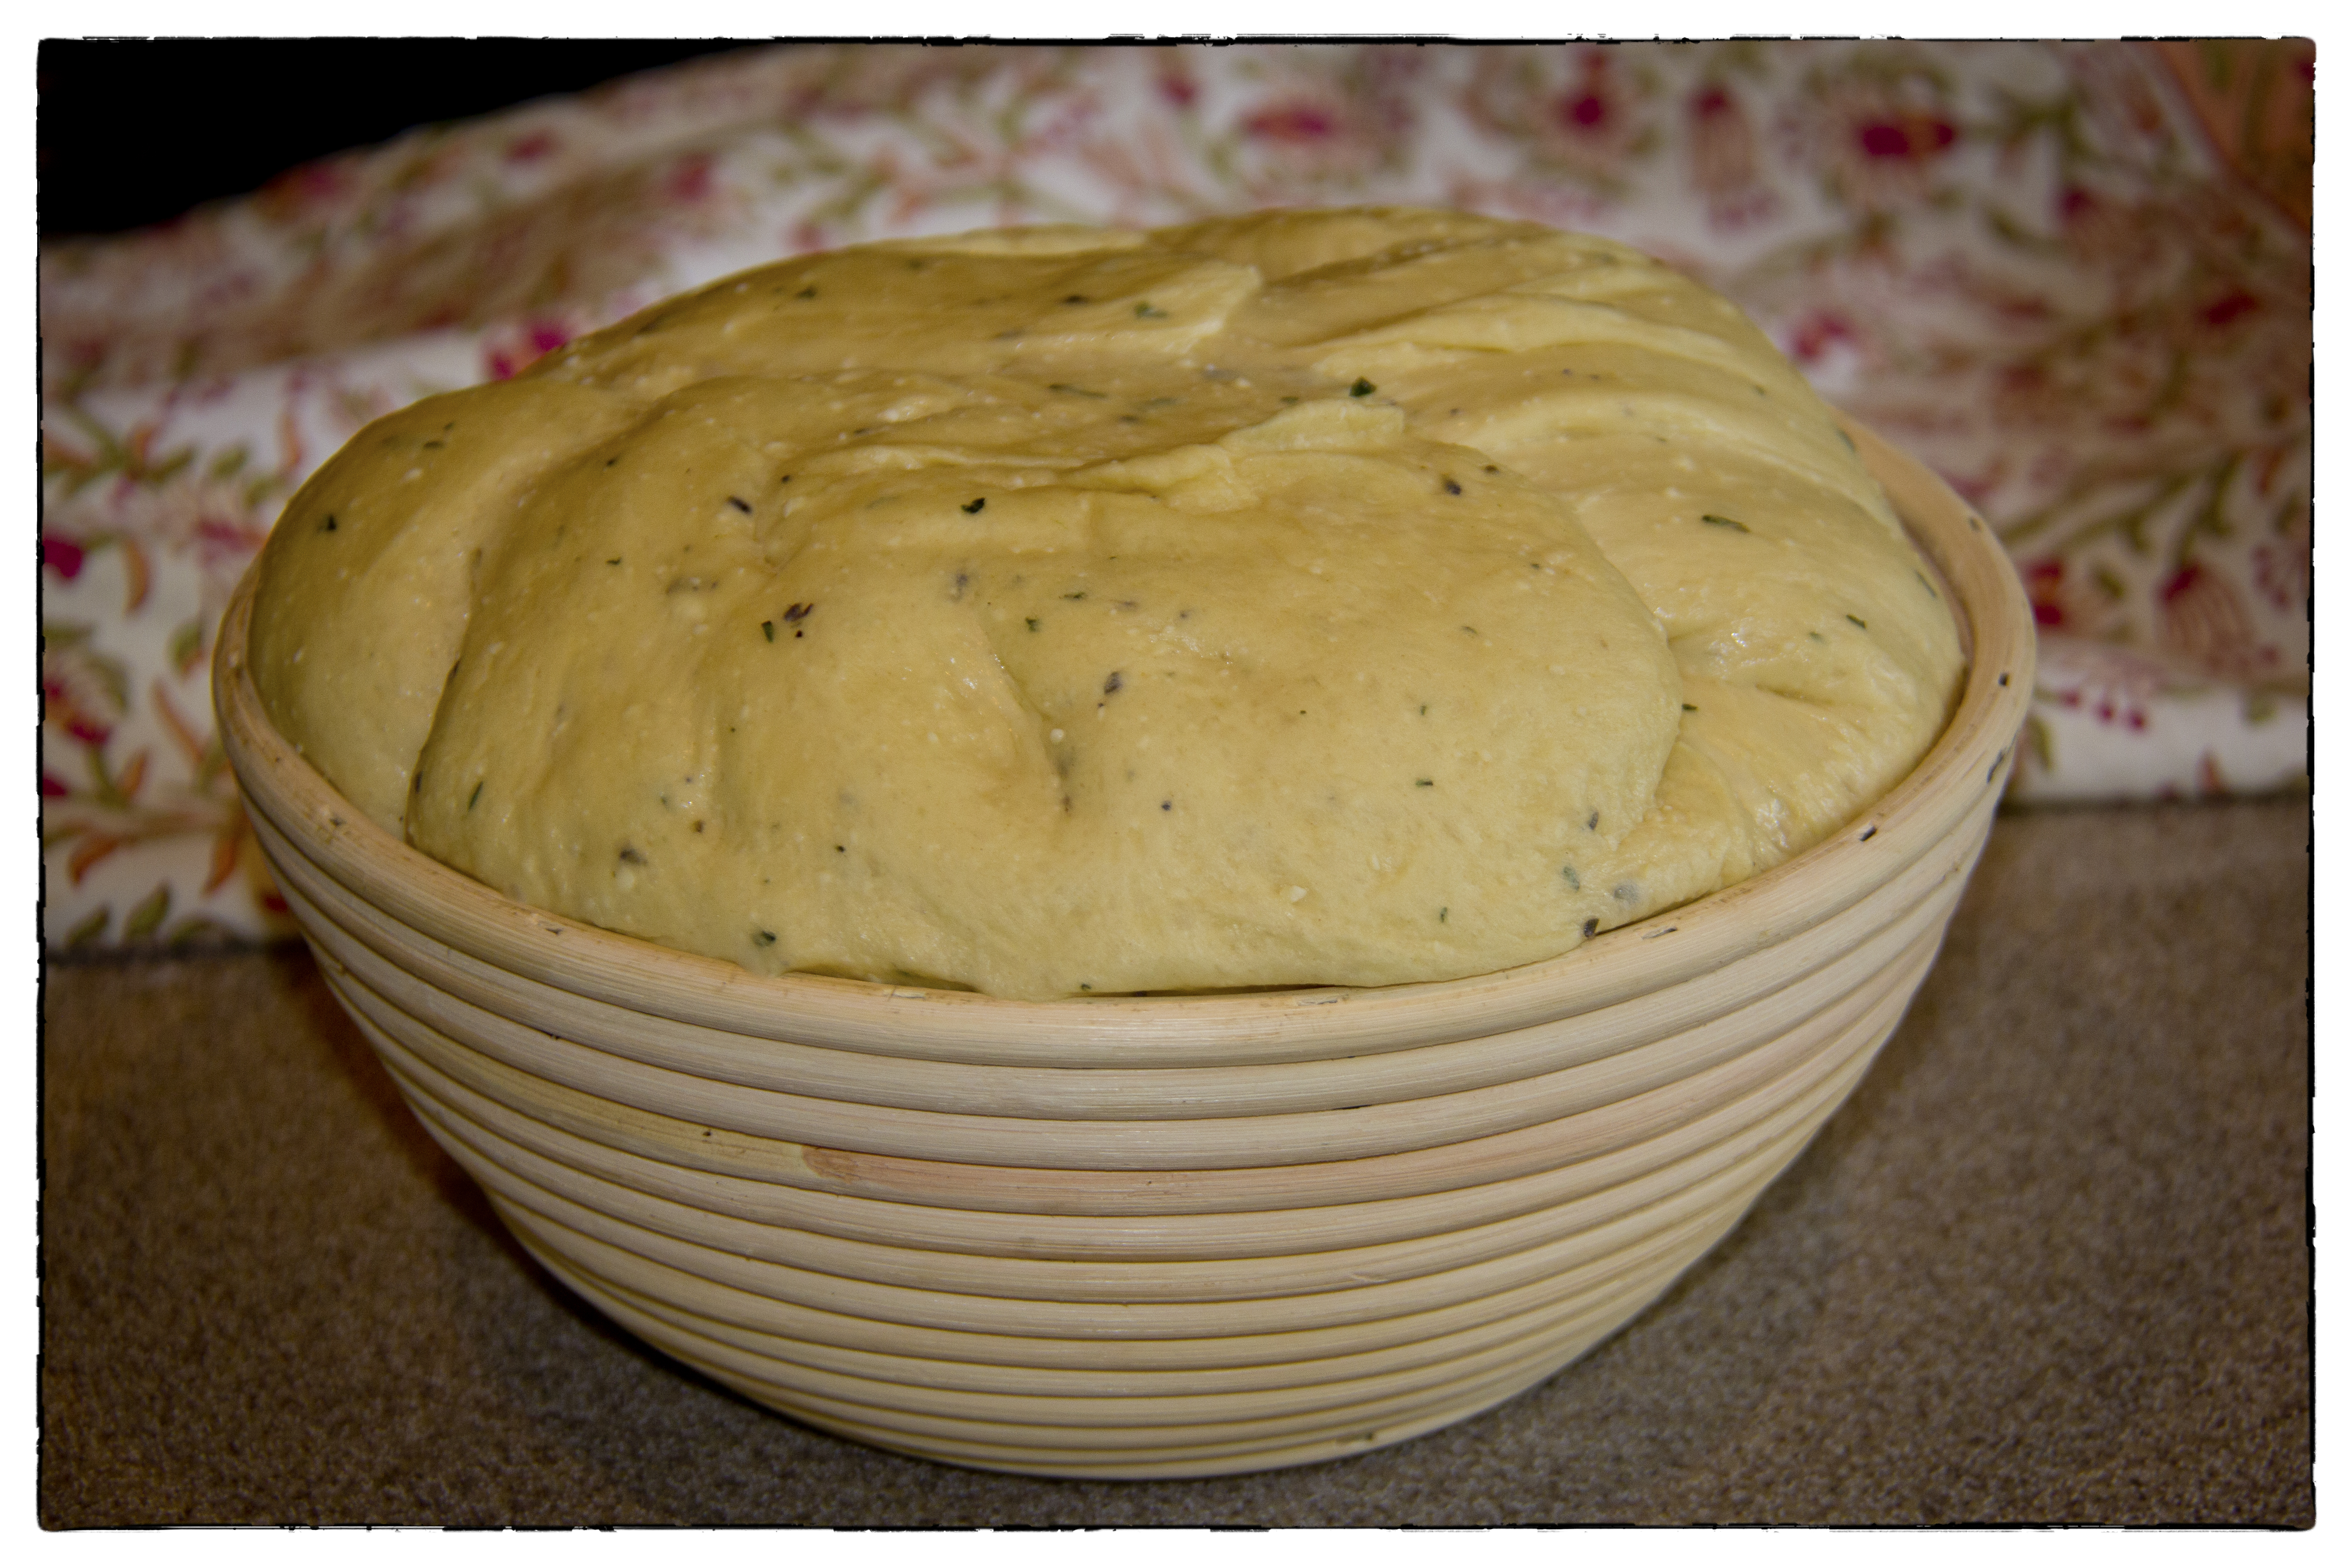
Pretty!
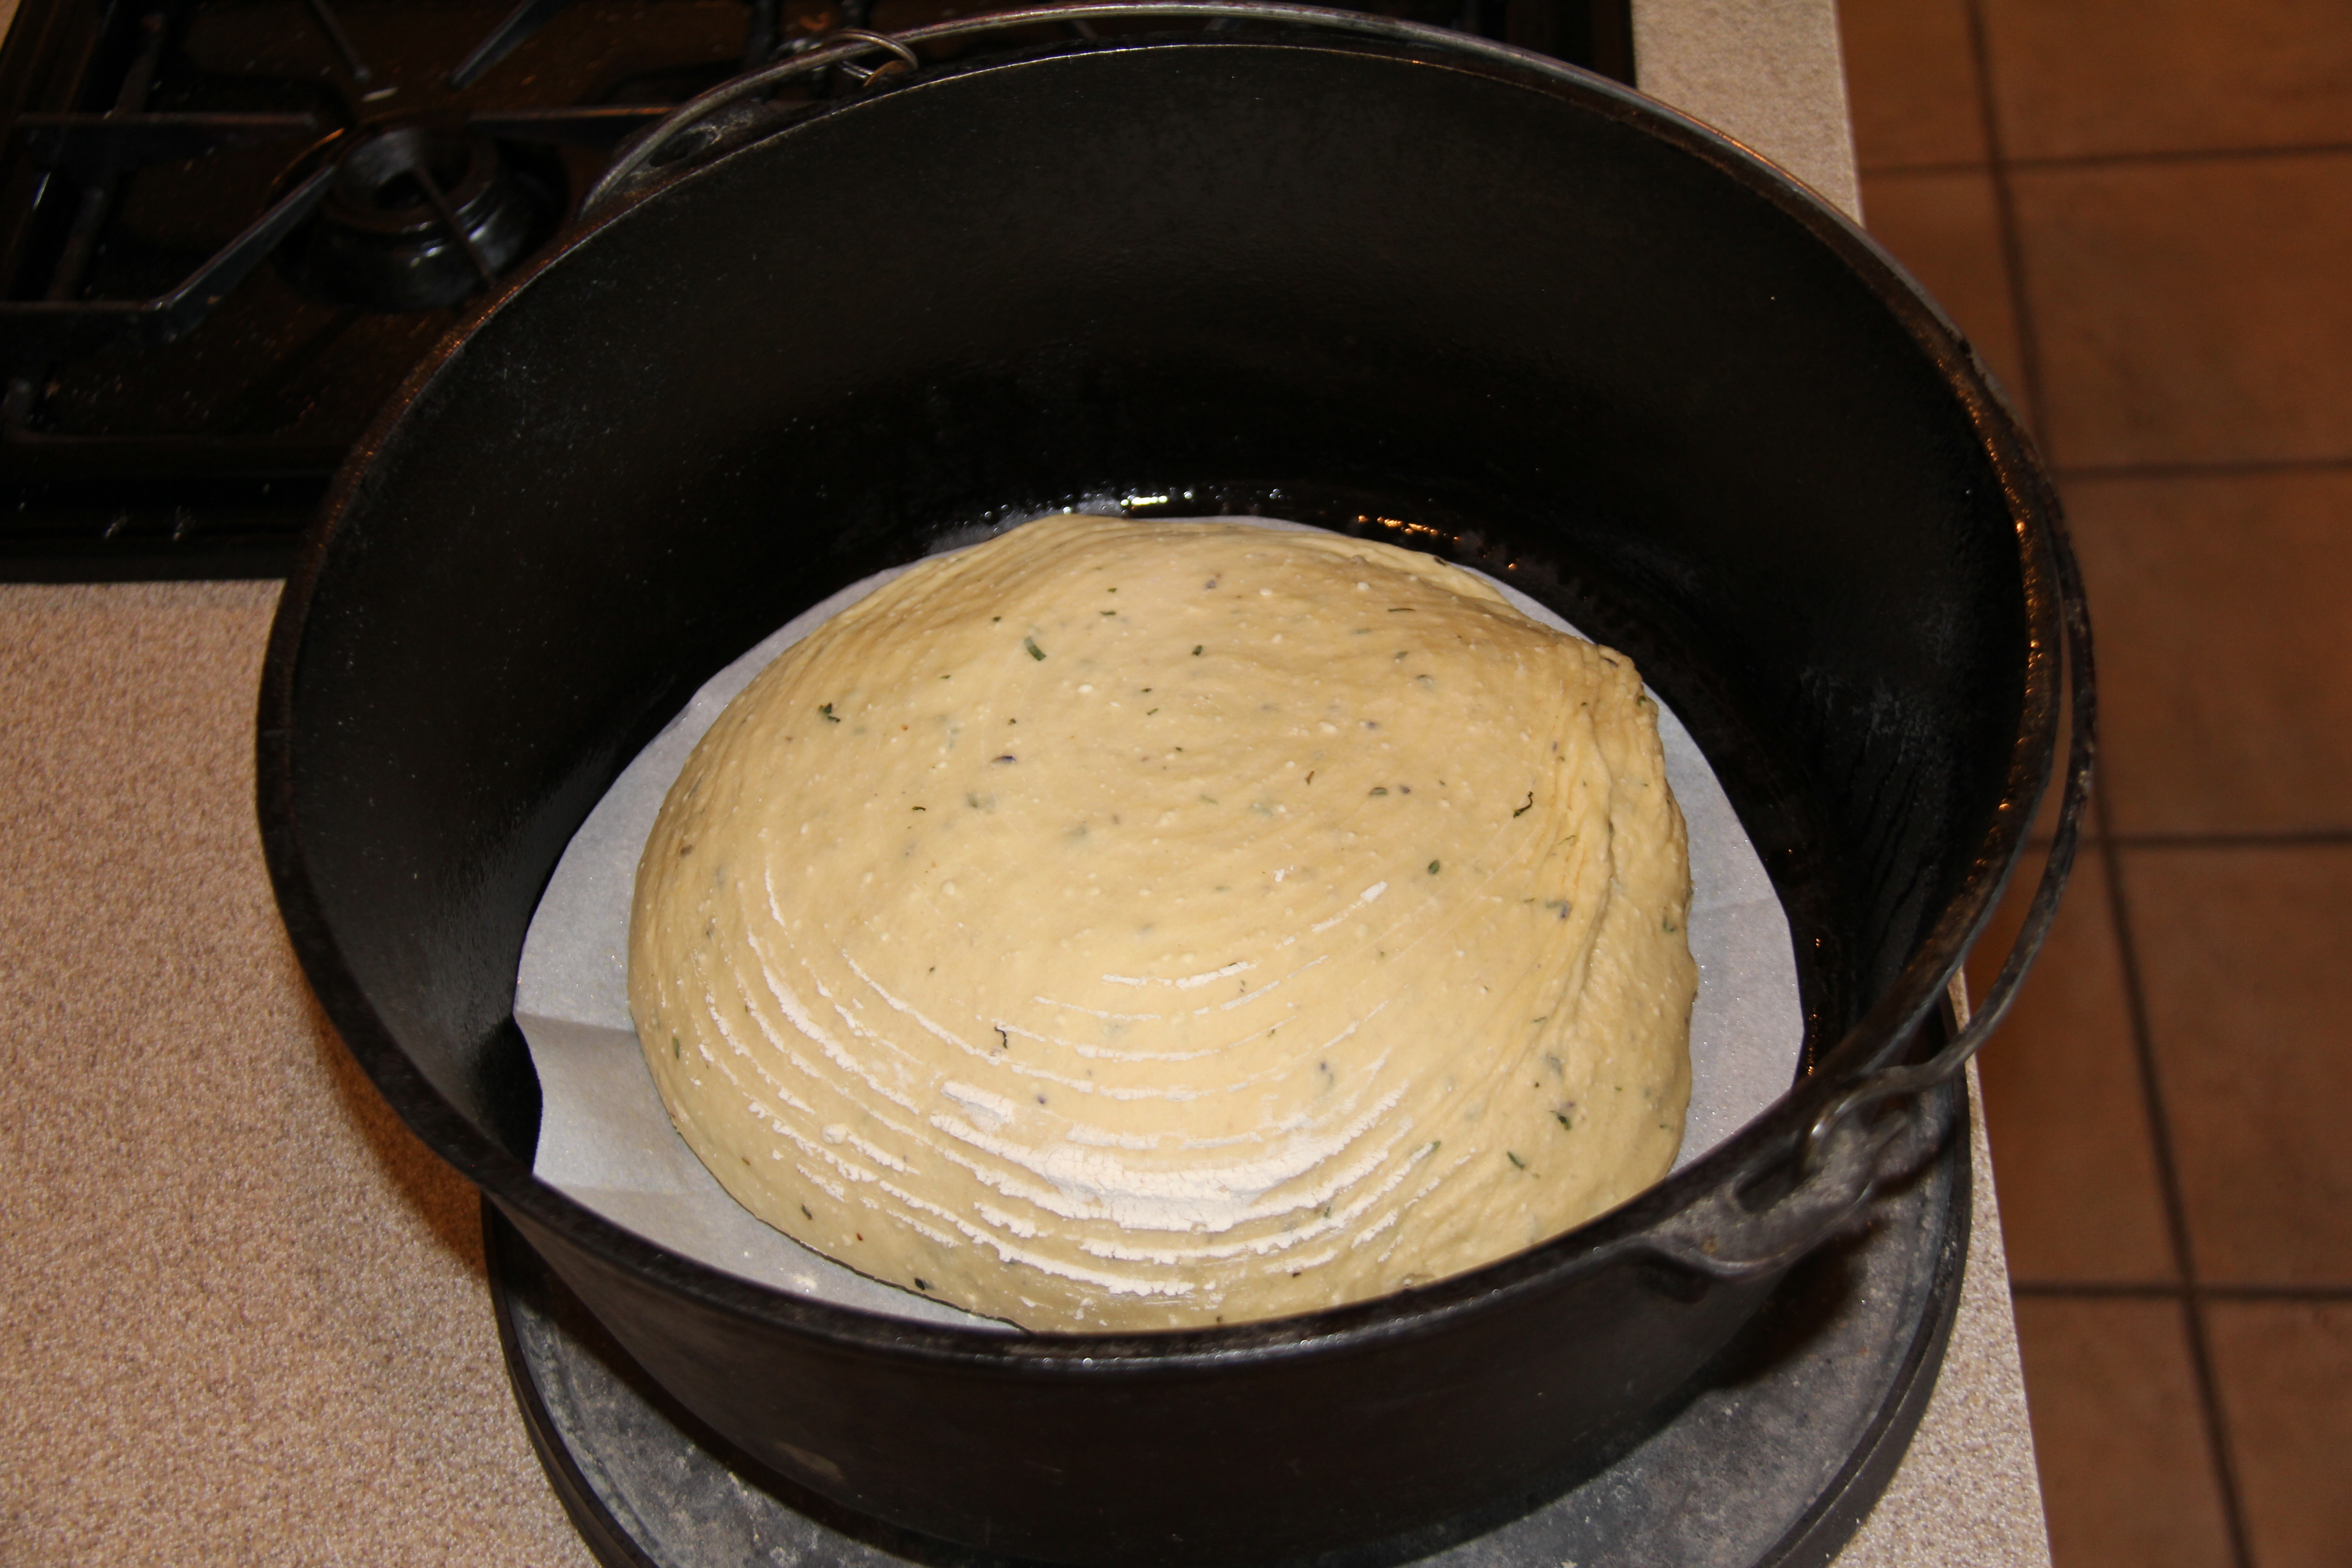
Now, the hard part. Turn the dough out into the 14″ camp Dutch oven.
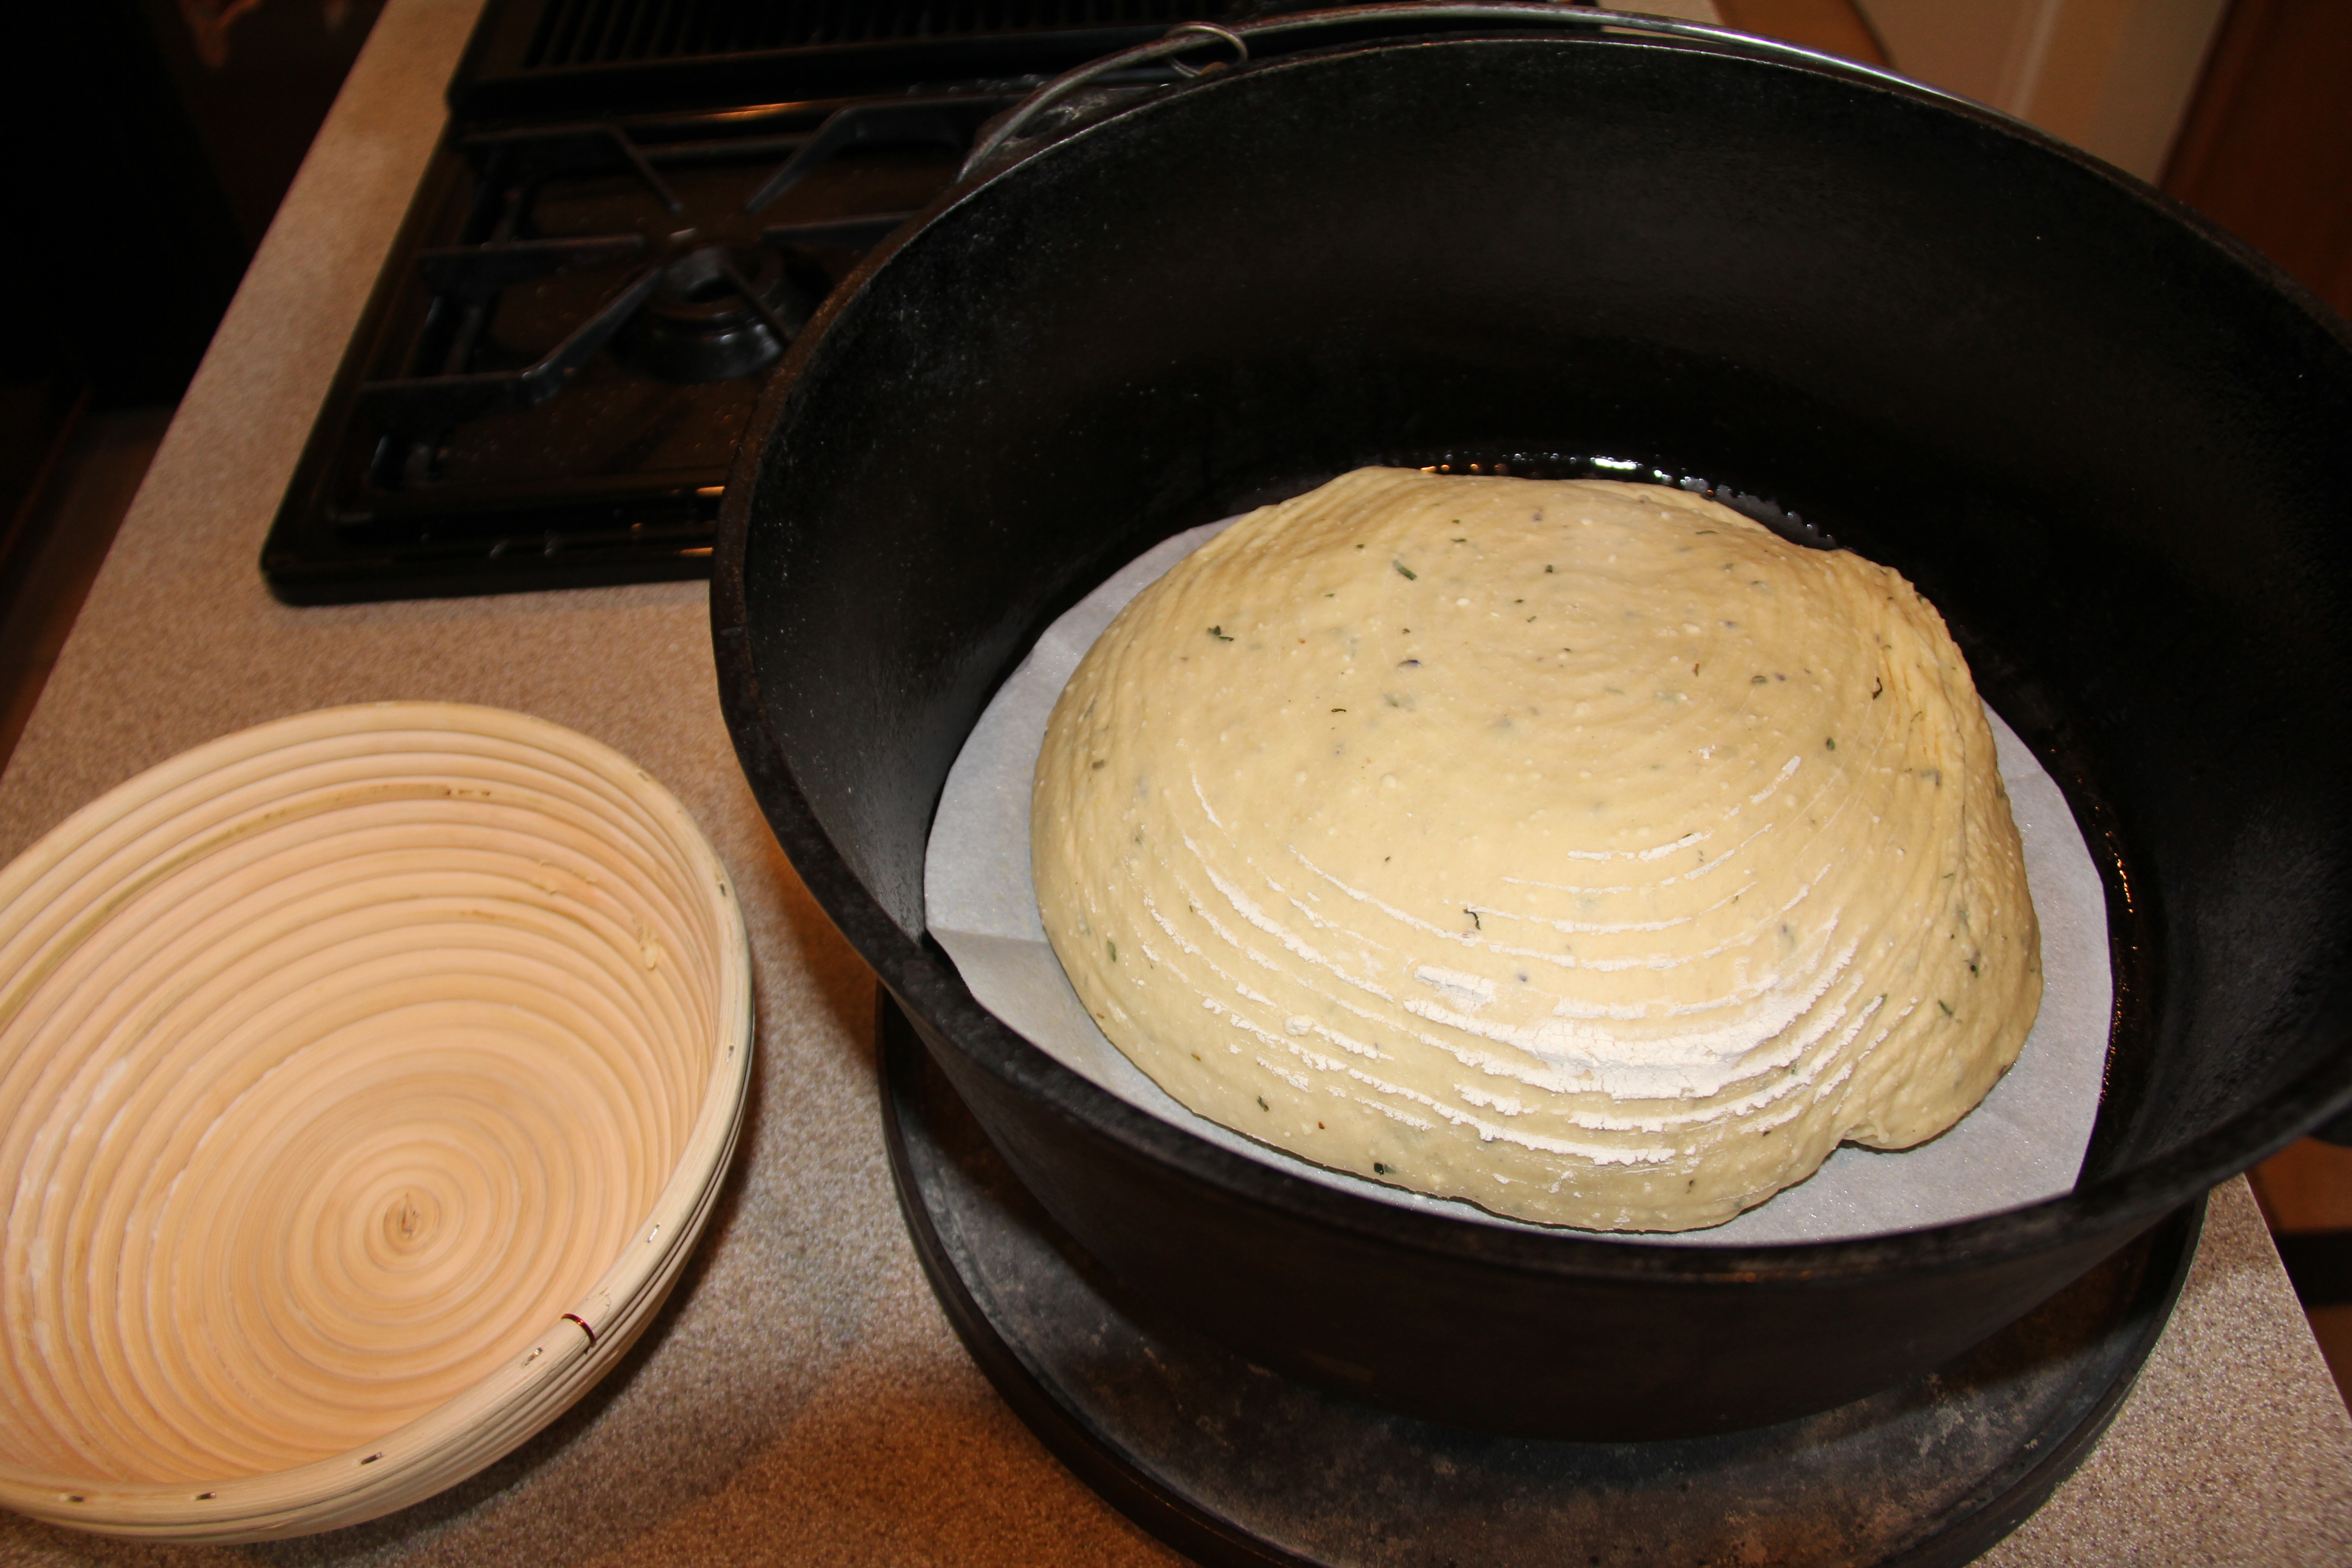
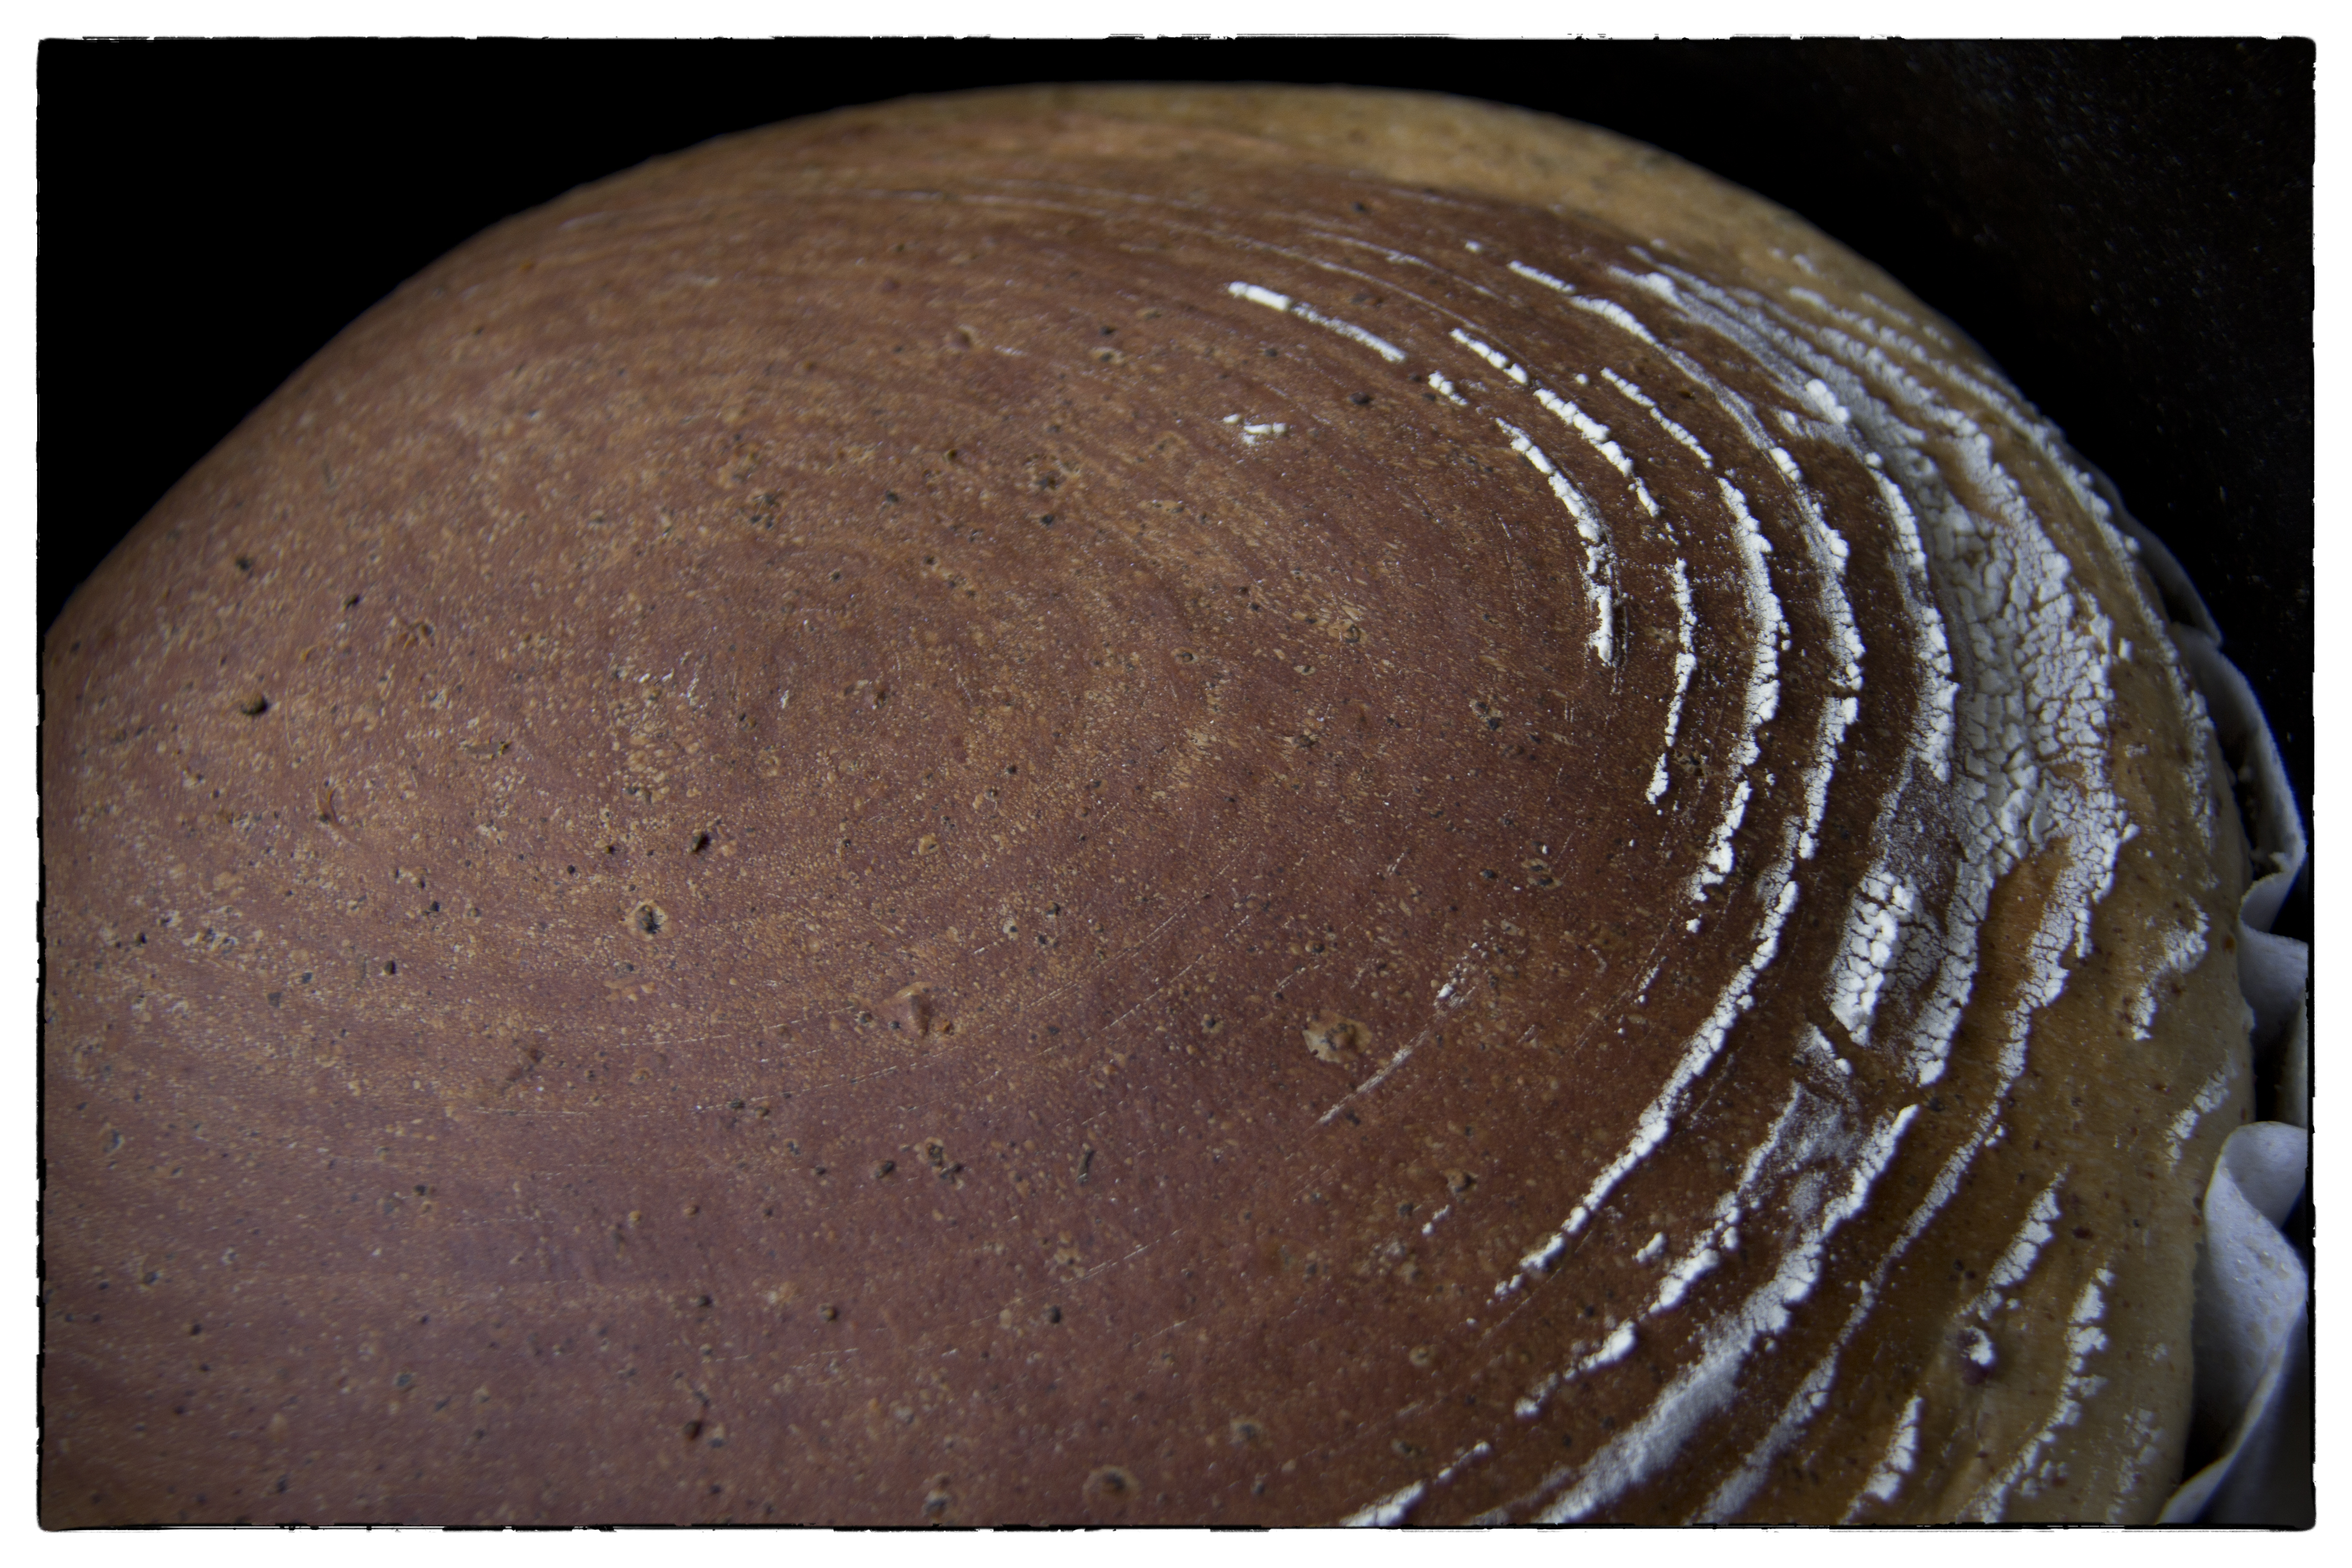
Drats. This was a failure but not surprising given that this is the first time I’ve used a brotform. I did not distribute the flour evenly around the brotform, causing one side to release quickly and easily and the other side to stick, horribly.
Lesson learned – make sure the brotform has flour liberally distributed. I could tell immediately which side had enough flour and which side was sadly neglected.
The original recipe called for baking the bread at 400 F for 20 minutes until internal temperature is 200 to 210., but this was not enough time for baking with charcoal. 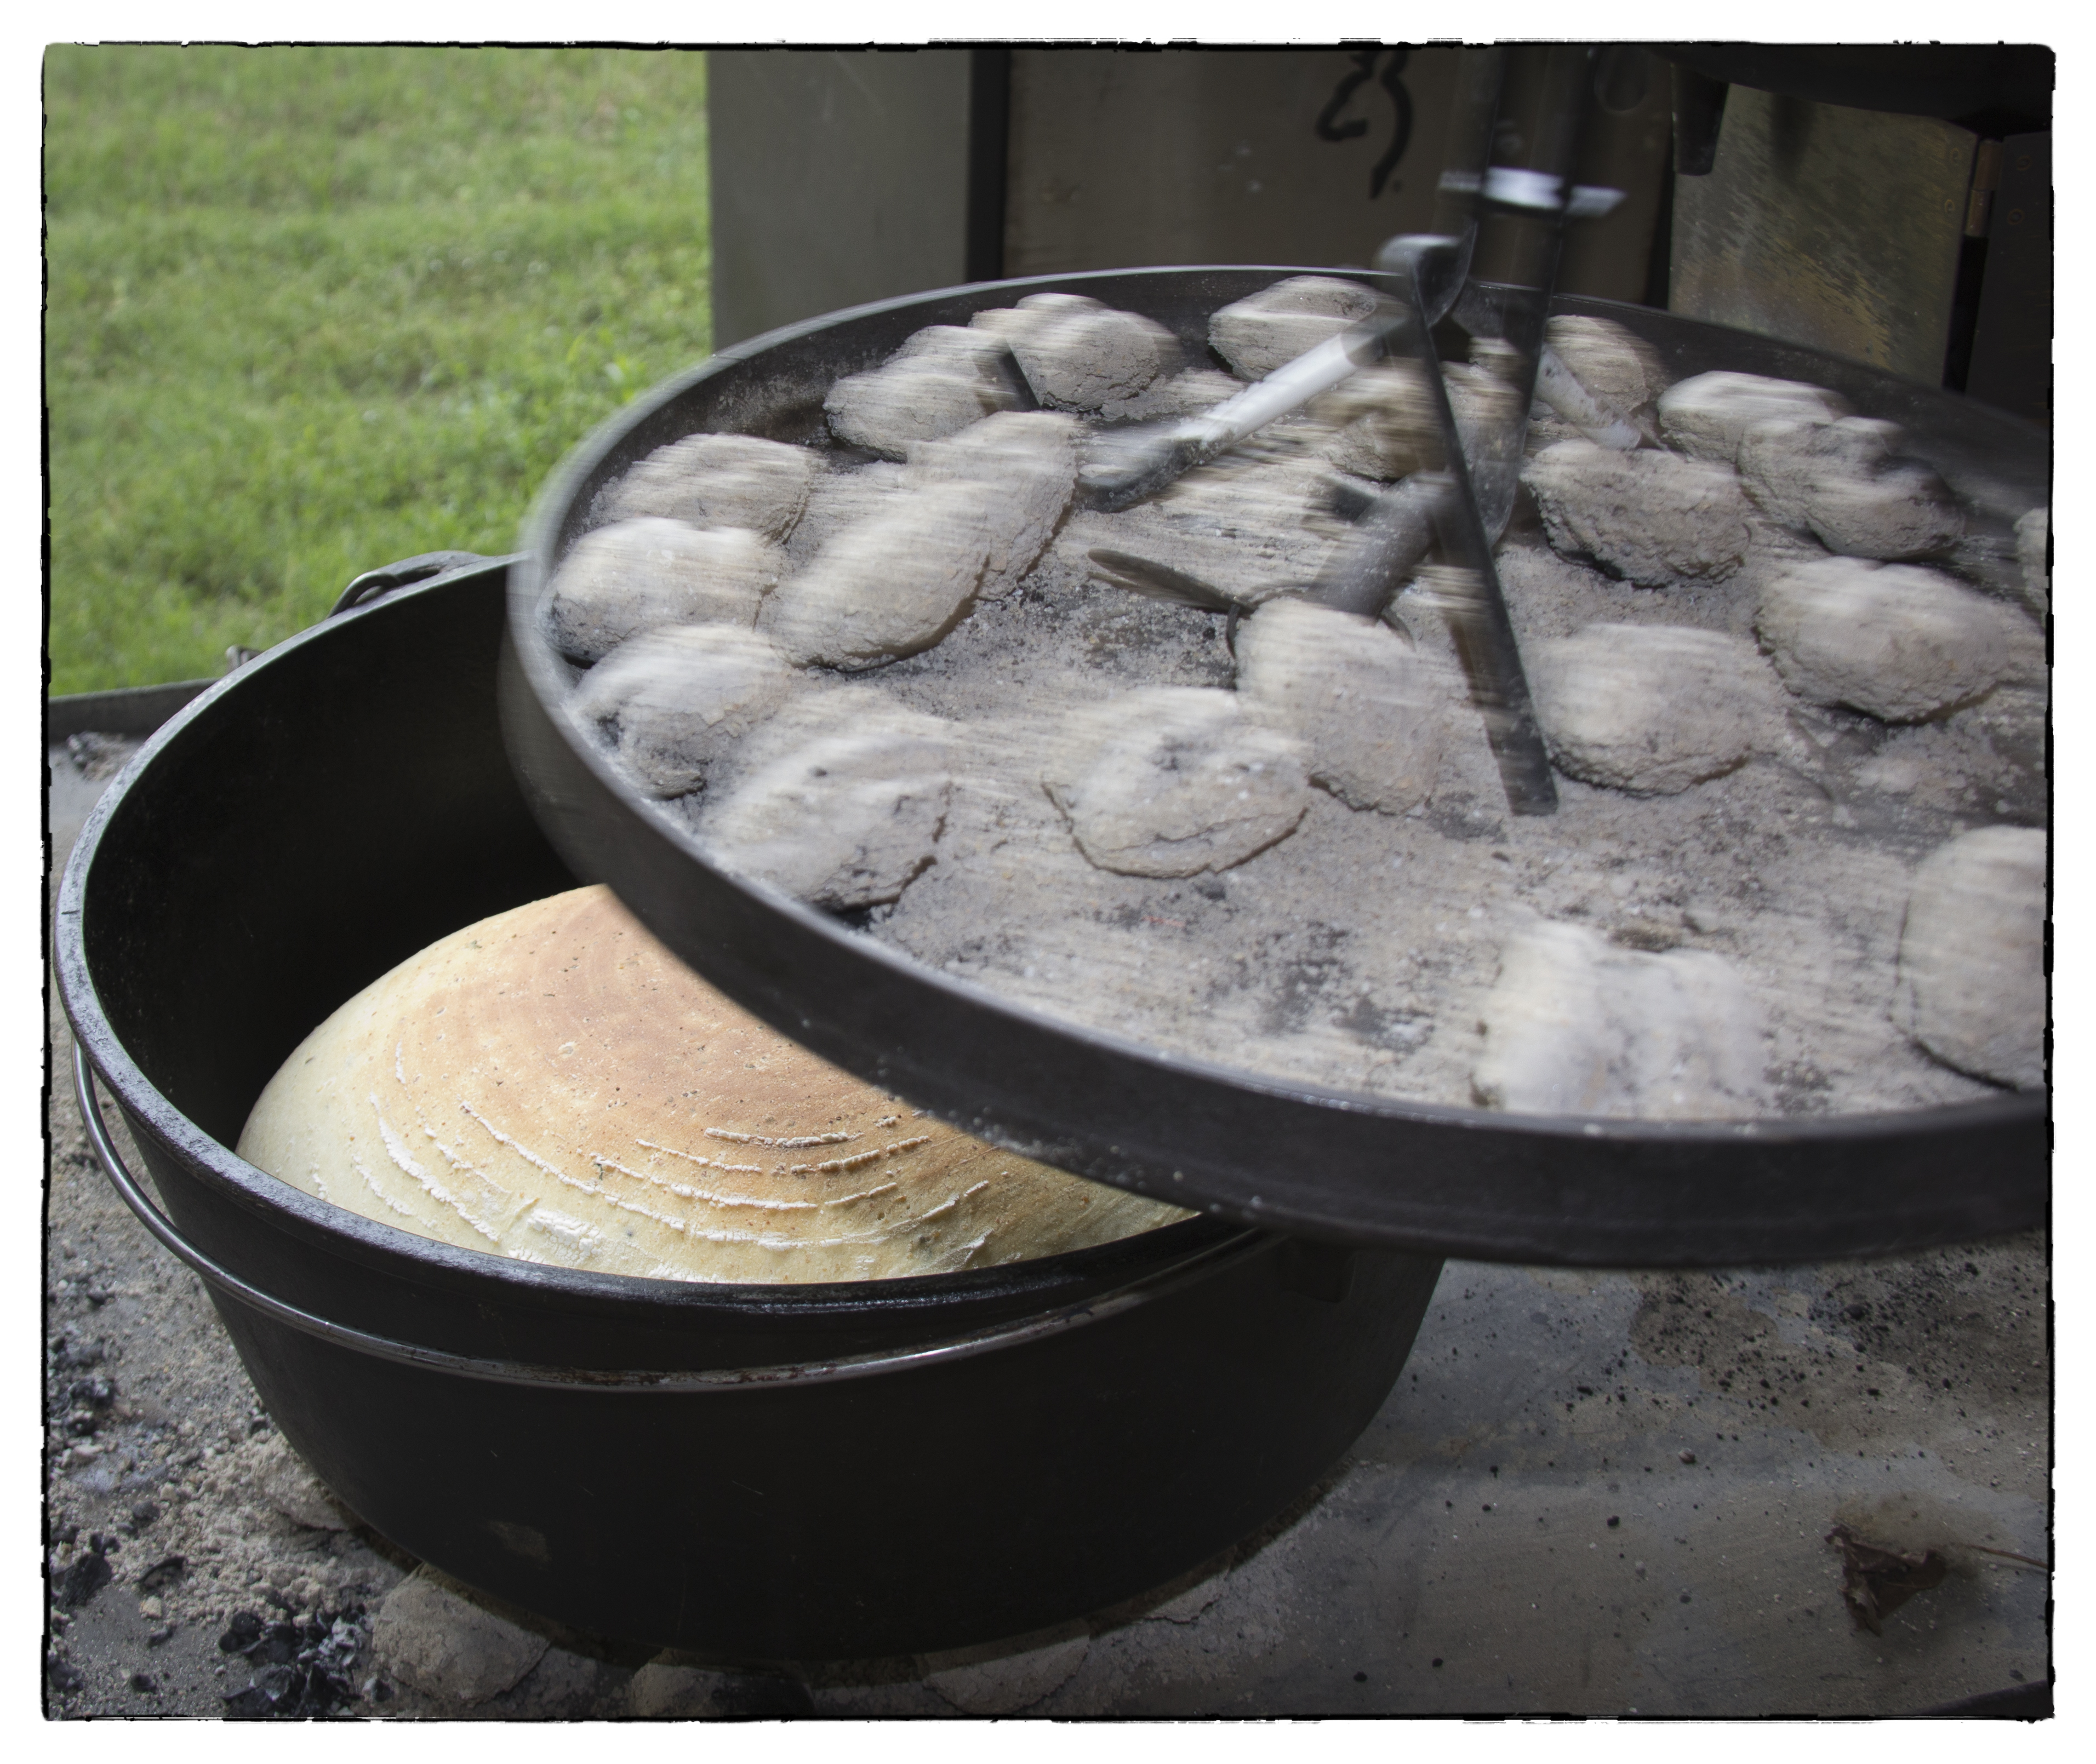 At 20 minutes, I checked the bread’s internal temp with our thermopen and it was only 160. Quickly put that lid on!
And bake for another 2o minutes, more than double the time on the original recipe. This the “art” of outdoor baking! Just because the recipe says a specific time, experience takes over. I bake this bread until the internal temperature was 200 to 210 degrees Farenheit.
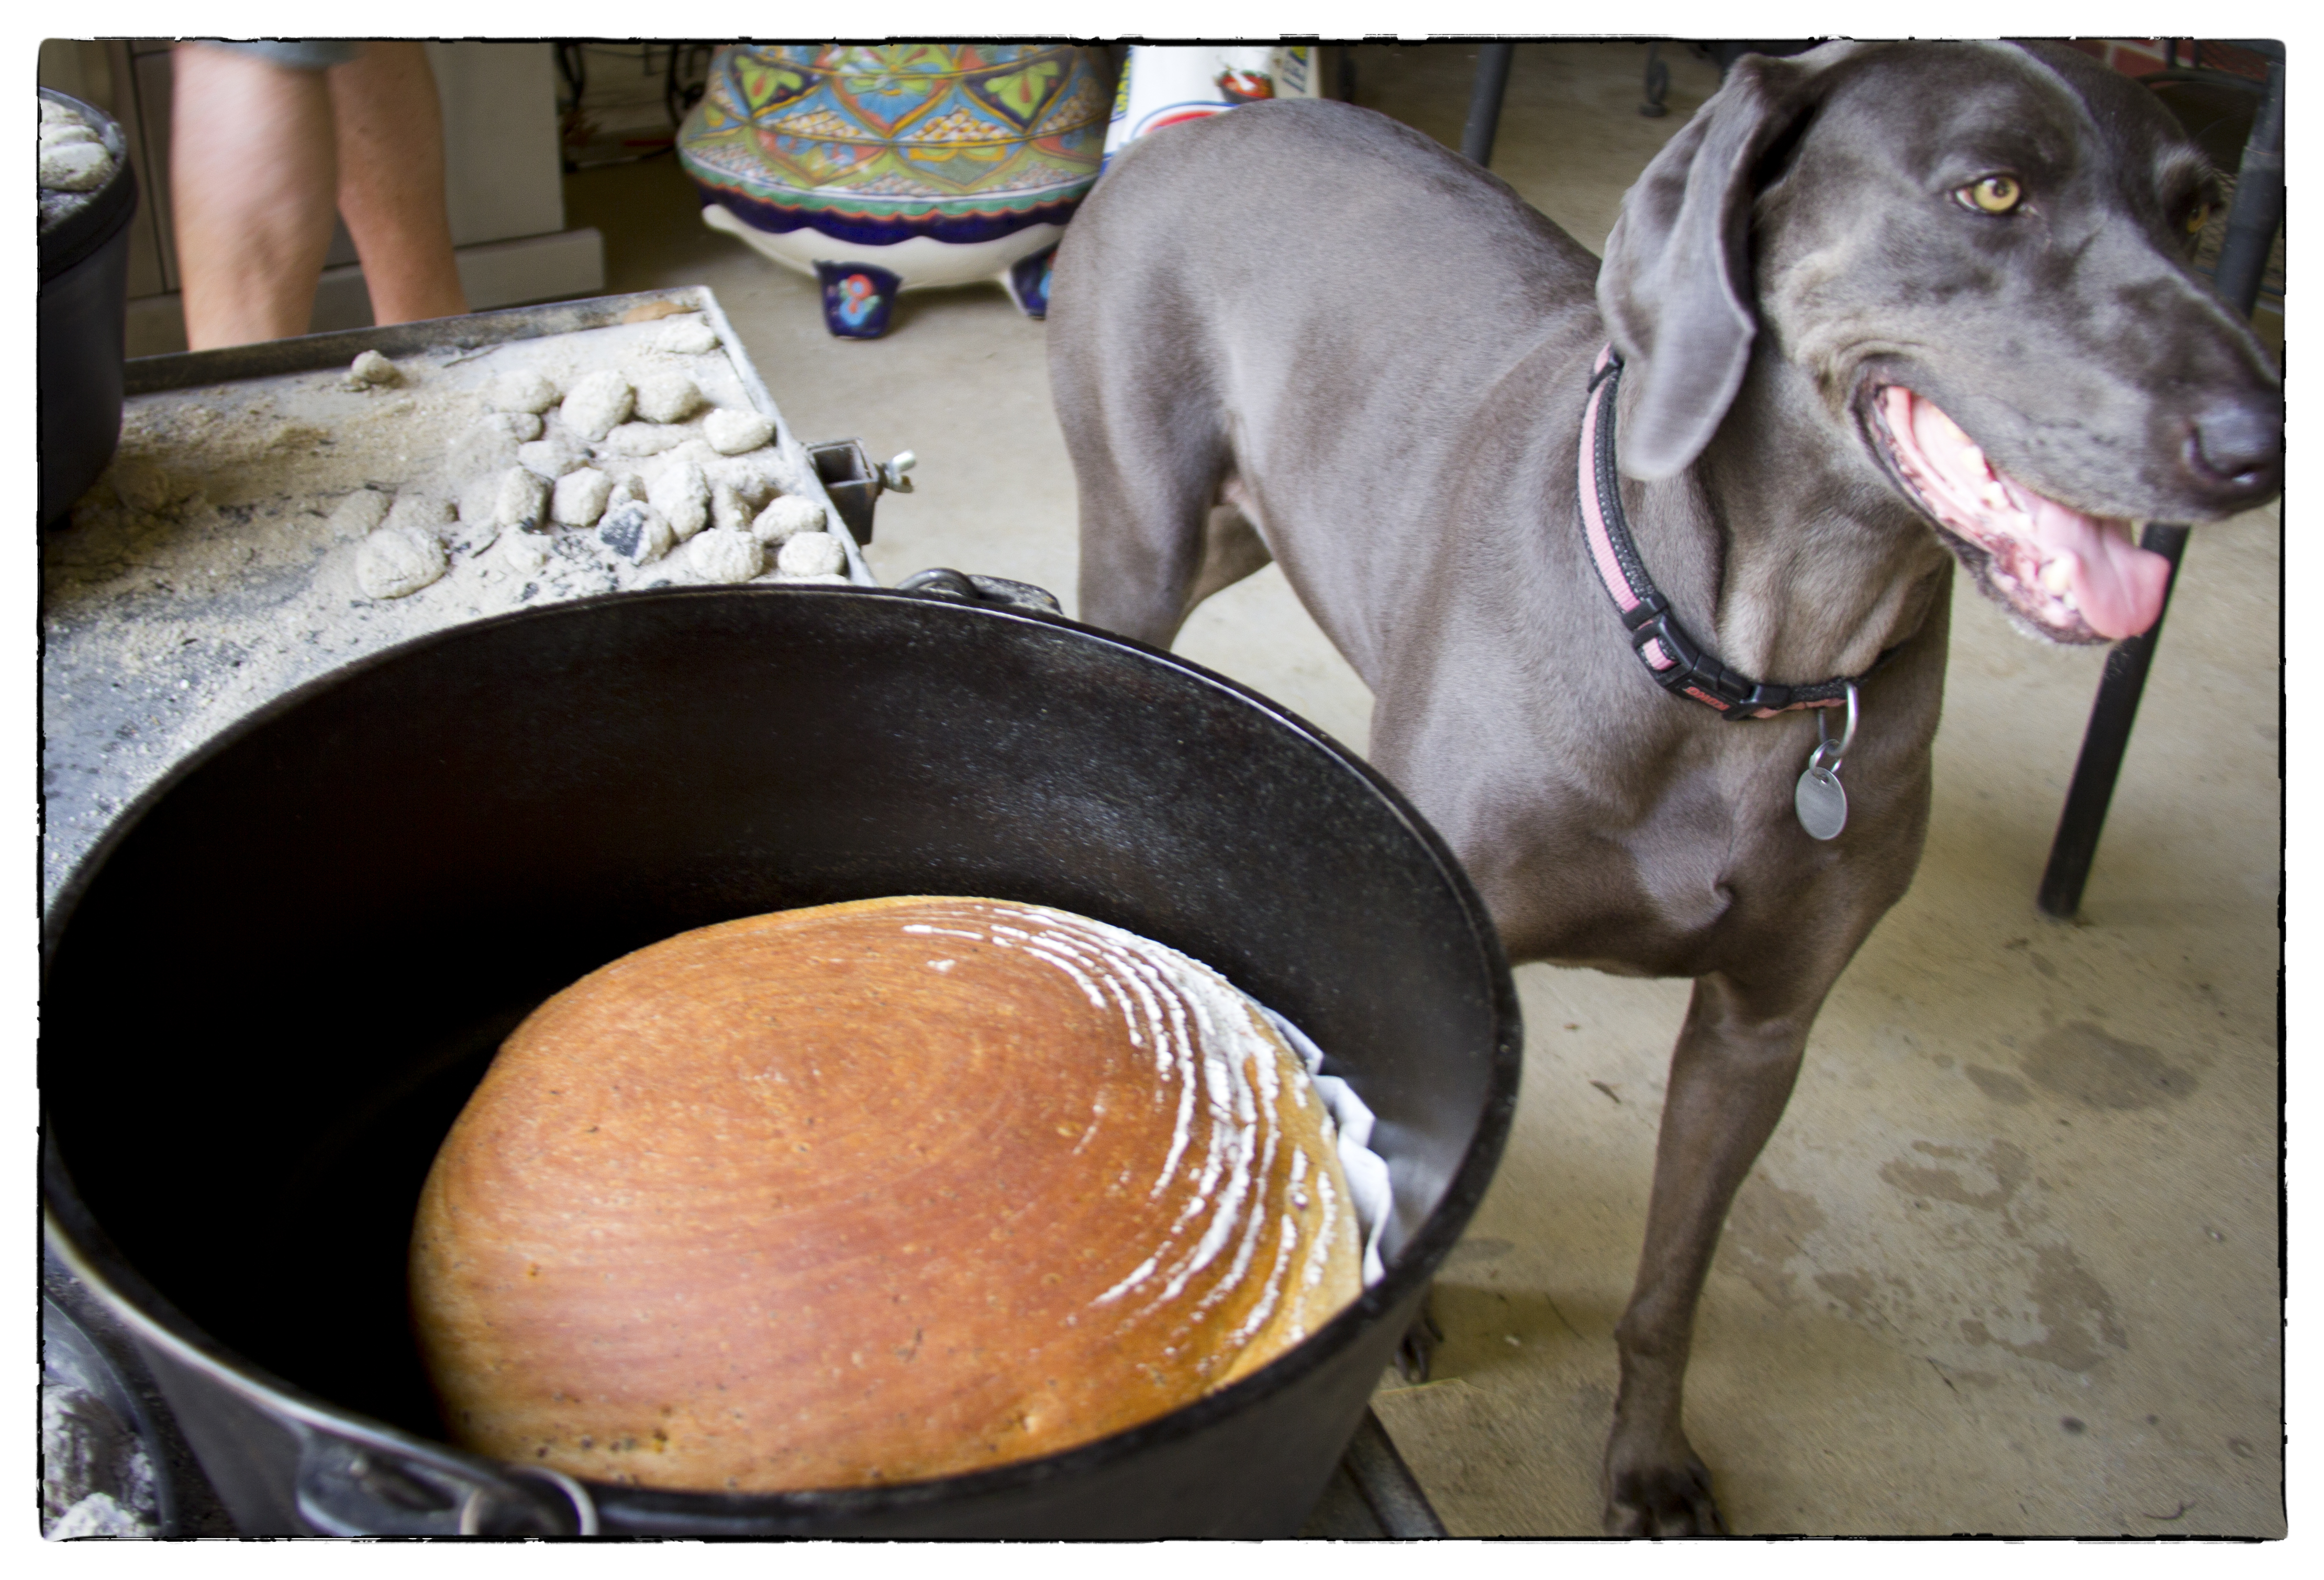 Emmy says, “The bread is done!”
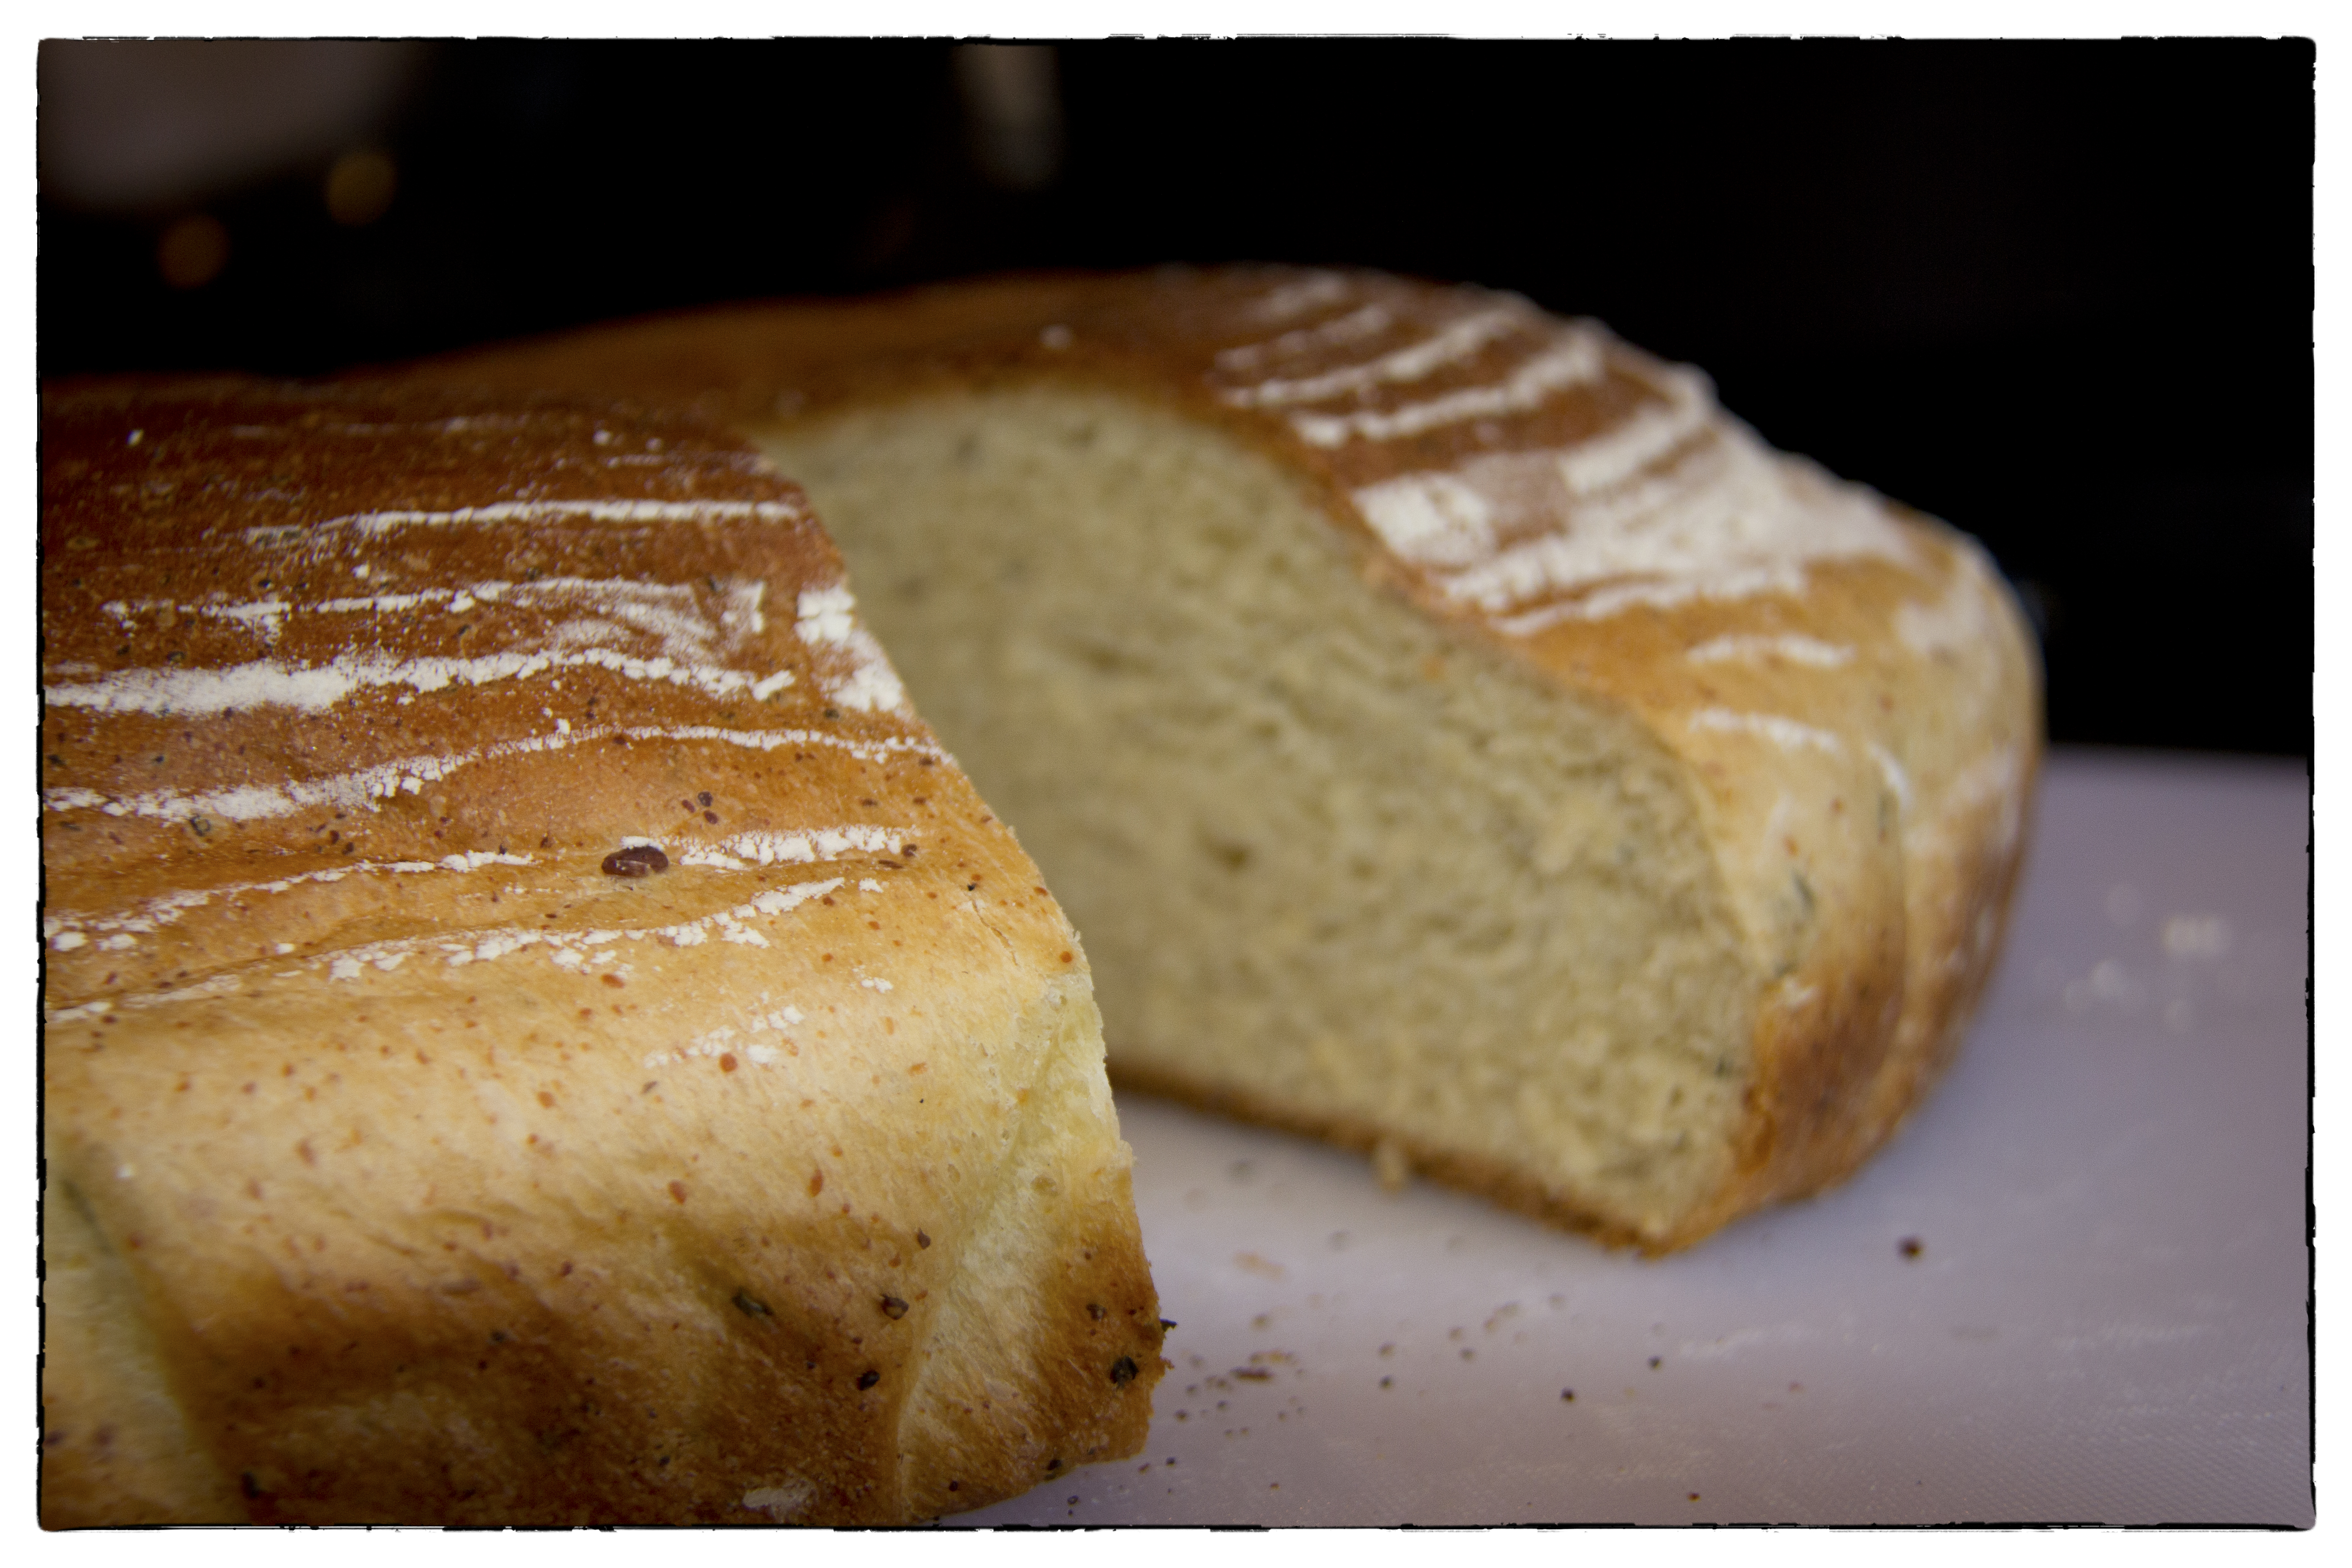
This is bread is delicious! The aroma from the herbs was subtle and the texture of the crumb was soft and tender.
Next time I bake this recipe, I will use our 12″ deep Dutch oven so that it will rise up taller. I look forward to using the brotform, and hope to perfect the technique of shaping dough with it.

4 Responses to Herb Bread and Brotform