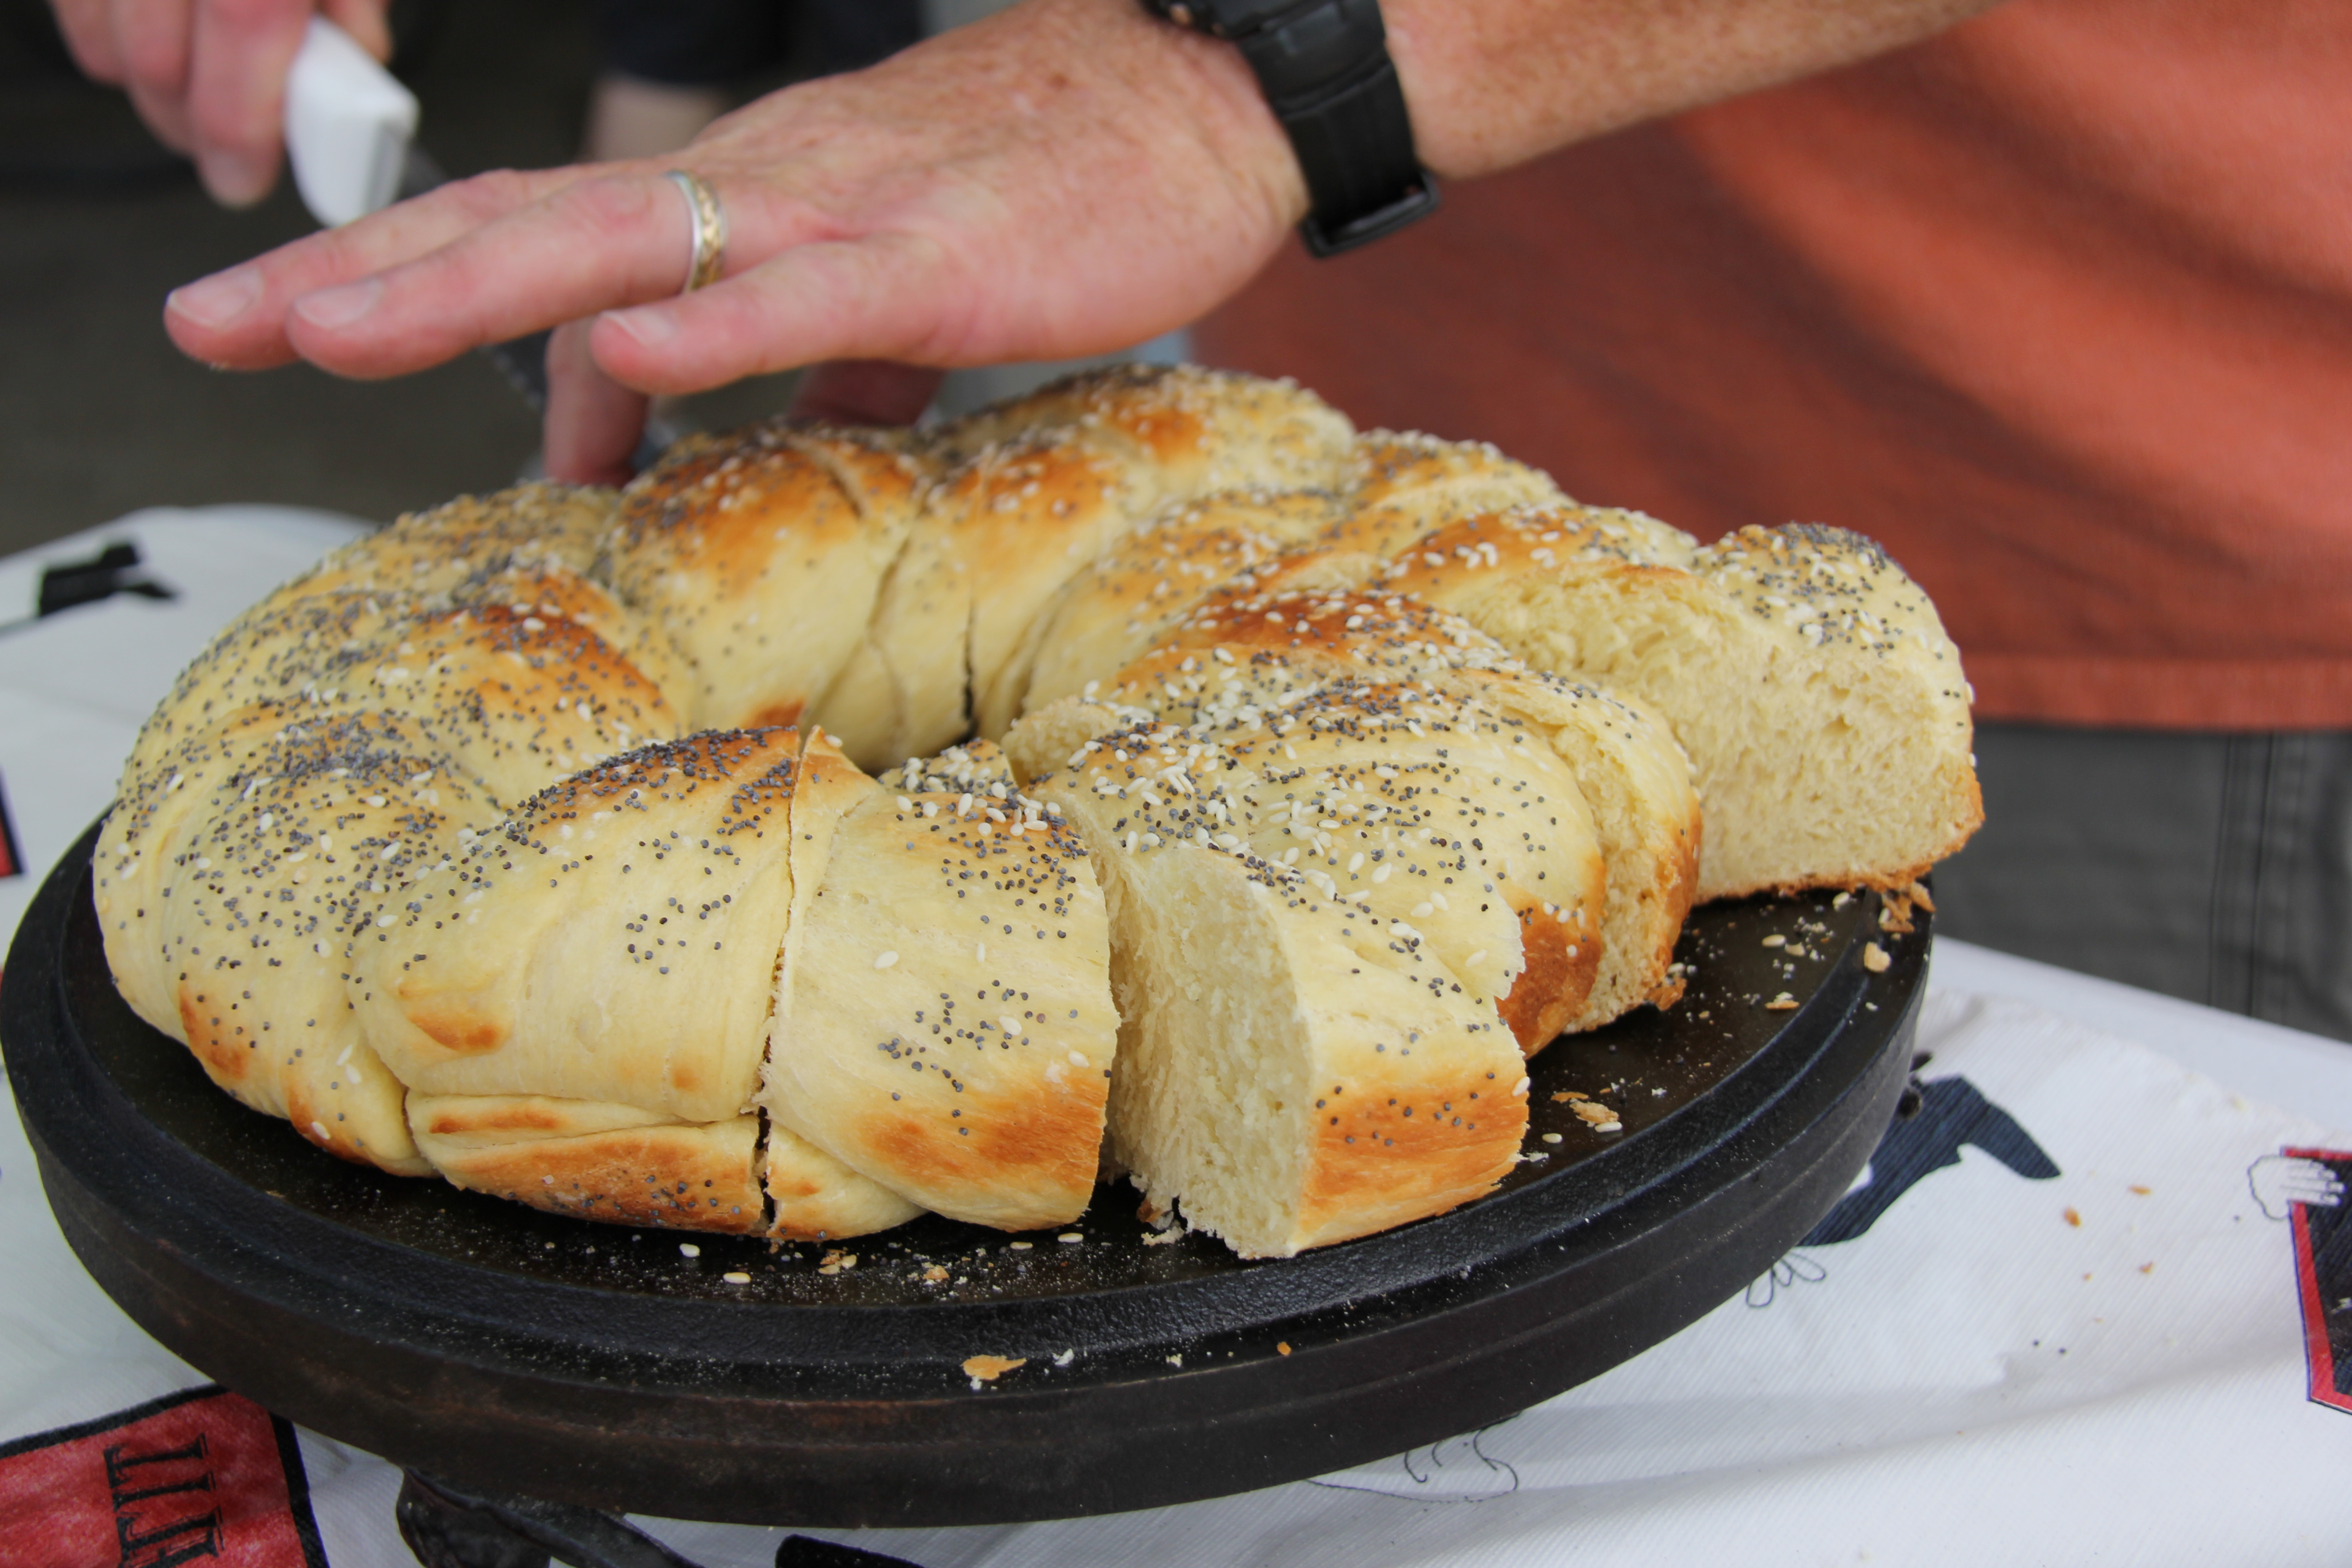
Temperature control is critical for successful baking in our outdoor kitchens and is super important when baking anything, especially bread. After all that work to knead the bread and shape it, who wants to take any chance of burning that work of art???
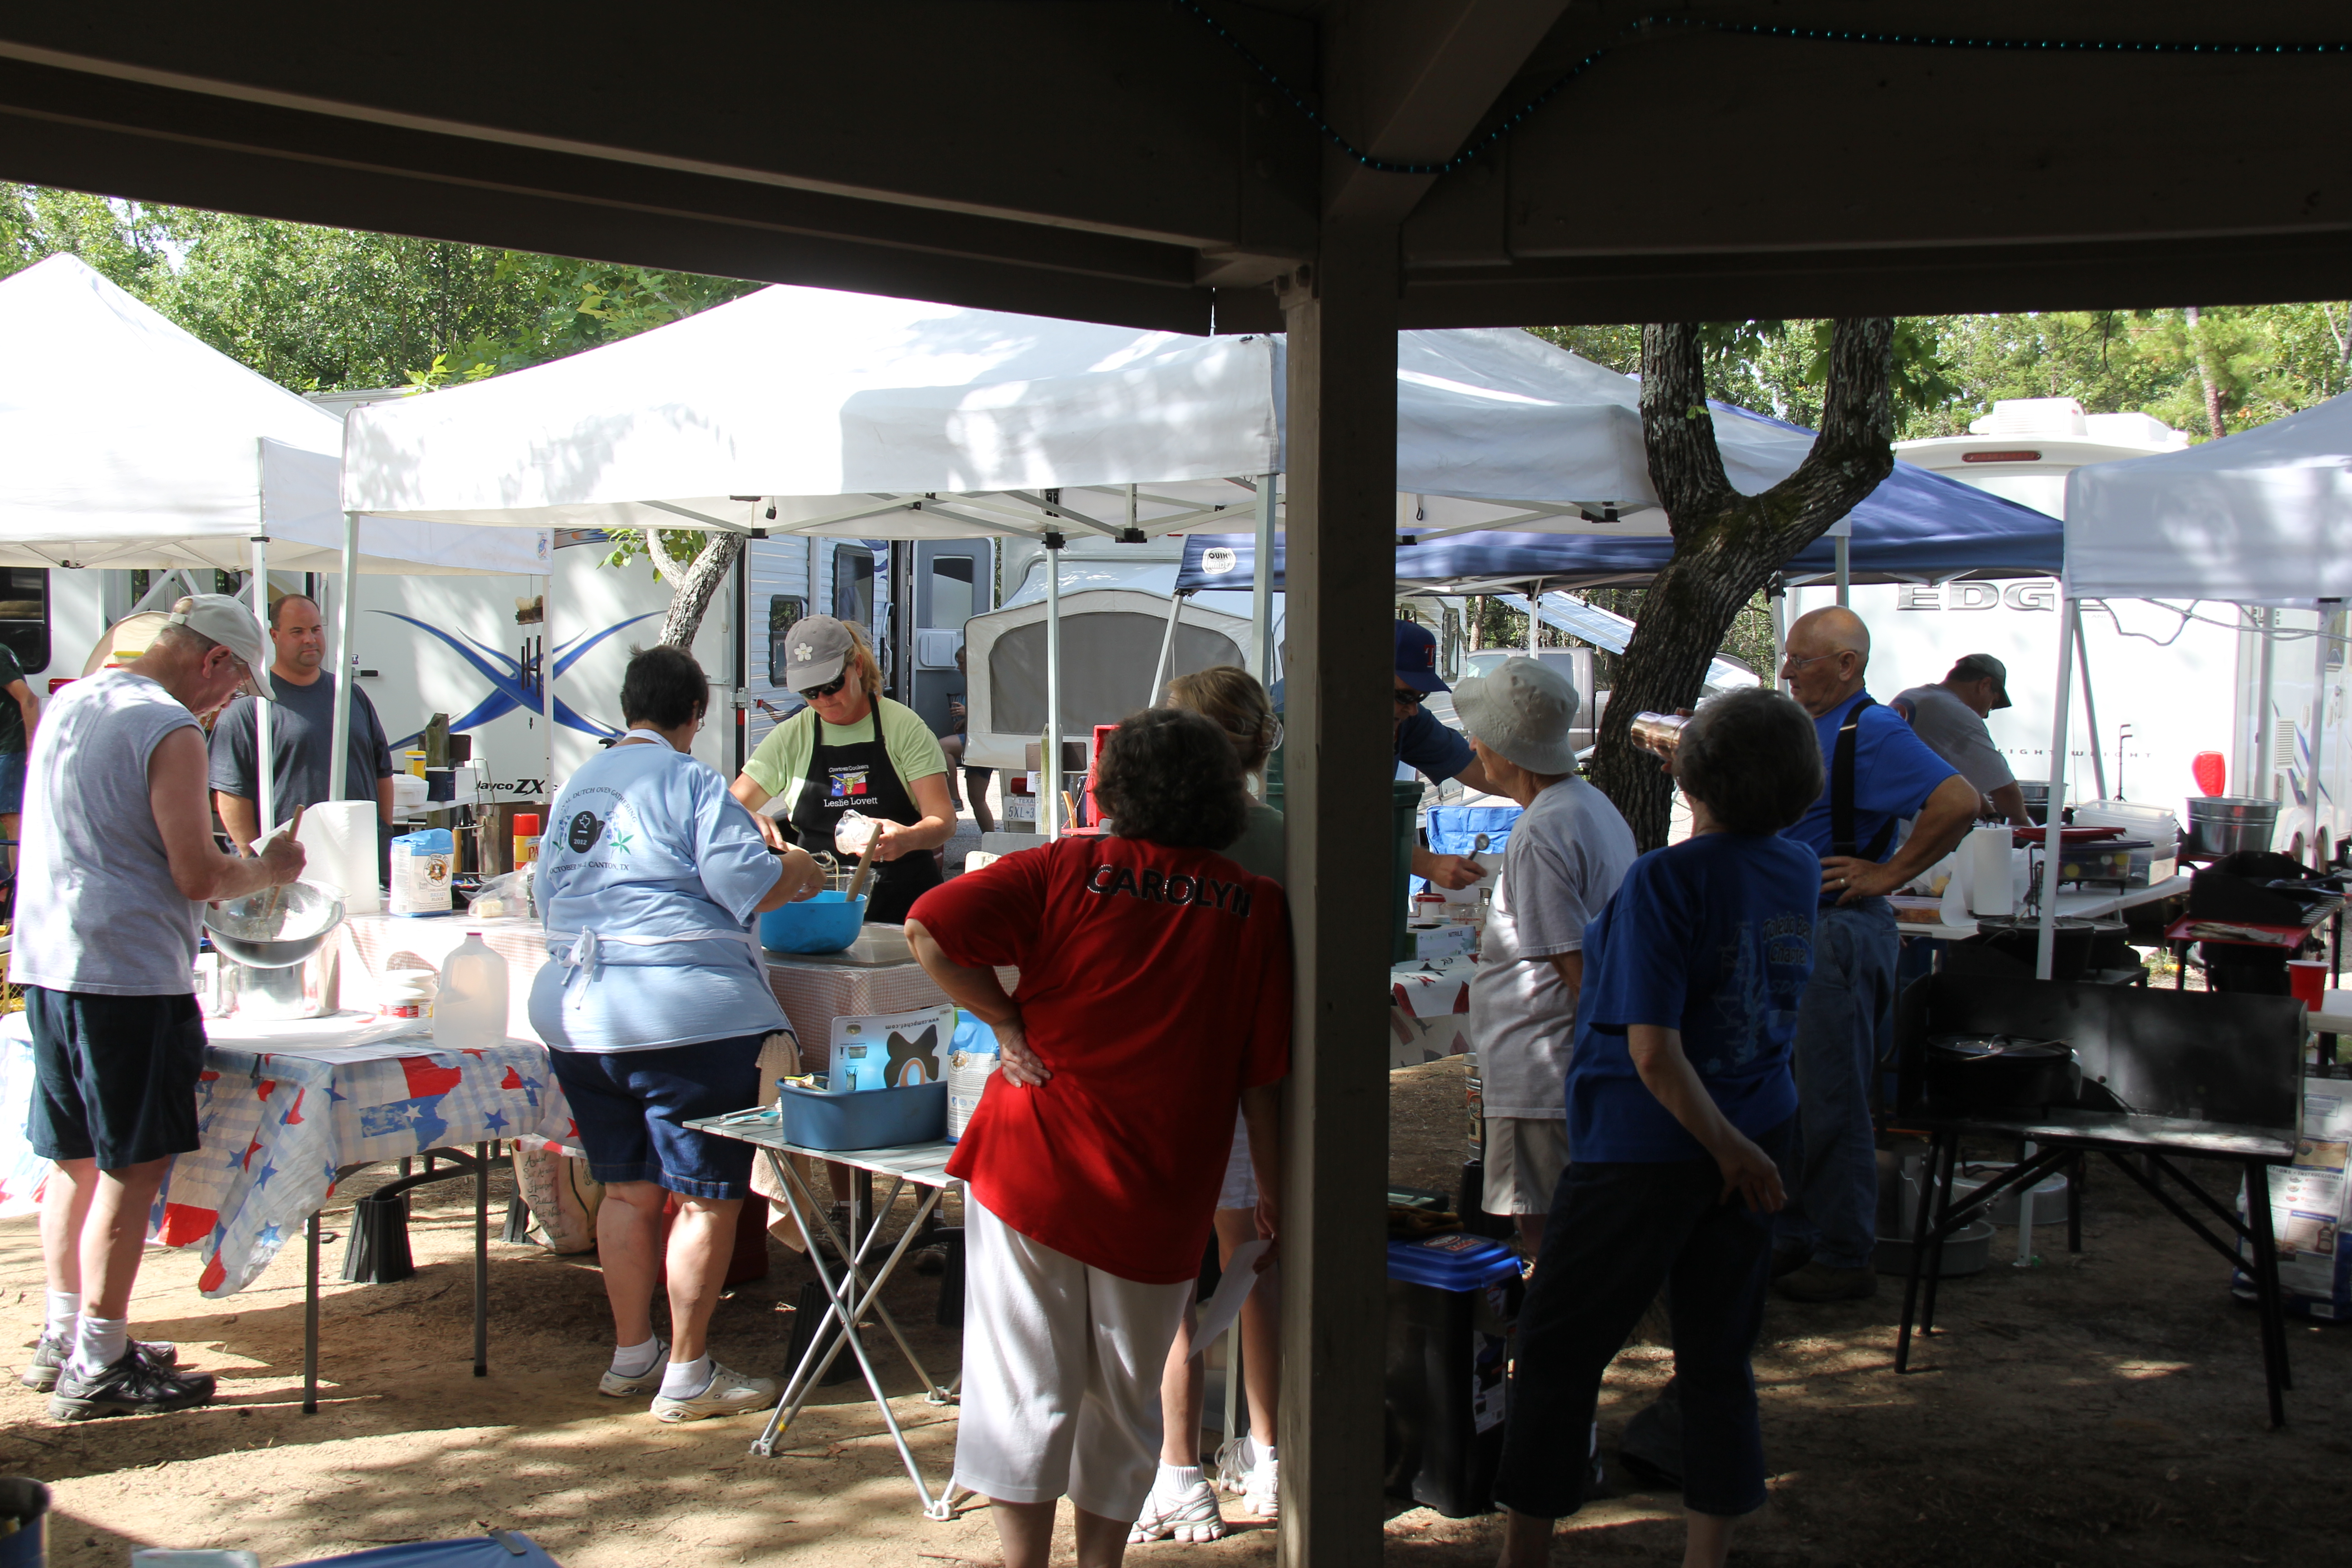
Baking bread, pie, or cake in a camp Dutch oven is one of the most challenging tasks an outdoor cook faces. We are using charcoal or coals, a tricky and difficult method to bake bread properly and prevent burning it. Most outdoor cooks, if they are honest, will admit to burning biscuits, bread, cakes…. I have and good golly, it is an awful and humbling experience! We have to have the proper skills, tools, and equipment maintain constant and steady temperature despite difficult environmental conditions (wind, cold, hot, humid). Baking indoors is tough enough even in our tightly controlled kitchen oven, but baking outdoors in cast iron is plain ole difficult! Making a pot of chili is easy compared to baking a golden, fluffy loaf of bread. Can I get an amen? Okay, so my goals are (1) to avoid burning the bread and (2) to have a nice golden brown on top and bottom. What tips, skills, and equipment are needed to successfully bake bread outdoors??
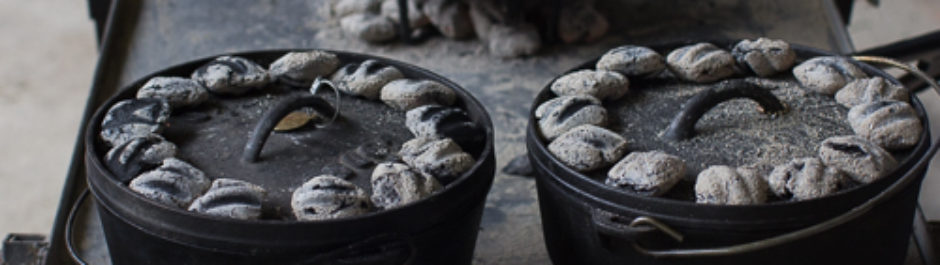
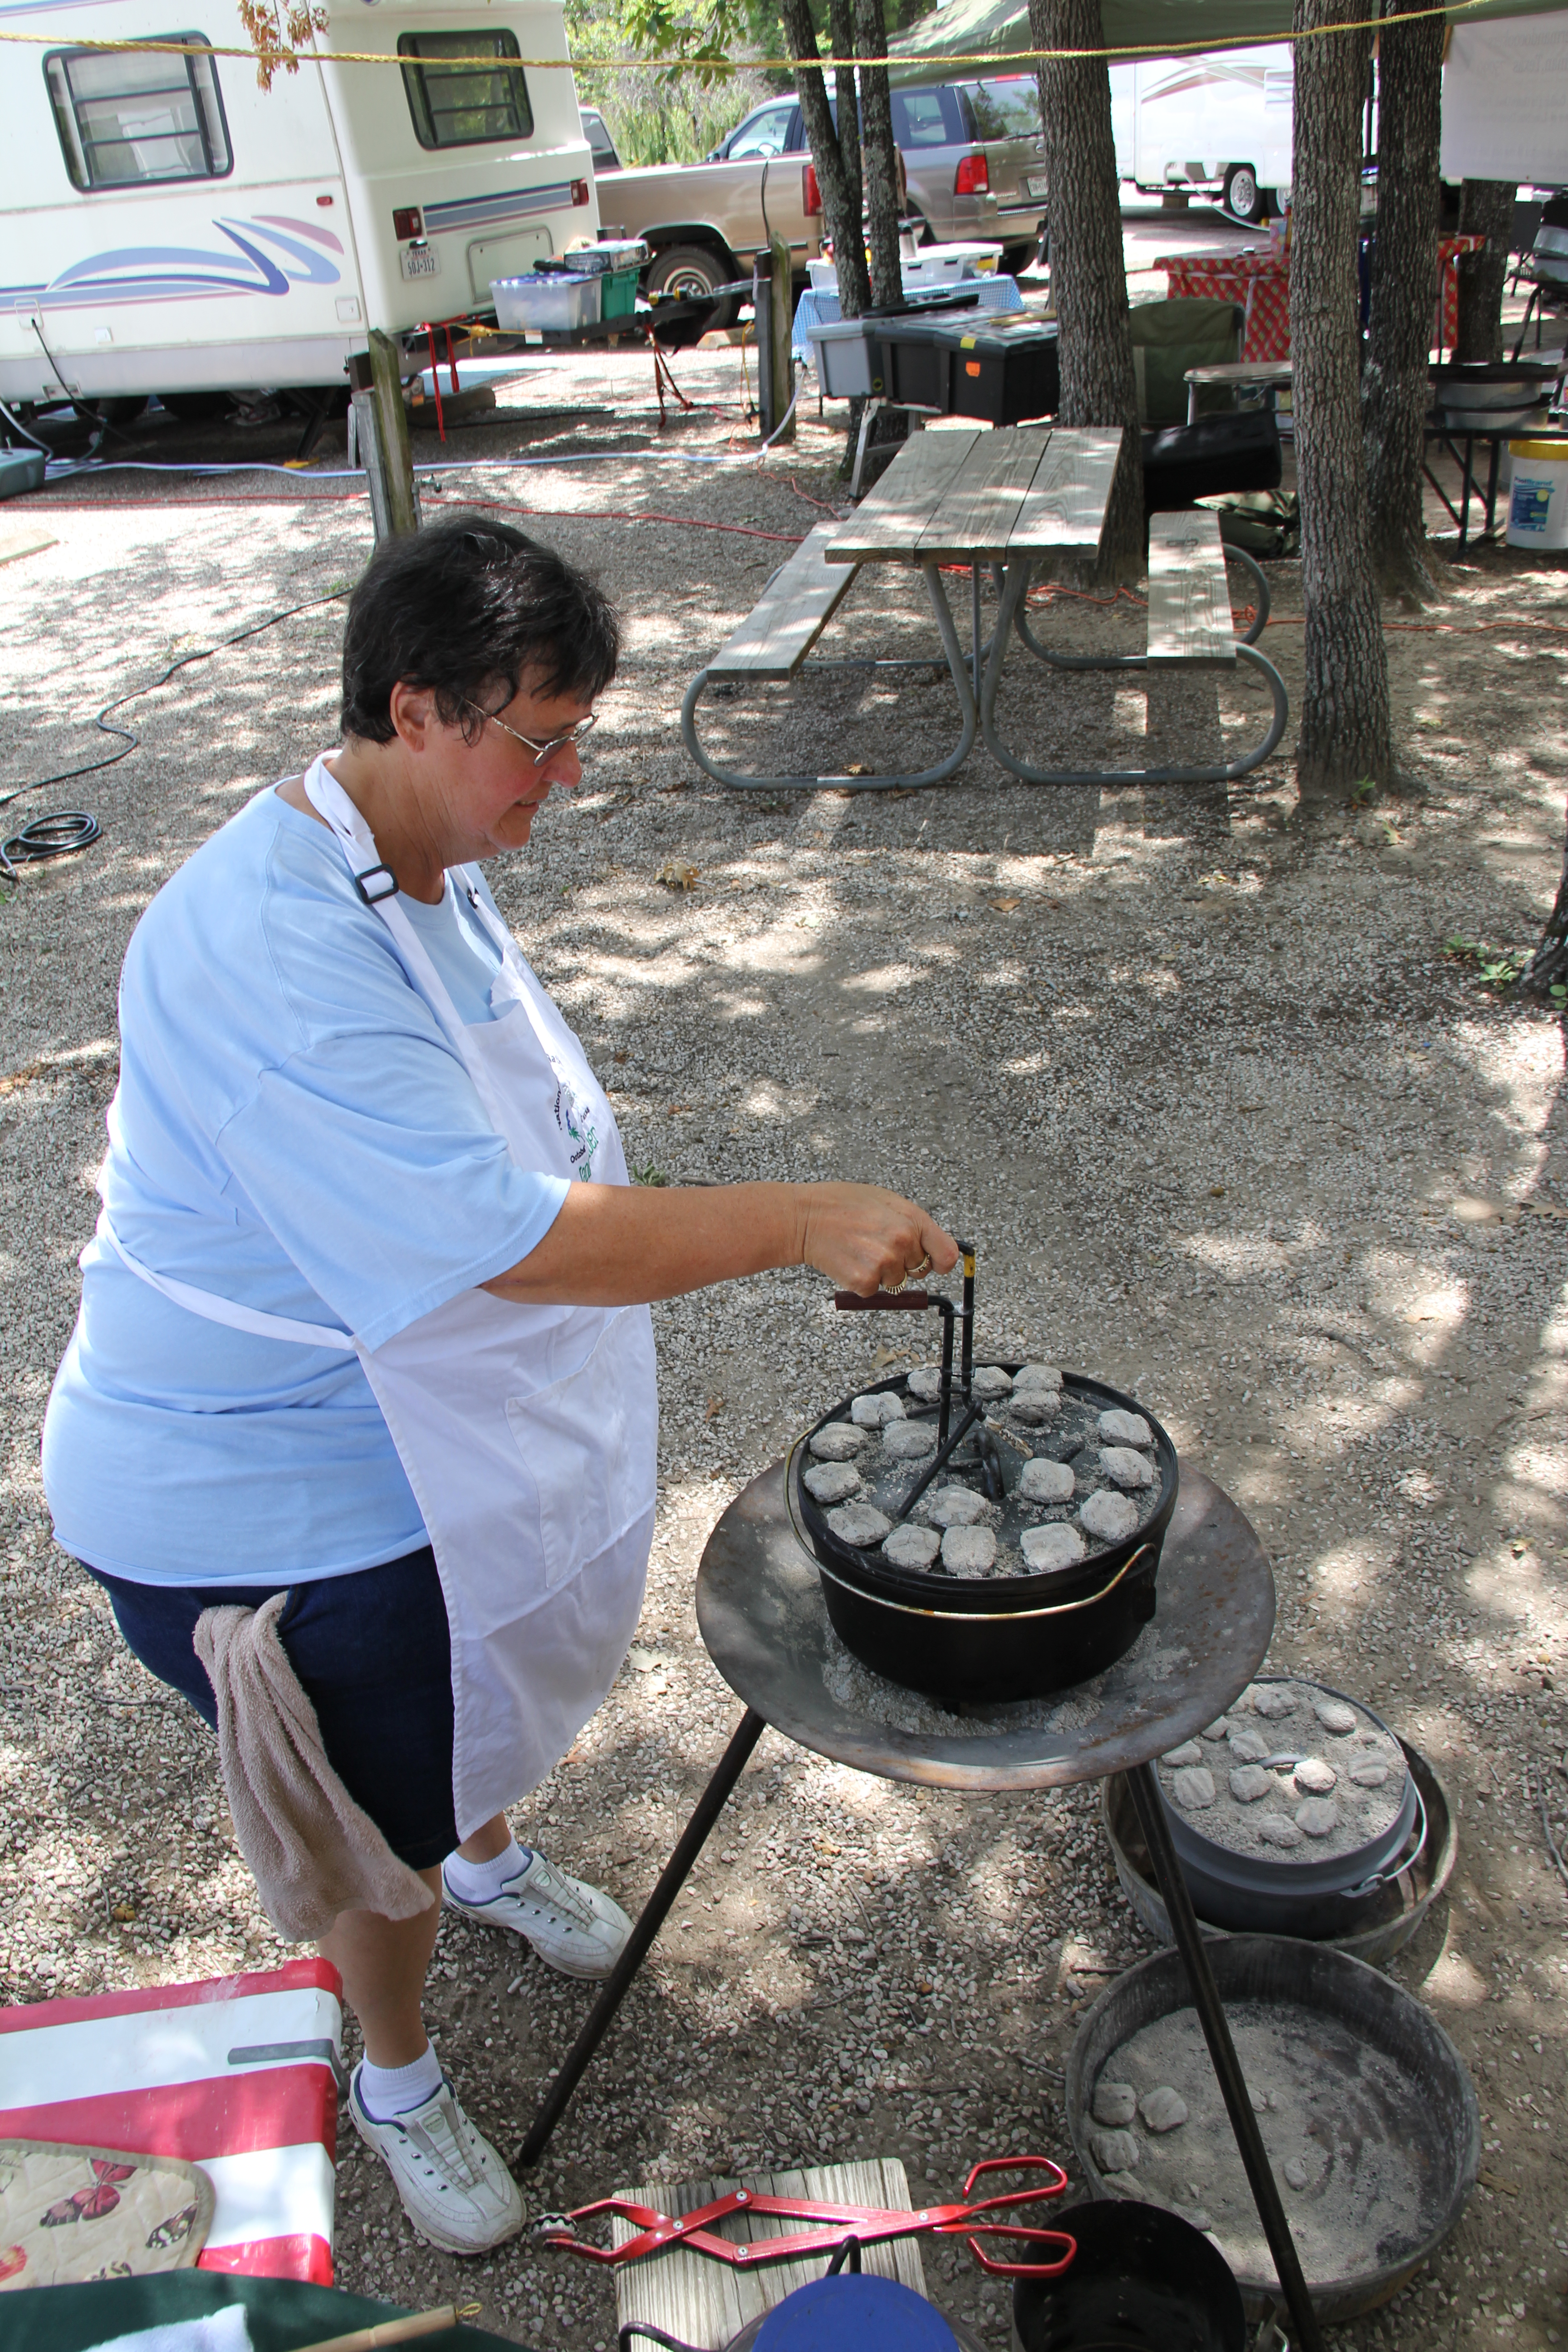
- The recipe we followed and that I tested was baked in a 12″ camp Dutch oven at 325 degrees Farenheit for about 30 minutes. We used 15 charcoals on the top and 9 on the bottom. We fired up the charcoal and placed them on the Dutch oven when the edges of the charcoal were just turning white (some call this “angel wings”). This gave us confidence that the heat from the charcoal would be consistent for at least 20 to 30 minutes. If the recipe called for baking any longer, we would have had to swap out the charcoal to maintain 325 degrees Farenheit. Also, if the environmental conditions were either cold and/or windy, we would need to protect the charcoal by wrapping it in roof flashing or finding anything possible to serve as a wind screen. And if it were cold and/or windy, we may have to change the charcoal more frequently.
- If you are baking a recipe that calls for baking at 350 degrees Farenheit, consider bumping the temp down to 325 degrees. Baking outdoors with charcoal is tricky, so I find it a little less stressful to let it take a bit longer to bake at a lower temp rather than following the recipe and risking the possibility of burning the bread. If the creative baker who wrote the recipe knew you were baking with charcoal in your cast iron (NOT in a kitchen oven), I am confident she would agree that the lower temp is worth the wait and she would be amazed that you were able to bake her bread outdoors! Another amen??
- To prevent or avoid burning, we turned the lid counter-clockwise and the bottom clockwise every five to ten minutes. This is the most important tip I have!! Rotate that black pot by using those clunky heat-resistant mitts and your lid-lifter (hey, those pliers work just fine but we love our Mair Lid Lifter!). No peaking for the first 20 minutes as this releases heat and slows down the baking time.
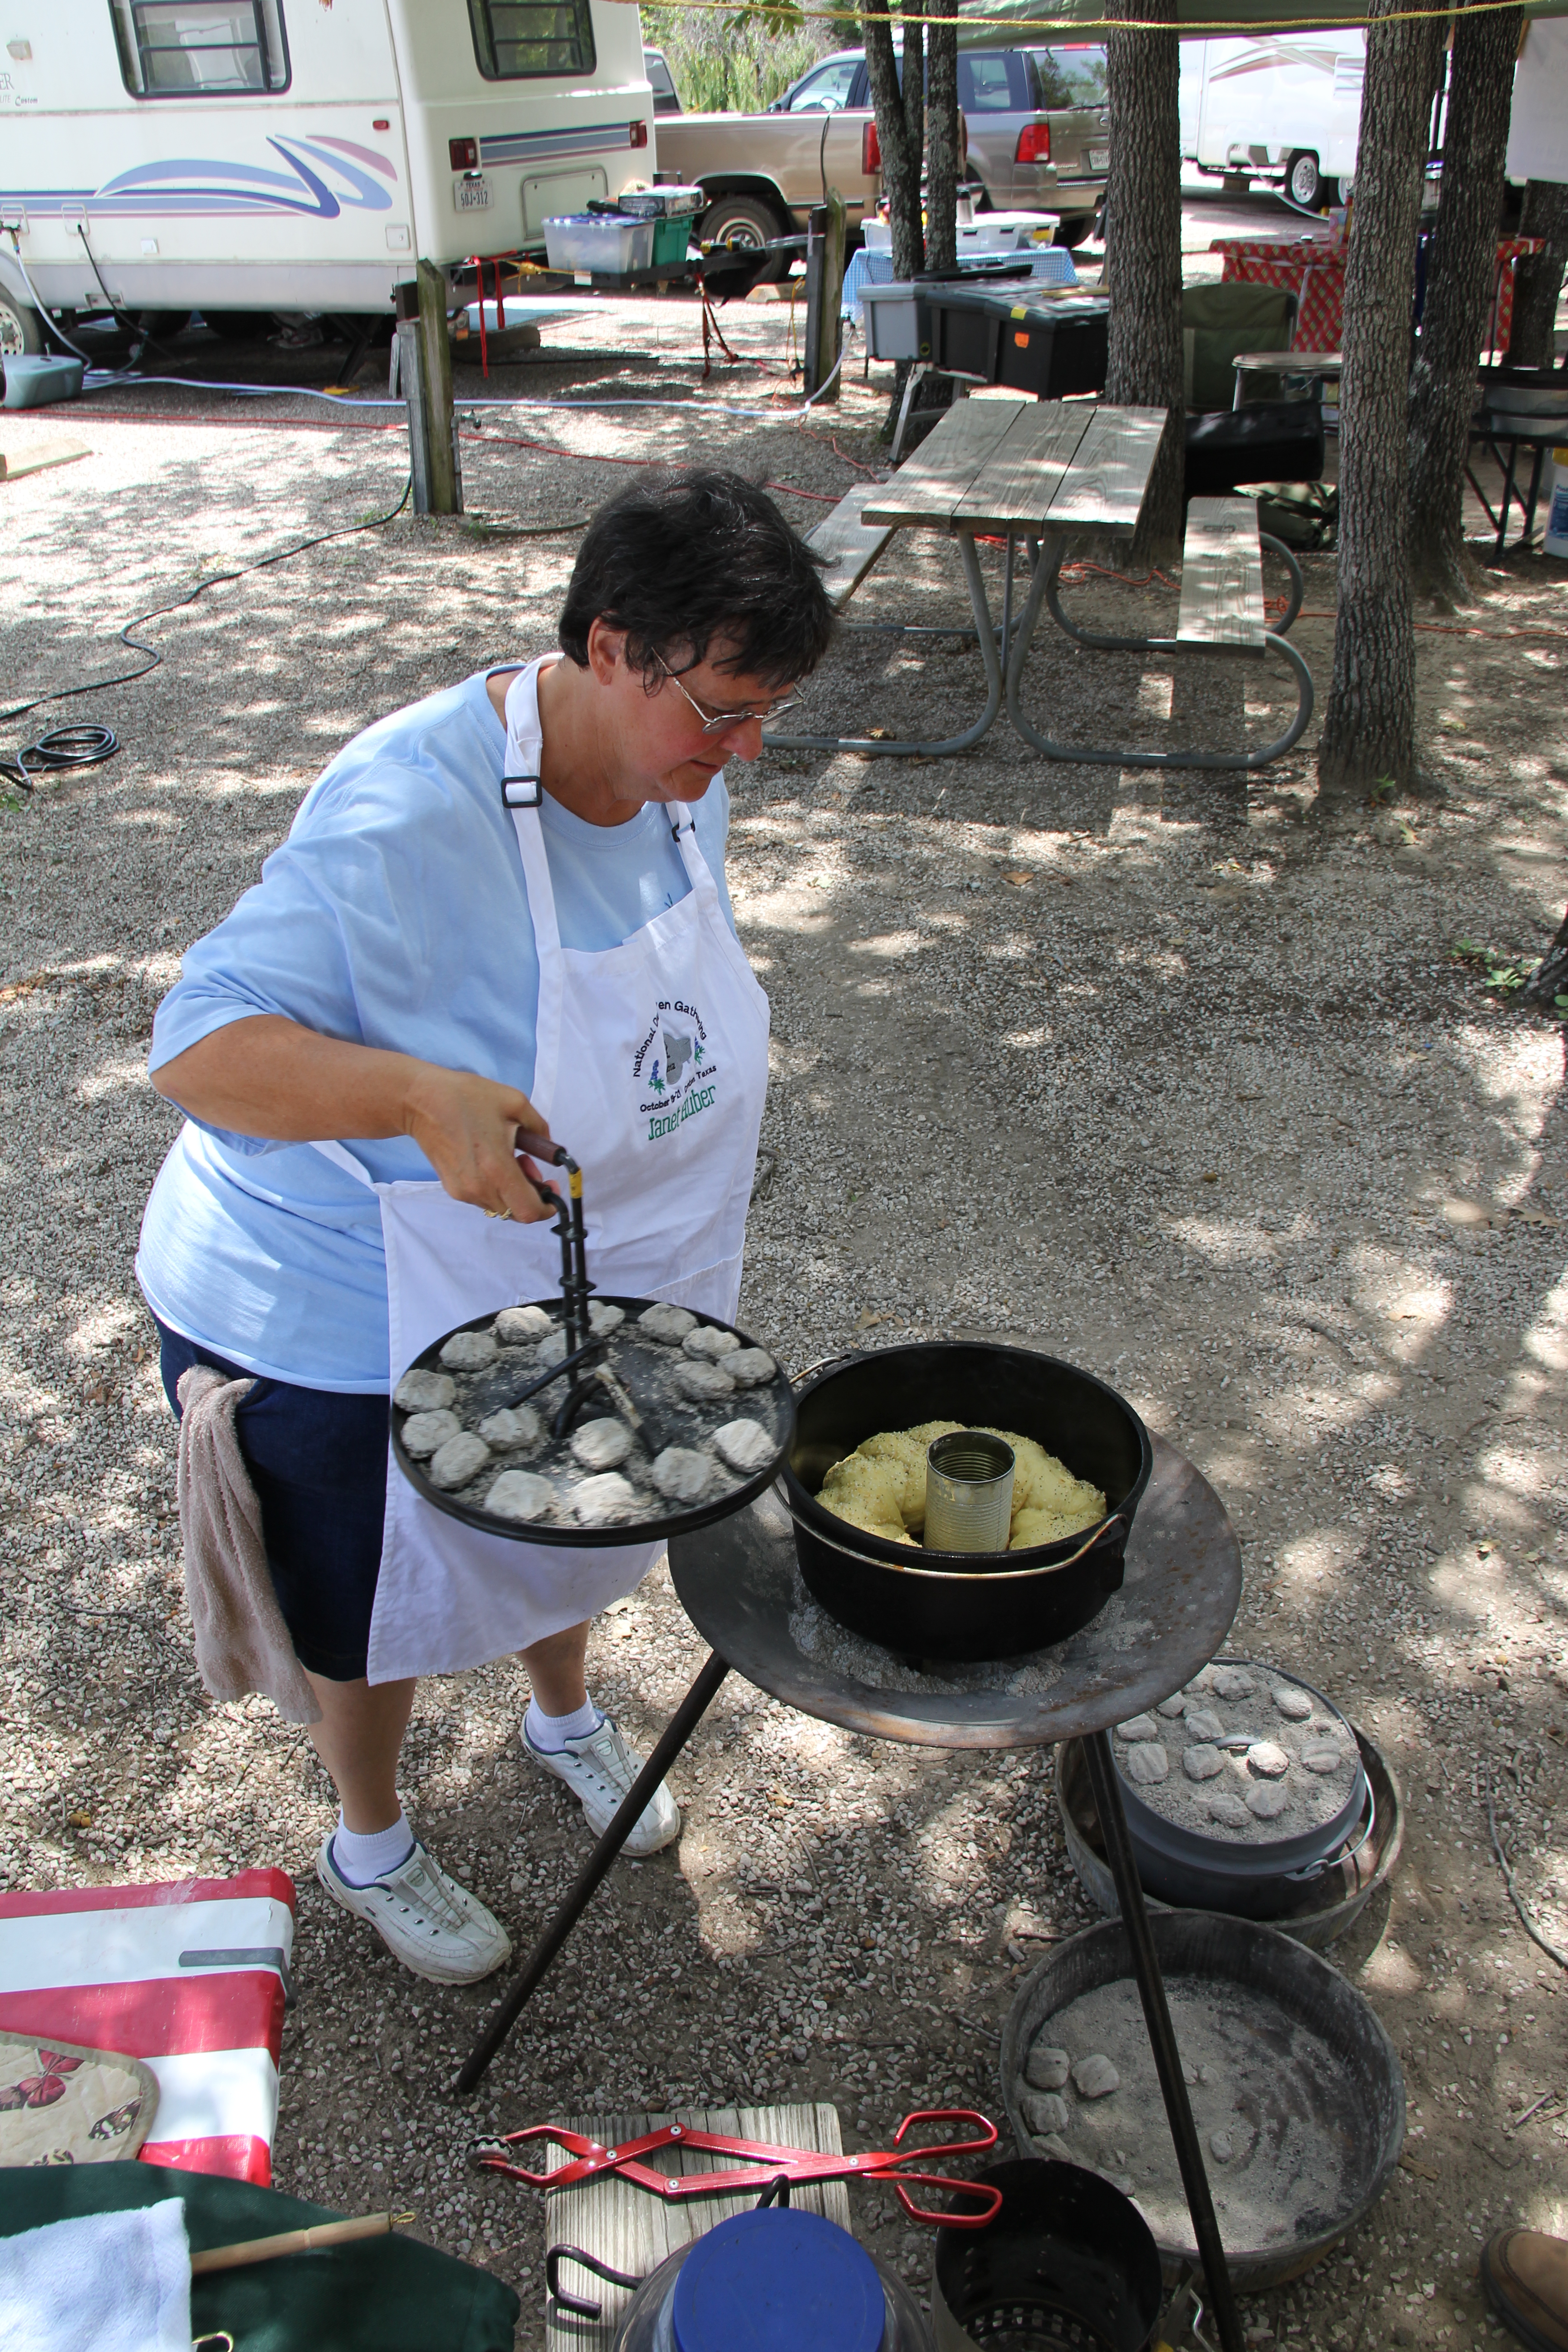
- When we begin to smell the to-die-for aroma of fresh-baked bread, we quickly remove and replace the lid to check the color of the top of the bread. It should start to be turning golden brown. If it looks like one side of the bread is darker than the other, we move the charcoal on the lid to the lighter side.
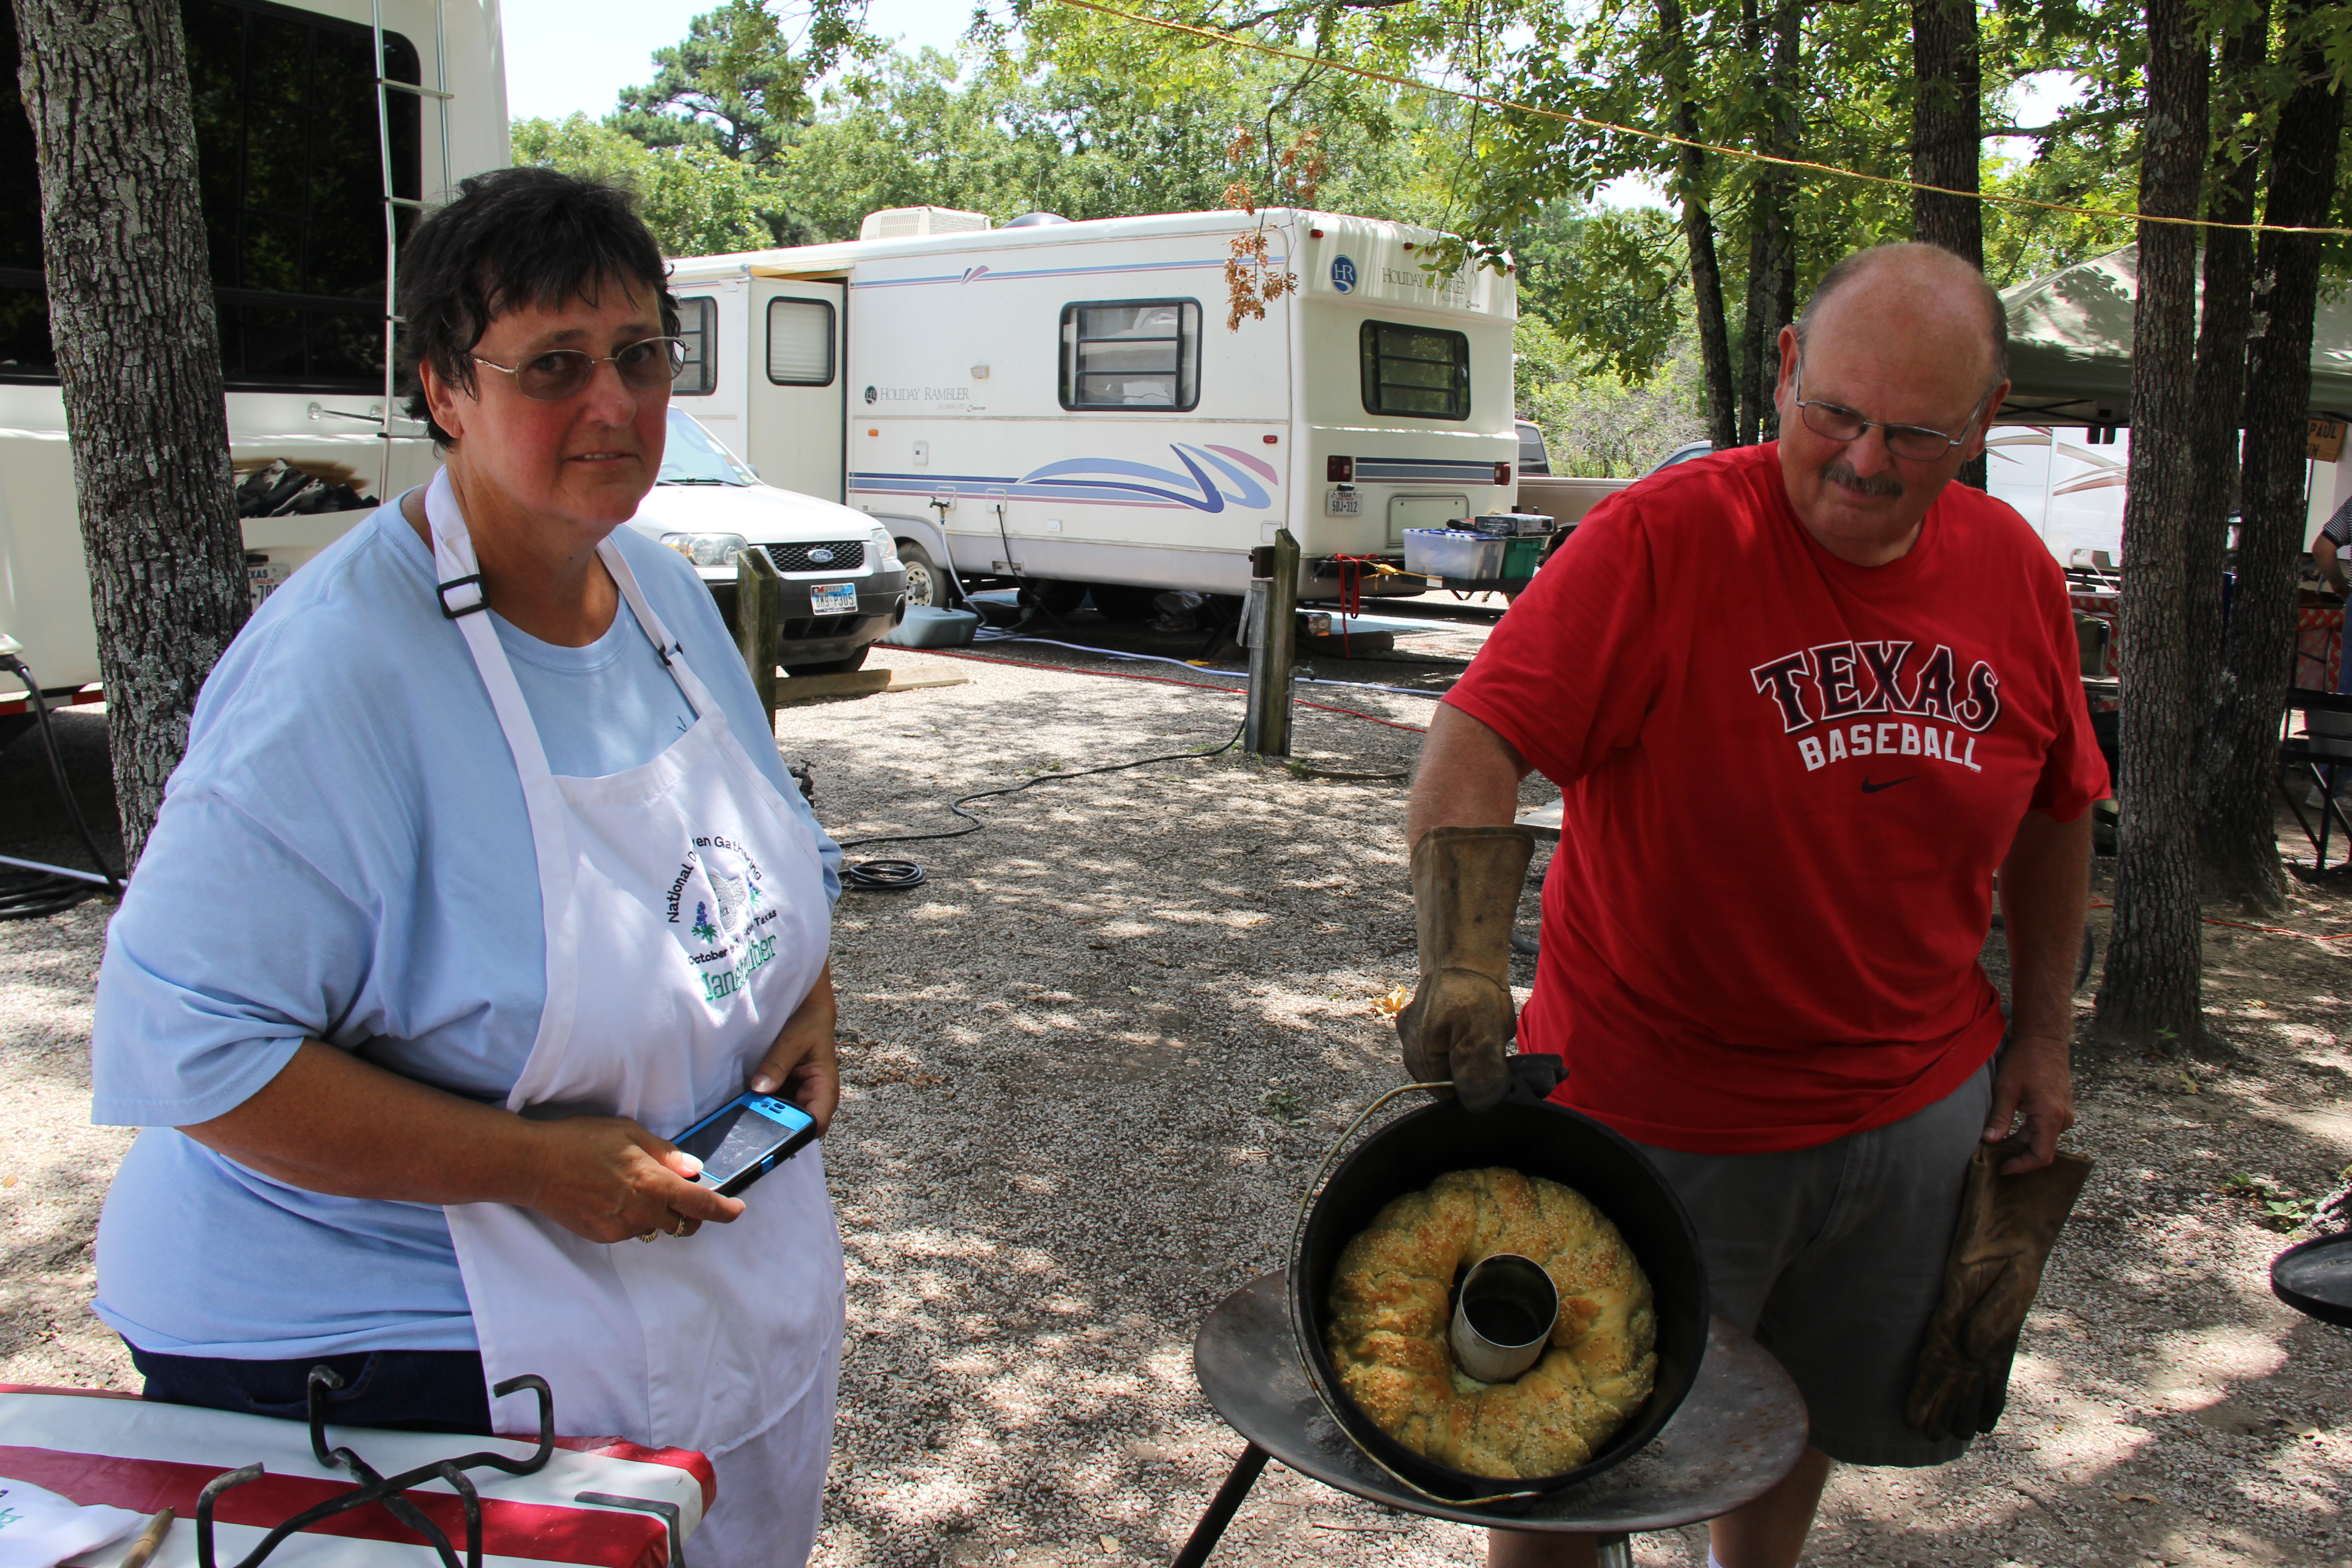
- Once it starts turning golden brown, we insert an instant read thermometer (I love our Thermapen!) to check its internal temperature. The bread is done at 190 degrees Farenheit. When the internal temp of the bread is within five to ten degrees (180 – 185), we remove all of the charcoal from the top and bottom of the Dutch oven and let the residual heat from the oven continue to bake the bread for a few more minutes. Turn it out as soon as temp shows it is done and let cool before slicing with a serrated knife.
- The final ten minutes, we are hovering over that Dutch oven and some may accuse us of being expectant parents. That is OK! Hover! Watch! Sniff! Any hint of burning and we are jumping up to make adjustments as needed. Our noses are our best friend when baking!
- Bread recipes cannot predict exactly when your bread will be done. The recipe can give you an approximate time but it is up to your best judgement to determine when it is done. Baking bread truly is an art that gets better and better with experience.
In my next post I will share the directions for baking challah. I hope you are ready to bake fresh bread at your next Dutch oven gathering! I’d love to hear your thoughts about the challenges of managing temperature especially when baking bread, pie, or cake.
P.S. Thank you to Janet for showing us how to check your bread just before it was done!