Check out these bright scrubbies that will bring a smile to any cook who is cleaning up a grubby Dutch oven!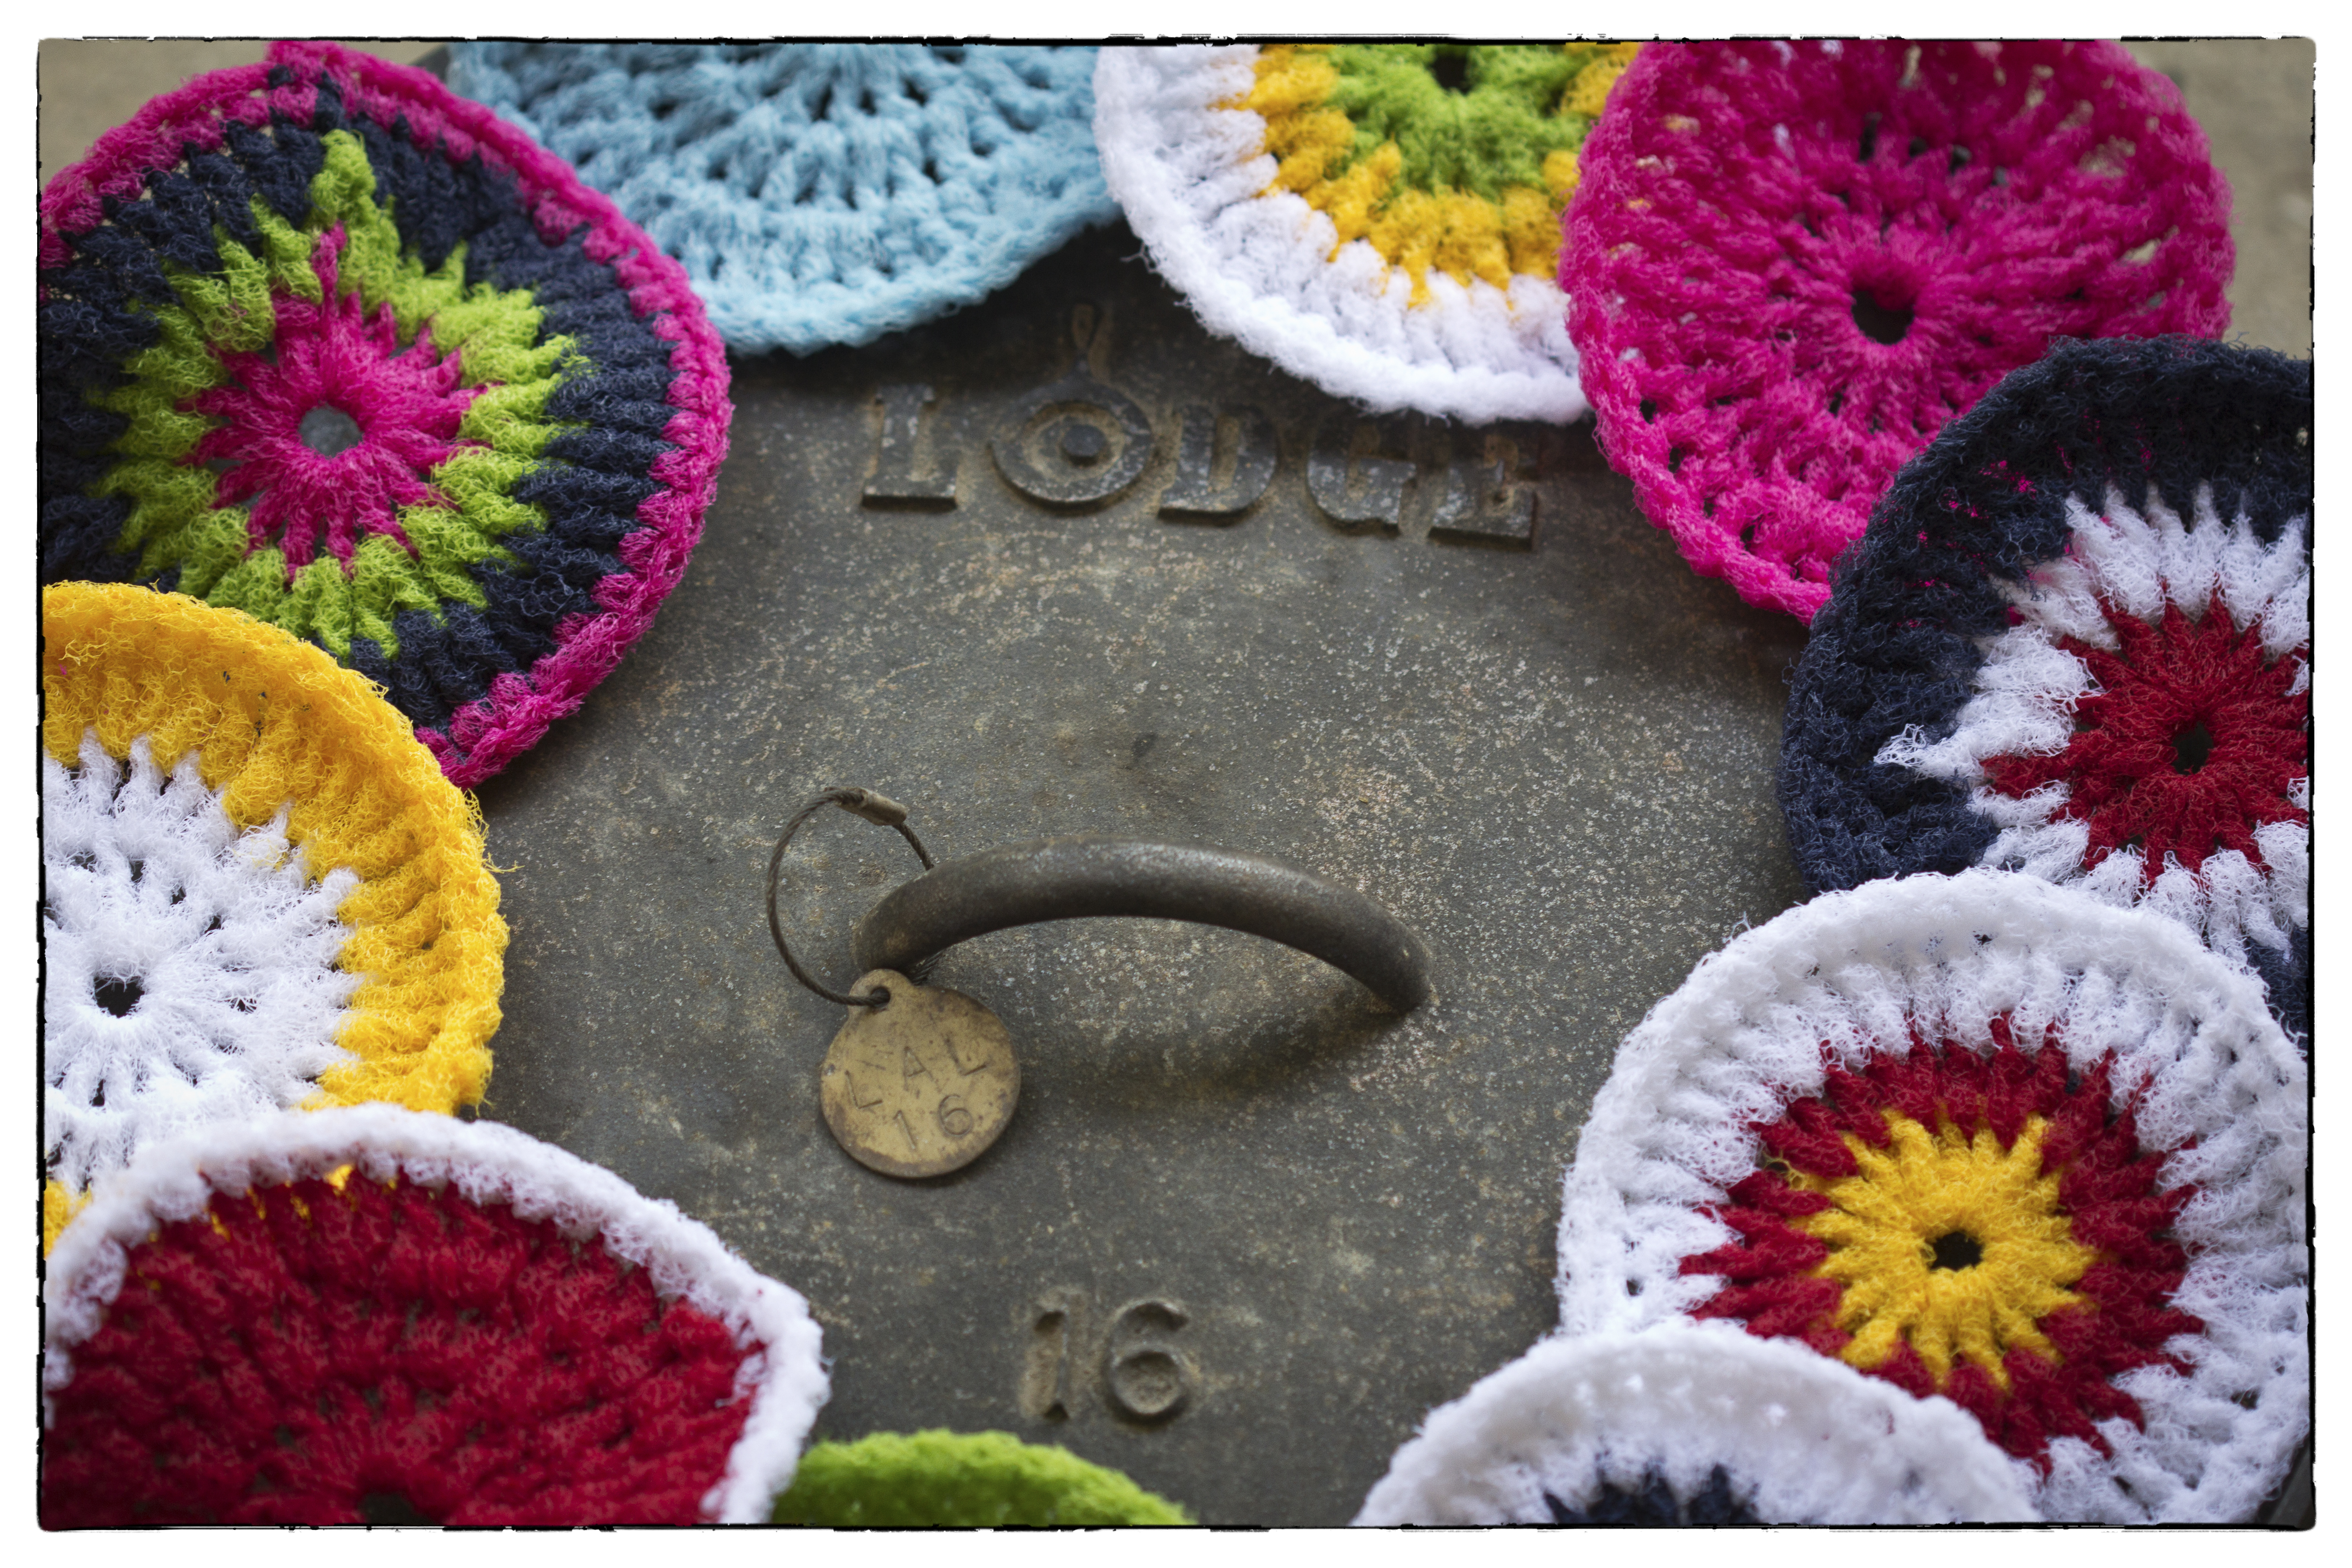 Cleaning up cast iron requires a sturdy nylon pad or brush and a stiff nylon scraper. These are simple, functional tools, but they are boring! When I was given a super cute, homemade scrubby at the 2013 WCCO’s, I was smitten with interest and have been trying to figure out how to make them ever since. My biggest challenge was to find the nylon “yarn”. I tried unsuccessfully different versions of nylon rope and gave up until someone told me to try tulle. Tulle is that fluffy netting that makes cute tutus and beautiful bridal gowns. Now I know it also makes colorful pot scrubbies!
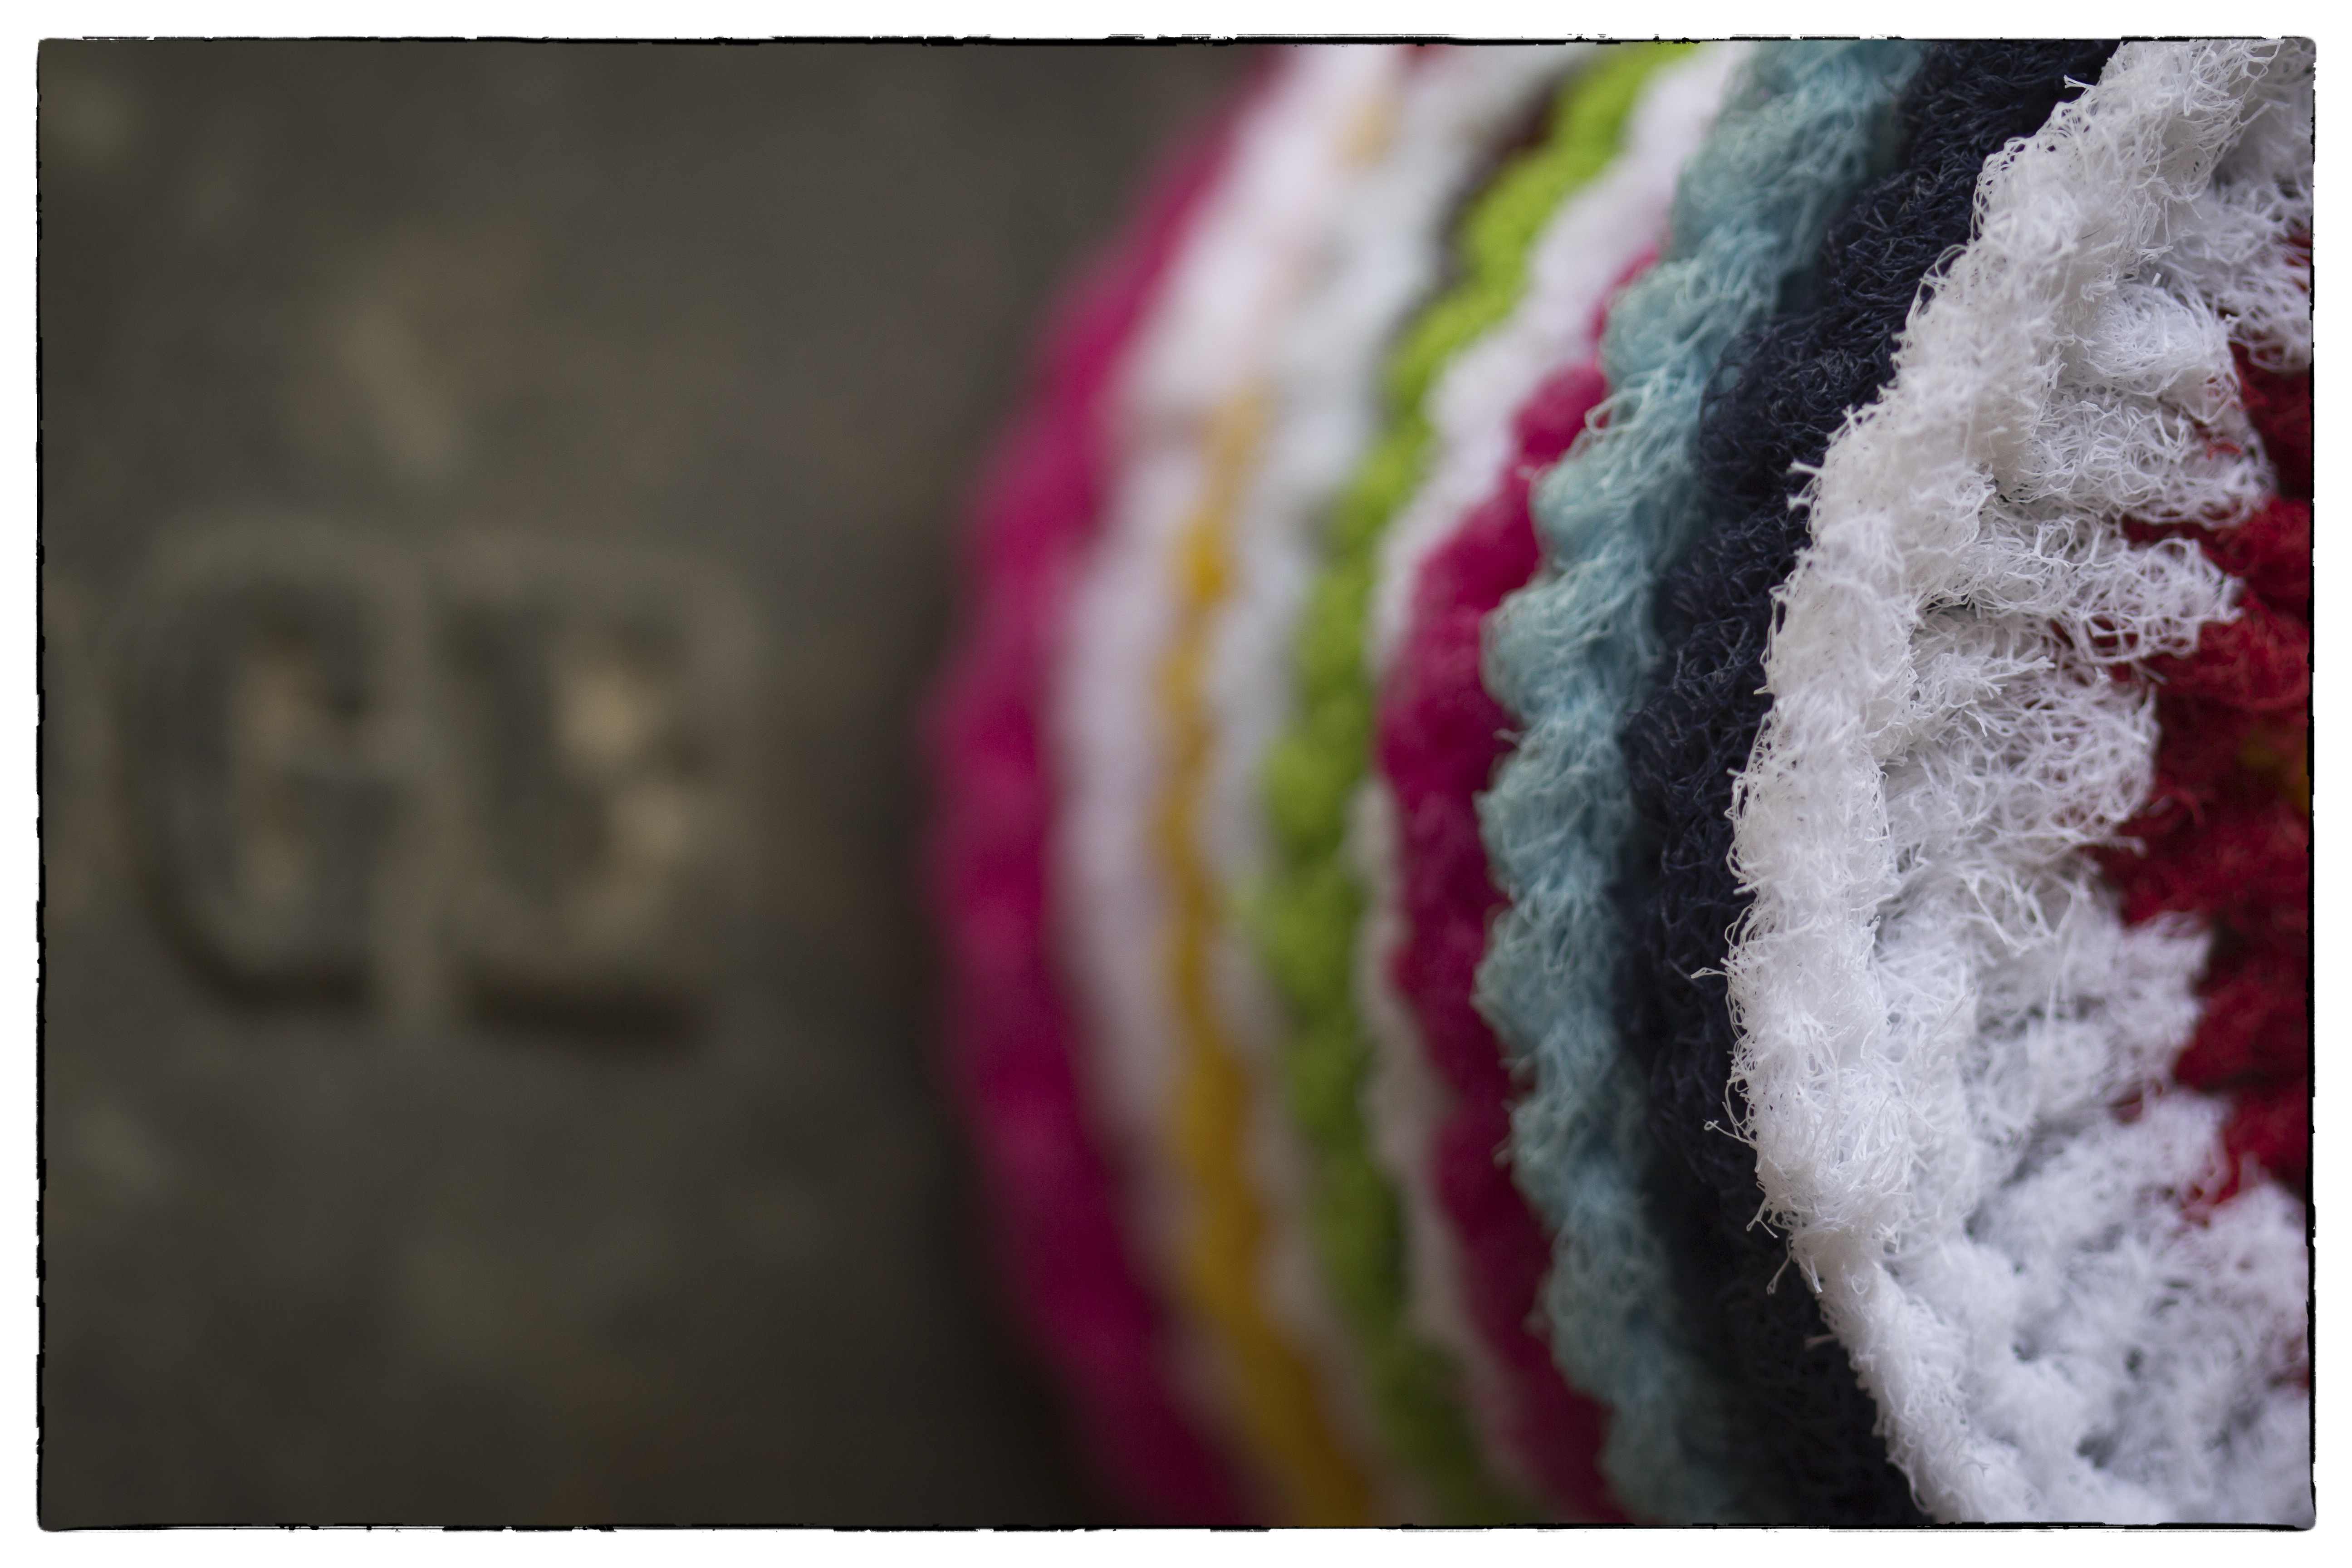
You can purchase tulle in different widths and a rainbow selection of colors that will make any gloomy day bright. A quick Google search for tulle will bring up several online stores that sell it in widths from 3″ to 72″. Online shopping is so convenient, but I like going to a brick-and-morter store where I can finger the product and be dazzled by the colors.  After lots of trial and error, I discovered that 2″ is the best width for my scrubbies. Three-inch is the most convenient on the roll, but it is more expensive, and my pattern doesn’t work as well with 3″ as 2″. If you decide to use 3″ tulle, you may have to use a larger crochet hook and the finished size will be much larger, so you will need to adjust the number or rounds, etc.
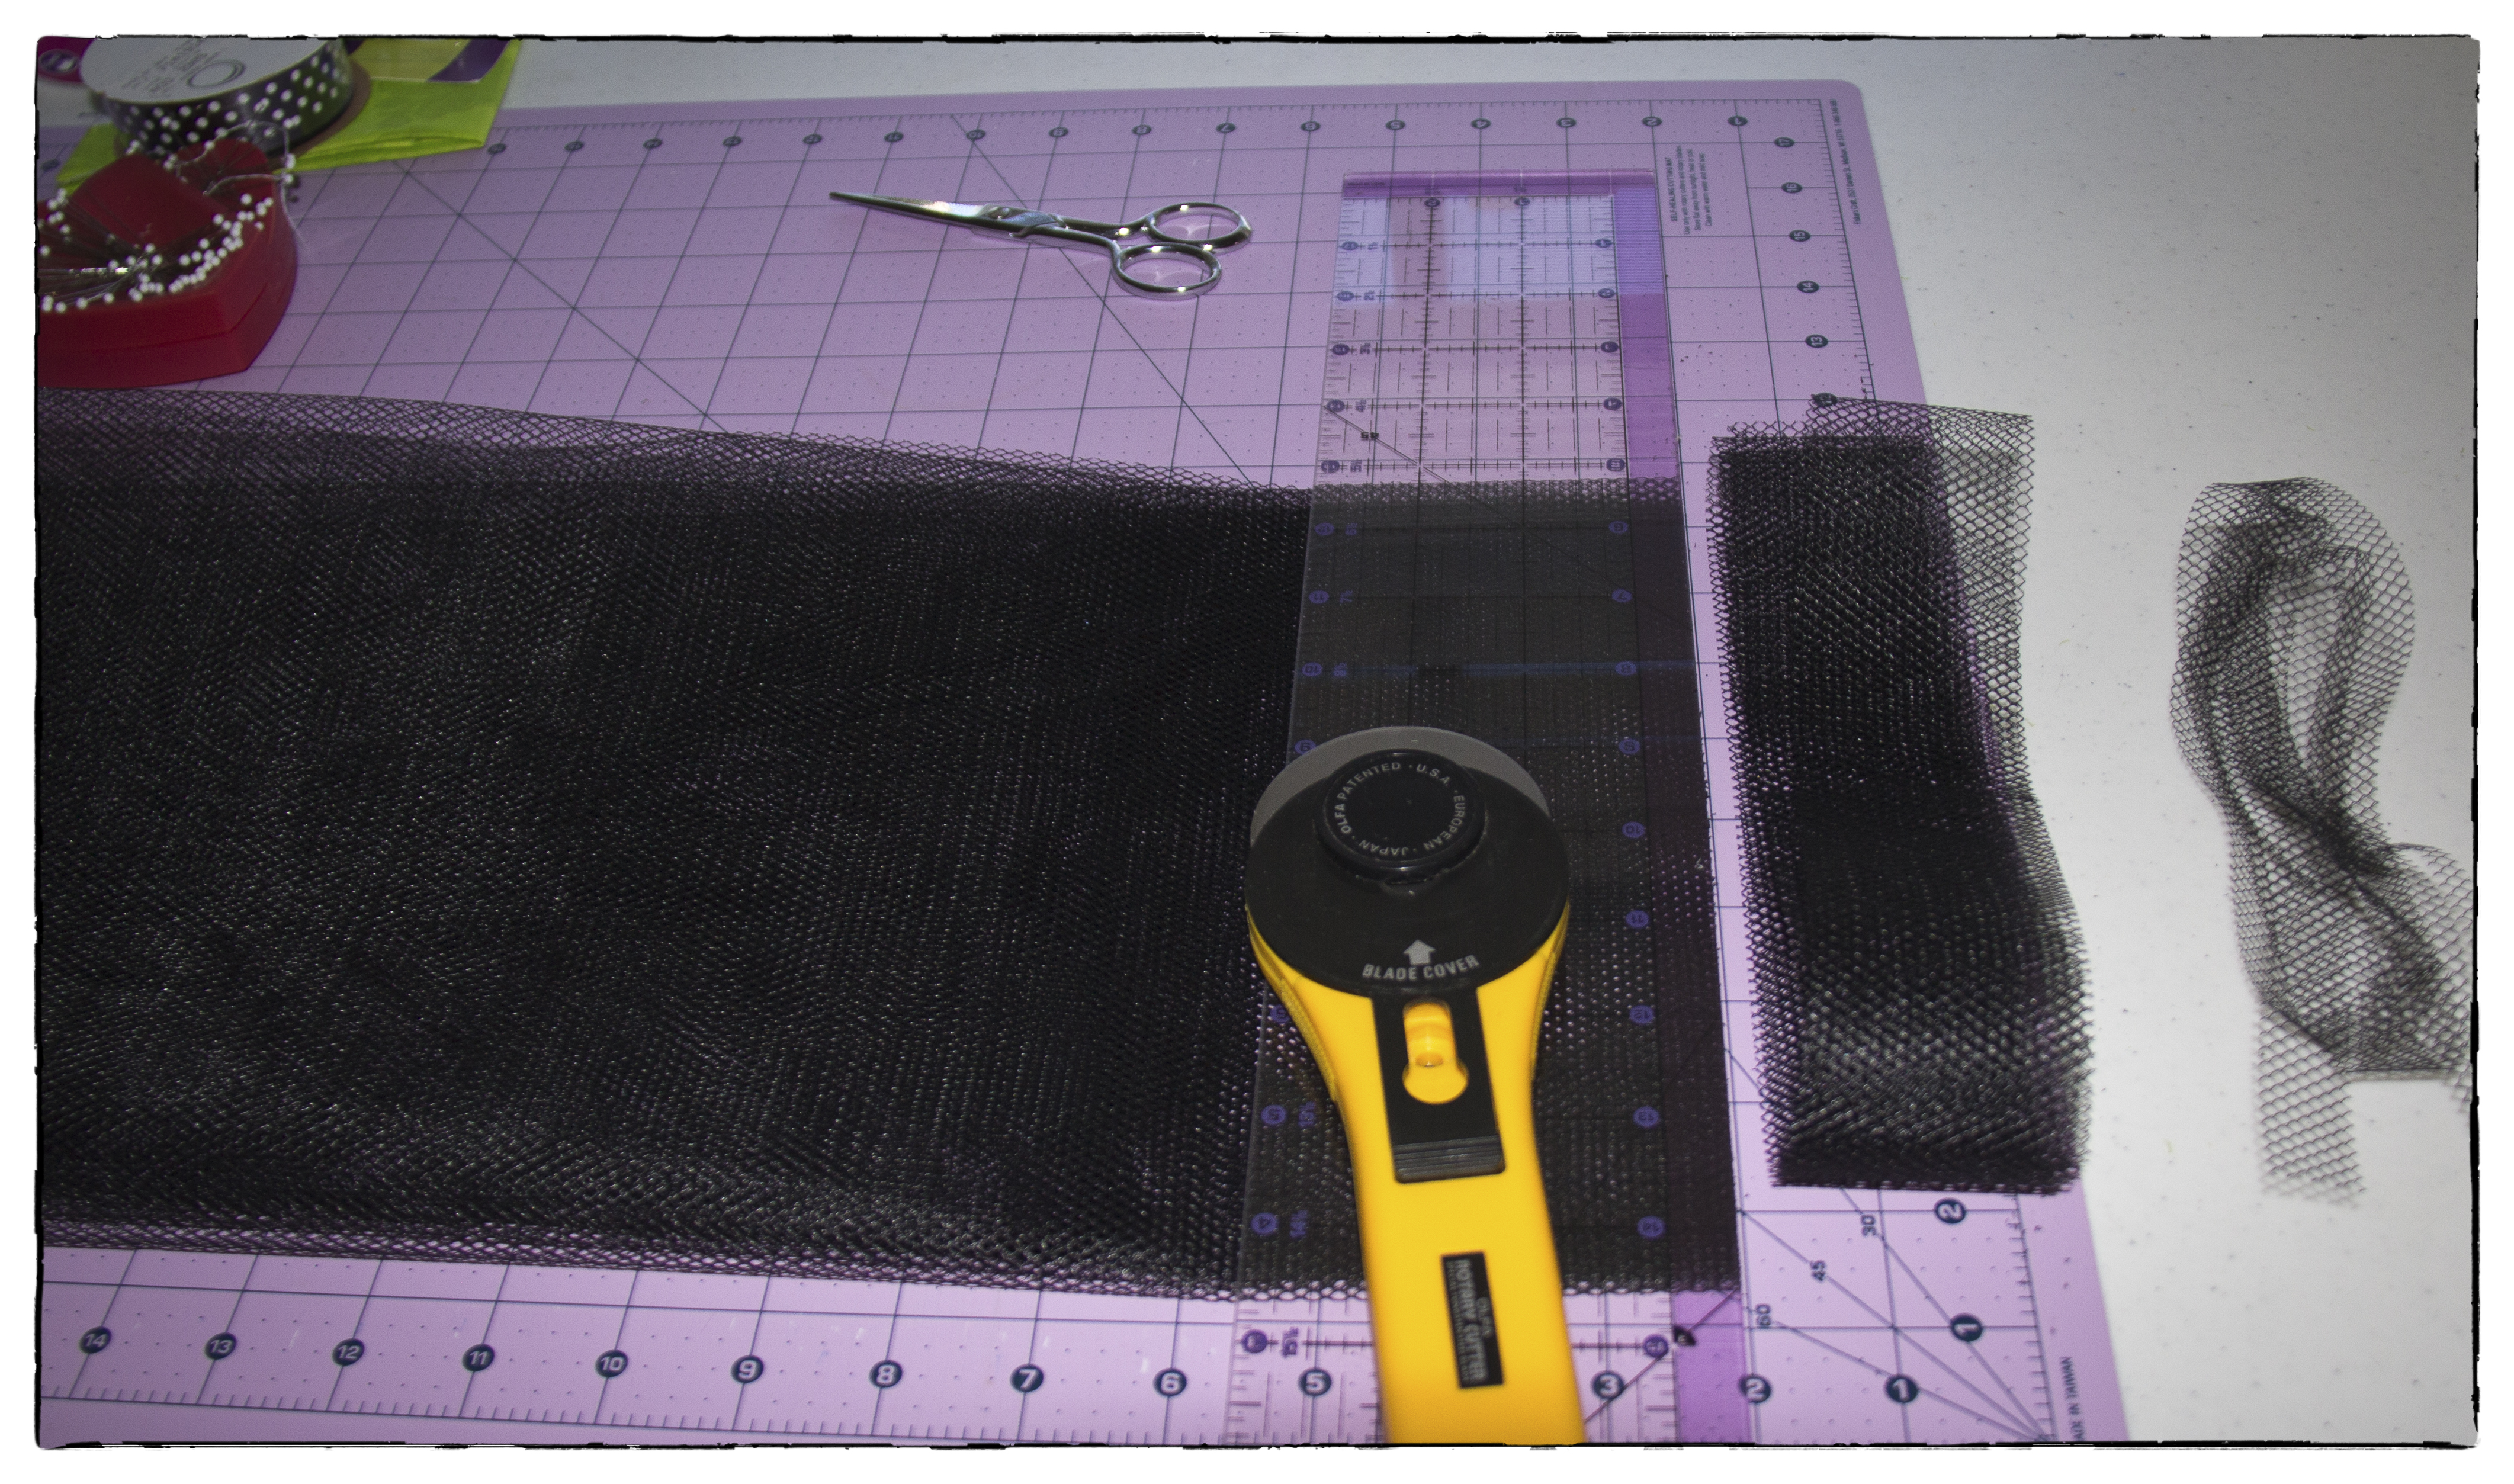
I purchased a yard of several different colors and cut it into strips using my rotary cutter, ruler, and mat. Getting the slippery nylon netting to cooperate with the process is a little like holding Jello, but with a lot of patience, it can be done! I cut up a whole mess of yellow, white, green, blue, red, and pink strips of tulle, enough to keep me busy for a long time!
I followed the basic idea of Kadee Morris’ pattern, making a few modifications. I’m not an expert in writing crochet patterns, so refer to Kadee’s video for clarification. I used a size “I” or 9 or 5.50mm crochet hook.
To make the first slip knot, hold one end of the tulle strip firm while twisting the free end several times to make a roll of the netting. Chain five, then make it into a circle by crocheting the end to the beginning. Chain two. The circle may not be easy to identify, so take a minute to find the center of the circle, separating the netting with your little finger until it is clearly defined. Begin to double crochet around the circle, scooting the loops together to create a tight mat of netting. (I crochet around the base of the circle, not through the individual loops of the base.) When you can’t fit another double crochet into the circle, end the round by crocheting into the top of the first crochet and then chain two times to start the second round. 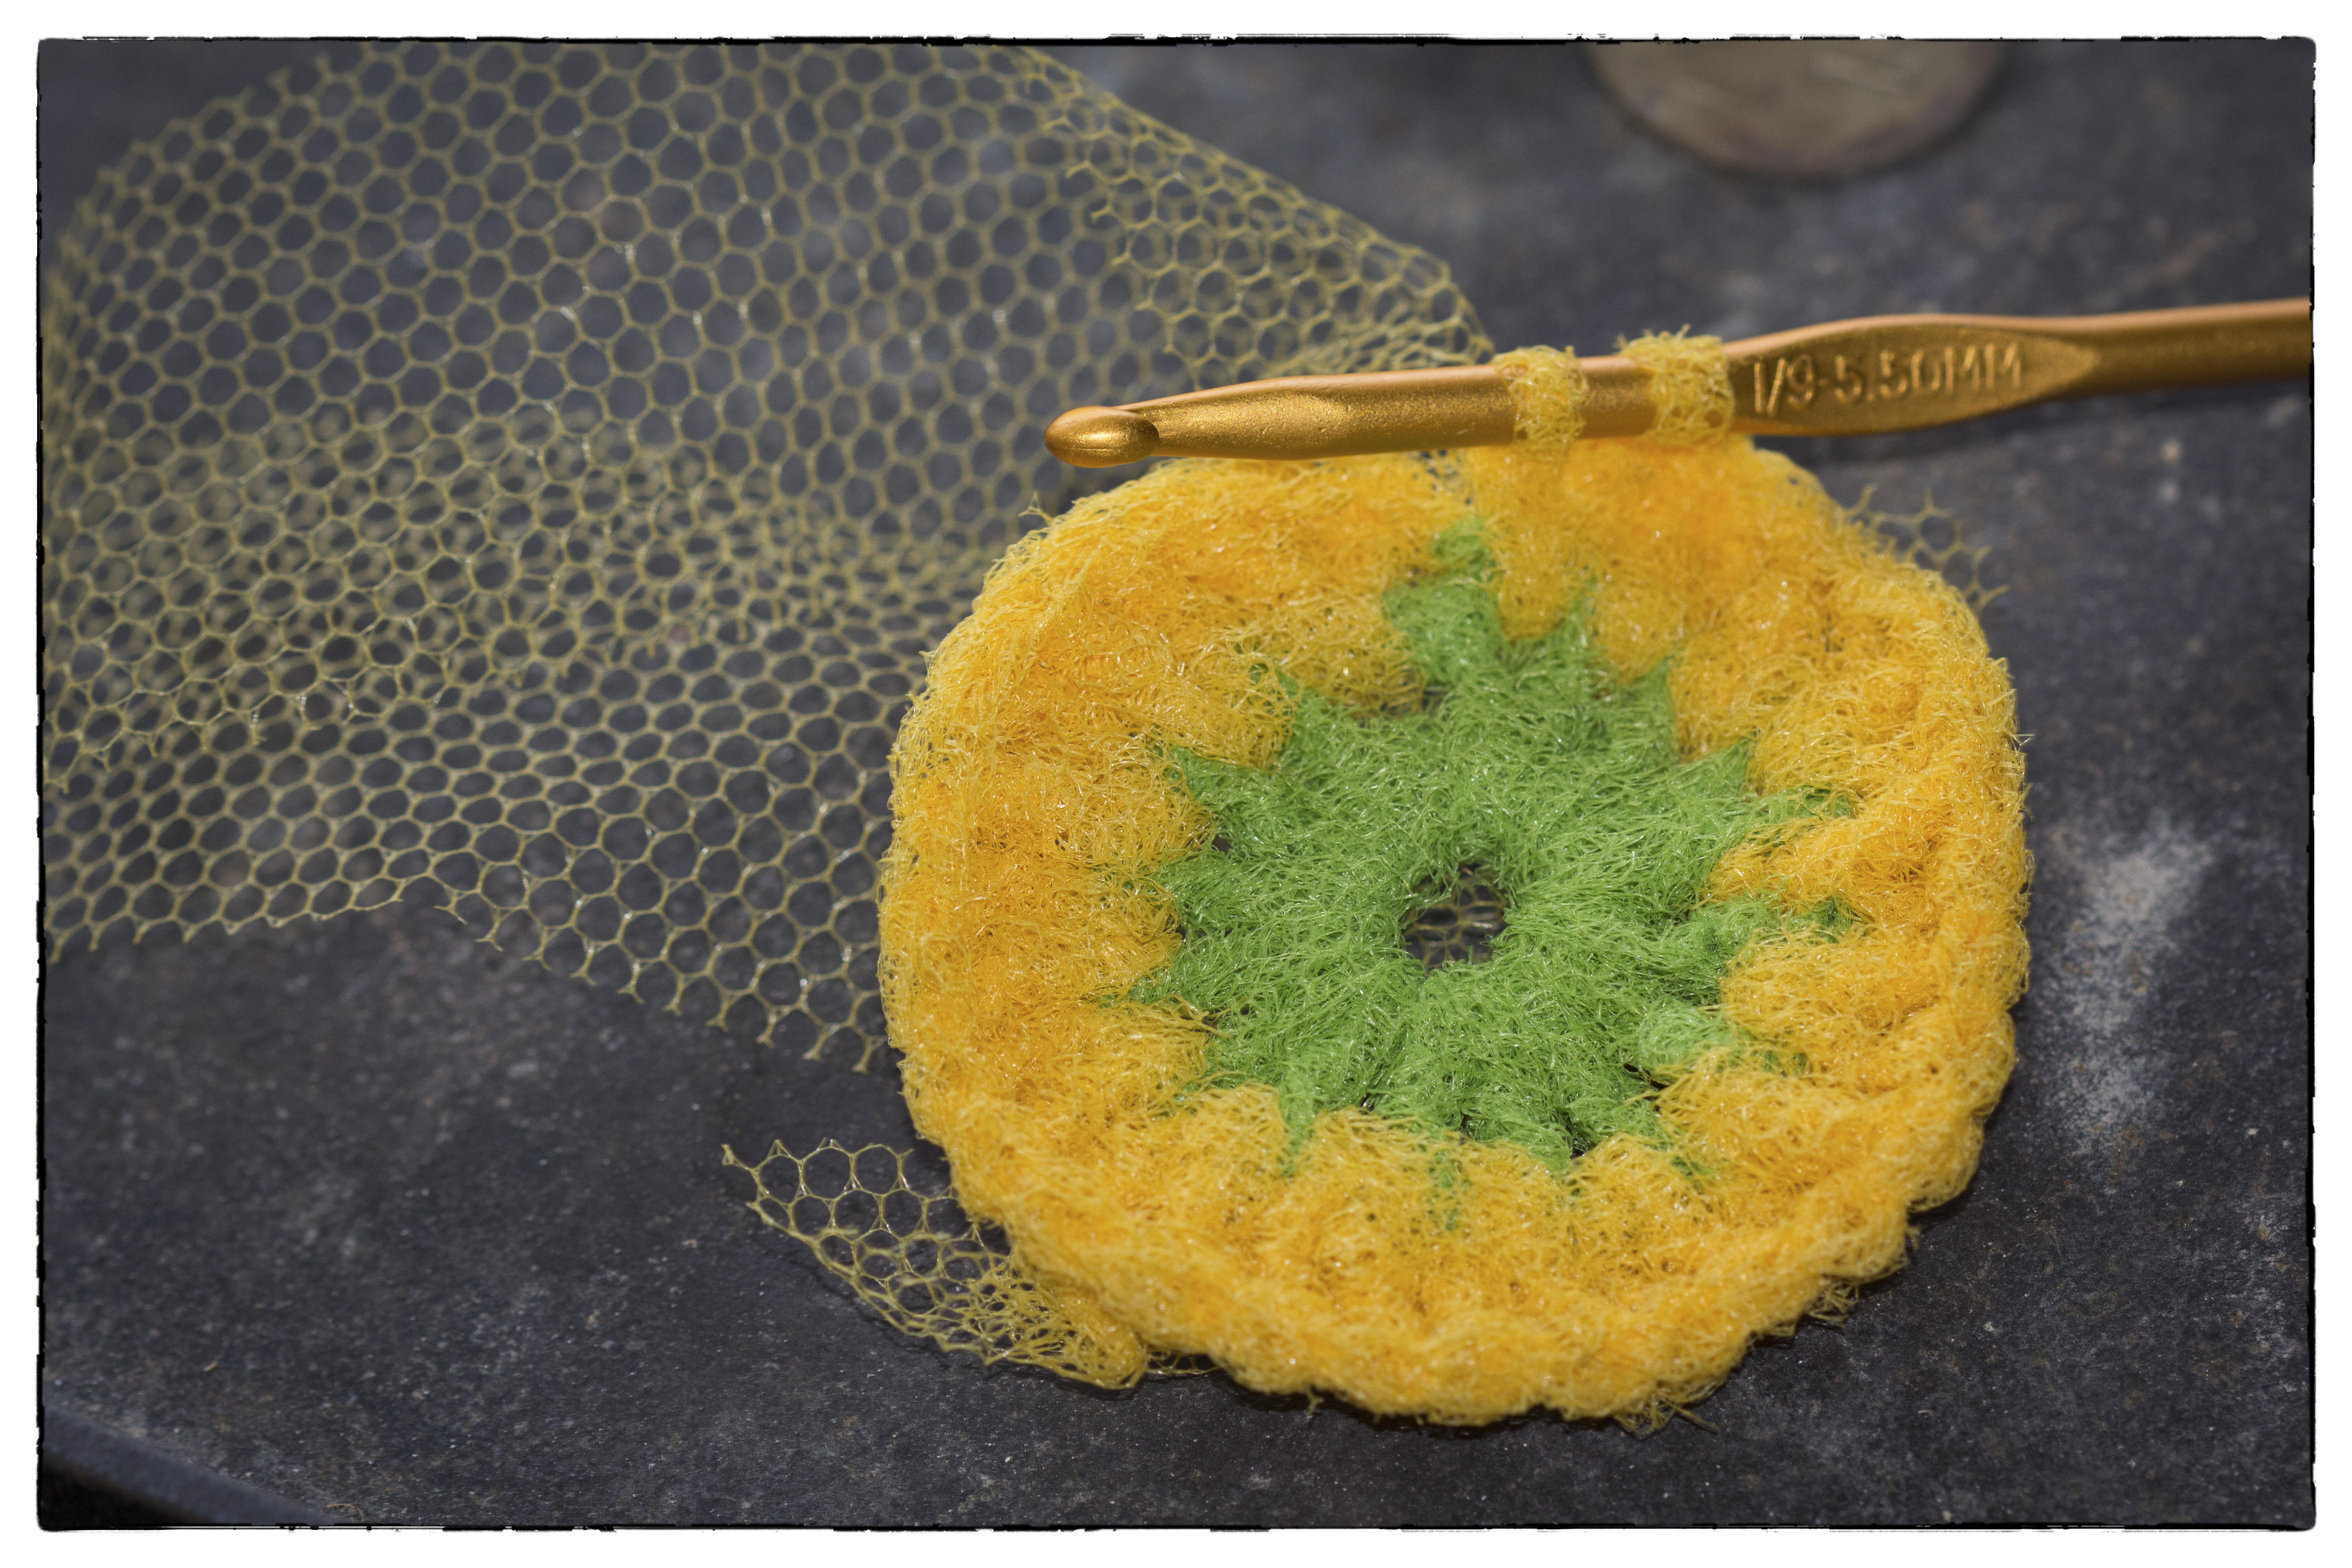 For the second round, I did two double crochets in each of the slots from the first round, ending the same as the first round, and then two chains. For the third round, I did a double crochet in the first slot, then two double crochets in the next slot, and then a single, alternating two then one to help the scrubby lay flat. The fourth round is a single crochet in each slot.
Just as you would do with regular yarn, simply tie a square knot to add more tulle or to change colors, working loose ends into the loops of the scrubby to secure and hide the strays. The scrubbies will sprout all kinds of little tufts of tulle. Little tufts add character!
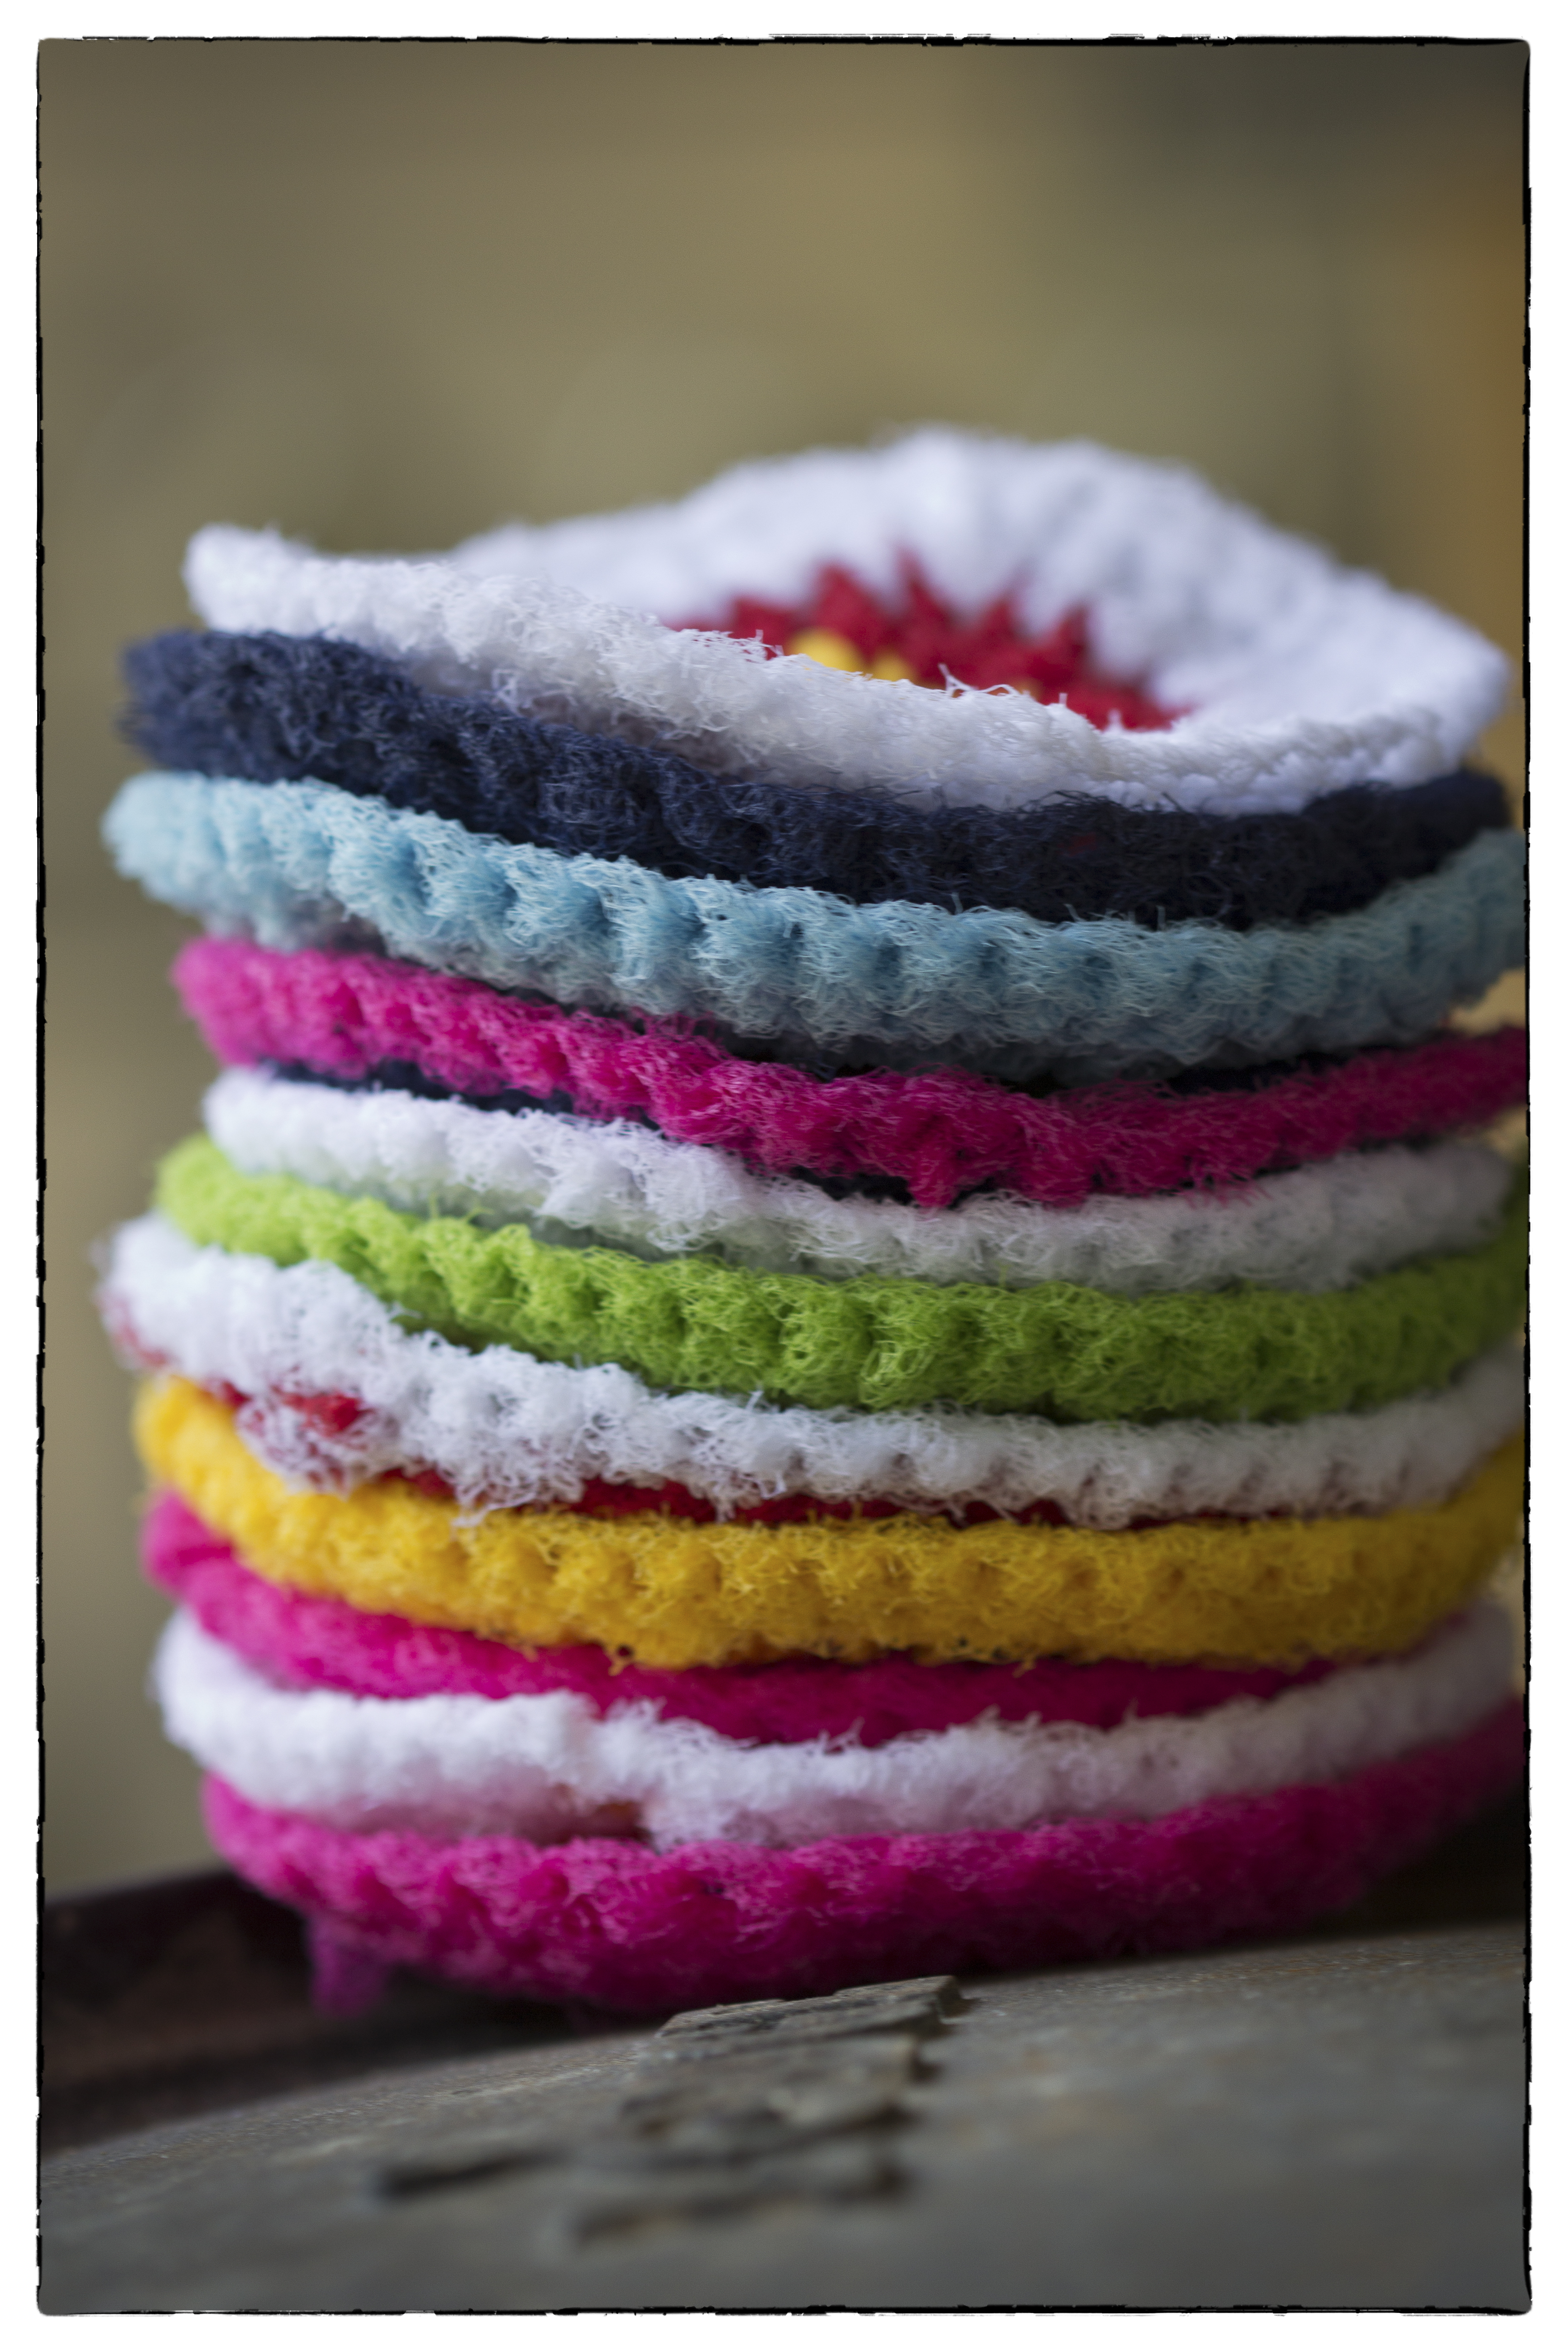 When they are finished, my scrubbies are about 5″ in diameter. I like this size because they can be folded in half to fit into the corner of a Dutch oven and give an extra measure of abrasion to the cleaning process. For a smaller scrubby, crochet only two rounds.
As with most DYI projects, the first time is always the most difficult. Figuring out how to manage the nylon “yarn” takes some time as well as learning how to scoot the crochet loops together to form a tight layers. Once you’ve figured it all out, you will find these simple to crochet and have fun mixing and matching color combinations. They are great gifts for any cook and will bring a smile to the person who grabs it as they clean up a grubby cast iron pot!