Dutch Oven Cooking with Scouting Magazine

BoyScoutLid
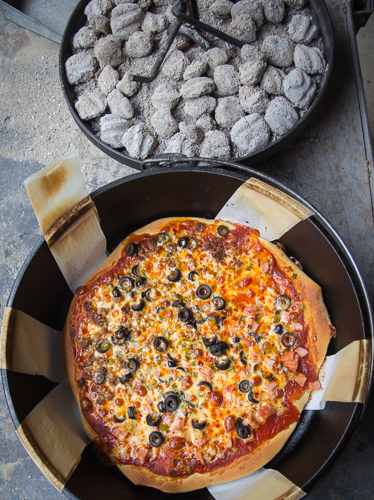
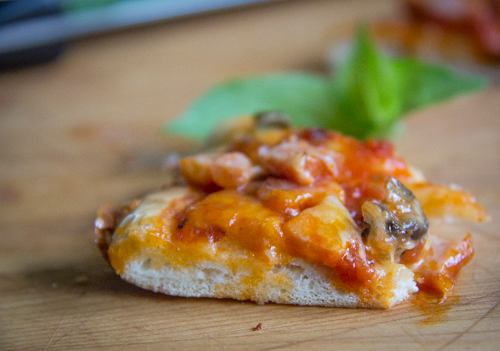
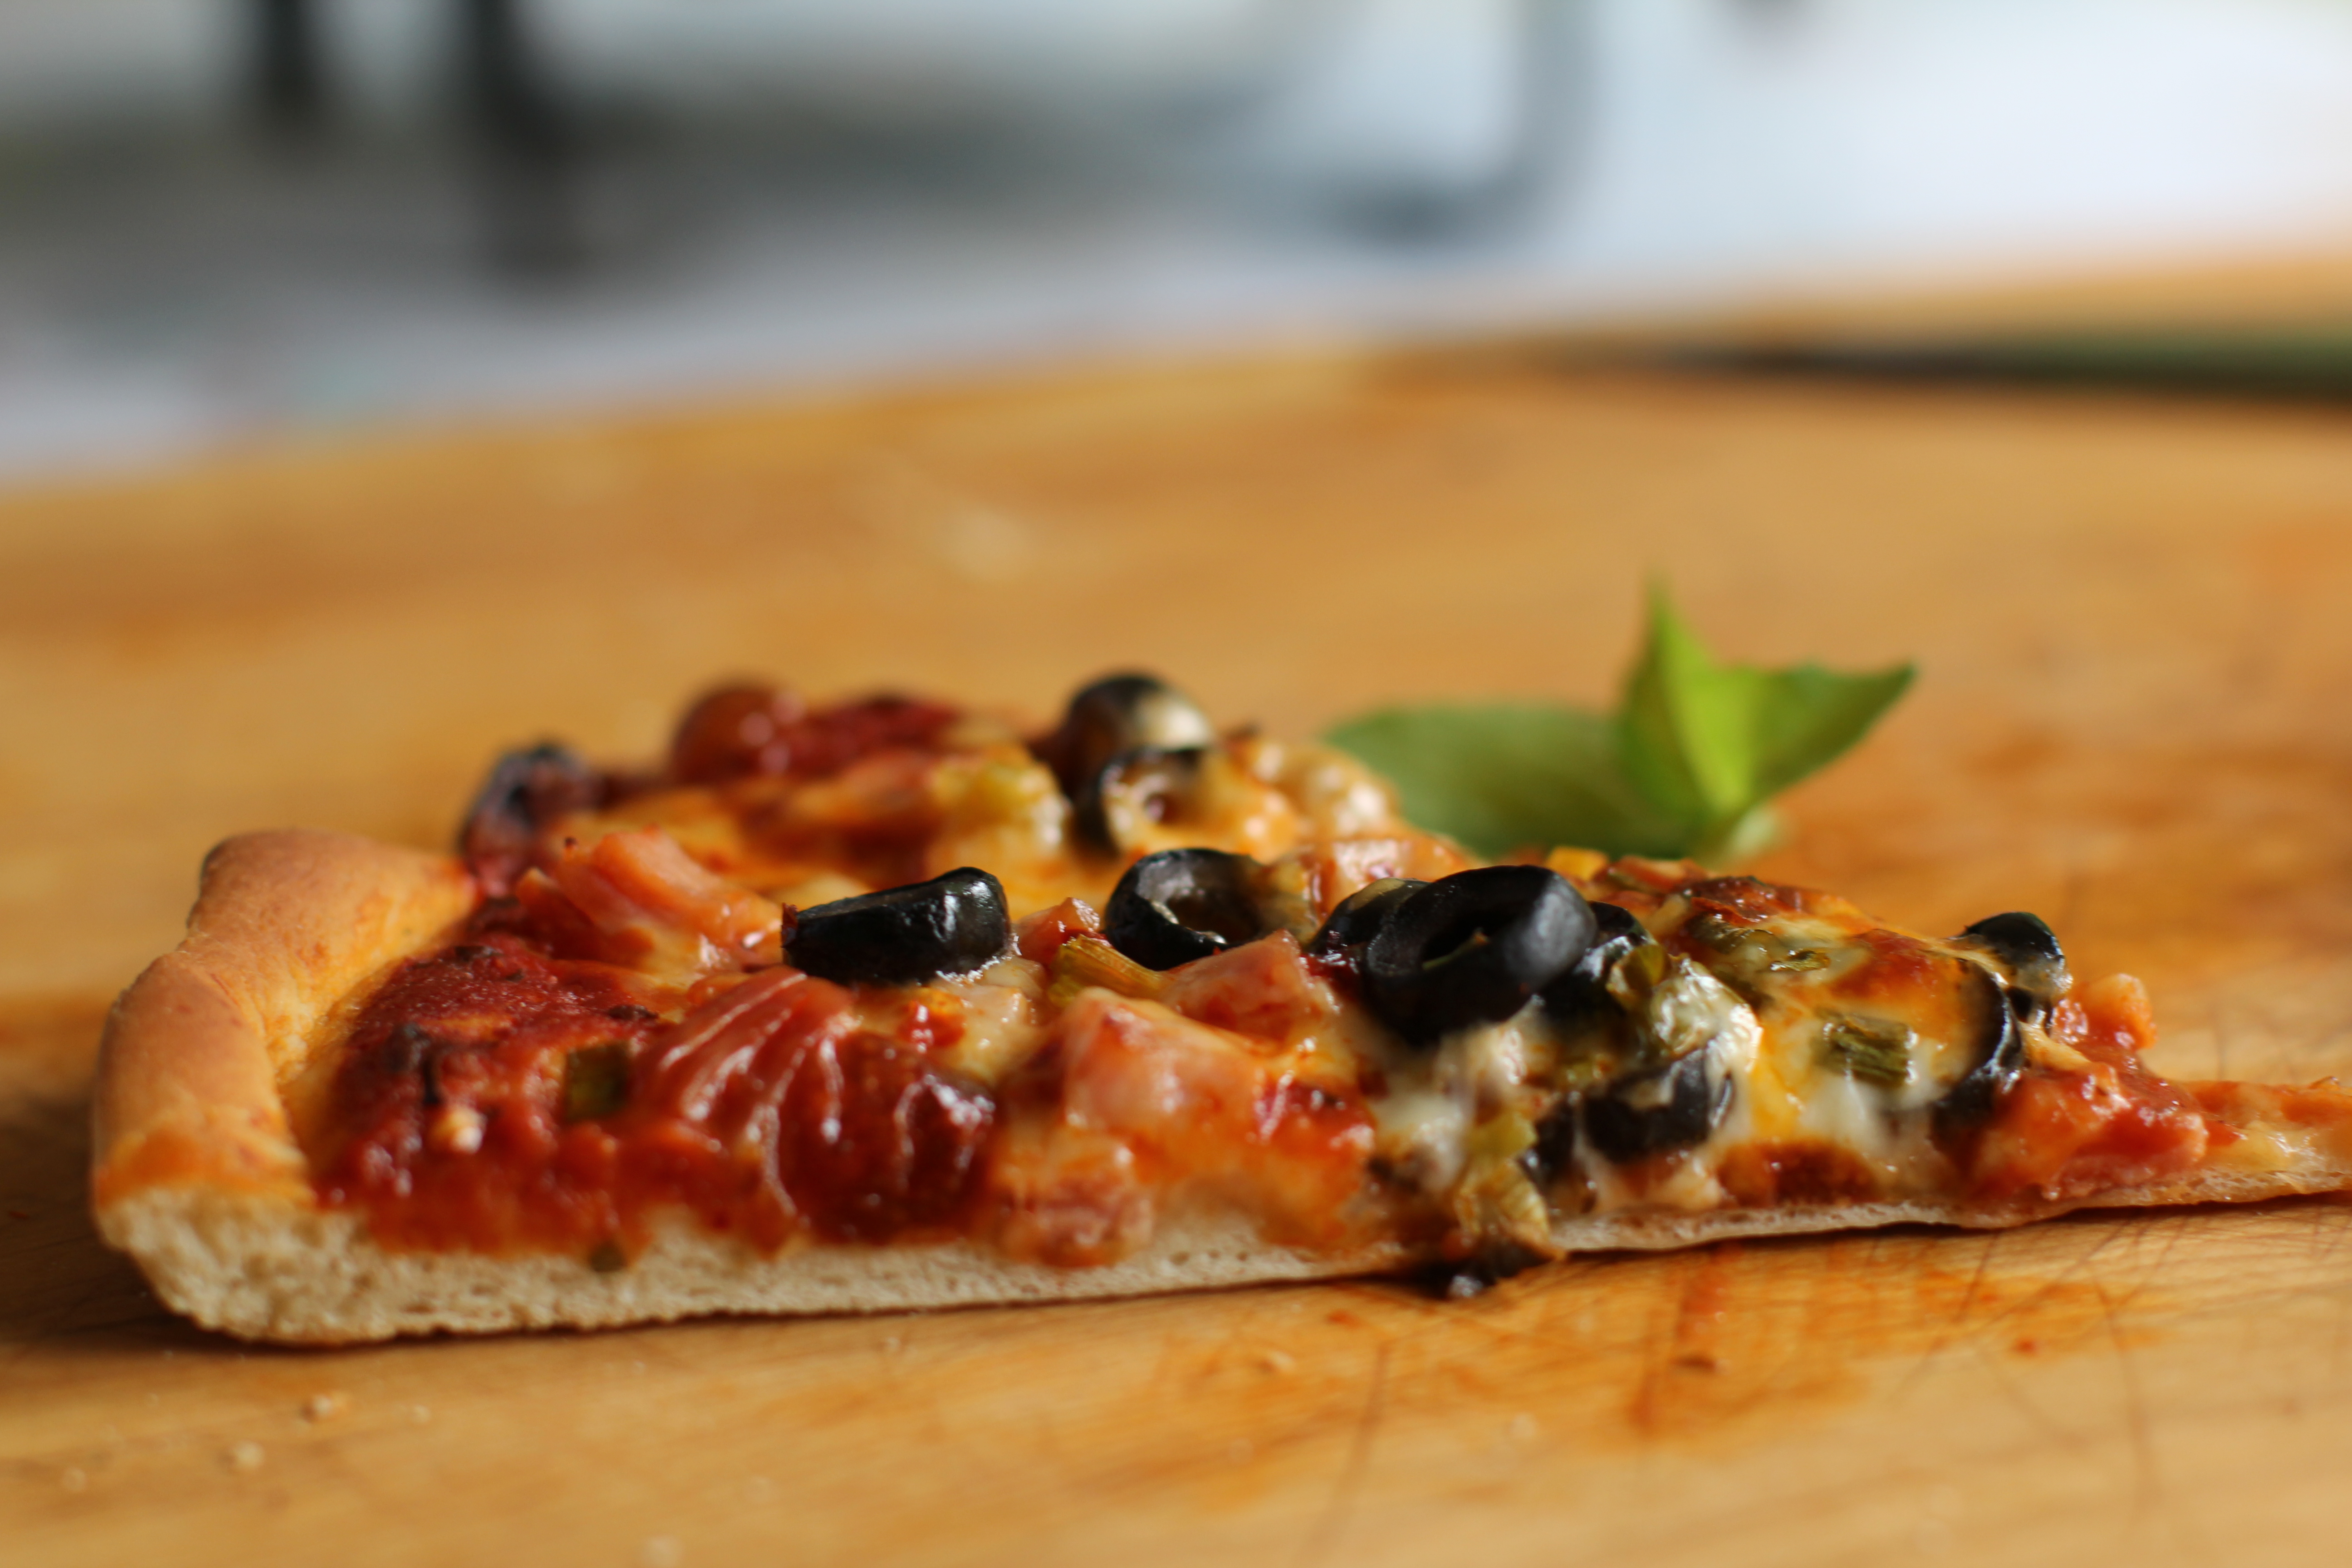
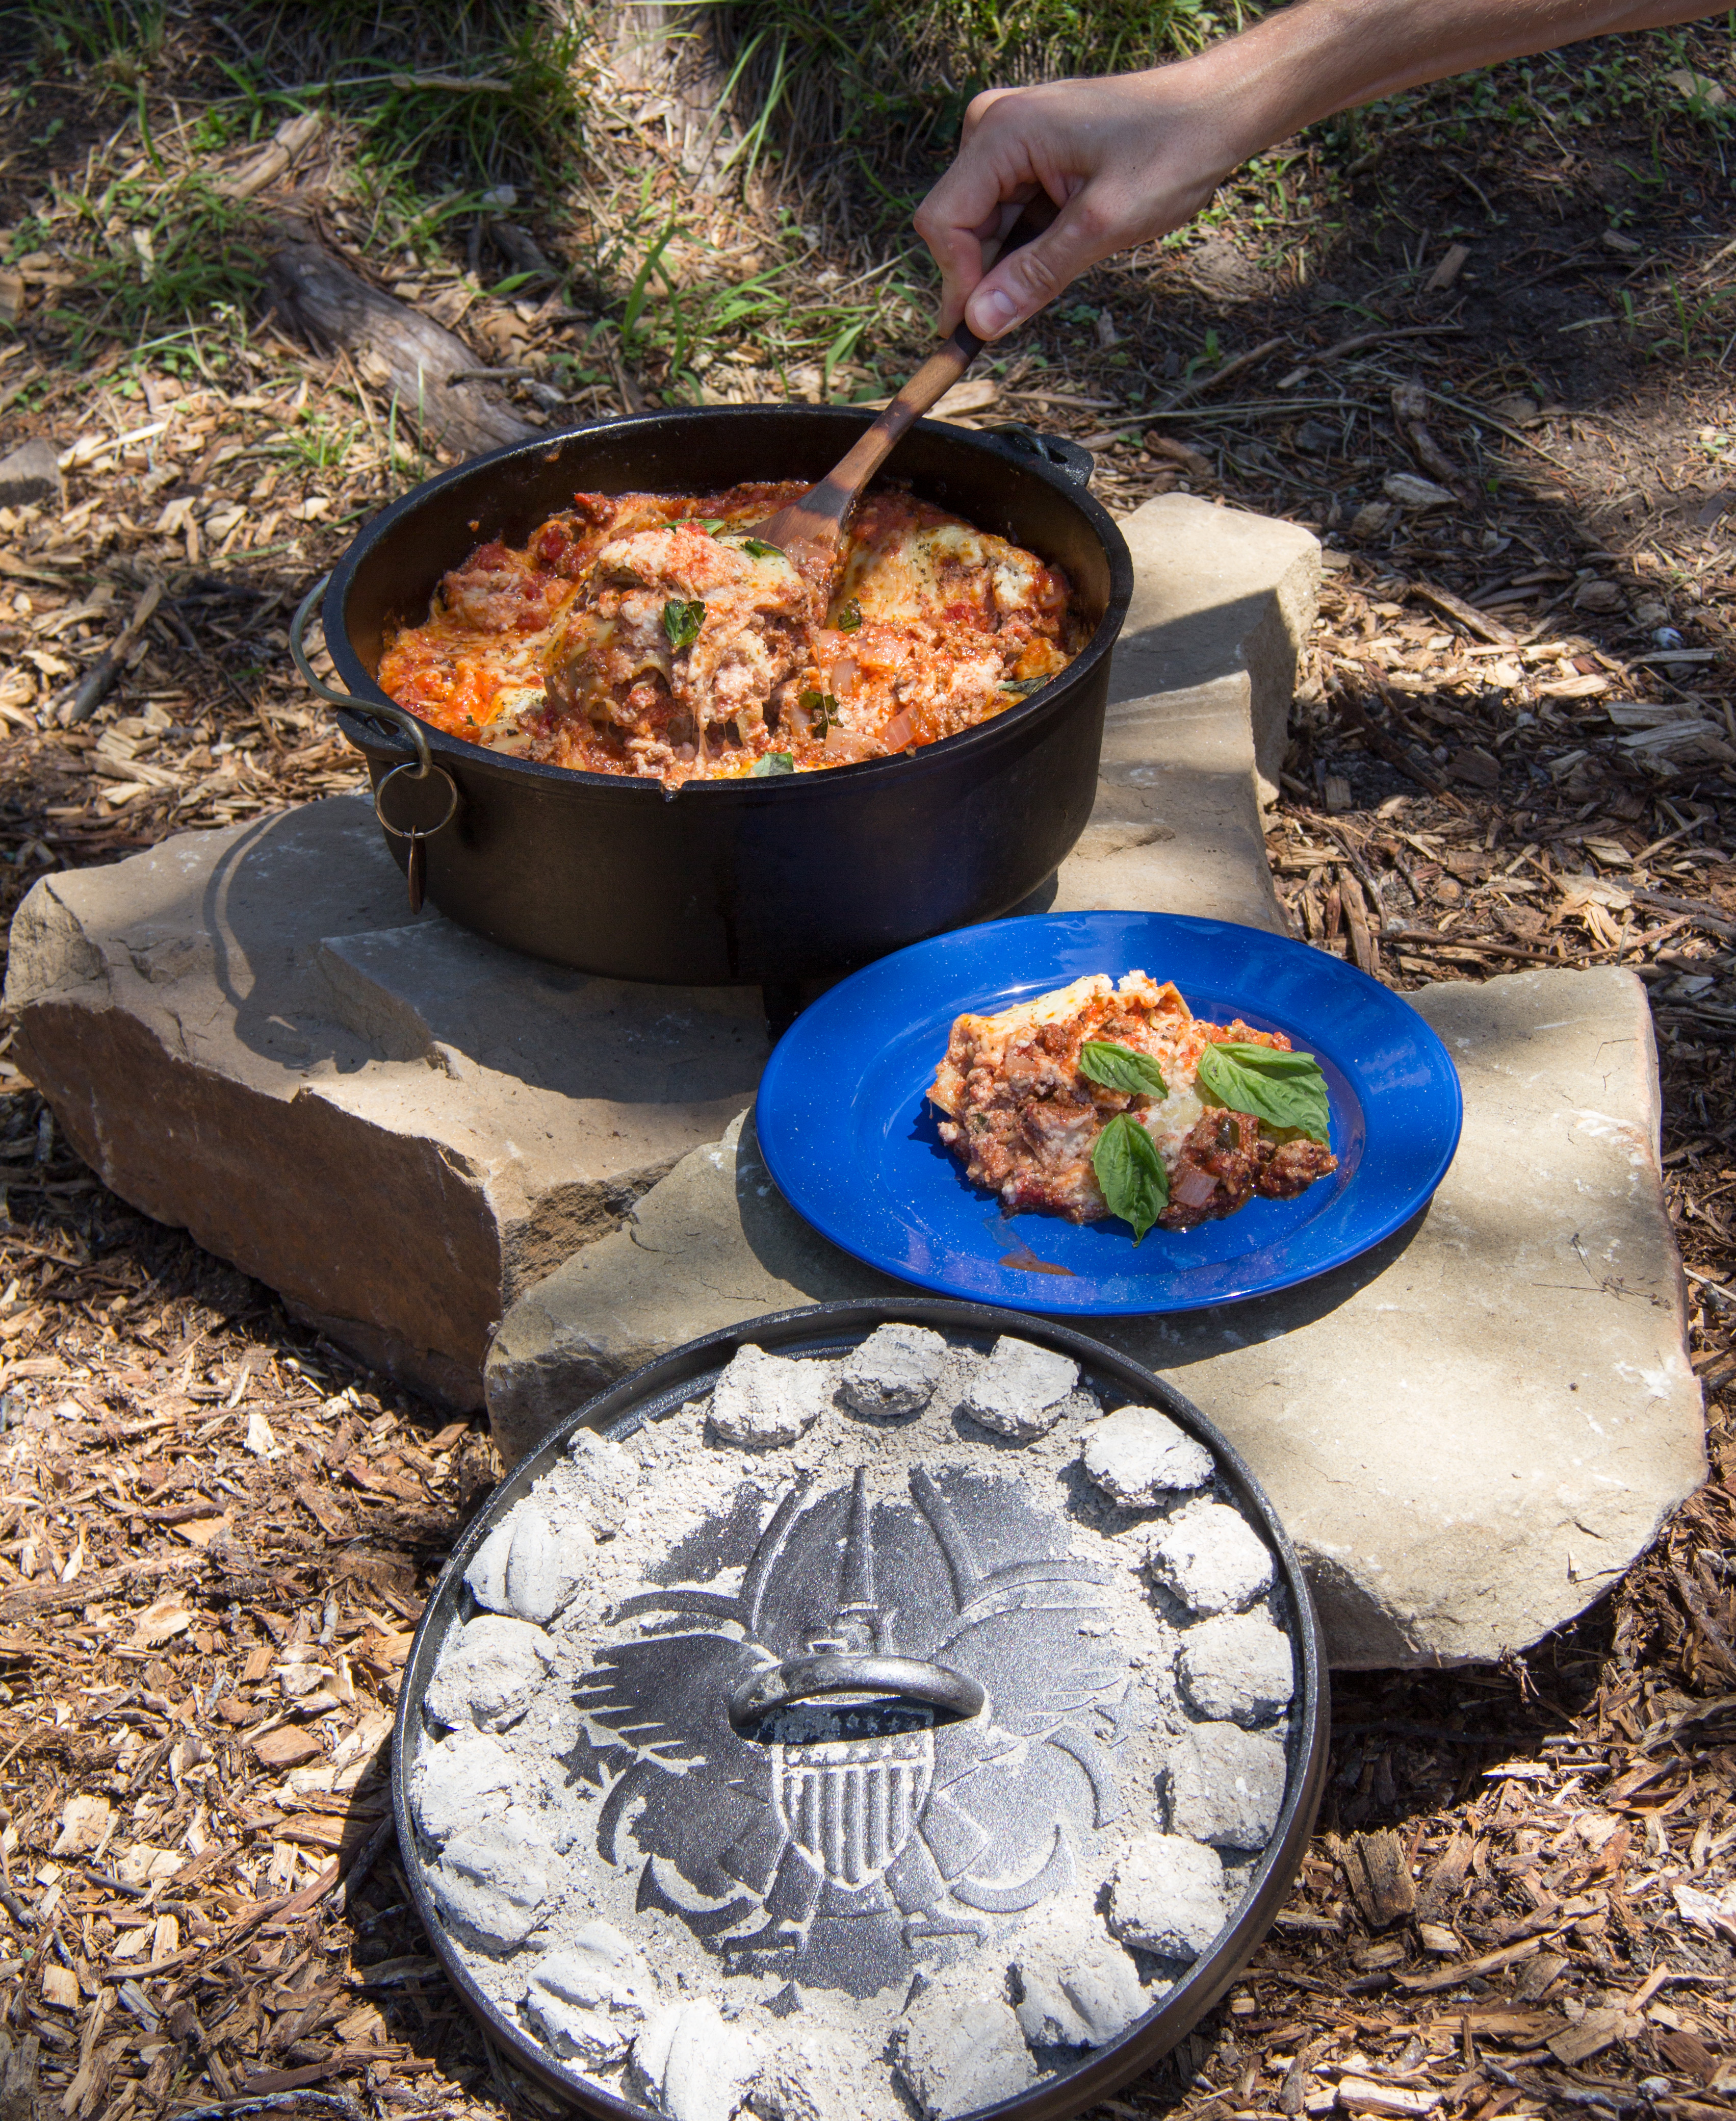
Steve and I had a blast with the design team from Scouting Magazine doing a photo shoot of Dutch oven cooking for the August edition of the magazine as well as creating short videos for the website.  We made breakfast casserole, lasagna, pineapple upside down cake, pizza, and baked apples.  The entire time we were working with the team, we heard “oooooh!” and “YUM” and “that’s amazing!”  Needless to say, the team ate very well!

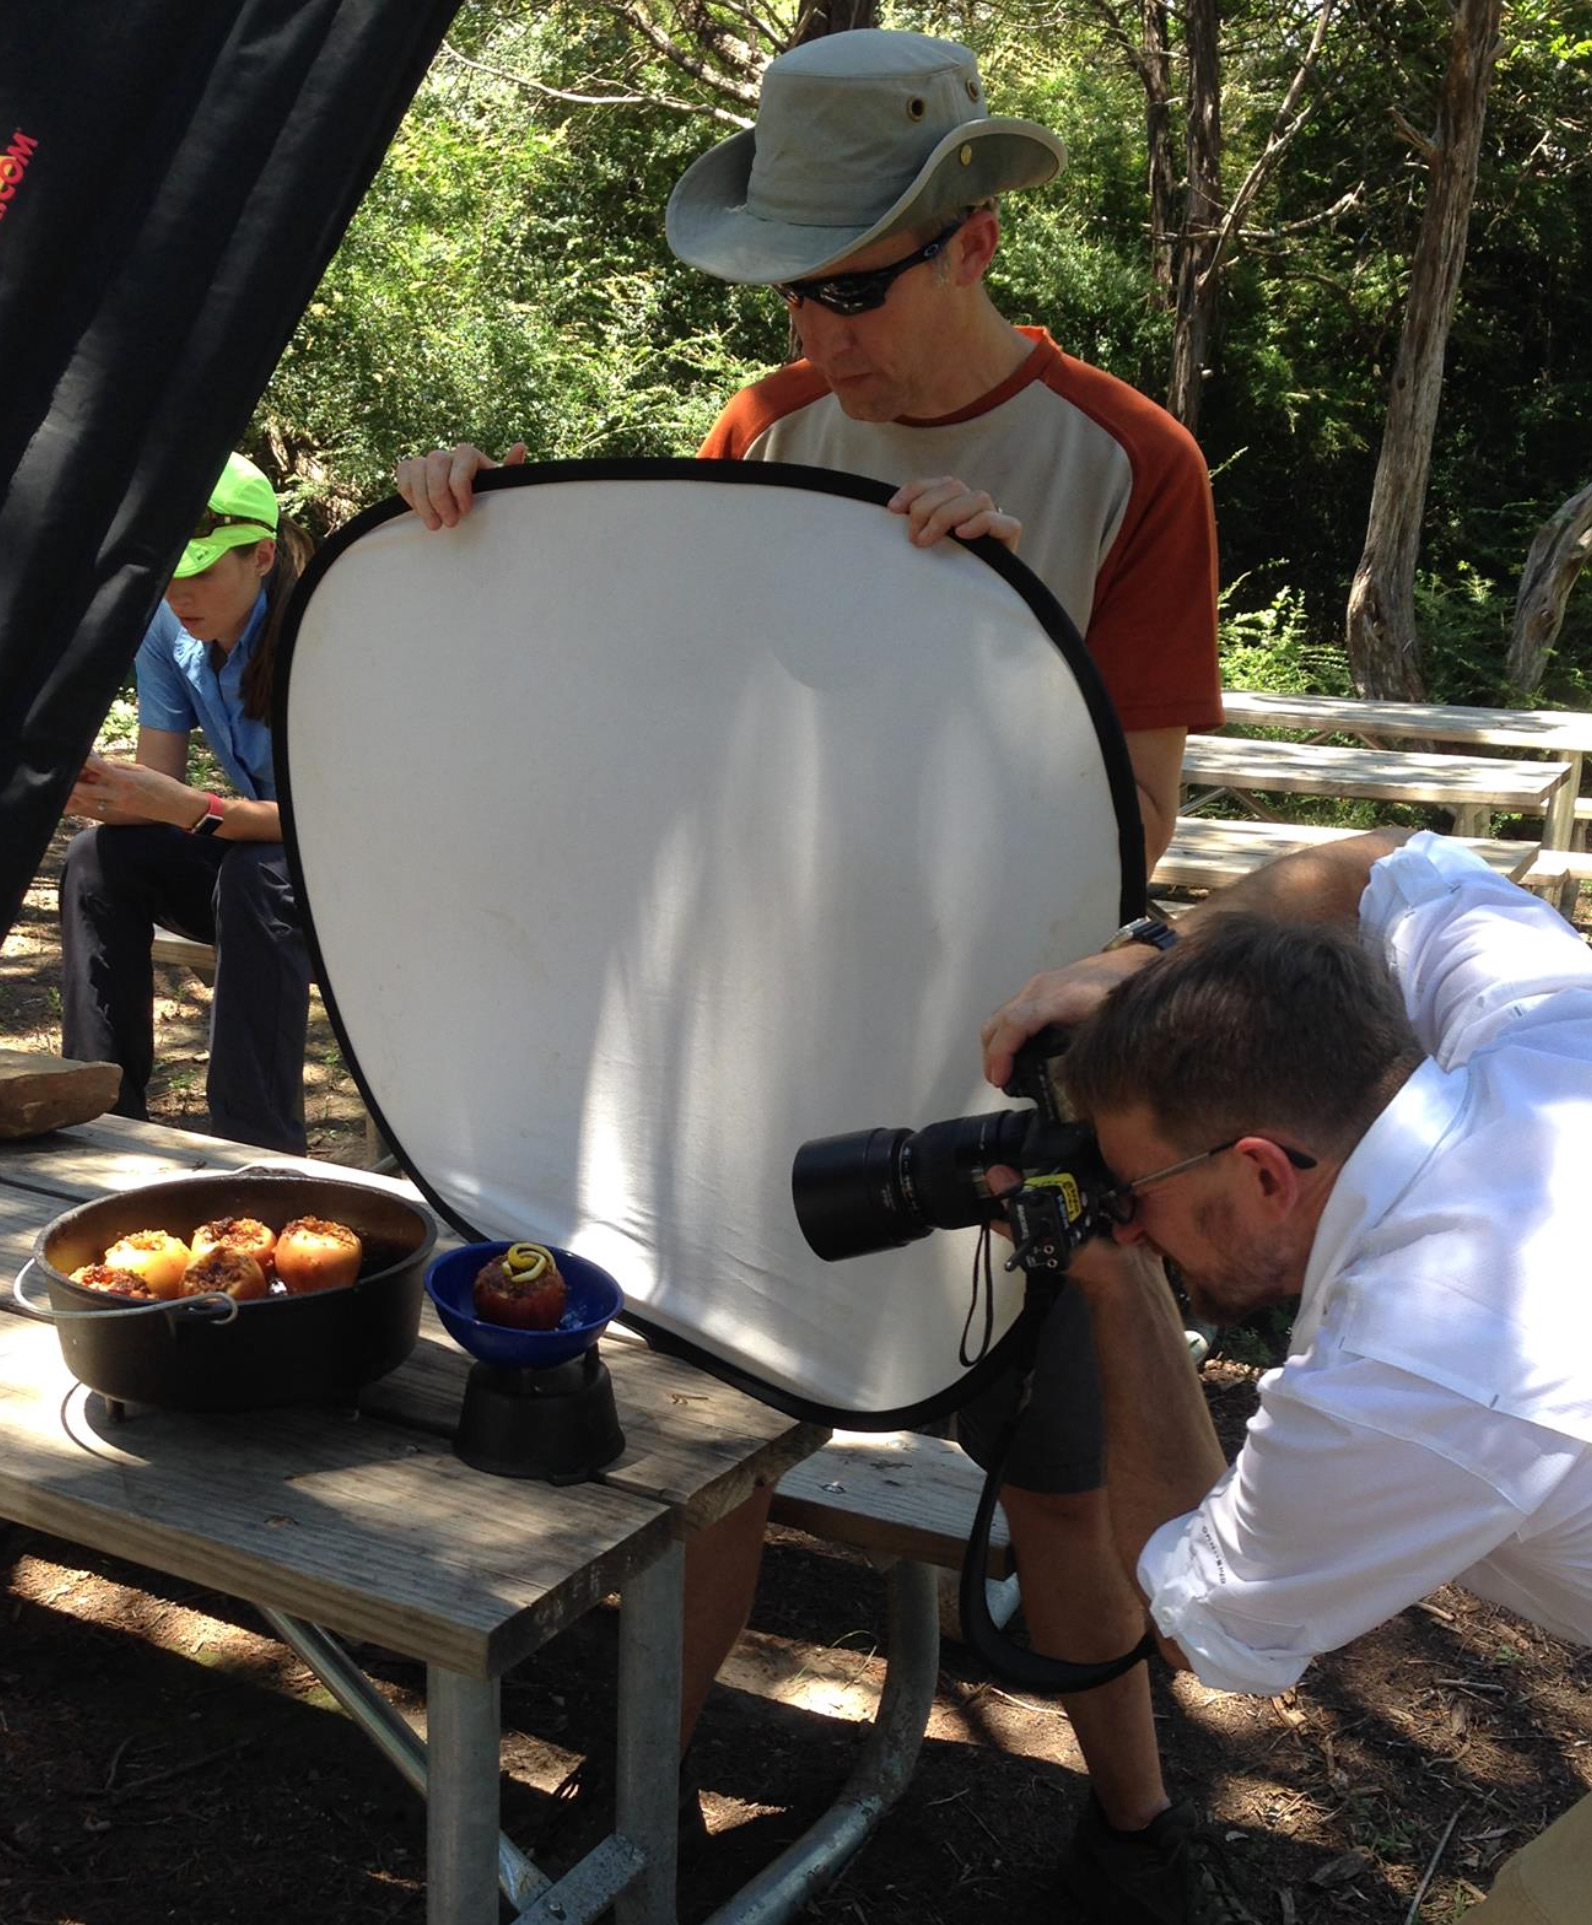
The team included a photographer who shot a million still images and several hours of video, a design/art director who made sure every detail of every situation was picture perfect, a video editor and social media expert, and an associate editor who took care of all of the logistics of the photo shoot.  They were all pros at their jobs, clearly very talented and creative people, and they were so much fun to work with.   Lasagana

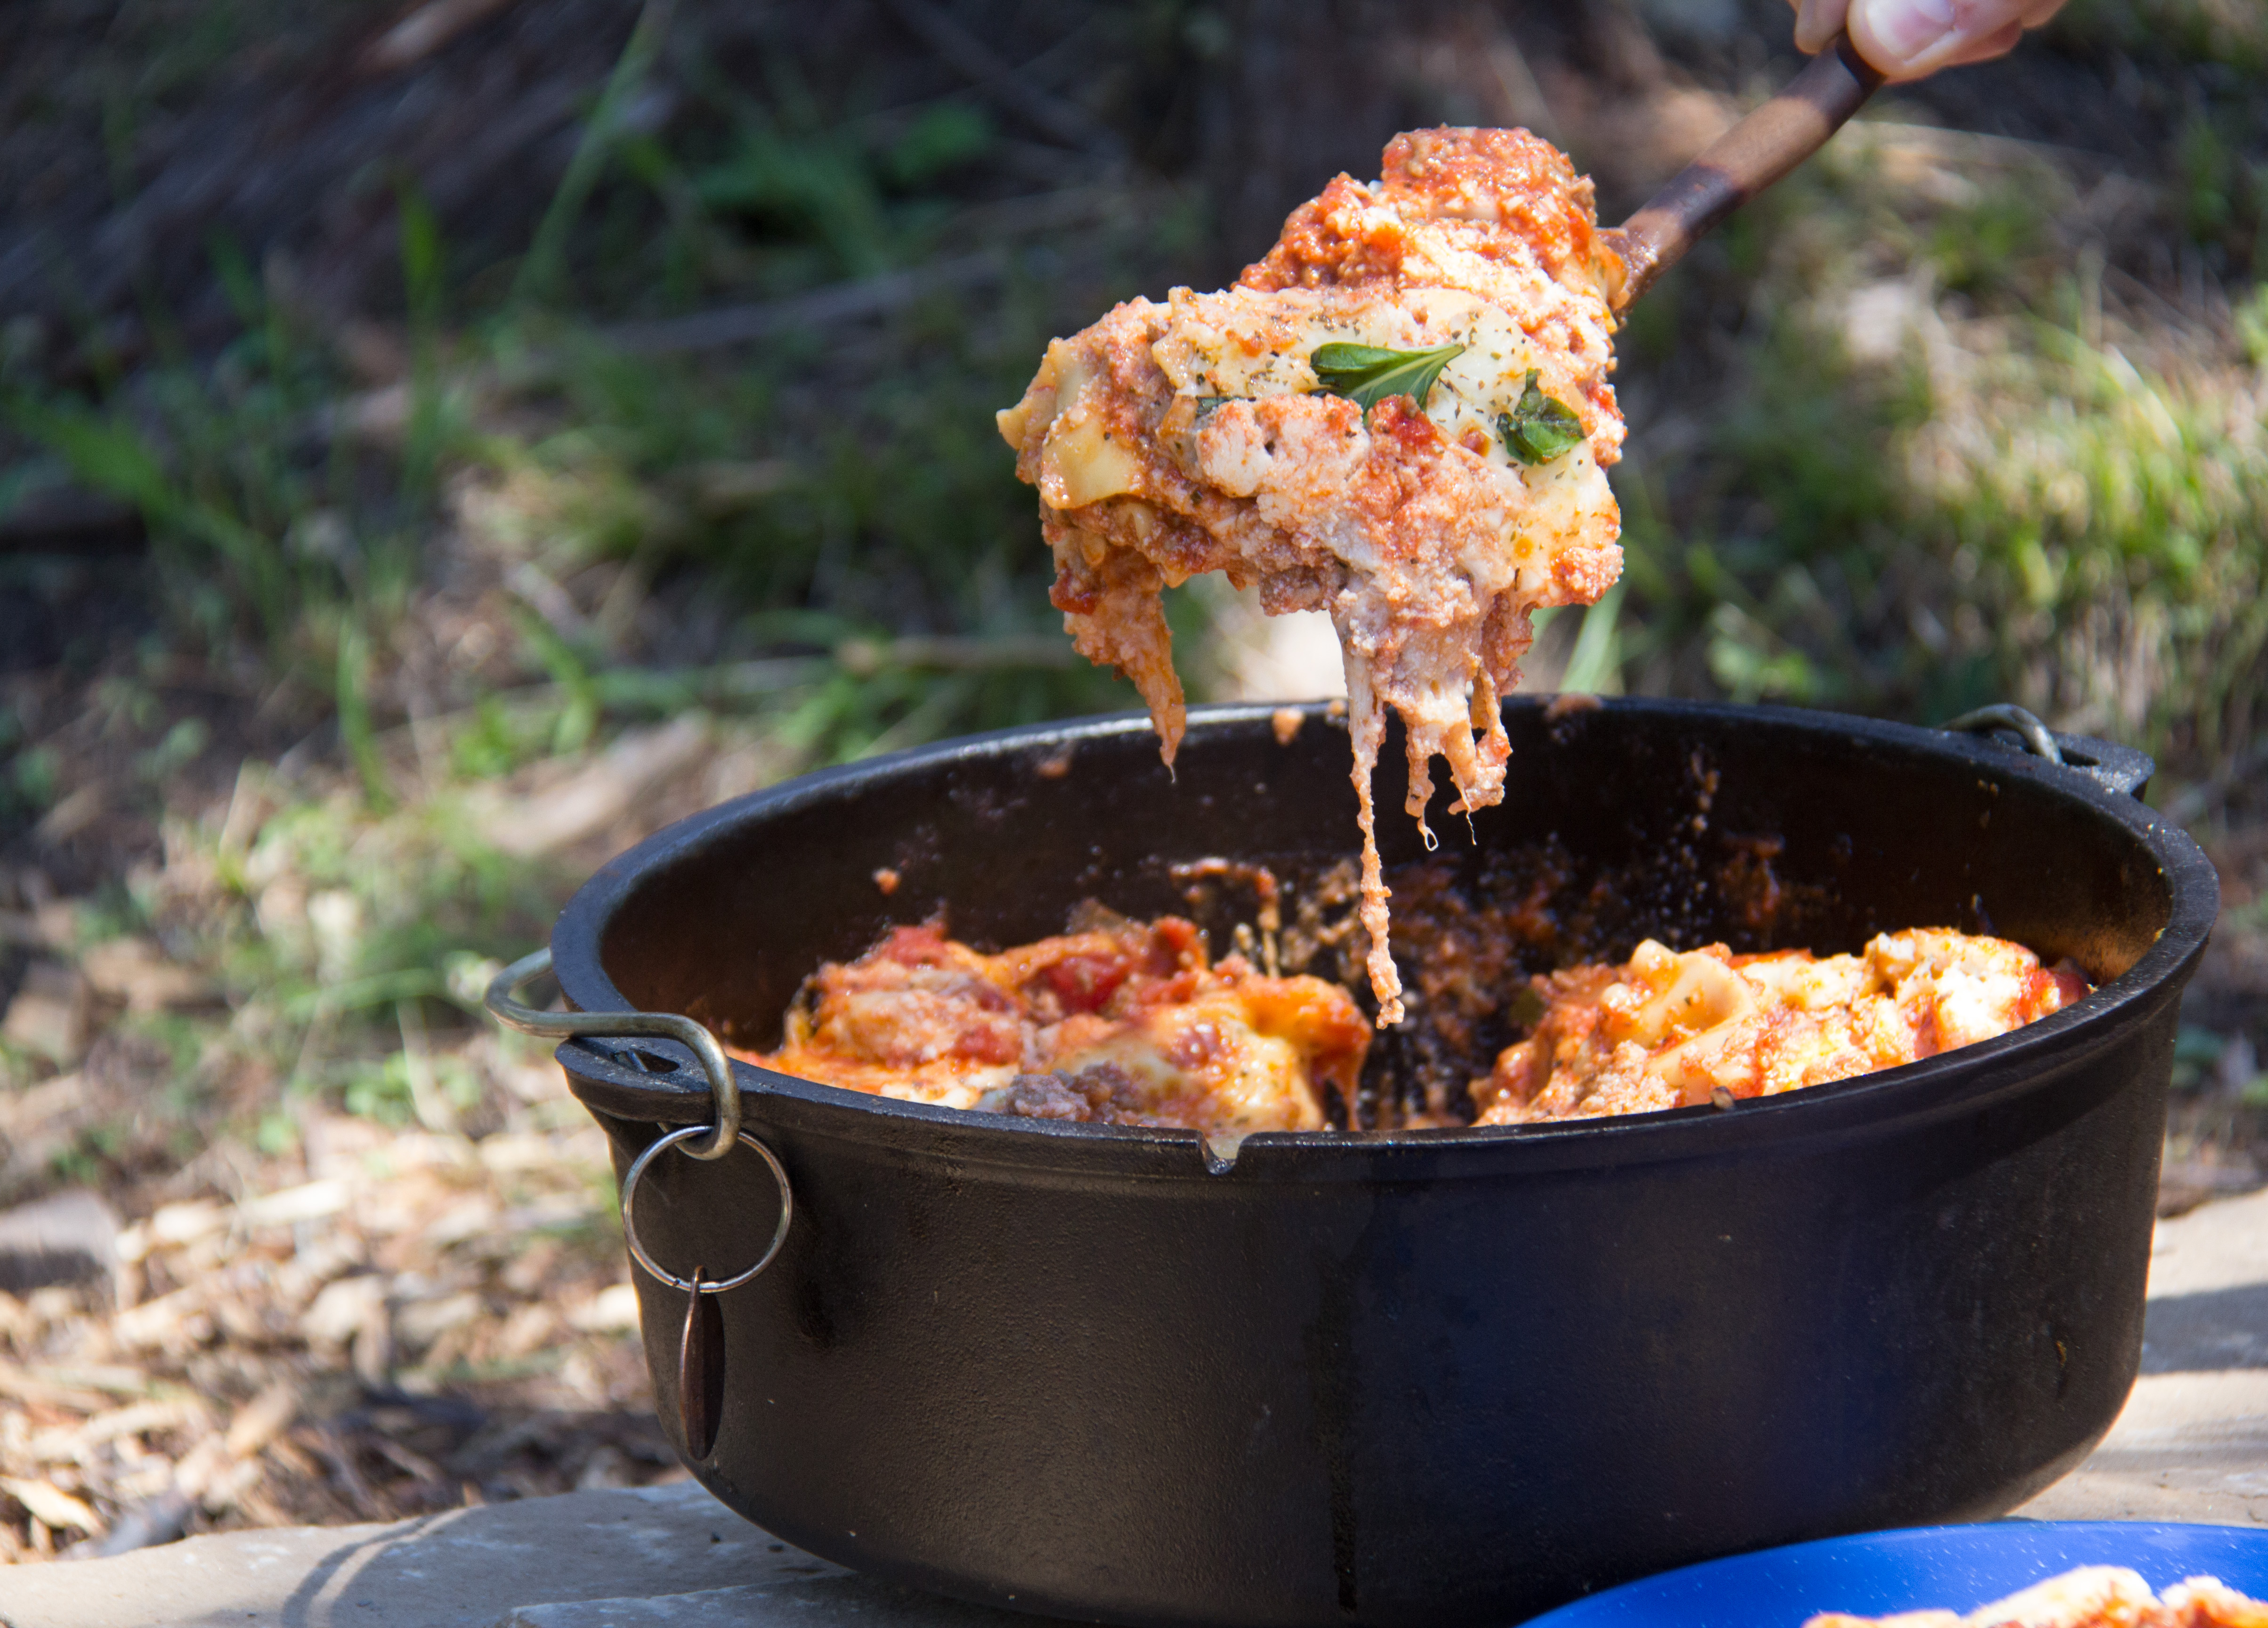
I am super excited and can’t wait to see the article when it is published!  The videos will be styled like the super popular Tasty clips that everyone is sharing on Facebook.  For one segment, the photographer put a GoPro (safely encased in a protective shell) in the bottom of a bowl and shot video of eggs being cracked open.  Isn’t that fun?  Most of the video was shot straight down over our cook table and some was shot with a hand held video camera.

Screen Shot 2016-06-13 at 12.02.27 PM

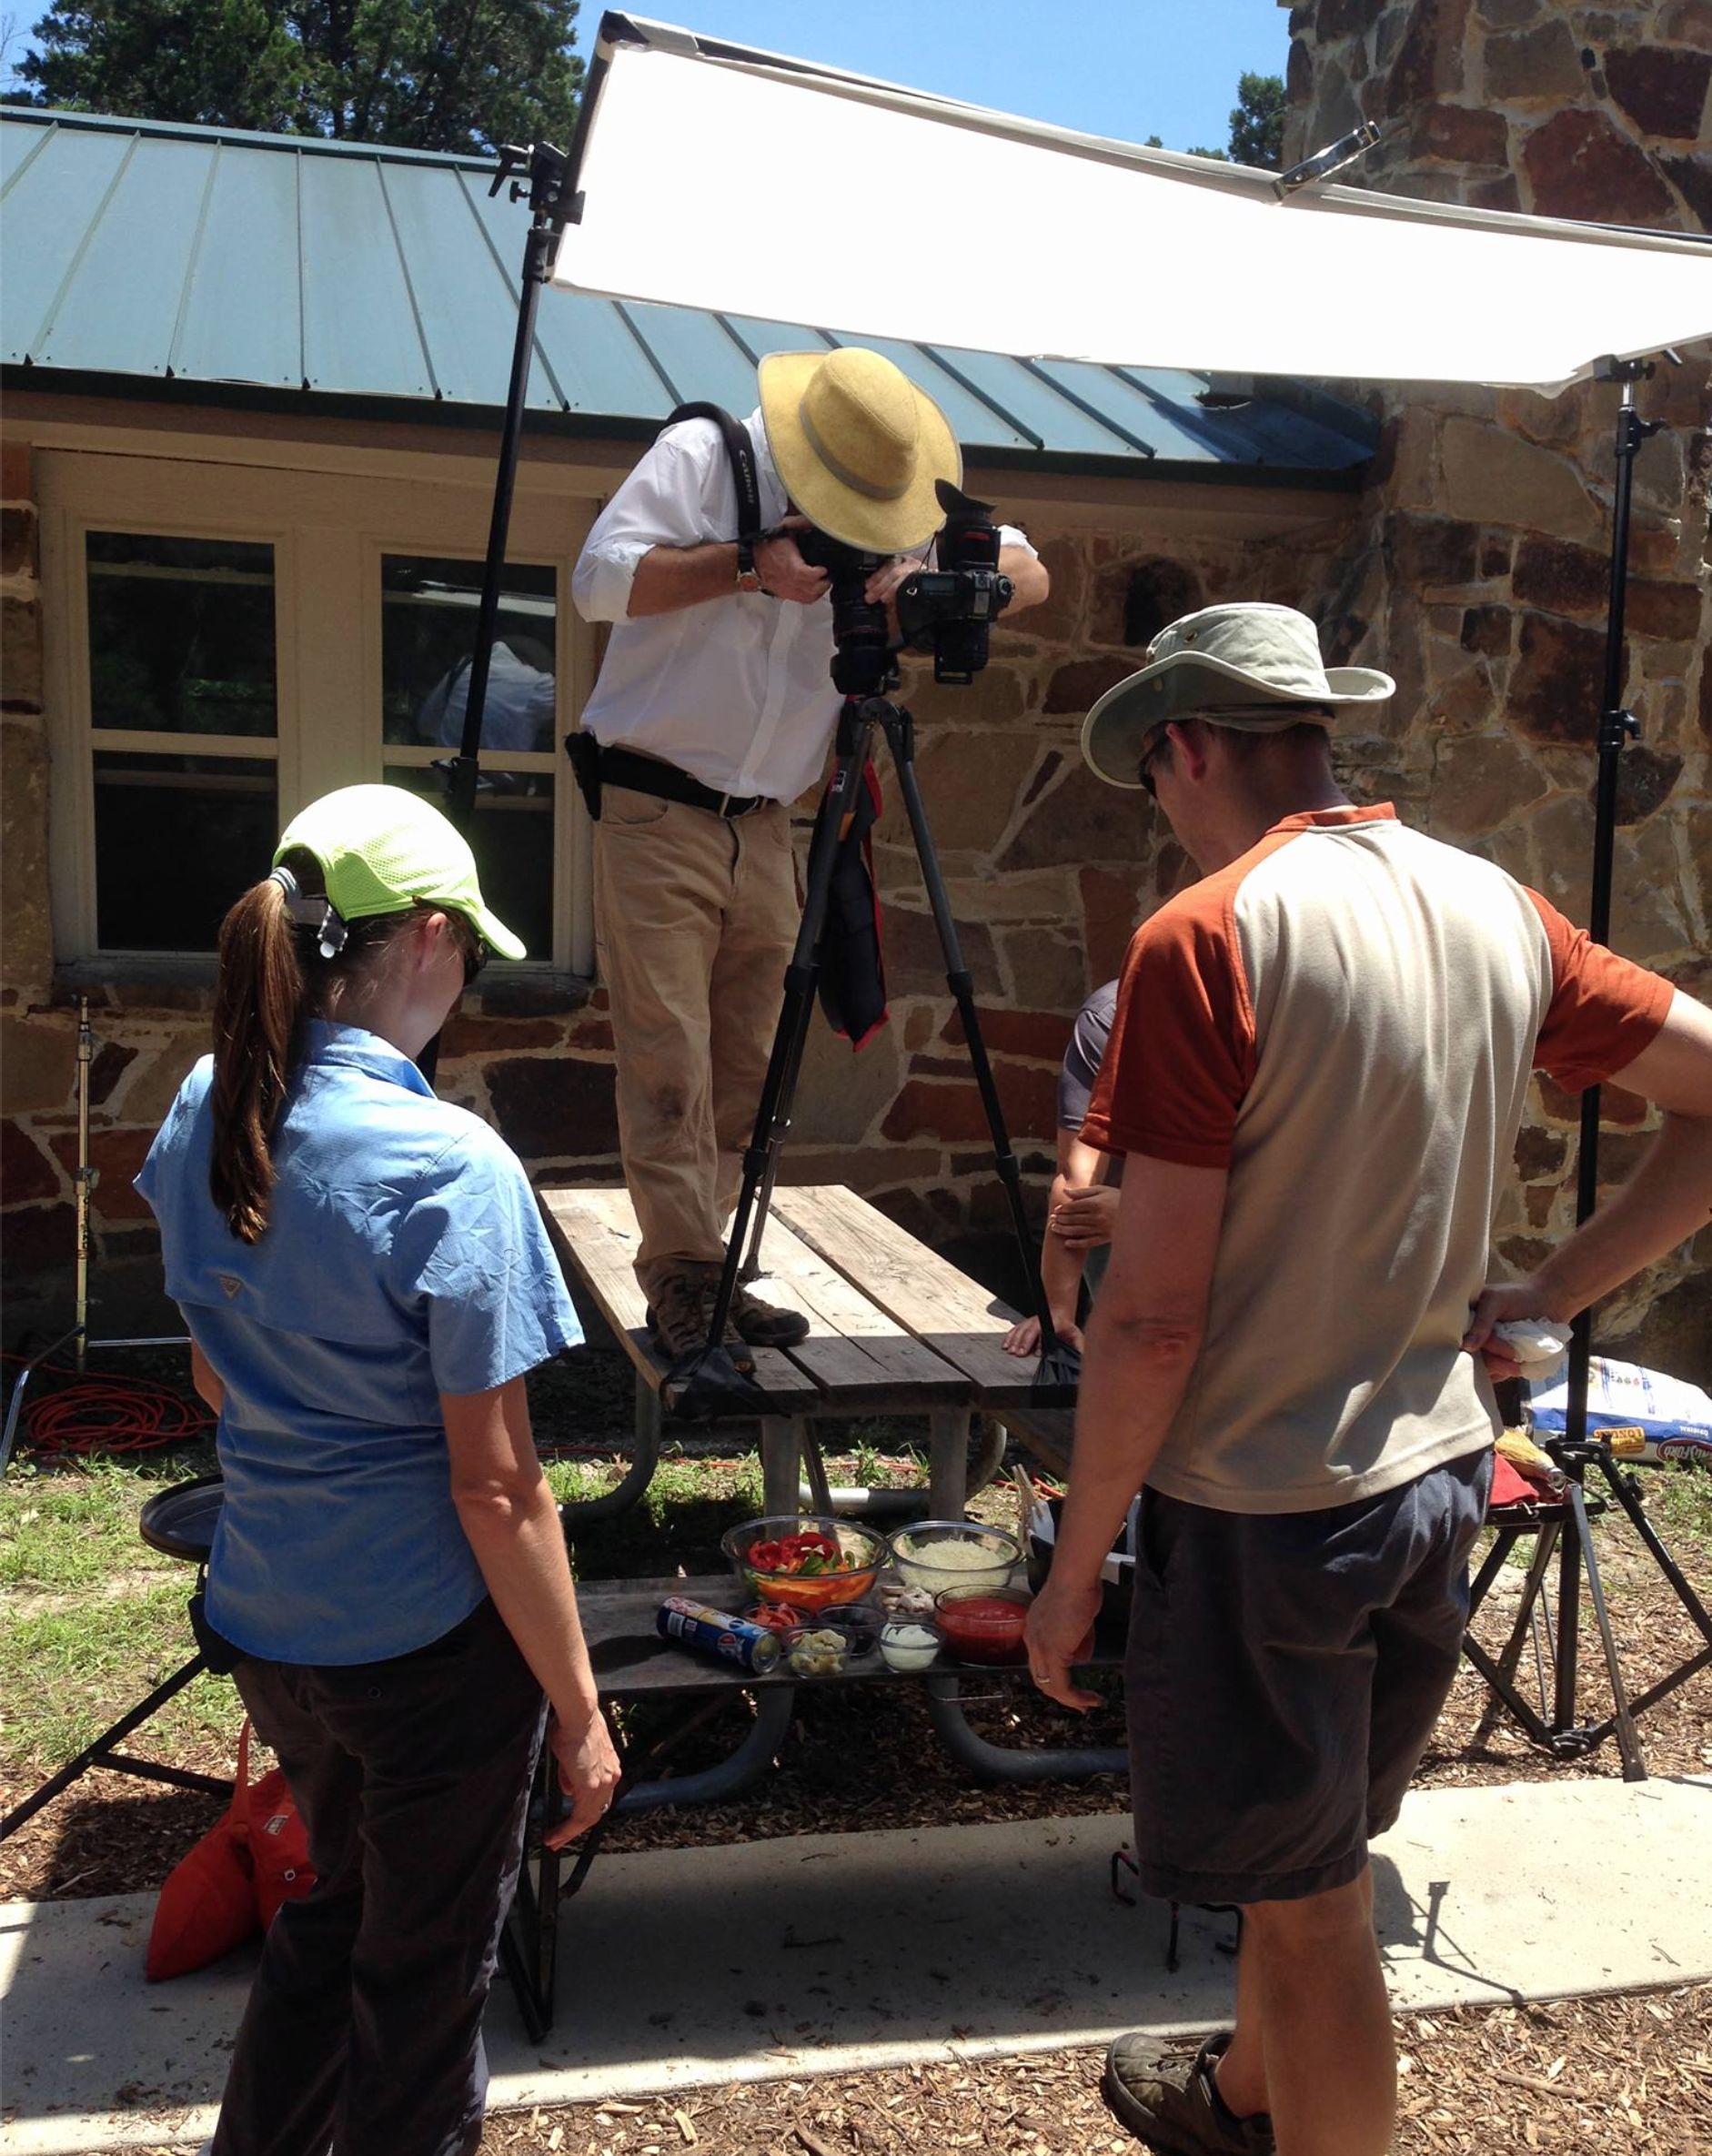
I learned so much from watching the team set up the different angles for the shots, arrange the food, and make sure each step of the process for all the recipes went according to the plan they set for the photo shoot.

PhotoShootApple

One of the most memorable parts of the day was when the video editor decided to do Facebook Live video.  This was completely new experience for us so we were amazed when we heard that after just a few minutes of the live video feed on Scouting magazine’s Facebook page had over 170 people watching, asking questions, and interacting with us!!!  The video has been viewed over 11K (AMAZING!), is very informal and captures the experience of being at the photo shoot.  Check it out along with the 188 comments!!

Here’s the recipe for easy lasagna that we made.

2 lbs. lean ground beef

2 tsp. minced garlic

1 large onion, chopped

2 26-oz. jars of spaghetti sauce

½ tsp. salt

½ tsp. ground black pepper

2 tsp. Italian seasoning blend

2 15-ounce tubs of ricotta cheese

2 eggs

1 16-ounce box lasagna noodles, uncooked

6 cups (1 ½ pounds) mozzarella cheese

Preparation:

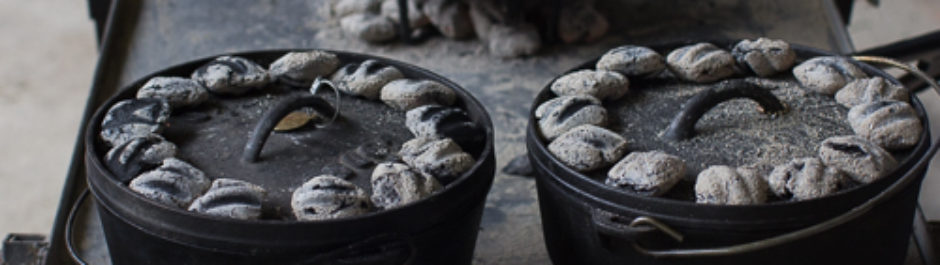
  1. Place a 12-inch Dutch oven over 25 coals.
  2. Brown beef, garlic and onion in oven. Then transfer to a large bowl. Remove oven from heat.
  3. Add spaghetti sauce, salt, black pepper and Italian seasoning to the beef-and-onion mix and stir well.
  4. Mix ricotta cheese and eggs in a medium-sized bowl and set aside.
  5. Spread about a third of the beef mixture on the bottom of the oven. Add a layer of about a third of the noodles, followed by about a third of the ricotta-egg mixture and a third of the mozzarella cheese.
  6. Repeat this order two more times until all ingredients are layered, ending with a layer of mozzarella cheese.
  7. Cook for about 45 minutes, using 17 coals on the lid and 8 coals under the oven. Noodles should be thoroughly cooked. Refresh coals as required.

From The Scout’s Dutch Oven Cookbook by Tim and Christine Conners.

Posted in Beef, Lessons Learned, Recipes | Tagged , | 2 Comments

Pizza

Pizza! Pizza! Pizza!

This is the first time my better half and I have tried to bake pizza in our camp Dutch ovens and we both wondered why in the world it took us this long!
Golden brown crust and melted toppings

Our friend Victoria made this recipe for the Dutch oven demonstration at Cabela’s.  Everyone loved it and were amazed when Victoria said that the dough was easy to make.  Let me tell you, Victoria was right!!Crust has the perfect bite and texture

Victoria’s recipe states the dough only has to rest for 15 minutes before shaping into pizza. We tried this and found the dough to be very rubbery and didn’t want to stay stretched out.  But, it tasted wonderful and made a very thick crust, which was excellent.  We saved half of the dough and let it rest in the fridge overnight and found that the long rest made the dough very stretchy and kept its shape to make a delightfully light and lovely thin crust.  Either way works but if you have the time, I recommend letting the dough rest for several hours before shaping and baking the pizza.IMG_7349


Camp Style Pizza
Print Recipe
Surprisingly easy to prepare, this recipe for pizza dough can be prepared and baked immediately at your campsite or made ahead of time in your kitchen and then baked in your camp Dutch oven. Like all pizzas, the toppings are endless and the results are delicious. The dough can be made into two 16-inch pizzas, or divided into four 12-inch pizzas.
Servings Prep Time
32 slices 30 minutes
Cook Time Passive Time
15-30 minutes, depending on the thickness of the crust 15 minutes, minimum but up to 12 hours
Servings Prep Time
32 slices 30 minutes
Cook Time Passive Time
15-30 minutes, depending on the thickness of the crust 15 minutes, minimum but up to 12 hours
Ingredients
Servings: slices
Instructions
  1. In a small camp Dutch oven, warm up water over several hot charcoals to 110-115 degrees Fahrenheit . Remove from heat. Stir in yeast and sugar. It is ready when the yeast foams up (about 5 minutes).
  2. Whisk together flour, salt, and garlic powder in a large bowl. Add yeast and olive oil. Mix until dough forms then turn out and knead for 5-7 minutes until dough doesn't stick to the side of the bowl and is smooth and slightly sticky.
  3. Place dough in a lightly oiled bowl. Cover and let sit for a minimum of 15 minutes. If you are preparing dough the night before, place dough in refrigerator.
  4. Prepare a camp Dutch oven by cutting two or three strips of parchment paper that are about 18-inches long and 5 inches wide. Fold in half length wise. Place strips in the bottom of the oven to form a cross and drape the ends of the strips over the edge. Spray with oil. The strips will help you remove the pizza from the hot Dutch oven.
  5. To make two 16-inch pizzas, divide dough into two equal parts. To make four smaller pizzas, divide dough into four equal parts. Shape each part into a round, smooth ball. Cover the remaining parts with a damp towel.
  6. Sprinkle your working area with flour. Roll and stretch the dough out into a circle that is the same diameter as the bottom of your camp Dutch oven. A pastry mat is useful for this step. Place the circle of dough in the bottom of prepared camp Dutch oven.
  7. Poke dough with a fork across the surface of the dough to create holes that prevent bubbles from forming. Bake at 400 degrees Fahrenheit for five minutes. For a 12-inch oven, make a circle of 9 hot charcoals underneath the oven. For a 16-inch oven, make a circle of 13 hot charcoals underneath the oven. Make a double ring of hot charcoal around the lid of the oven.
  8. Remove the oven from the charcoal. Add pizza sauce.
  9. Add toppings.
  10. Cover and bake for 15-20 minutes or until crust is golden brown and toppings are bubbling. Use parchment strips to lift hot pizza out of oven. Garnish with fresh basil. Slice and serve to your delighted friends and family.
Share this Recipe
 
Powered byWP Ultimate Recipe
Posted in Recipes | Tagged , , , | 2 Comments