Three brave Dutch oven cooks brought their baking skills to the hands-on Challah bread class and we all learned a lot. Several others joined in by watching and helping out. Everyone agreed that baking bread in any kitchen, outdoors or indoors, is a challenge well worth the time and effort to create delicious home-made bread!
Here are a few to remember the next time we bake bread with charcoal in our camp Dutch ovens:
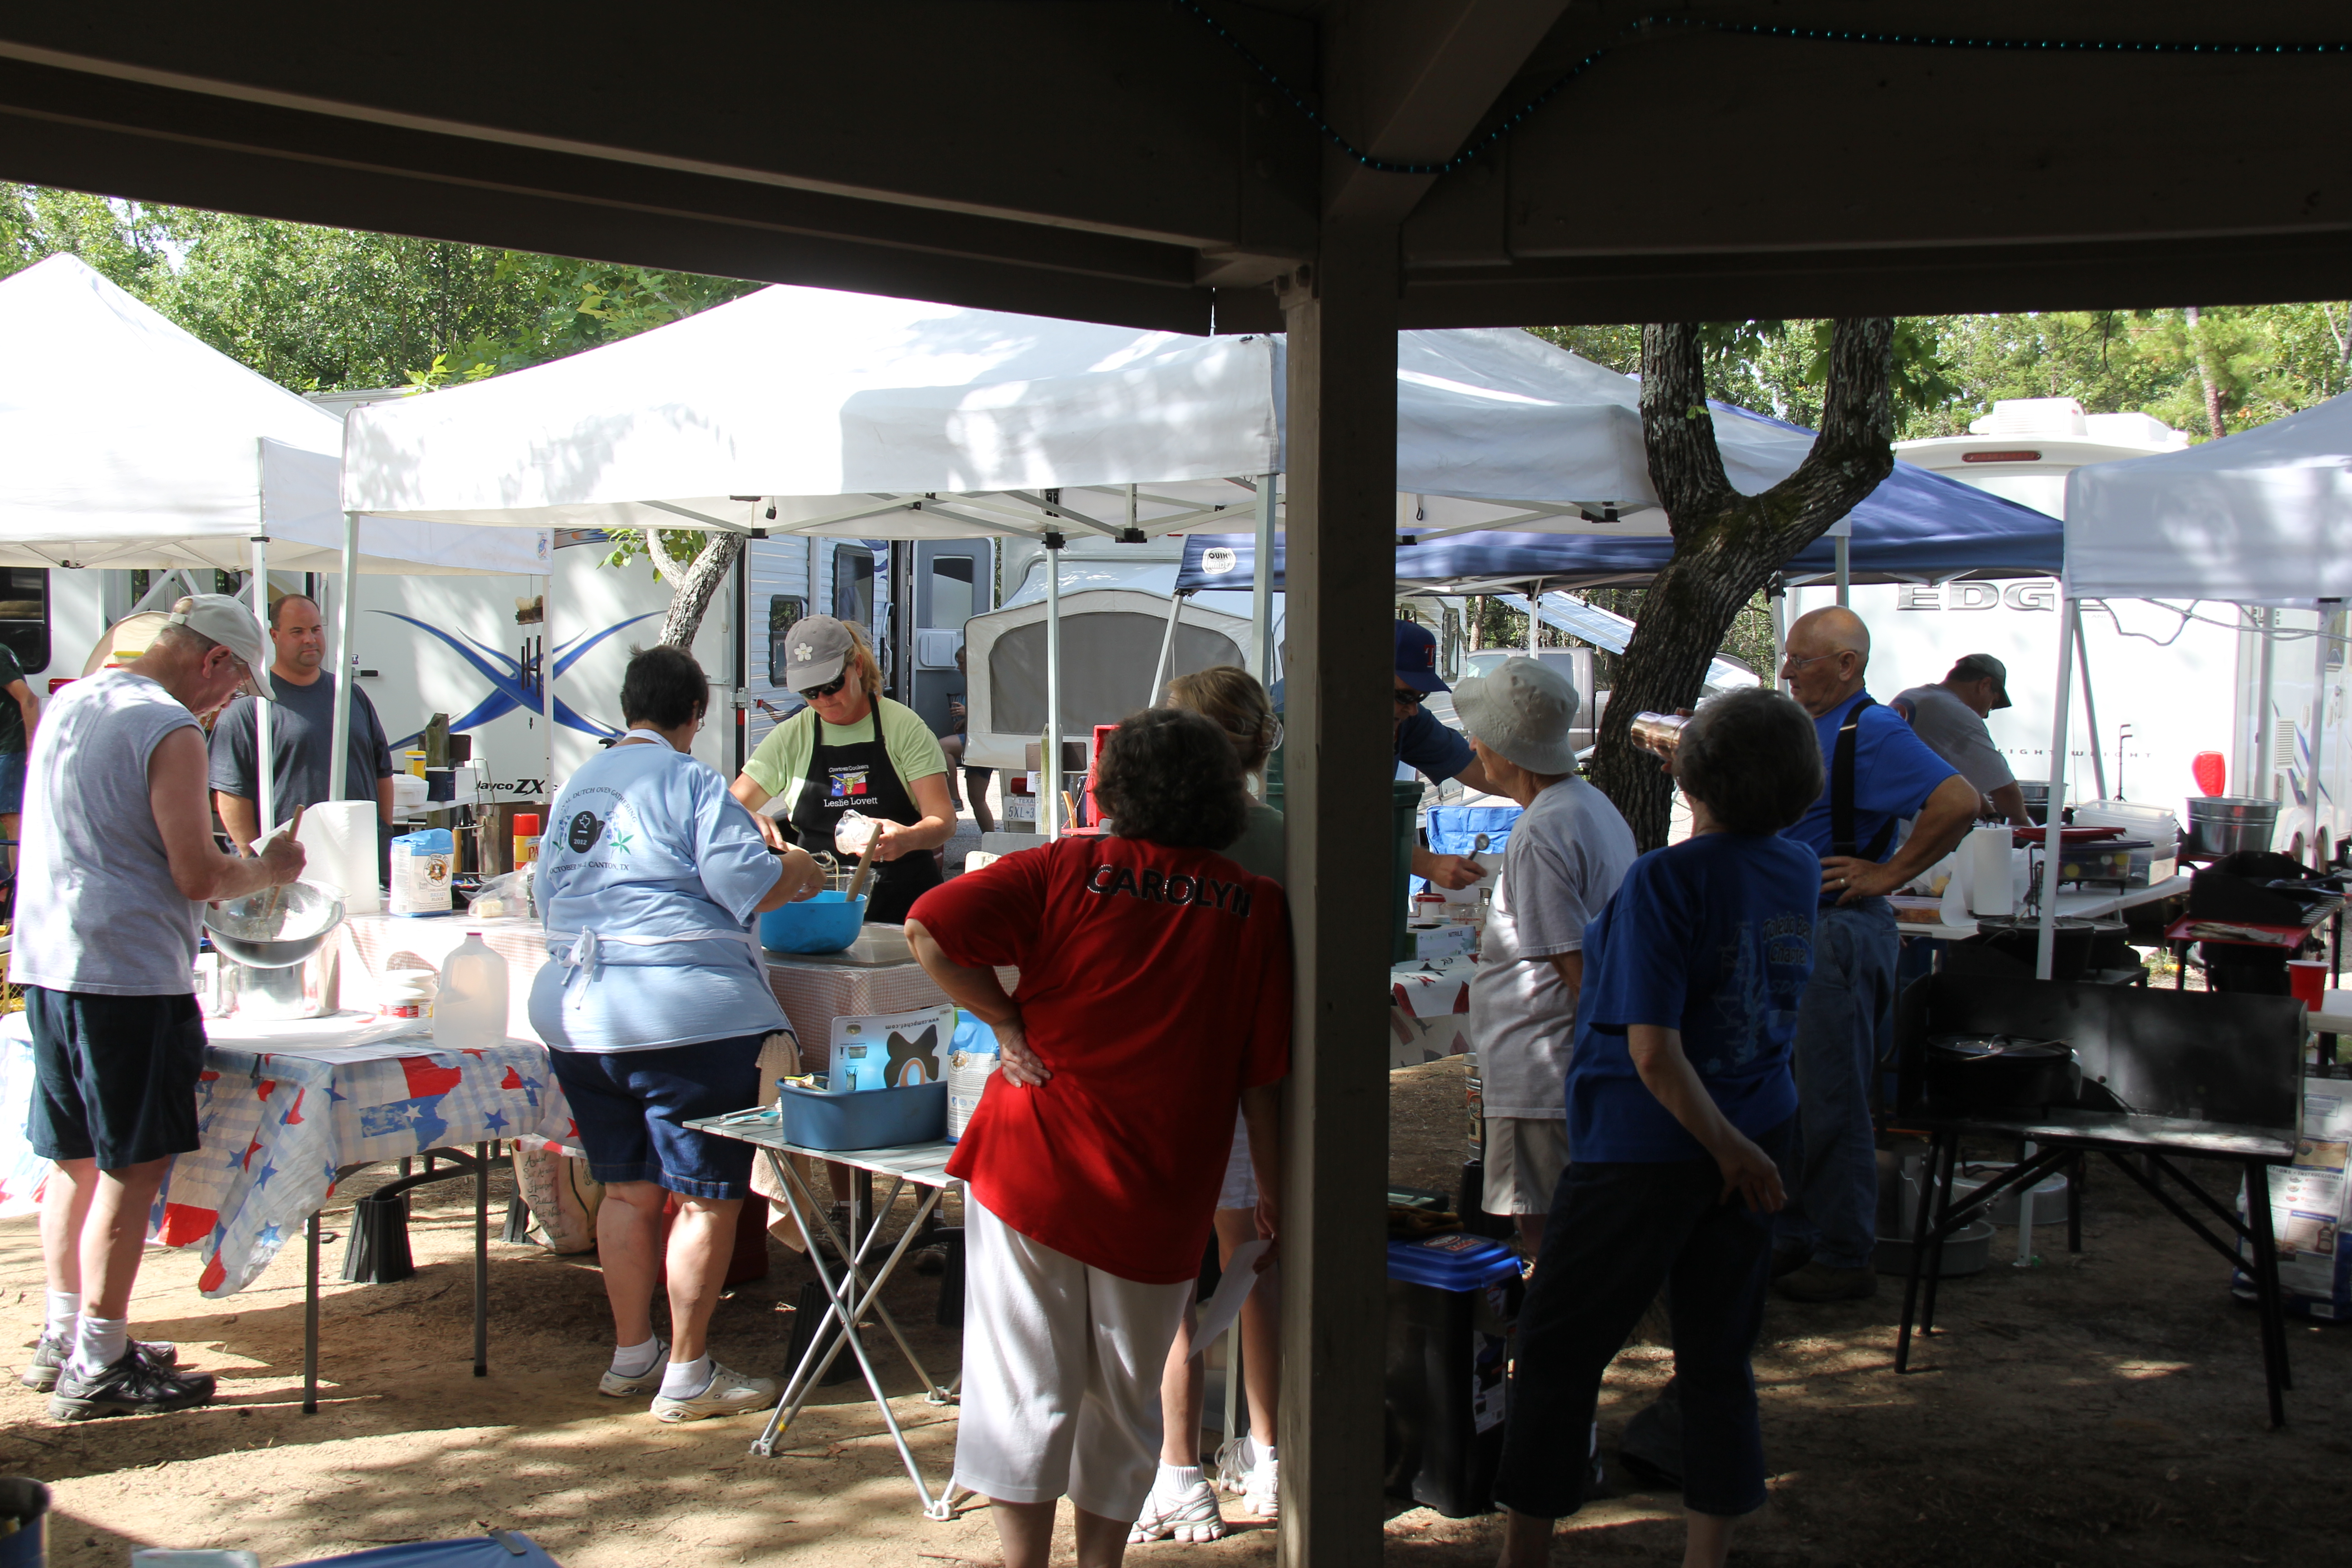
- Working together is the best way to tackle a challenge like baking bread. Figuring out how to knead the dough and knowing when to stop kneading were two of the main issues the bakers asked about. Having folks around to double-check and offer advice was also helpful. We tried out all of the techniques to check the dough and got to see how the gluten developed during the kneading process. The “art” of baking bread come with experience, and one of the best ways for a beginner baker is to practice with other bakers.
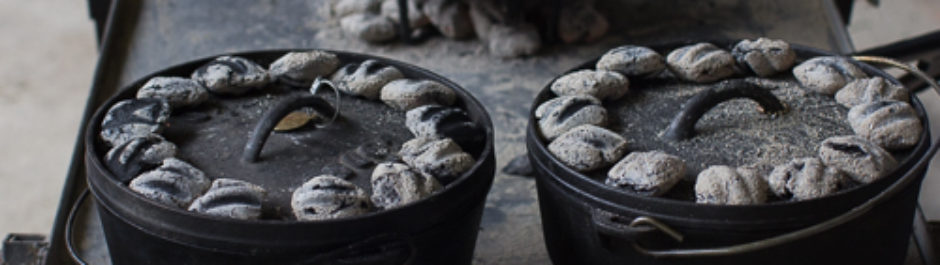
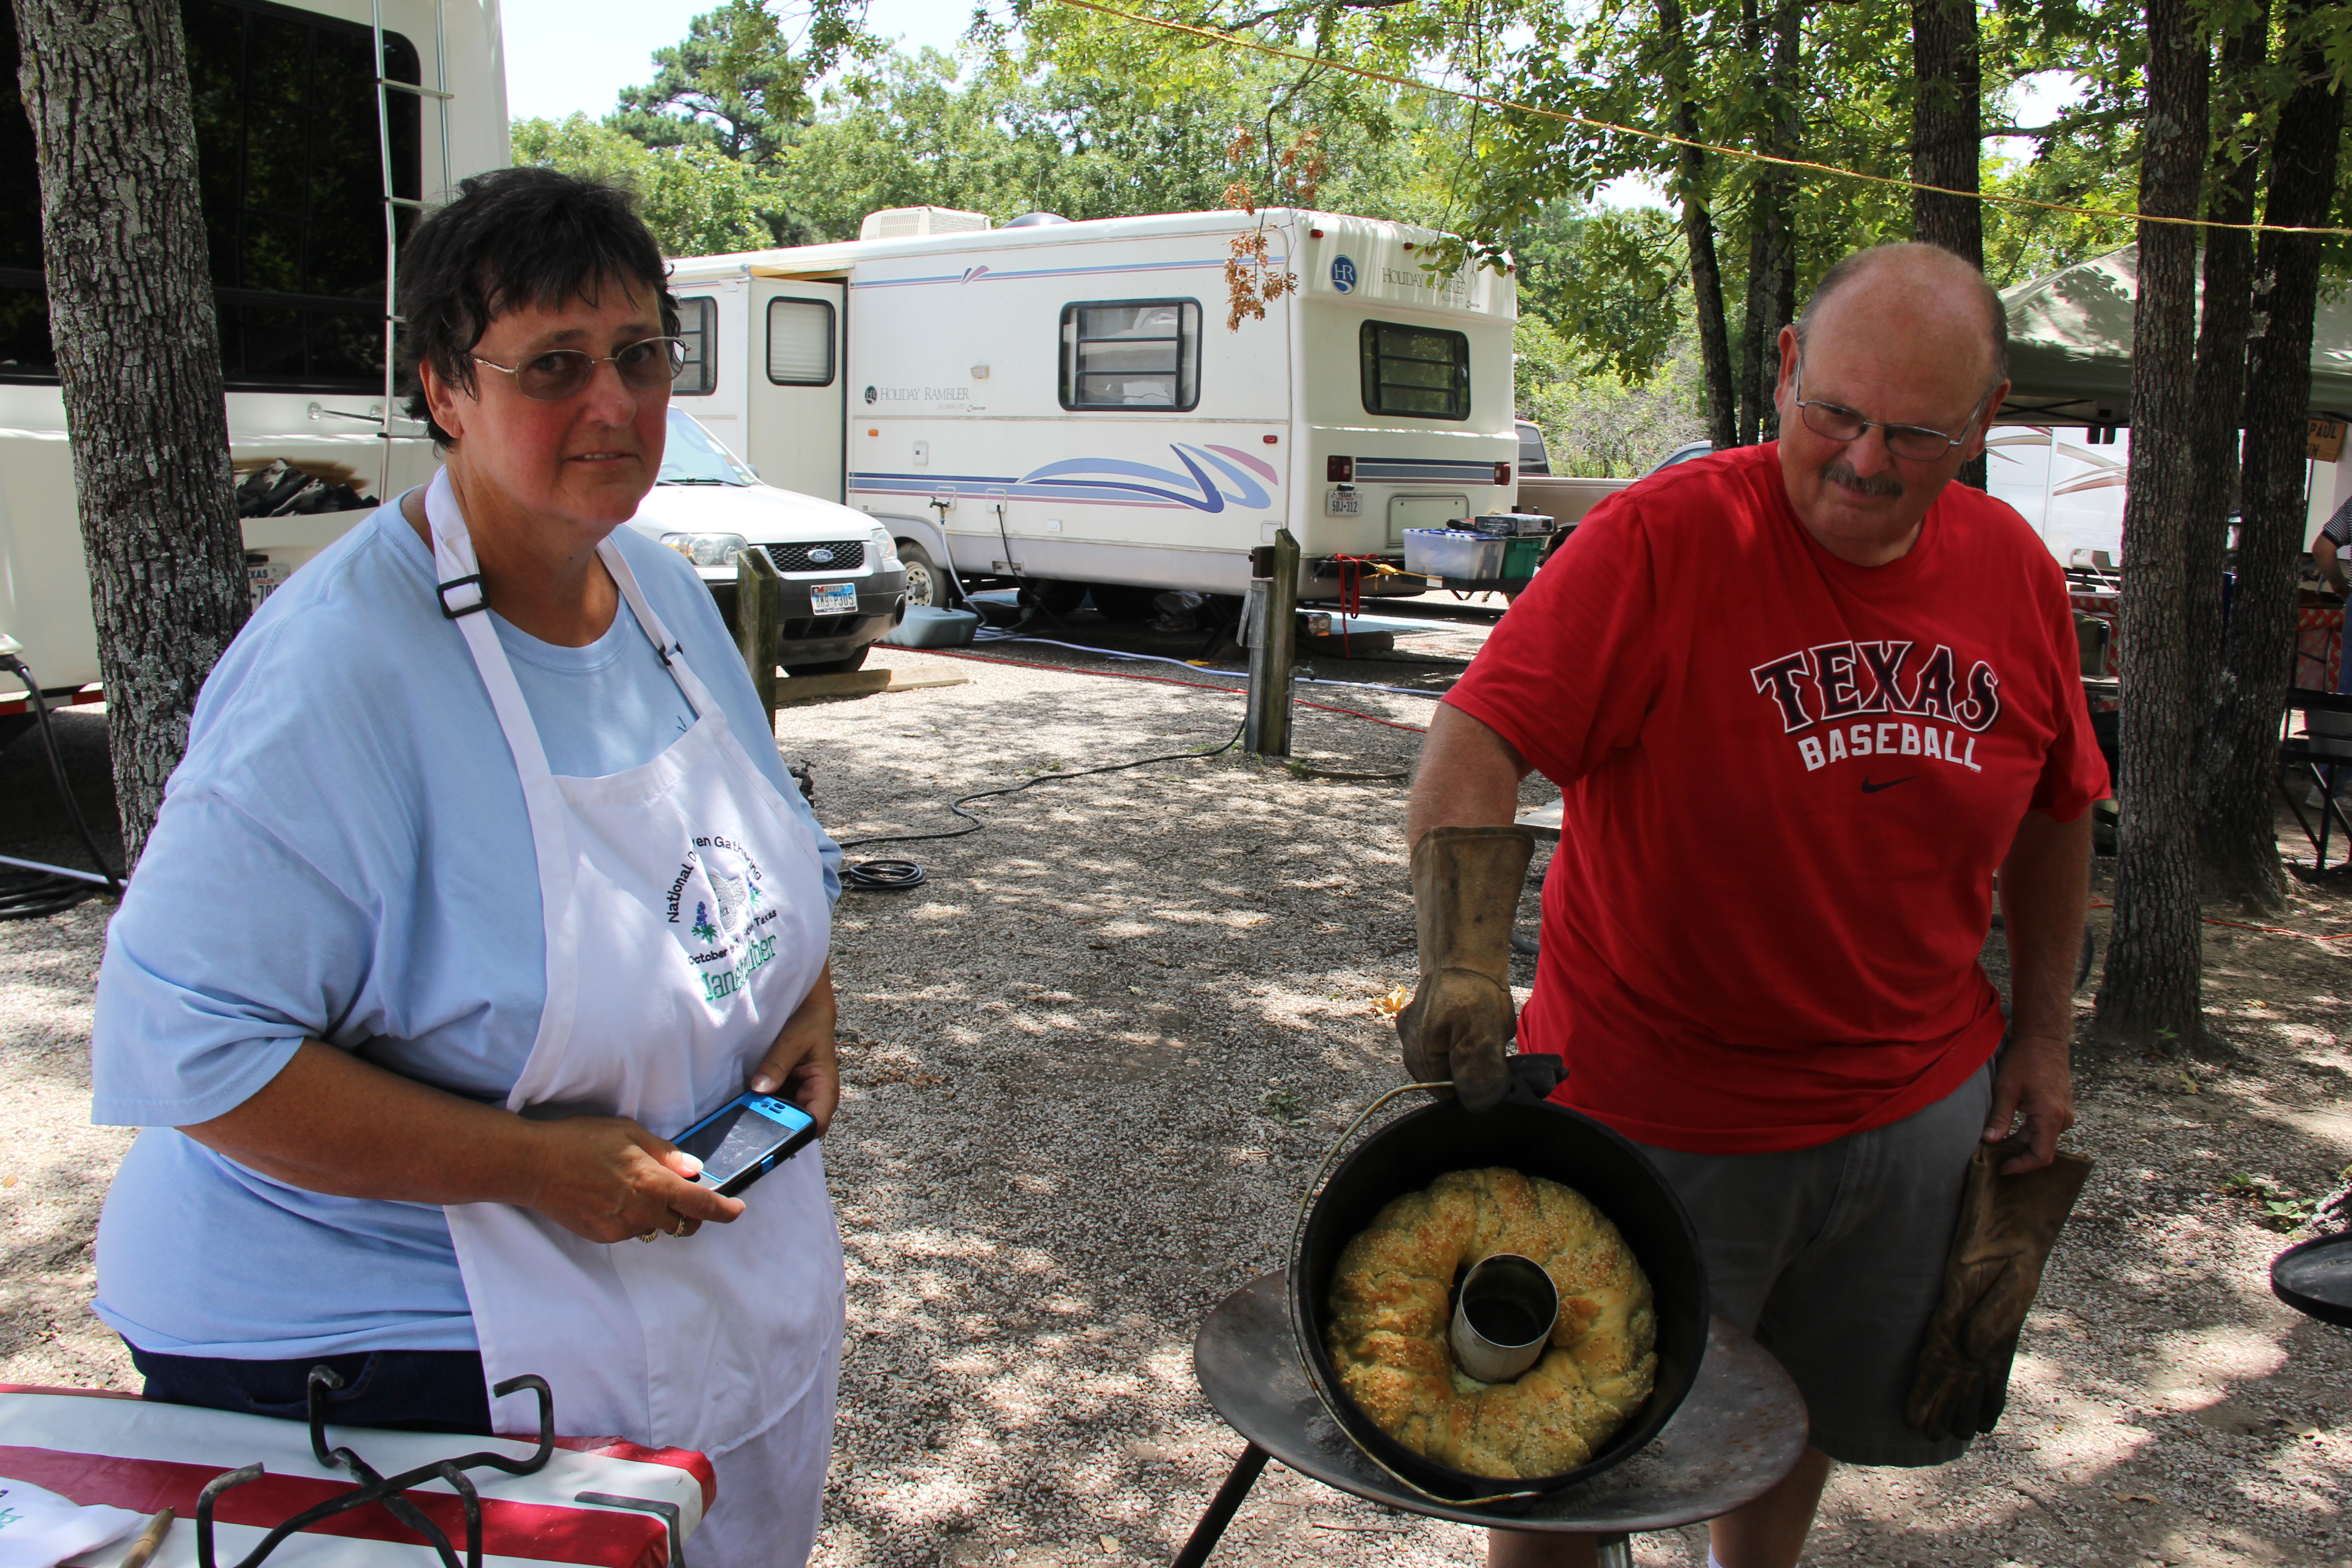
- The size of the camp Dutch oven really does matter. One of the bakers brought a 12″ deep and I wasn’t able to answer the question about how many coals to put on top and bottom. It turns out that the top of the bread didn’t brown as quickly and the bottom was done before the top was brown, so while we waited for the top to brown, the bottom got too much heat. This recipe works best in a 12″ regular Dutch oven, not a deep.
- We had about five folks who were just watching but not doing the hands on baking, which was a wonderful addition to the learning experience since they asked great questions and even noticed when I forgot something. The problem was I didn’t have a good place for them to stand so that they could see everything we were doing. Next time, I’ll make sure there is a place for folks to observe and participate without doing the hands-on part of the class.
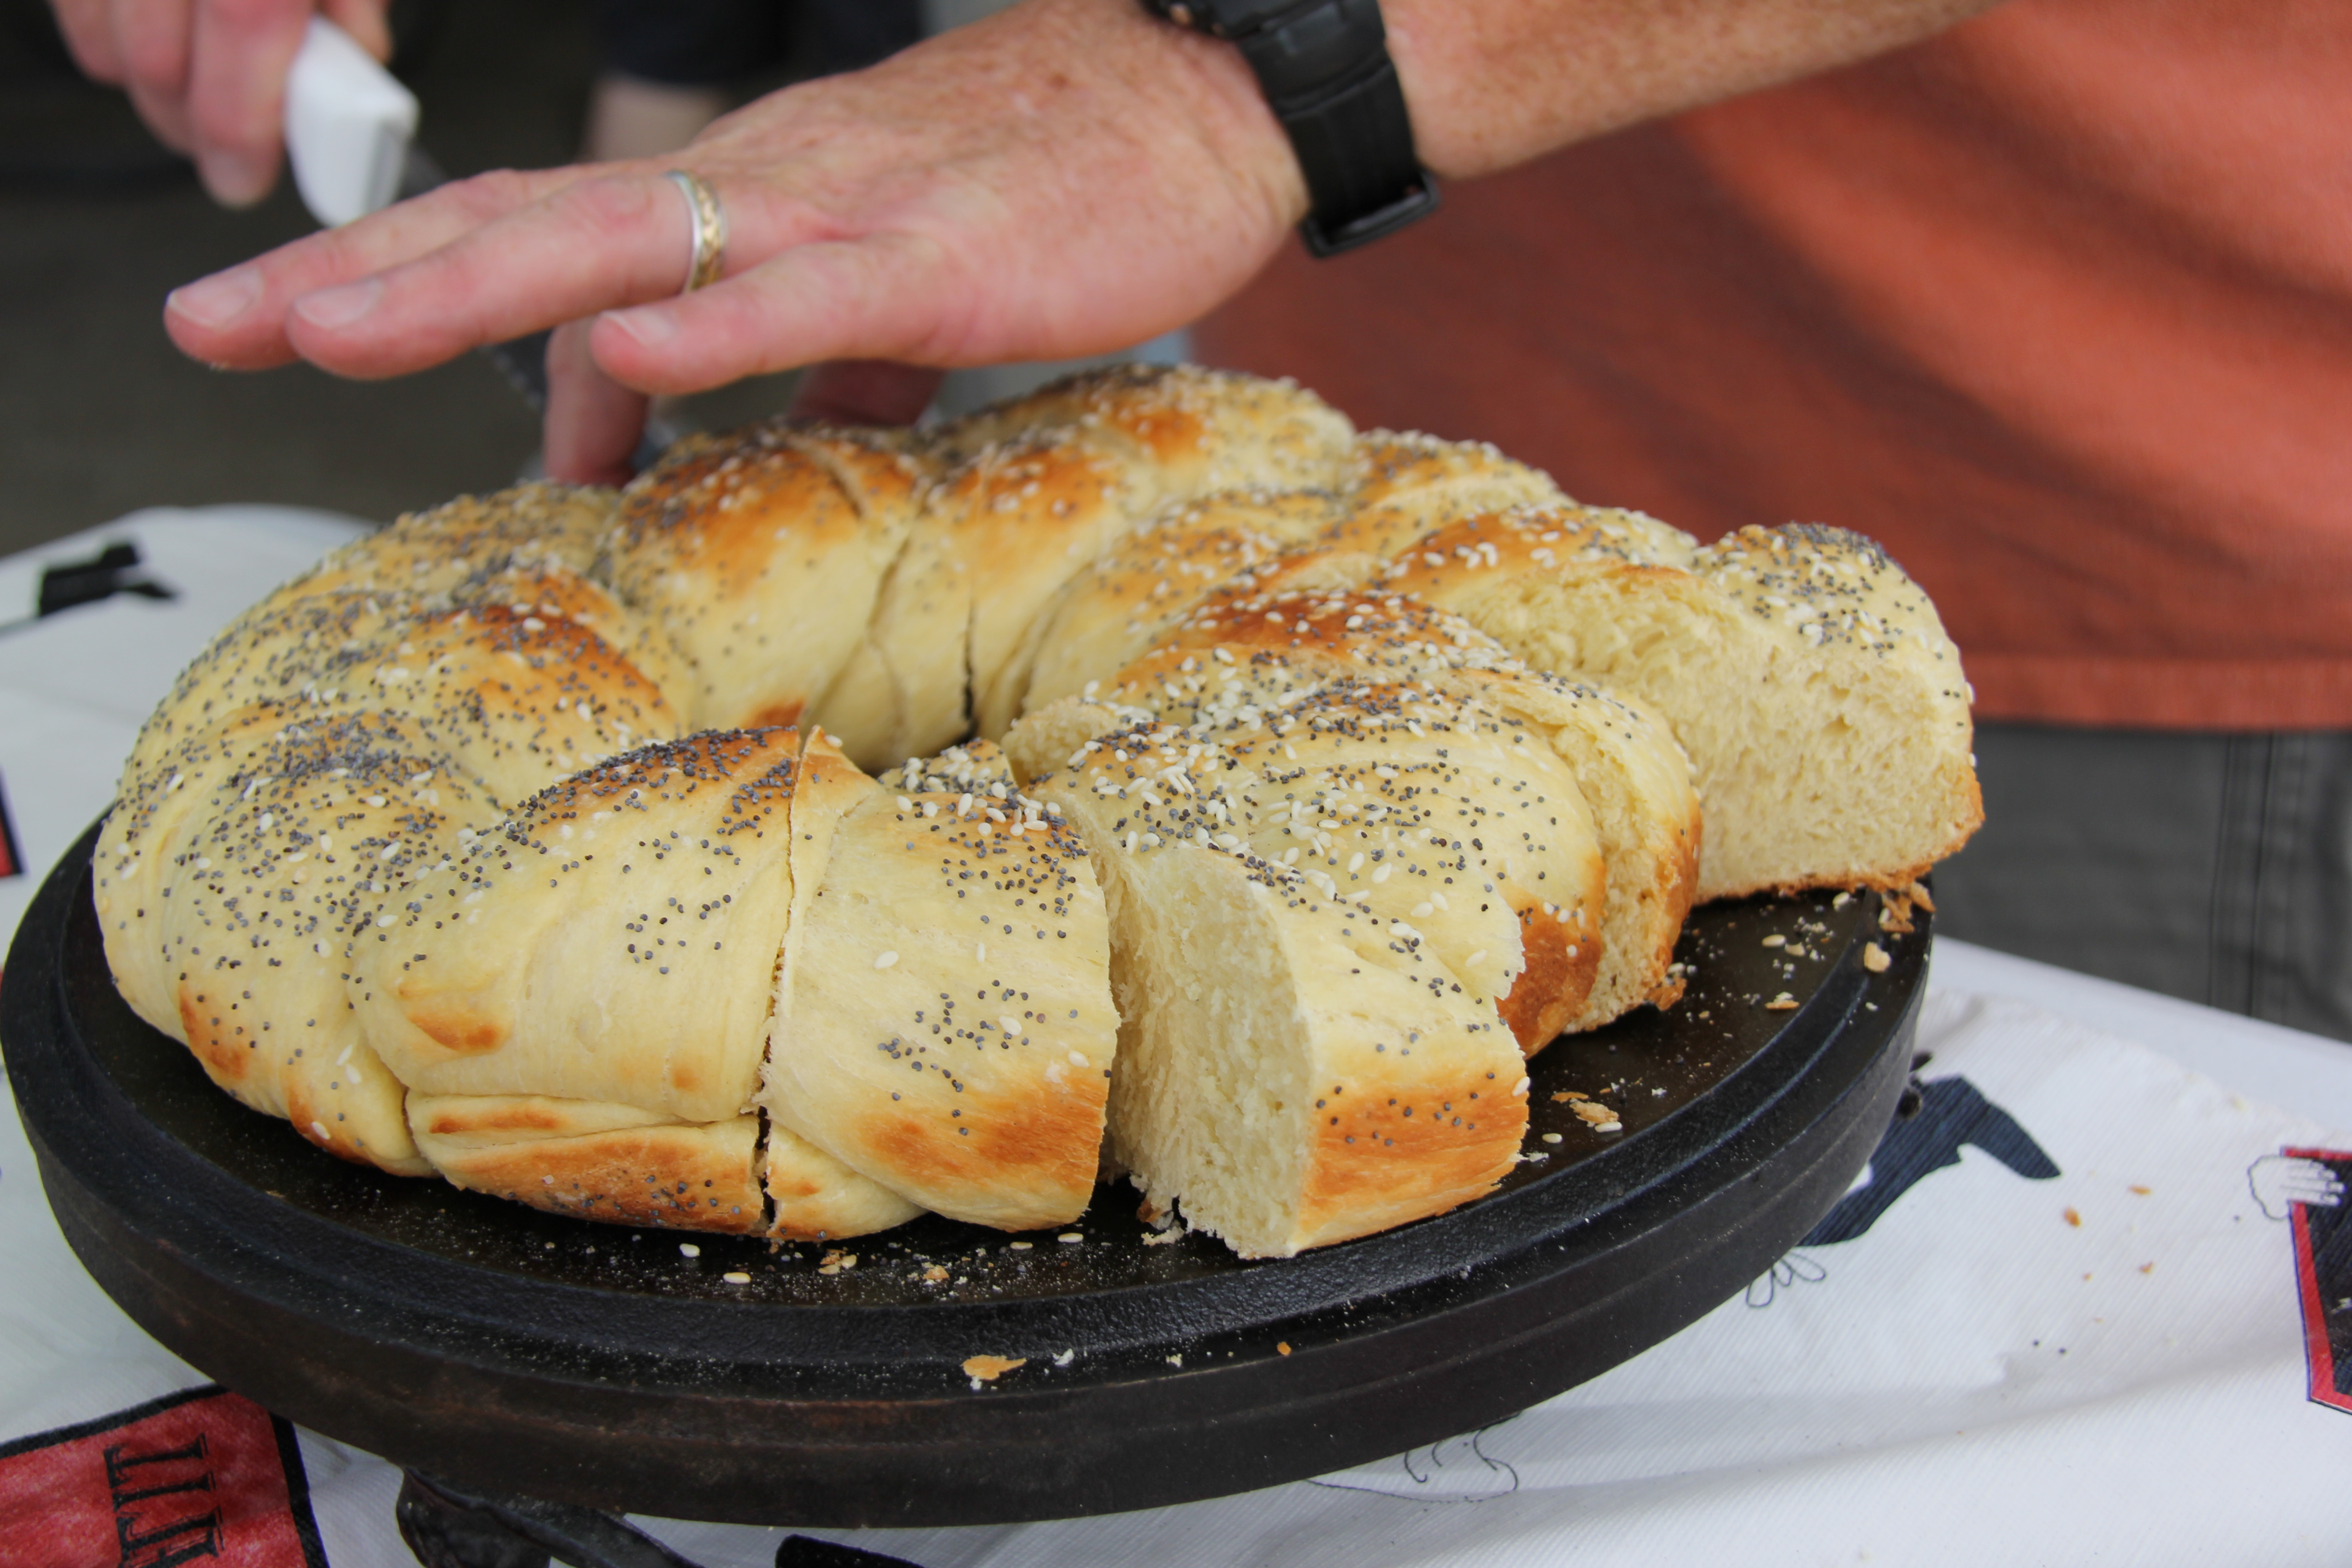
- I didn’t make plans to tell folks how to serve their bread AND I didn’t allow enough time to let their bread rest and cool off before serving it at lunch. Next time, I’ll make sure to give instructions before the class begins so that the participants will bring a lid stand, allow their 12″ Dutch oven lid to cool off, and to bring a serrated knife to slice the bread into appropriate serving sizes.
Final Lesson Learned: Baking bread is not an easy task! We made four loaves of bread, all following the same recipe for challah, and in the same environmental conditions (very warm outdoor temp of 95 degrees Fahrenheit, high humidity, and a gentle breeze) and yet we have vastly different results. One was almost burned on the bottom, one didn’t rise at all, and yet another came out beautifully. This final lesson learned will help make sure the next hands-on class goes smoothly.
Next time I prepare to teach a hands-on Dutch oven demonstration, I will:
- Double-check everyone’s yeast to make sure it has not passed its expiration date. I don’t know if this was part of the problem for one of the bakers, but it may have contributed.
- Set up the demonstration area so that we are all facing each other and have good eye contact and can hear clearly. This means I have to evaluate the space where the class will be given (under a 10′ x 10′ canopy or a much larger pavilion area) and then determine the number of prep tables that will fit within the limitations of the area. If we are doing it under a 10′ x 10′, then there may only be room for five or six participants.
- Make more time to demonstrate how to properly knead bread. Before they start to knead their dough, I will show them how quickly the dough changes in texture as the gluten develops and talk about how to tell when we’ve added enough flour and to stop kneading. I clearly didn’t spend enough time explaining this important step in the process.
- Spend more time explaining how we will manage the heat during the baking process BEFORE we start firing up charcoal. My next blog post will address the challenge of managing the charcoals and temperature when baking bread.
Thank you to Mike, Janet, Joe, and Bob for participating in my first hands-on class! It was a lot of fun and I’m looking forward to doing it again at our next Dutch oven gathering!

2 Responses to Baking Challah – Wrap Up